1995 CHEVROLET S10 wheel
[x] Cancel search: wheelPage 168 of 354
Downloaded from www.Manualslib.com manuals search engine Power Winches
If you wish to use a power winch on your vehicle, only use it when your
vehicle
is stationary or anchored.
I NOTICE:
-
Operating a power winch with an automatic transmission in
PARK
(P) or a manual transmission in gear may damage the
transmission. Always put the transmission
in a Neutral position
while operating
a power winch.
Use the regular brakes, set the parking brake or block the wheels to keep
your vehicle from rolling.
If your vehicle is equipped with an airbag, see “Adding Equipment to Your
Air Bag-Equipped Vehicle” in the Index.
Recreational Vehicle Towing (Four- Wheel
Drive Only)
If your vehicle has four-wheel drive, you may tow it behind another vehicle
providing it does not have the optional electronic shift transfer case.
I NOTICE:
Recreational vehicle towing is not recommended for vehicles
with the optional electronic shift transfer case because the
electronic shift has no neutral position.
Before towing, you should:
1. Set the parking brake firmly.
2. Place the automatic transmission in PARK (P) or the manual
transmission in the lowest gear
(FIRST GEAR).
hitch manufacturer’s instructions.
3. Firmly attach the vehicle being towed to the tow vehicle. Refer to the
4. Place the transfer case shift lever in NEUTRAL (N).
NOTICE:
Removal of either propeller shaft is unnecessary.
4-35
Page 169 of 354
Downloaded from www.Manualslib.com manuals search engine 5. Release the parking brake only after the vehicle being towed is firmly
attached to the tow vehicle.
6. Insert the ignition key into the ignition switch and turn it one notch
forward of the
LOCK position. This places the key into the OFF
position, which unlocks the steering column while preventing battery
drain. Unlocking the steering column will allow for proper movement
of the front wheelshires during towing.
NOTICE:
You should exercise extra care whenever towing another vehicle.
Loading Your Vehicle
PAYLOAD =I-1
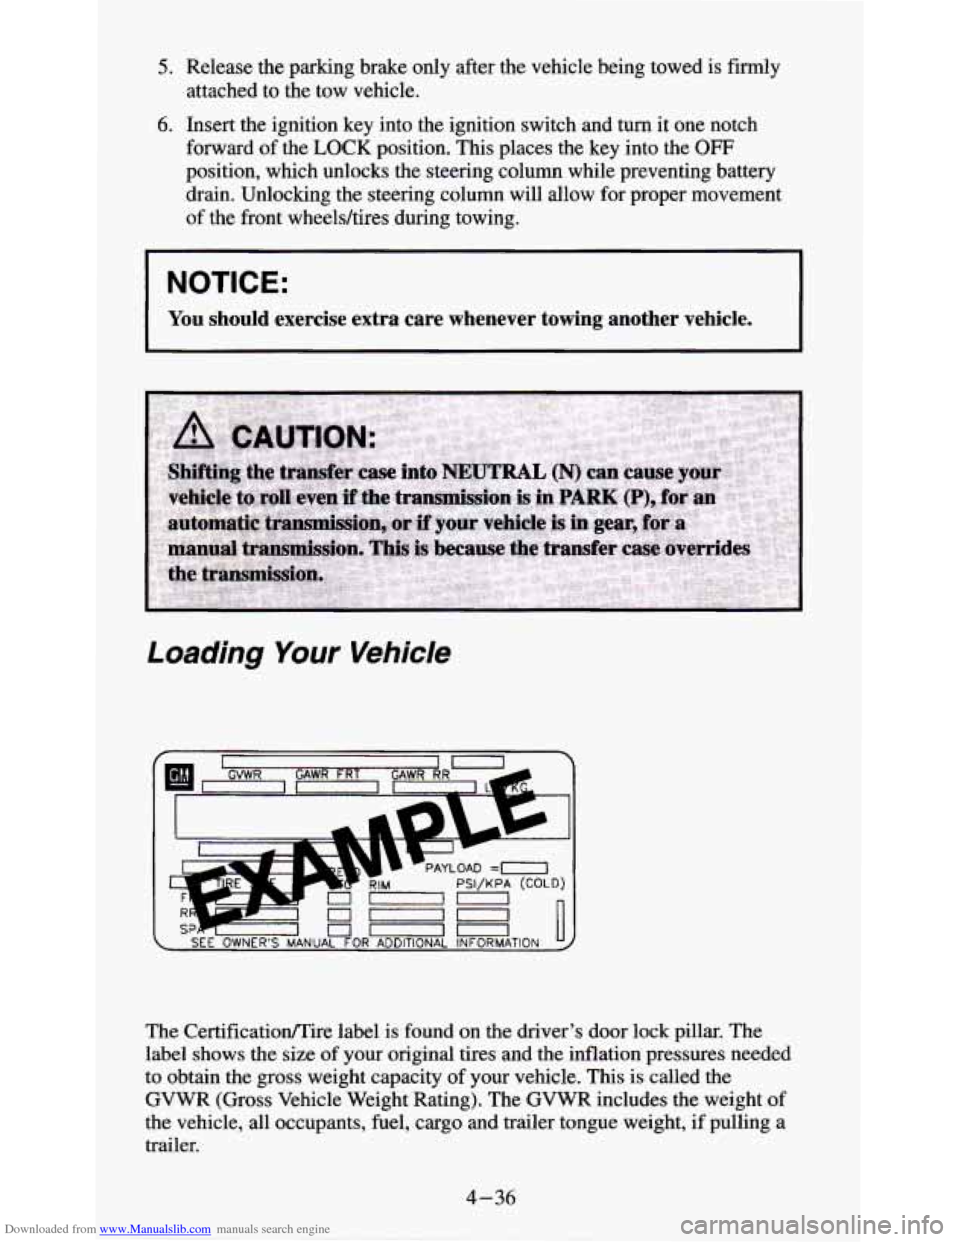
The Certificatioflire label is found on the driver’s door lock pillar. The
label shows the size of your original tires and the inflation pressures needed
to obtain the gross weight capacity of your vehicle. This is called the
GVWR (Gross Vehicle Weight Rating). The GVWR includes the weight of
the vehicle, all occupants, fuel, cargo and trailer tongue weight, if pulling a
trailer.
4-36
Page 175 of 354
Downloaded from www.Manualslib.com manuals search engine If your slide-in camper and its load weigh less than the CWR, the center of
gravity zone for your vehicle may be larger.
Your dealer can help you make a good vehicle-camper match. He’ll also
help you determine your CWR.
After you’ve loaded your vehicle and camper, drive to a weigh station and
weigh on the front and rear wheels separately. This will tell you the loads on
your axles. The loads on the front and rear axles shouldn’t be more than
either
of the GAWRs. The total of the axle loads should not be more than
the GVWR.
Open your driver’s door and look at the door lock pillar for the
Certificatiomire label to find out your GAWR and GVWR.
If you’ve gone over your weight ratings, move or take
out some things until
all the weights fall below the ratings. Of course, you should always tie down
any loose items when
you load your vehicle or camper.
When you install and load your slide-in camper, check the manufacturer’s
instructions.
If you want more information
on curb weights, cargo weights, cargo weight
rating and the correct center of gravity zone for your vehicle, your dealer
can help you. Just ask for a copy of “Consumer Information, Truck-Camper
Loading.”
Trailer Recommendations
You must subtract your hitch loads from the CWR for your vehicle. Weigh
your vehicle with your trailer attached,
so that you won’t go over the
GVWR or the GAWR.
You’ll get the best performance if you spread out the weight of your load
the right way, and if you choose the correct hitch and trailer brakes.
For more information, see “Towing a Trailer” in the Index.
Pickup Conversion to Chassis Cab
General Motors is aware that some vehicle owners may consider having the
pickup box removed and a commercial or recreational body installed.
However, we recommend that conversions of this type not be done to
pickups. Owners should be aware that, as manufactured, there are
differences between
a chassis cab and a pickup with the box removed which
may affect vehicle safety. For specific information
on this pickup, contact
the GM Zone Office for your area. (See the “Warranty and Owner
Assistance” booklet for Zone Office.)
4-42
Page 180 of 354
Downloaded from www.Manualslib.com manuals search engine Following Distance
Stay at least twice as far behind the vehicle ahead as you would when
driving your vehicle without a trailer. This can help
you avoid situations that
require heavy braking and sudden turns.
Passing
You’ll need more passing distance up ahead when you’re towing a trailer.
And, because you’re
a good deal longer, you’ll need to go much farther
beyond the passed vehicle before
you can return to your lane.
Backing Up
Hold the bottom of the steering wheel with one hand. Then, to move the
trailer to the left, just move that hand
to the left. To move the trailer to the
right, move your hand to the right. Always back up slowly and, if possible,
have someone guide you.
Making Turns
I NOTICE:
Making very sharp turns while trailering could cause the traile\
r
to come in contact with the vehicle. Your vehicle could be
damaged. Avoid making very sharp turns while trailering.
When you’re turning with a trailer, make wider turns than normal. Do this
so your trailer won’t strike soft shoulders, curbs, road signs, trees, or other
objects. Avoid jerky or sudden maneuvers. Signal well in advance.
Turn Signals When Towing a Trailer
When you tow a trailer, your vehicle has to have extra wiring and a
heavy-duty turn signal flasher (included in the optional trailering package).
The green arrows on your instrument panel will flash whenever you signal a
turn or lane change. Properly hooked up, the trailer lamps will also flash,
telling other drivers you’re about
to turn, change lanes or stop.
When towing a trailer, the green arrows on your instrument panel will flash
for turns even if the bulbs on the trailer are burned out. Thus, you may think
drivers behind you are seeing your signal when they are
not. It’s important
to check occasionally to be sure the trailer bulbs are still working.
4-47
Page 181 of 354
Downloaded from www.Manualslib.com manuals search engine Driving On Grades
Reduce speed and shift to a lower gear before you start down a long or steep
downgrade. If you don’t shift down, you might have to use your brakes
so
much that they would get hot and no longer work well.
On a long uphill grade,
shift down and reduce your speed to around 45 mph
(70 km/h) to reduce the possibility of engine and transmission overheating.
When towing at high altitude on steep uphill grades, consider the following:
Engine coolant will boil at a lower temperature than at normal altitudes. If
you
turn your engine off immediately after towing at high altitude on steep
uphill grades, your vehicle may show signs similar to engine overheating.
To avoid this, let the engine run while parked (preferably on level ground)
with the automatic transmission in PARK
(P) (or the manual transmission
out of gear and the parking brake applied) for
a few minutes before turning
the engine
off. If you do get the overheat warning, see “Engine
Overheating” in the Index.
Parking on Hi//s
You really should not park your vehicle, with a trailer attached, on a hill. If
something goes wrong, your rig could start to move. People can be injured,
and both your vehicle and the trailer can be damaged.
But if you ever have to park your rig on a hill, here’s how to do it:
1. Apply your regular brakes, but don’t shift into PARK (P) yet, or into
gear for a manual transmission. When parking uphill,
turn your wheels
away from the curb. When parking downhill,
turn your wheels into the
curb.
2. Have someone place chocks under the trailer wheels.
3. When the wheel chocks are in place, release the regular brakes until the
chocks absorb the load.
4. Reapply the regular brakes. Then apply your parking brake, and then
shift into PARK
(P), or REVERSE (R) for a manual transmission.
5. If you have a four-wheeldrive vehicle with a manual transfer case
shift lever, be sure the transfer case is
in a drive gear - not in
NEUTRAL (N).
6. Release the parking brake.
4-48
Page 186 of 354
Downloaded from www.Manualslib.com manuals search engine NOTICE:
Ignoring these steps could result in costly damage to your
vehicle that wouldn’t be covered by your warranty.
Trying to start your vehicle by pushing or pulling
it could
damage your vehicle, even if you have a manual transmission.
And if you have an automatic transmission, it won’t
start that
way.
To Jump Start Your Vehicle;
1. Check the other vehicle. It must have a 12-volt battery with a negative
ground system.
NOTICE:
If the other system isn’t a 12-volt system with a negative
ground, both vehicles can be damaged.
2. Get the vehicles close enough so the jumper cables can reach, but be
sure the vehicles aren’t touching each other. If they are, it could cause
a
ground connection you don’t want. You wouldn’t be able to start your
vehicle, and the bad grounding could damage the electrical systems.
You could be injured if the vehicles roll. Set the parking brake firmly
on each vehicle. Put an automatic transmission in
PARK (P) or a
manual transmission in NEUTRAL (N). If you have
a
four-wheel-drive vehicle with a manual transfer case shift lever, be
sure the transfer case is not in NEUTRAL
(N).
3. Turn off the ignition on both vehicles. Turn off all lights that aren’t
needed, and radios. This will avoid sparks and help save both batteries.
And it could save your radio!
NOTICE:
If you leave your radio on, it could be badly damaged. The
repair wouldn’t be covered by your warranty.
4. Open the hoods and locate the batteries. Find the positive (+) and
negative
(-) terminals on each battery.
5-3
Page 189 of 354
Downloaded from www.Manualslib.com manuals search engine 10. Now start the vehicle with the good battery and run the engine for a
while.
11. Try to start the vehicle with the dead battery. If it won’t start after a few
tries make sure all connections are good.
If it still won’t start, it
probably needs service.
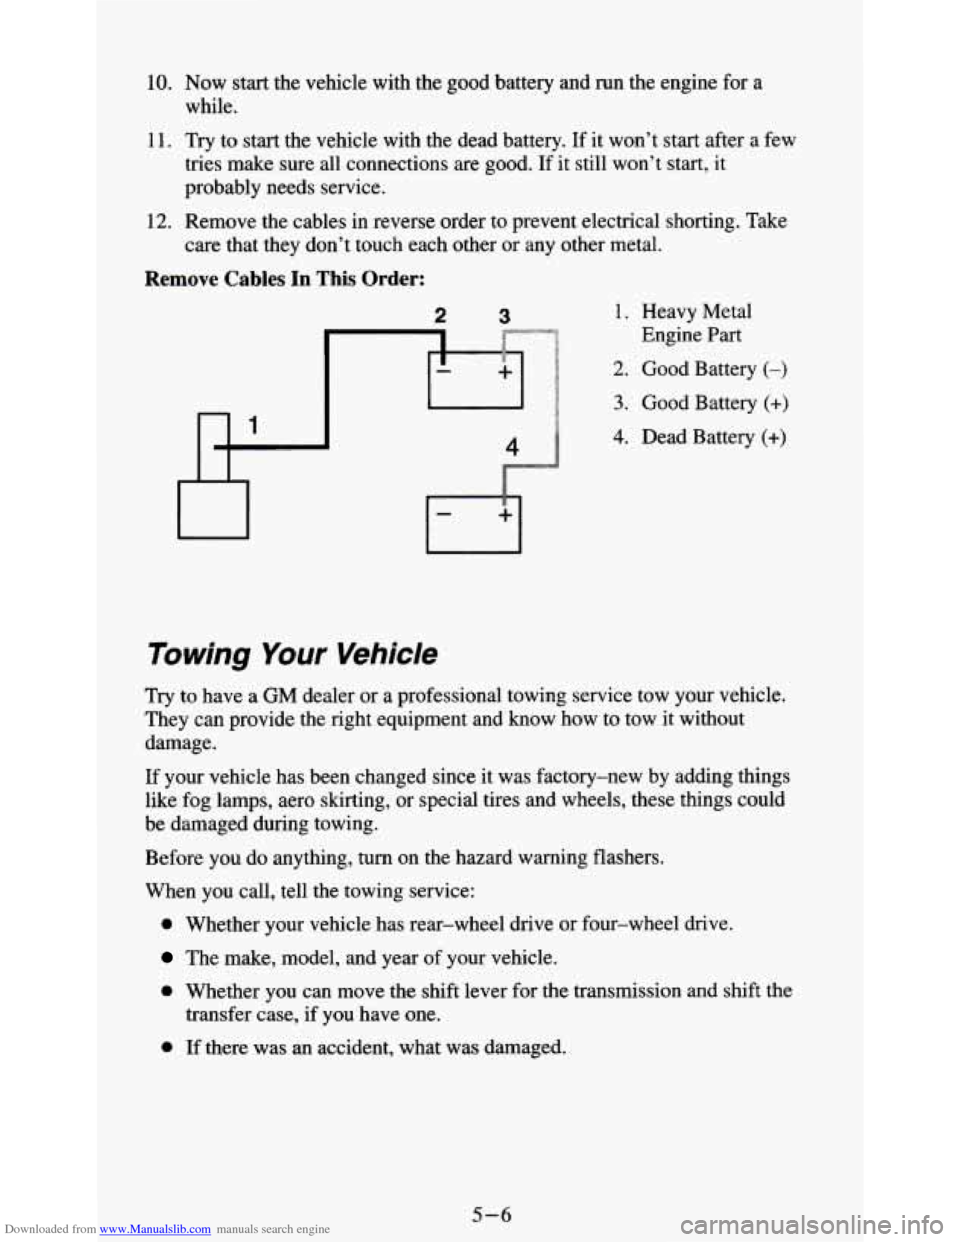
12. Remove the cables in reverse order to prevent electrical shorting. Take
care that they don’t touch each other or
any other metal.
Remove Cables In This Order:
2 3 1. Heavy Metal
Engine Part
2. Good Battery (-)
3. Good Battery (+)
4. Dead Batten (+)
Towing Your Vehicle
Try to have a GM dealer or a professional towing service tow your vehicle.
They can provide the right equipment and know how to tow it without
damage.
If your vehicle has been changed since it was factory-new
by adding things
like fog lamps, aero skirting,
or special tires and wheels, these things could
be damaged during towing.
Before you do anything, turn on the hazard warning flashers.
When you call, tell the towing service:
0 Whether your vehicle has rear-wheel drive or four-wheel drive.
The make, model, and year of your vehicle.
0 Whether you can move the shift lever for the transmission and shift the
transfer case, if you have one.
0 If there was an accident, what was damaged.
5-6
Page 190 of 354
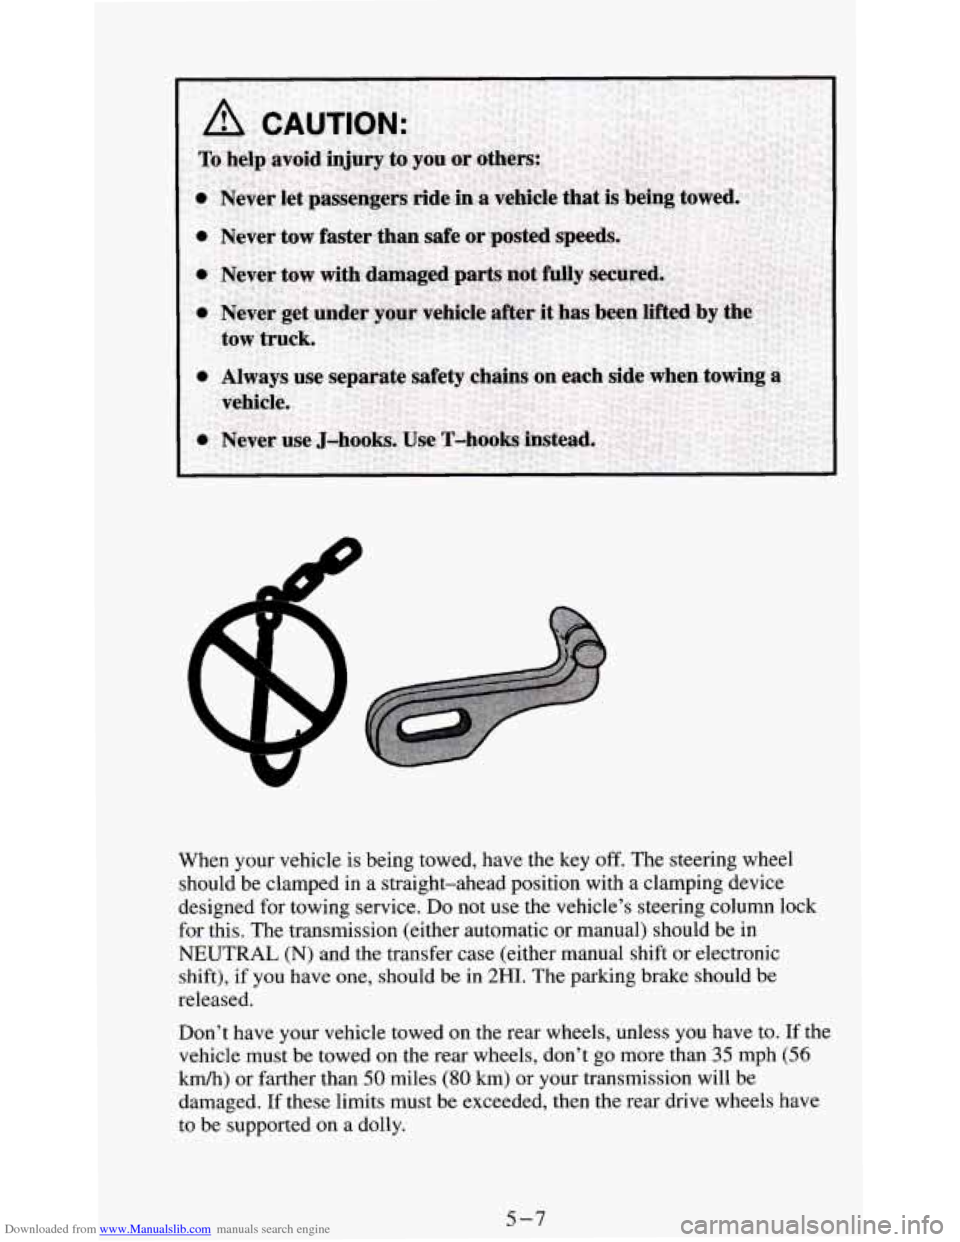
Downloaded from www.Manualslib.com manuals search engine When your vehicle is being towed, have the key off. The steering wheel
should be clamped in a straight-ahead position with
a clamping device
designed for towing service.
Do not use the vehicle’s steering column lock
for this. The transmission (either automatic or manual) should be
in
NEUTRAL (N) and the transfer case (either manual shift or electronic
shift), if you have one, should be in 2HI.
The parking brake should be
released.
Don’t have your vehicle towed
on the rear wheels, unless you have to. If the
vehicle must be towed on the rear wheels, don’t
go more than 35 mph (56
kmk) or farther than 50 miles (80 km) or your transmission will be
damaged.
If these limits must be exceeded, then the rear drive wheels have
to be supported on a dolly.
5-7