1995 CHEVROLET S10 key
[x] Cancel search: keyPage 62 of 354
Downloaded from www.Manualslib.com manuals search engine I NOTICE:
After you’ve used the coolant heater, be sure to store the \
cord as
it
was before to keep it away from moving engine parts. If you
don’t, it could be damaged.
How long should you keep the coolant heater plugged in? The answer
depends
on the weather, the kind of oil you have, and some other things.
Instead of trying to list everything here, we ask that
you contact your GM
dealer in the area where you’ll be parking your vehicle. The dealer can give
you the best advice for that particular area.
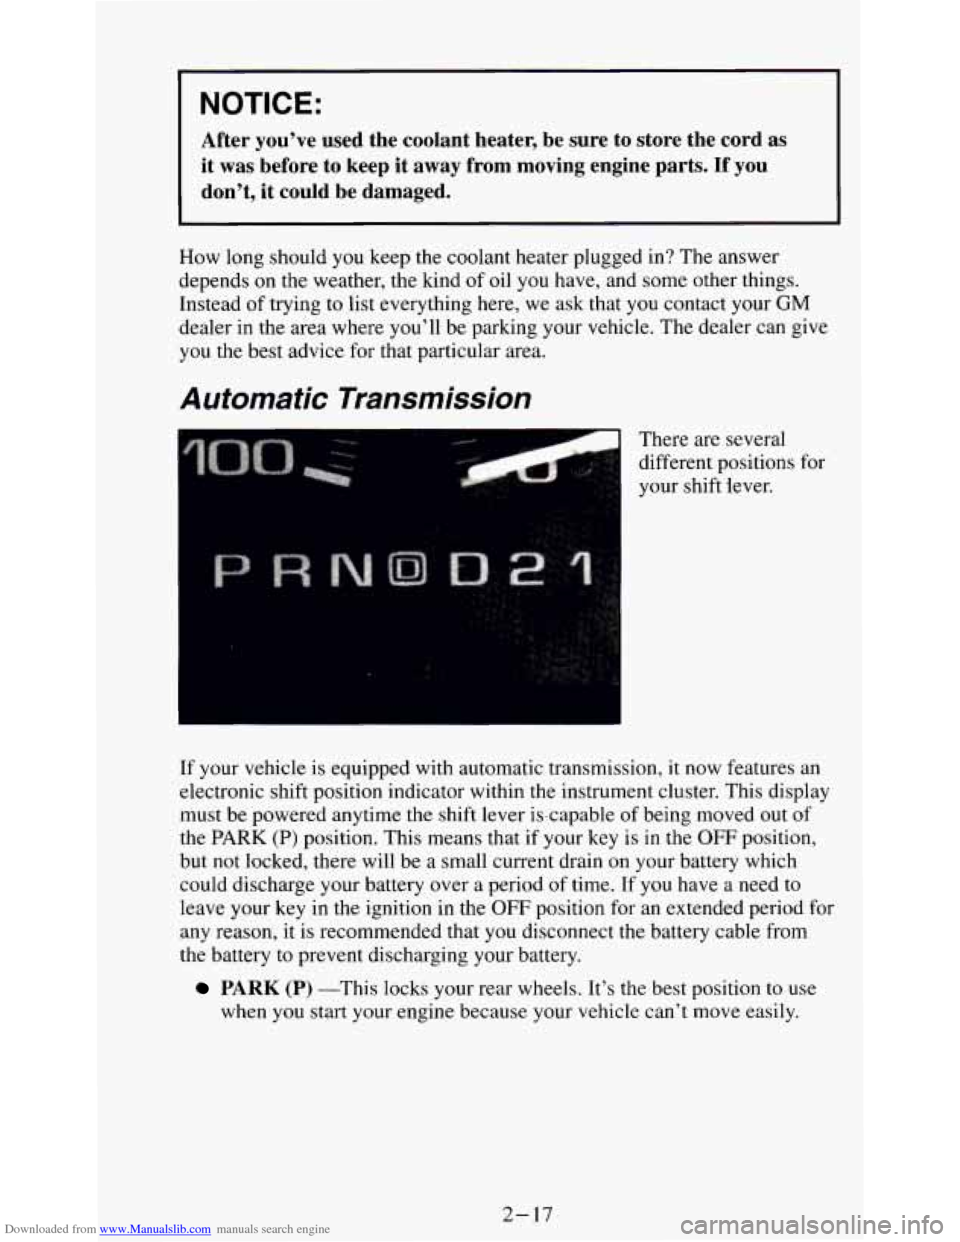
Automatic Transmission
There are several
different positions for
I
your shift lever.
If your vehicle
is equipped with automatic transmission, it now features an
electronic shift position indicator within
the instrument cluster. This display
must be powered anytime the shift lever is-capable
of being moved out of
the
PARK (P) position. This means that if your key is in the OFF position,
but
not locked, there will be a small current drain on your battery which
could discharge your battery over a period of time. If you have
a need to
leave your key in the ignition in
the OFF position for an extended period for
any reason, it is recommended that you disconnect the battery cable from
the battery
to prevent discharging your battery.
PARK (P) -This locks your rear wheels. It’s the best position to use
when
you start your engine because your vehicle can’t move easily.
2-17
Page 69 of 354
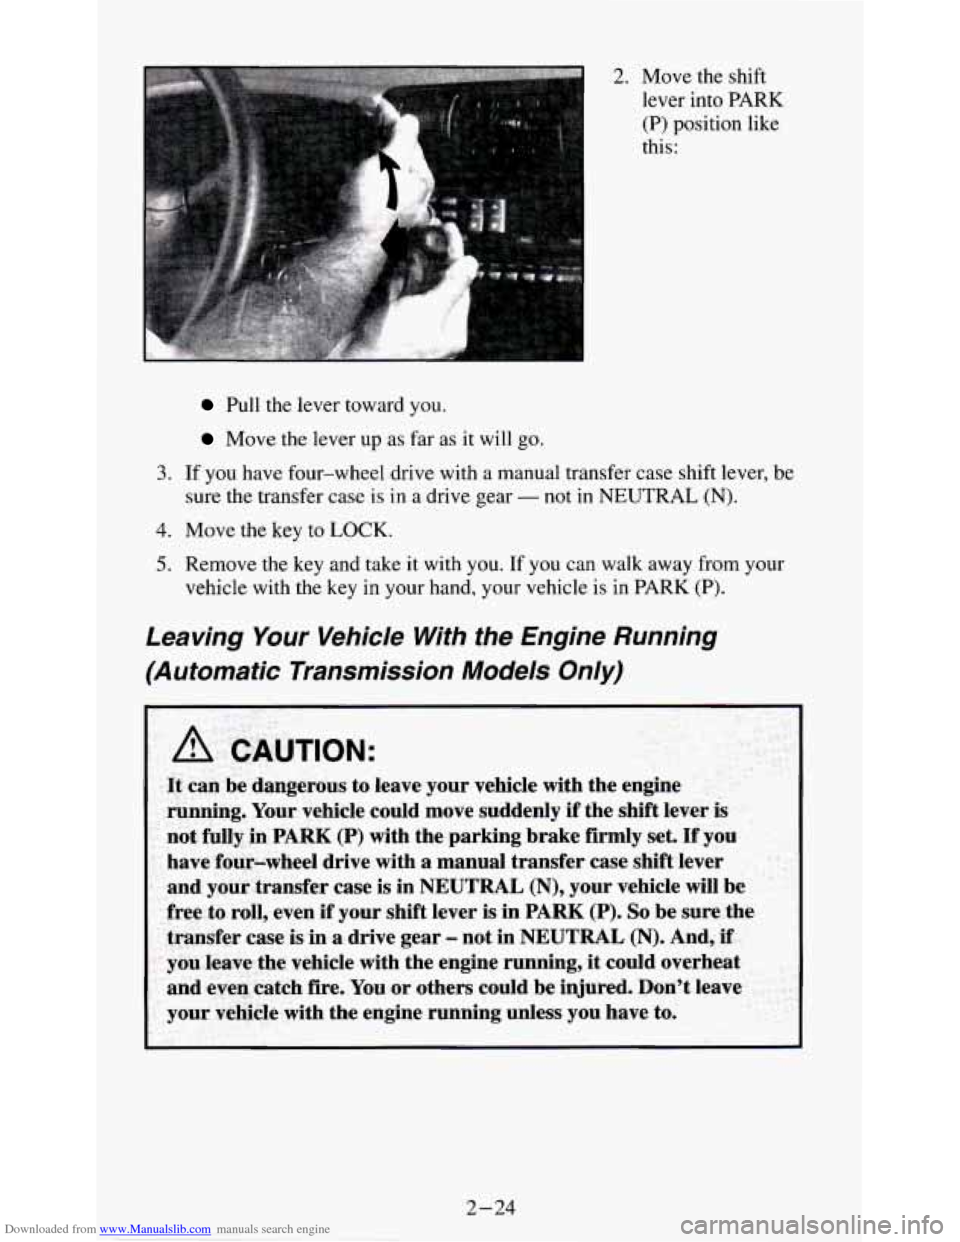
Downloaded from www.Manualslib.com manuals search engine 2. Move the shift
lever into PARK
(P) position like
this:
Pull the lever toward you.
Move the lever up as far as it will go.
3. If you have four-wheel drive with a manual transfer case shift lever, be
sure the transfer case
is in a drive gear - not in NEUTRAL (N).
4. Move the key to LOCK.
5. Remove the key and take it with you. If you can walk away from your
vehicle with the key in your hand, your vehicle
is in PARK (P).
Leaving Your Vehicle With the Engine Running
(Automatic Transmission Models Only)
2-24
Page 91 of 354
Downloaded from www.Manualslib.com manuals search engine Dome Lamp
L A
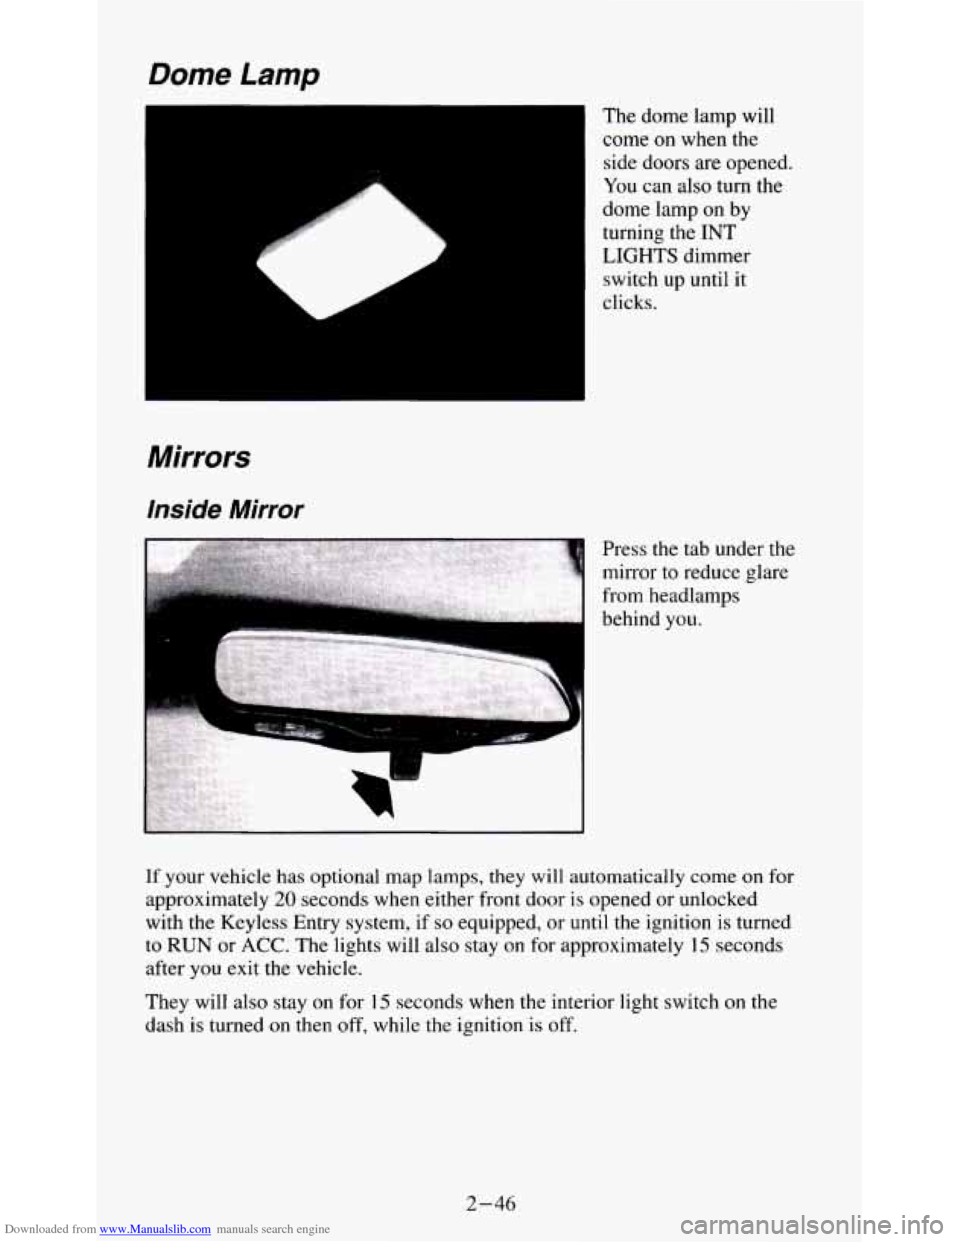
The dome lamp will
come
on when the
side doors are opened
You can also turn the
dome lamp on by
turning the INT
LIGHTS dimmer
switch up until it
clicks.
Mirrors
Inside Mirror
If your vehicle has optional map lamps, they will automatically come on for
approximately
20 seconds when either front door is opened or unlocked
with
the Keyless Entry system, if so equipped, or until the ignition is turned
to RUN or ACC. The lights will also stay on for approximately 15 seconds
after you exit the vehicle.
They will also stay on for 15 seconds when the interior light switch on the
dash is turned
on then off, while the ignition is off.
2-46
Page 102 of 354

Downloaded from www.Manualslib.com manuals search engine Safety Belt Reminder Light
When the key is turned to RUN or START, a tone will come on for about
eight seconds
to remind people to fasten their safety belts, unless the
driver’s safety belt
is already buckled. The safety belt light will also come
on and stay on for about 20 seconds, then it will flash for about 55 seconds.
If the driver’s belt is already buckled, neither the tone nor the light will
come on.
Air Bag Readiness Light
There is an air bag readiness light on the instrument panel, which shows
AIR
BAG. The system checks the air bag’s electrical system for
malfunctions. The light tells you if there is an electrical problem.
The
system check includes the air bag sensors and module, the wiring and the
diagnostic module. For more information on the air bag system, see “Air
Bag” in the Index.
2-57
Page 128 of 354
Downloaded from www.Manualslib.com manuals search engine RCL - Press RCL to see what track is playing. Press it again within 5
seconds to see how long it has been playing. The track number also appears
when
you change the volume or when a new track starts to play.
COMP
- Press the COMP button to make soft and loud passages more
nearly equal in volume. “COMP’ will appear in the display while using this
control.
RDM
- The RDM button means random and when it is pressed, it causes
the CD mechanism to play the tracks
in a random order rather than in the
sequential 1,2,
3 order. “RDM” will appear in the display while using this
control.
To return to normal sequence, press RDM again.
REV
- Press and hold the REV button to quickly return to a favorite
passage. Release it
to display the passage. The counter reading will be
displayed while using this control.
FWD
- Press and hold the FWD button to advance quickly within a track.
Release it to resume playing. Watch the display to stop at
a specific passage.
SCAN
- Press SCAN to sample each track for approximately 10 seconds.
Scanning will continue until the RDM, SCAN or any other motion button is
pressed again.
PREV
- Hold the PREV (4 SEEK) button, or press it more than once, and
the disc will return to previous tracks.
NEXT
- Press NEXT (SEEK ,) to hear the next track now instead of
waiting until the present track is finished. If you hold this button or press it
more than once, the disc will advance further.
ST-PL
- Press ST-PL (Stop-Play) to make the disc stop and the radio
play. Press ST-PL again to restart the disc at the point where it stopped.
Press PWR or turn the ignition key
off to stop the disc player. The disc stays
in the player and will resume playing at the point where it stopped.
Press EJCT to eject the disc and make the radio play. The disc will start at
track
I when you reinsert it.
Anti-Theft Feature
Delco LOC II@ is an Anti-Theft feature for the compact disc player. It can
be used or ignored. If ignored, the system plays normally. If it is used, your
player won’t be usable if it is ever stolen, because it won’t turn
on.
The instructions below tell you how to enter a secret code into the system. If
your car loses battery power for any reason,
you must unlock the system
with the secret code before the radio will turn on.
3-15
Page 136 of 354
Downloaded from www.Manualslib.com manuals search engine According to the American Medical Association, a 180-pound (82 kg)
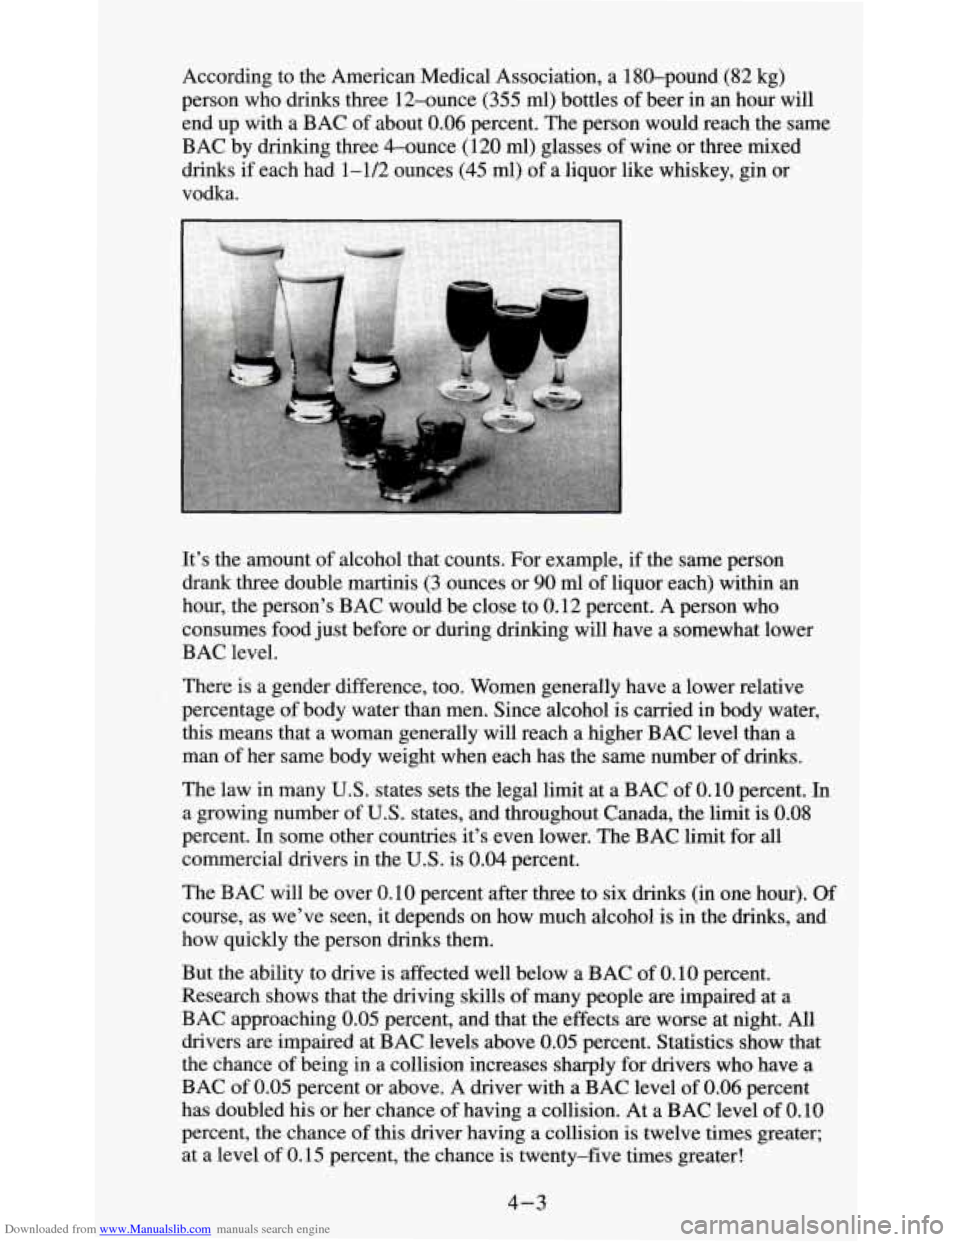
person who drinks three 12-ounce
(355 ml) bottles of beer in an hour will
end up with a BAC of about
0.06 percent. The person would reach the same
BAC by drinking three 4-ounce (120
ml) glasses of wine or three mixed
drinks if each had 1-1/2 ounces
(45 ml) of a liquor like whiskey, gin or
vodka.
J
It’s the amount of alcohol that counts. For example, if the same person
drank three double martinis
(3 ounces or 90 ml of liquor each) within an
hour, the person’s BAC would be close to 0.12 percent. A person who
consumes food just before or during drinking will have a somewhat lower
BAC level.
There is a gender difference, too. Women generally have a lower relative
percentage of body water than men. Since alcohol is carried in body water,
this means that a woman generally will reach a higher BAC level than a
man of her same body weight when each has the same number of drinks.
The law in many
U.S. states sets the legal limit at a BAC of 0.10 percent. In
a growing number
of U.S. states, and throughout Canada, the limit is 0.08
percent. In some other countries it’s even lower. The BAC limit for all
commercial drivers in the
U.S. is 0.04 percent.
The BAC will be over 0.10 percent after three to six drinks (in one hour). Of
course, as we’ve seen, it depends on how much alcohol is in the drinks, and
how quickly the person drinks them.
But the ability to drive is affected well below a BAC
of 0.10 percent.
Research shows that the driving skills of many people are impaired at a
BAC approaching
0.05 percent, and that the effects are worse at night. All
drivers are impaired at BAC levels above
0.05 percent. Statistics show that
the chance of being in a collision increases sharply for drivers who have a
BAC of
0.05 percent or above, A driver with a BAC level of 0.06 percent
has doubled his or her chance
of having a collision. At a BAC level of 0.10
percent, the chance
of this driver having a collision is twelve times greater;
at a level of
0.15 percent, the chance is twenty-five times greater!
4-3
Page 147 of 354
Downloaded from www.Manualslib.com manuals search engine Getting Familiar with Off-Road Driving
It’s a good idea to practice in an area that’s safe and close to home before
you go into the wilderness. Off-road driving does require some new and
different driving skills. Here’s what we mean.
Tune your senses to different kinds
of signals. Your eyes, for example, need
to constantly sweep the terrain for unexpected obstacles. Your ears need to
listen for unusual tire or engine sounds. With your arms, hands, feet, and
body you’ll need to respond to vibrations and vehicle bounce.
Controlling your vehicle is the key to successful off-road driving. One
of
the best ways to control your vehicle is to control your speed. Here are some
things to keep in mind.
At higher speeds:
you approach things faster and you have less time to scan the terrain for
obstacles.
you have less time to react.
you have more vehicle bounce when you drive over obstacles.
you’ll need more distance for braking, especially since you’re on an
unpaved surface.
Scanning the Terrain
Off-road driving can take you over many different kinds of terrain. You
need to be familiar with the terrain and its many different features. Here are
some things to consider.
Sugace Conditions. Off-roading can take you over hard-packed dirt,
gravel, rocks, grass, sand, mud, snow or ice. Each of these surfaces affects
the steering, acceleration, and braking
of your vehicle in different ways.
Depending upon the kind of surface you are on, you may experience
slipping, sliding, wheel spinning, delayed acceleration, poor traction, and
longer braking distances.
4- 14
Page 169 of 354
Downloaded from www.Manualslib.com manuals search engine 5. Release the parking brake only after the vehicle being towed is firmly
attached to the tow vehicle.
6. Insert the ignition key into the ignition switch and turn it one notch
forward of the
LOCK position. This places the key into the OFF
position, which unlocks the steering column while preventing battery
drain. Unlocking the steering column will allow for proper movement
of the front wheelshires during towing.
NOTICE:
You should exercise extra care whenever towing another vehicle.
Loading Your Vehicle
PAYLOAD =I-1
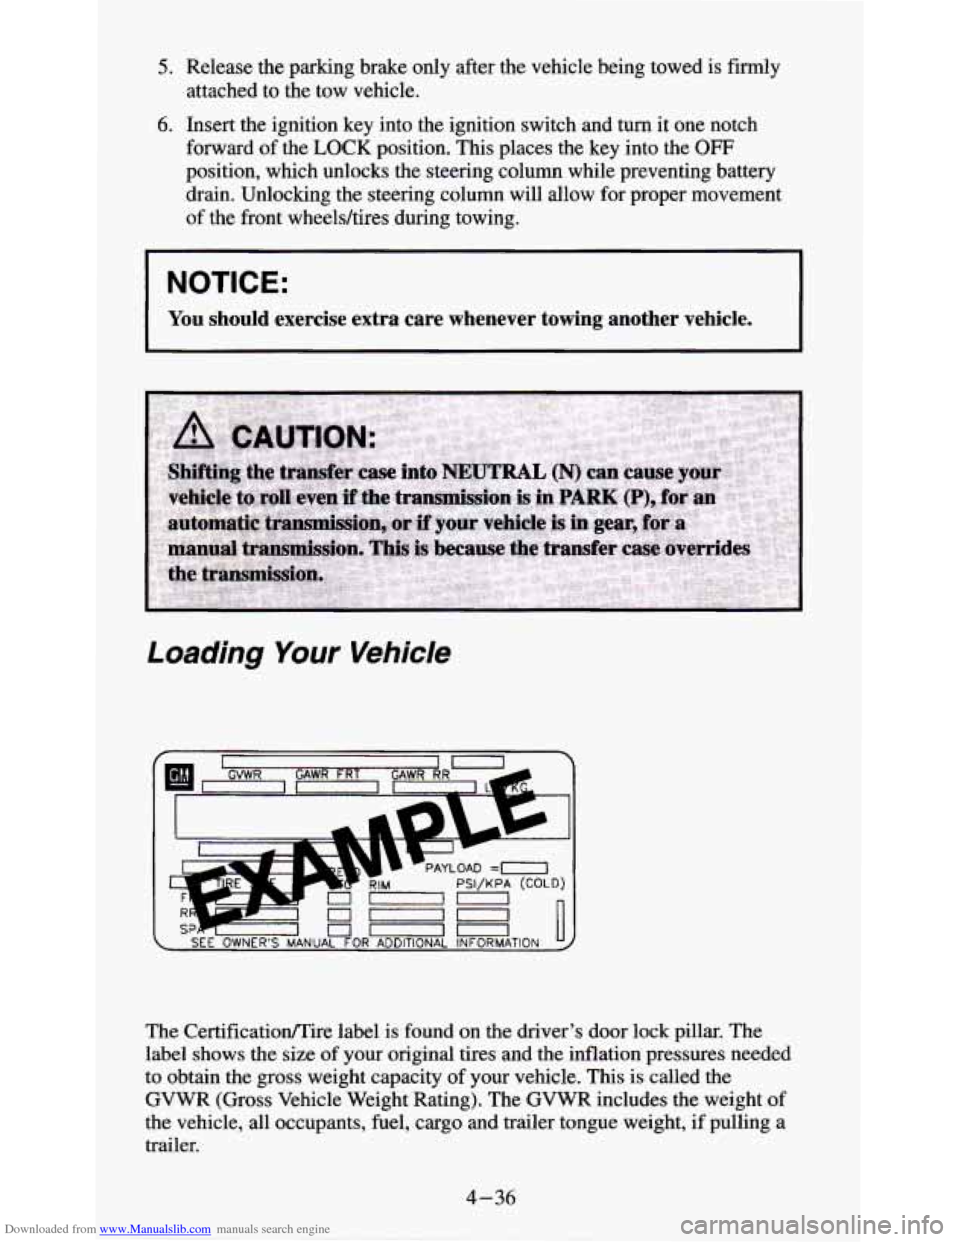
The Certificatioflire label is found on the driver’s door lock pillar. The
label shows the size of your original tires and the inflation pressures needed
to obtain the gross weight capacity of your vehicle. This is called the
GVWR (Gross Vehicle Weight Rating). The GVWR includes the weight of
the vehicle, all occupants, fuel, cargo and trailer tongue weight, if pulling a
trailer.
4-36