Page 99 of 386

Downloaded from www.Manualslib.com manuals search engine Installing the Roof Panel 3. Lower the roof panel onto the vehicle, rear edge first,
and place the rear guide pins into the holes in the
roof opening.
4. Lower the front of the roof panel, and align the front
guide pins.
5. Tighten the rear bolts part way.
I
_____~~
NOTICE:
If you tighten bolts that are improperly started,
the threads can become stripped. Be sure all bolts are properly started before you tighten them.
1. Park on a level surface, set the parking brake firmly
and shift an automatic transmission into
PARK (P).
Shift a manual transmission into REVERSE (R).
Lower both windows, turn the ignition key to LOCK
and move both sunshades to the side.
2. If the roof panel is stored in the rear area, remove it
by reversing the steps under “Storing the Roof
Panel” above.
6. Use the ratchet to start the front bolts. If the bolts are
hard to start, tighten the rear bolts some more.
Holding down the panel on the outside will also
help.
7. Fully tighten the rear bolts, then the front bolts.
If you hear a popping noise when you drive, the bolts
may not be tight enough. Be sure to tighten them
securely.
Page 108 of 386
Downloaded from www.Manualslib.com manuals search engine 1. Acceleration Slip Regulation (ASR) Switch
2. Side Window Defogger Vent
3. Side Air Vent
4. Turn SignaVHeadlamp Beam Lever
5. Tilt Lever
6. Instrument Cluster
7. Ignition Switch
8. Trip Monitor Controls
9. Solar Sensor
10. Center Air Vent
11. Driver Information Center
12. Comfort Controls
13. Fuse Panel
14.. Audio System
15. AshtrayLighterKupholder
16. Selective Ride Control (if equipped)
17. Power Seat Control (if equipped)
18. Shift Lever (automatic shown)
19. Horn
20. Main Lamp Control
21. Fog Lamp Switch
2-65
Page 133 of 386
Downloaded from www.Manualslib.com manuals search engine Convertible Top (Option)
The following procedures explain the proper operation
of your convertible top.
To Lower Your Convertible Top
NOTICE:
Don’t leave your convertible out with the top
down for any long periods of time. The sun and
the rain can damage your seat material and other
things inside your vehicle.
1. Park on a level surface, set the parking brake firmly
and shift an automatic transmission into
PARK (P).
Shift a manual transmission into
REVERSE (R).
Lower both windows and sunshades and turn the
ignition key
to LOCK.
NOTICE:
Before lowering the convertible top into the
storage area, be sure there are no objects in the
way of the folded, stored top. The weight
of a
stored top on items in the storage area may cause
the convertible top back glass to break.
2. Unlock the front of the convertible top by turning the
latch handles outward. Then lift the top
off the
windshield slightly.
2-90
Page 134 of 386
Downloaded from www.Manualslib.com manuals search engine I
n
3. Unfasten the strips at the rear of each window
4. Unfasten the lower, front corner of the top.
opening.
5. Tilt the driver's
seatback forward. The convertible
top release handle is behind the driver's seat beneath
the storage compartment lid. Pull the inside edge
of
the handle forward.
2-91
Page 136 of 386

Downloaded from www.Manualslib.com manuals search engine 7. Lower the rear of the top. Then lift the front with a
slow, smooth motion. Fold the top into the storage
compartment, making sure the fabric is folded
between bows.
NOTICE:
Do not lift the rear of the convertible top when
lowering the top into the storage compartment or damage to the top may occur.
8. After the top is completely folded into the
compartment, turn the-latch handles toward the
center of the vehicle. Close the storage compartment
lid by pushing the front edge down on each side.
Try
to lift the lid to make sure it’s latched.
When closing the storage compartment lid, make
sure the latch handles are turned back toward
the center
of the vehicle. If they aren’t, you may
damage the paint on the lid inner panel.
To Raise Your Convertible Top
1. Park on a level surface, set the parking brake firmly
and shift an automatic transmission into
PARK (P).
Shift a manual transmission into REVERSE (R).
Lower both windows and sunshades and turn the
ignition key to
LOCK.
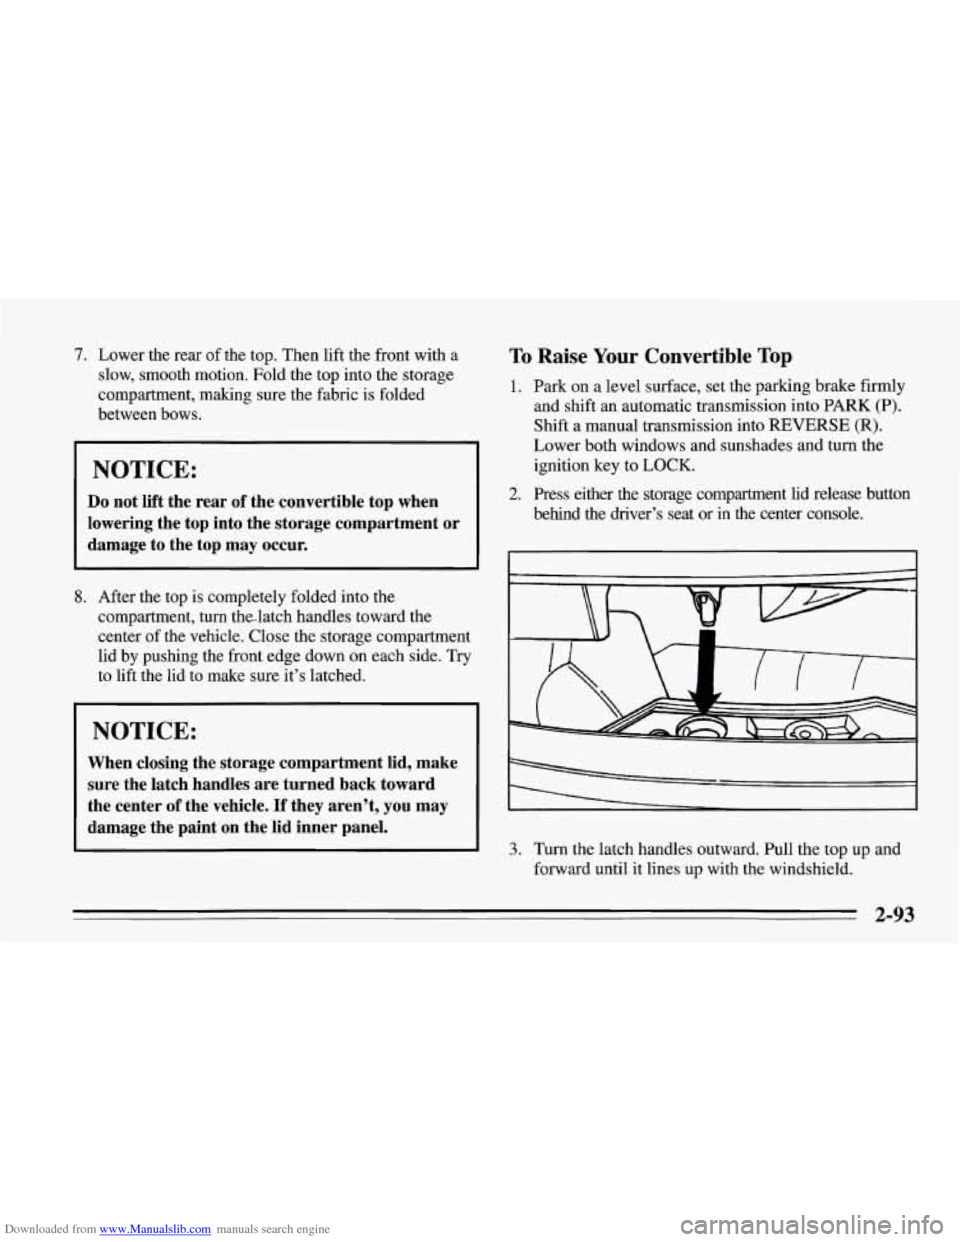
behind the driver’s seat or in the center console.
2. Press either the storage compartment lid release button
- II b-
3. Turn the latch handles outward. Pull the top up and
forward until it lines up with the windshield.
2-93
Page 137 of 386
Downloaded from www.Manualslib.com manuals search engine 4.
5.
Latch the top by turning the handles toward the
center of the vehicle.
If needed, push down on the
outside corners.
Lift the rear of the top and close the compartment lid
firmly.
6. Lower the rear of the top so the latch pins align with
the holes in the lid.
To secure the rear of the top,
push down firmly on both corners.
7. Fasten the strips for the headliner at the rear of each
window opening.
2-94
Page 139 of 386
Downloaded from www.Manualslib.com manuals search engine To Remove Your Convertible Hardtop
1. Park on a level surface, set the parking brake firmly
and shift the transmission into
NEUTRAL (N).
Lower both windows and sunshades and turn the
ignition key
off.
2. Loosen the front bolts with the wrench.
a k
3. Move both seatbacks forward and remove the rear
trim panel.
2-96
Page 141 of 386
Downloaded from www.Manualslib.com manuals search engine 8. Slide both lock pillar brackets down and forward
from the receiver brackets. You may need to lift the
hardtop slightly to remove the brackets.
9. Disconnect both wire connectors located behind the
lock pillar brackets. These
are the rear window
defogger wires.
10. With one person on each side, gently lift the hardtop
approximately
8 inches (200 mm) straight up.
Remove the hardtop over the rear of the vehicle.
11. Install the HATCH (45) fuse to enable the storage
compartment lid release button and center console
release switch. You will need the fuse installed
if
you have to raise your convertible top.
The fuse that enables these releases
is not installed
at the assembly plant and should be in your center
console. See "Instrument Panel Fuse Block" in the
Index for location
of the fuse when installing it.
I
2-98