Page 255 of 386
Downloaded from www.Manualslib.com manuals search engine Automatic Transmission Fluid
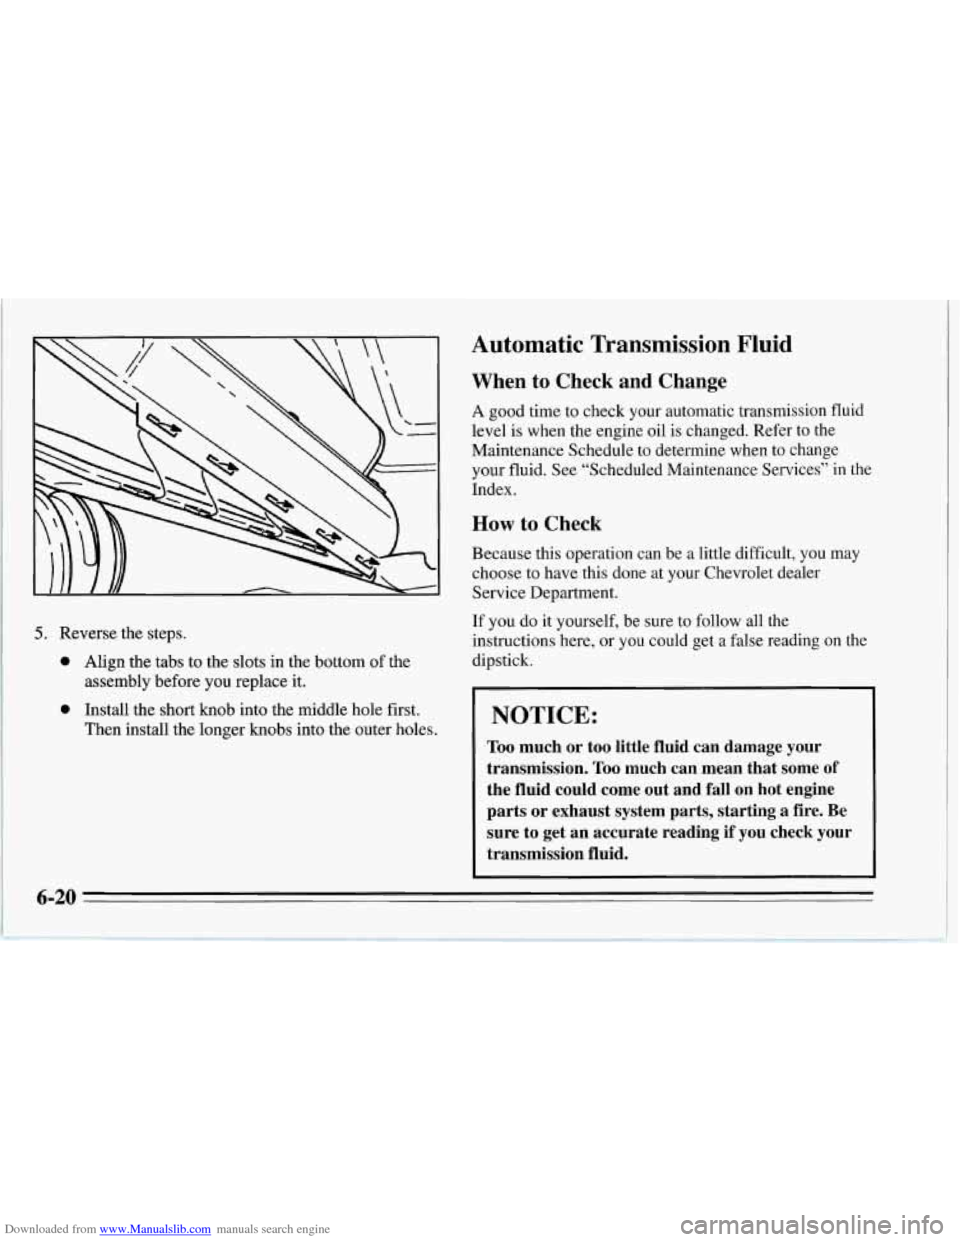
5. Reverse the steps.
0 Align the tabs to the slots in the bottom of the
0 Install the short knob into the middle hole first.
assembly before you
replace it.
Then install the longer knobs into the outer holes.
When to Check and Change
A good time to check your automatic transmission fluid
level is when the engine oil is changed. Refer to the
Maintenance Schedule to determine when to change
your fluid. See “Scheduled Maintenance Services” in the
Index.
How to Check
Because this operation can be a little difficult, you may
choose to have this done at your Chevrolet dealer
Service Department.
If you do it yourself, be sure to follow all the
instructions here, or you could get a false reading on the
dipstick.
I
I NOTICE:
Too much or too little fluid can damage your
transmission.
Too much can mean that some of
the fluid could come out and fall on hot engine
parts or exhaust system parts, starting a fire. Be sure to get an accurate reading if you check your
transmission fluid.
6-20
Page 257 of 386
Downloaded from www.Manualslib.com manuals search engine 2. Push it back in all the way, wait three seconds and
then pull it back out again.
3.
4.
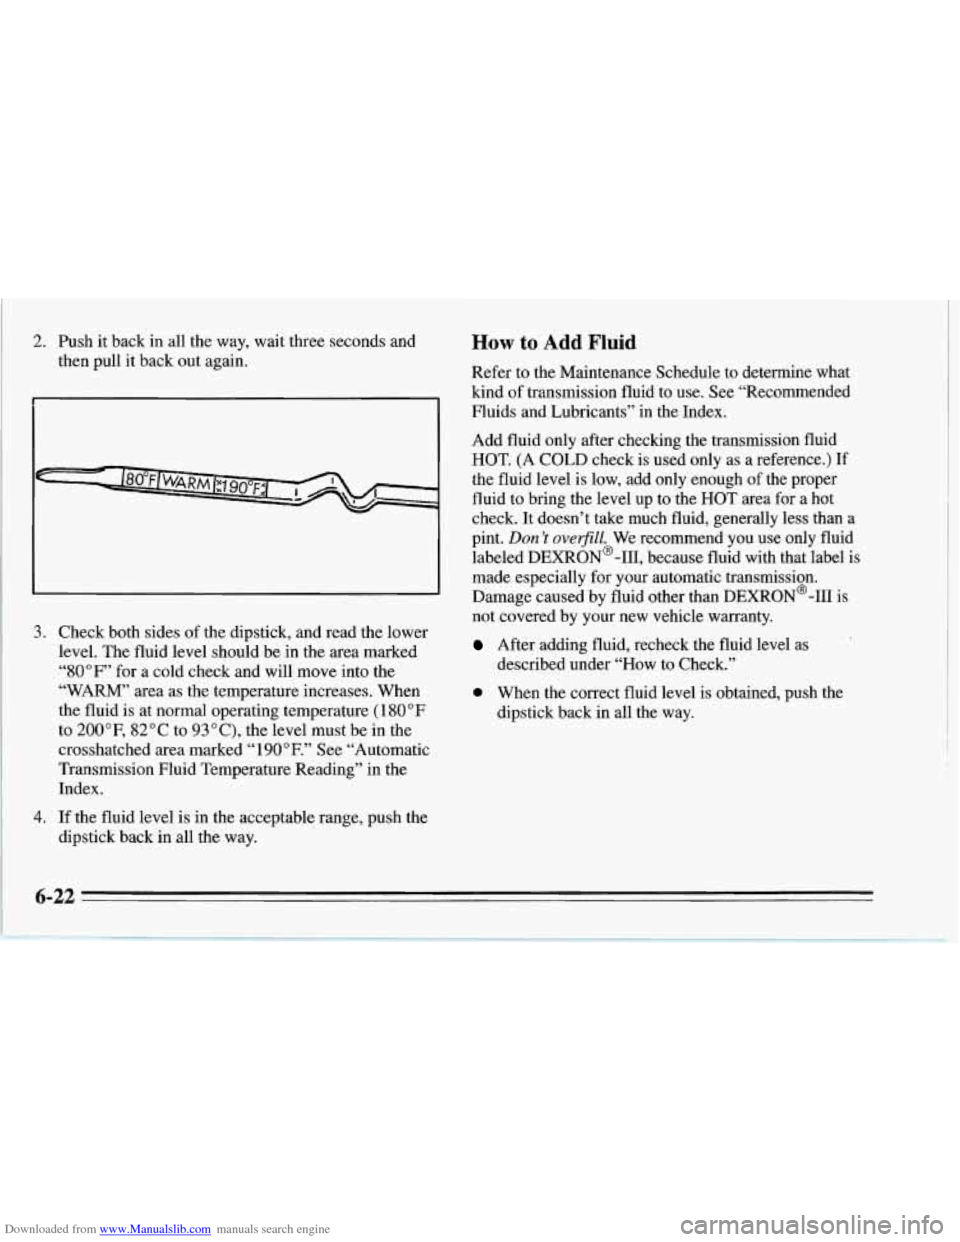
Check both sides of the dipstick, and read the lower
level. The fluid level should be in the area marked
“80°F” for a cold check and will move into the
“WARM”
area as the temperature increases. When
the fluid is at normal operating temperature
( 180 OF
to 200”F, 82°C to 93”C), the level must be in the
crosshatched area marked
“1 90°F.” See “Automatic
Transmission Fluid Temperature Reading” in the
Index.
If the fluid level is in the acceptable range, push the
dipstick back in all the way.
How to Add Fluid
Refer to the Maintenance Schedule to determine what
kind
of transmission fluid to use. See “Recommended
Fluids and Lubricants” in the Index.
Add fluid only after checking the transmission fluid
HOT.
(A COLD check is used only as a reference.) If
the fluid level is low, add only enough of the proper
fluid to bring the level up to the HOT area for a hot
check. It doesn’t take much fluid, generally less than a
pint.
Don ’t ove@ZZ. We recommend you use only fluid
labeled DEXRON@-111, because fluid with that label is
made especially for your automatic transmission.
Damage caused by fluid other than DEXRON@-I11 is
not covered by your new vehicle warranty.
After adding fluid, recheck the fluid level as
described under “How to Check.”
a When the correct fluid level is obtained, push the
dipstick back in all the way.
6-22
Page 259 of 386
Downloaded from www.Manualslib.com manuals search engine How to Add Fluid
Here’s how to add fluid. Refer to the Maintenance
Schedule to determine what kind of fluid to use. See
“Recommended Fluids and Lubricants” in the Index.
1. Remove the filler plug.
2. Add fluid at the filler plug hole. Add only enough
fluid to bring the fluid level up to the bottom
of the
filler plug hole.
3. Install the filler plug. Be sure the plug is fully seated.
Hydraulic Clutch
The clutch linkage in your vehicle is self-adjusting. The
clutch master cylinder reservoir is filled with hydraulic
clutch fluid.
It isn’t a good idea to “top
off’ your clutch fluid. Adding
fluid won’t correct a leak.
A fluid
loss in this system could indicate a problem.
Have
the system inspected and repaired.
When to Check and What to Use
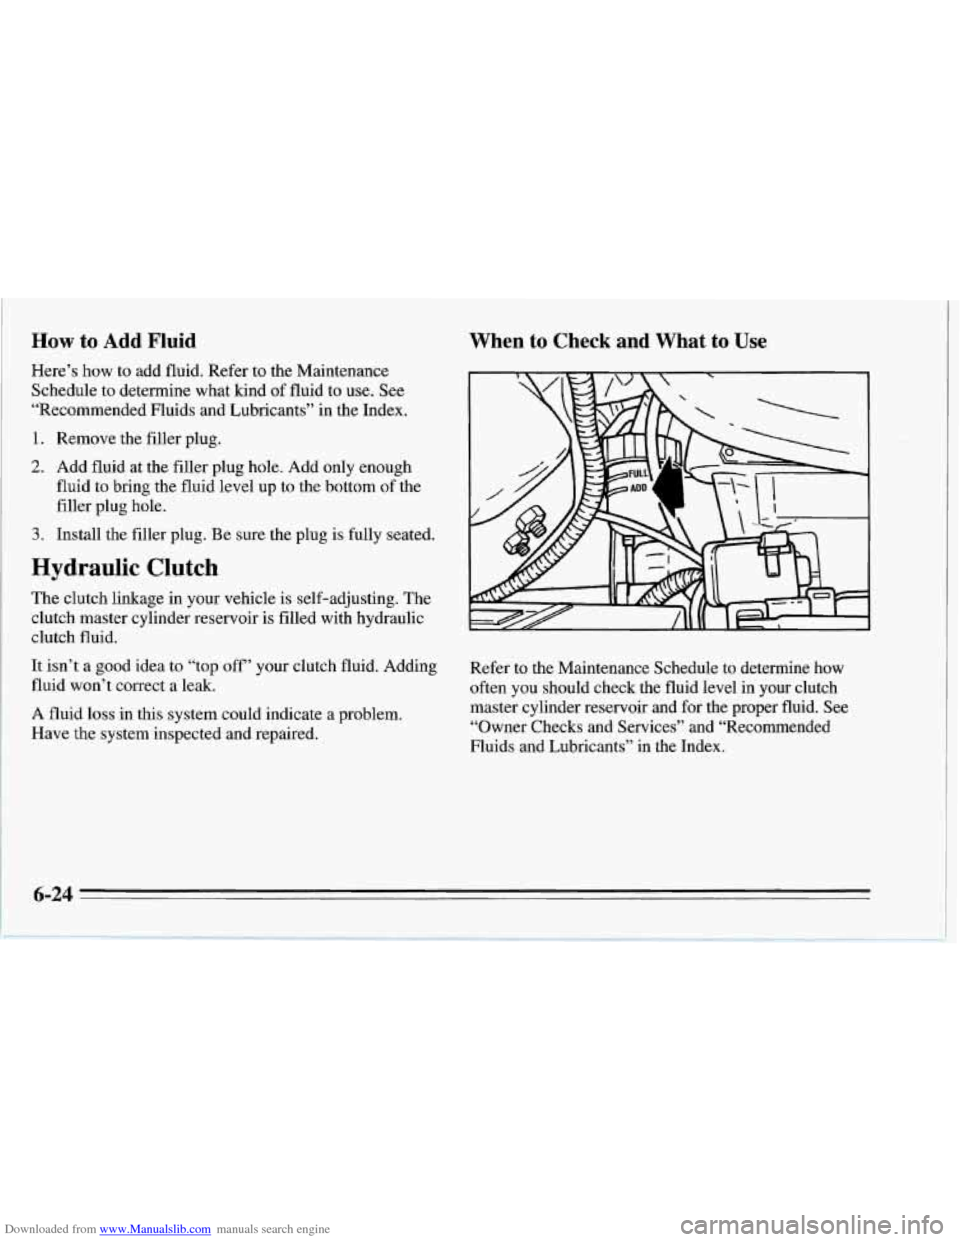
Refer to the Maintenance Schedule to determine how
often you should check the fluid level in
your clutch
master cylinder reservoir and for the proper fluid. See
“Owner Checks and Services” and “Recommended
Fluids and Lubricants” in the Index.
6-24
Page 261 of 386
Downloaded from www.Manualslib.com manuals search engine Rear Axle
Loosen the two inboard nuts on the unit. Move the ECM
unit to either side.
Fluid should be added if the fluid level is at or below the
ADD mark on the reservoir. There are additional
instructions on the reservoir cap.
When returning the
ECM to its proper position, make
sure the bolts are aligned with the slots in the bracket.
Then gently push down on the unit. When replacing the
unit, be careful not to over-tighten the nuts --just
tighten them until they are snug.
When to Check Lubricant
Refer to the Maintenance Schedule to determine how
often to check the lubricant. See “Periodic Maintenance
Inspections” in the Index.
How to Check Lubricant
If the level is below the bottom of the filler plug hole,
you’ll need to add some lubricant. Add enough lubricant
to raise the level to the bottom of the filler
plug hole.
6-26
Page 266 of 386
Downloaded from www.Manualslib.com manuals search engine What to Add
Refer to the Maintenance Schedule to determine what
kind of fluid to use. See “Recommended Fluids
and
Lubricants” in the Index.
NOTICE:
When adding power steering fluid or making a
complete fluid change, always use the proper
fluid. Failure to use the proper fluid can cause
leaks and damage hoses and seals.
Windshield Washer Fluid
What to Use
When you need windshield washer fluid, be sure to read
the manufacturer’s instructions before use. If you will be
operating your vehicle
in an area where the temperature
may fall below freezing, use a fluid that has sufficient
protection against freezing.
To Add
Open the cap labeled WASHER FLUID ONLY. Add
washer fluid until the tank is full.
6-31
Page 268 of 386
Downloaded from www.Manualslib.com manuals search engine your brake fluid. Adding brake fluid won’t correct a
leak. If you add fluid when your linings
are worn, then
you’ll have too much fluid when
you get new brake
linings. You should add (or remove) brake fluid, as
necessary, only when work is done on the brake
hydraulic system. On
vehicles equipped with the
LT5 (Code J) engine, the
brake warning light will come on when your brake fluid
falls to a low level. See “Brake System Warning Light”
in the Index.
For vehicles equipped with the
LT1 (Code P) engine,
refer to the Maintenance Schedule to determine when to
check your brake fluid. See “Periodic Maintenance
Inspections” in the Index.
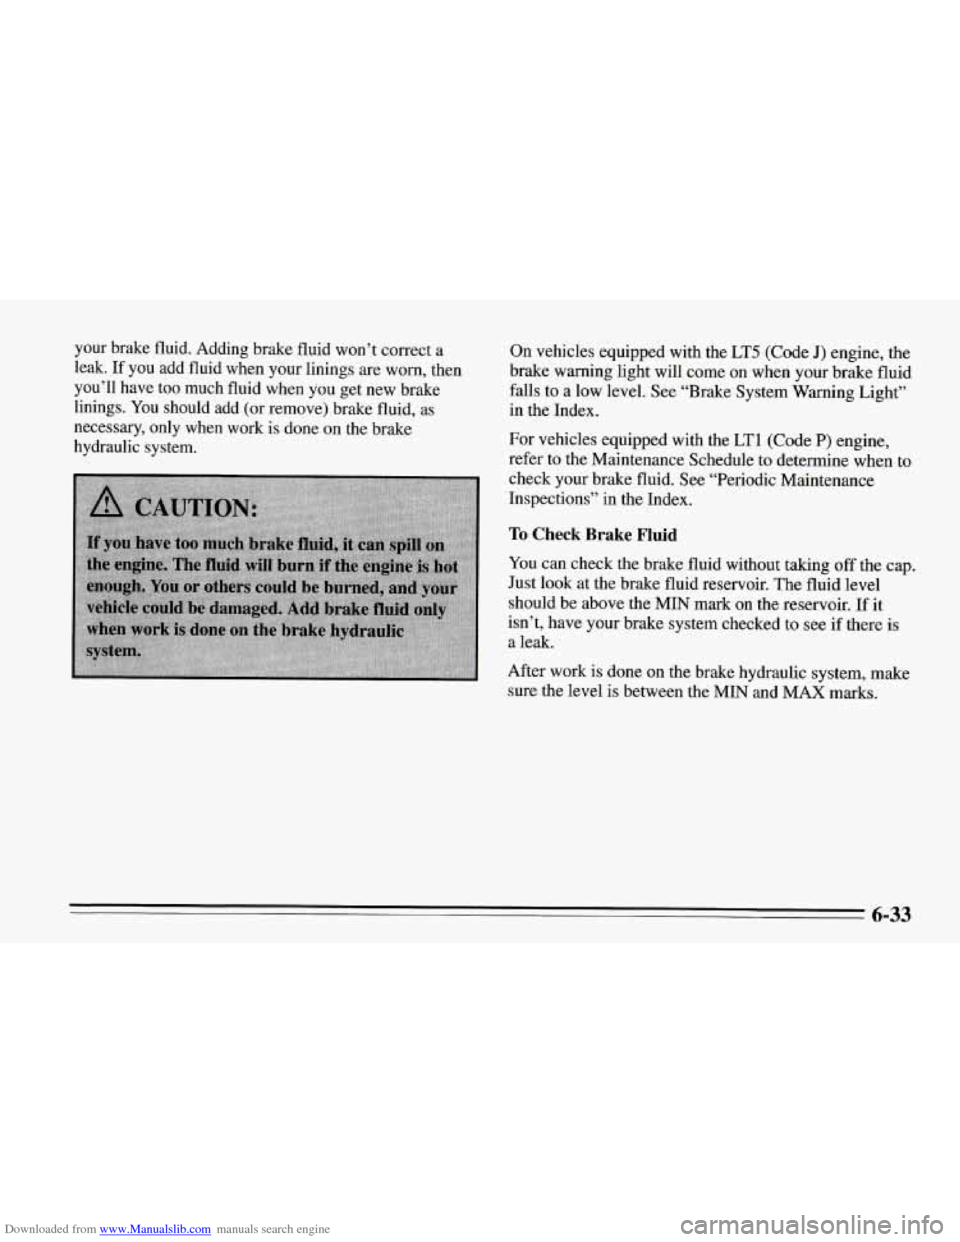
To Check Brake Fluid
You can check the brake fluid without taking off the cap.
Just look at the brake fluid reservoir.
The fluid level
should be above the MIN mark on the reservoir. If it
isn’t, have your brake system checked to see
if there is
a leak.
After work is done on the brake hydraulic system, make
sure the level is between the MIN and MAX
marks.
6-33
Page 299 of 386
Downloaded from www.Manualslib.com manuals search engine Finish Damage
Any stone chips, fractures or deep scratches in- the finish
should be repaired right away.
Minor chips and scratches can be repaired with touch-up
materials available from your dealer or other service
outlets. Larger areas of finish damage can
be corrected
in your dealer’s body and paint shop.
Underbody Maintenance
Chemicals used for ice and snow removal and dust
control can collect on the underbody.
If these are not
removed, accelerated corrosion (rust) can occur on the
underbody parts such as fuel lines, frame, floor pan, and
exhaust system even though they have corrosion
protection.
At least every spring, flush these materials from the
underbody with plain water. Clean any areas where mud
and other debris can collect. Dirt packed in closed areas
of the frame should be loosened before being flushed.
Your dealer or an underbody vehicle washing system
can do this for you.
Fiberglass Springs
NOTICE:
Don’t use corrosive or acidic cleaning agents, engine degreasers, aluminum cleaning agents or
other harsh solvents to clean fiberglass springs; they’ll damage the springs.
Chemical Paint Spotting
Some weather and atmospheric conditions can create a
chemical fallout. Airborne pollutants can fall upon and
attack painted surfaces on your vehicle. This damage
can take two forms: blotchy, ringlet-shaped
discolorations, and small irregular dark spots etched into
the paint surface.
Although
no defect in the paint job causes this, Chevrolet
will repair, at no charge to the owner, the surfaces
of
new vehicles damaged by this fallout condition within
1 2 months or 12,000 miles (20 000 km) of purchase,
whichever comes first.
6-64
Page 300 of 386
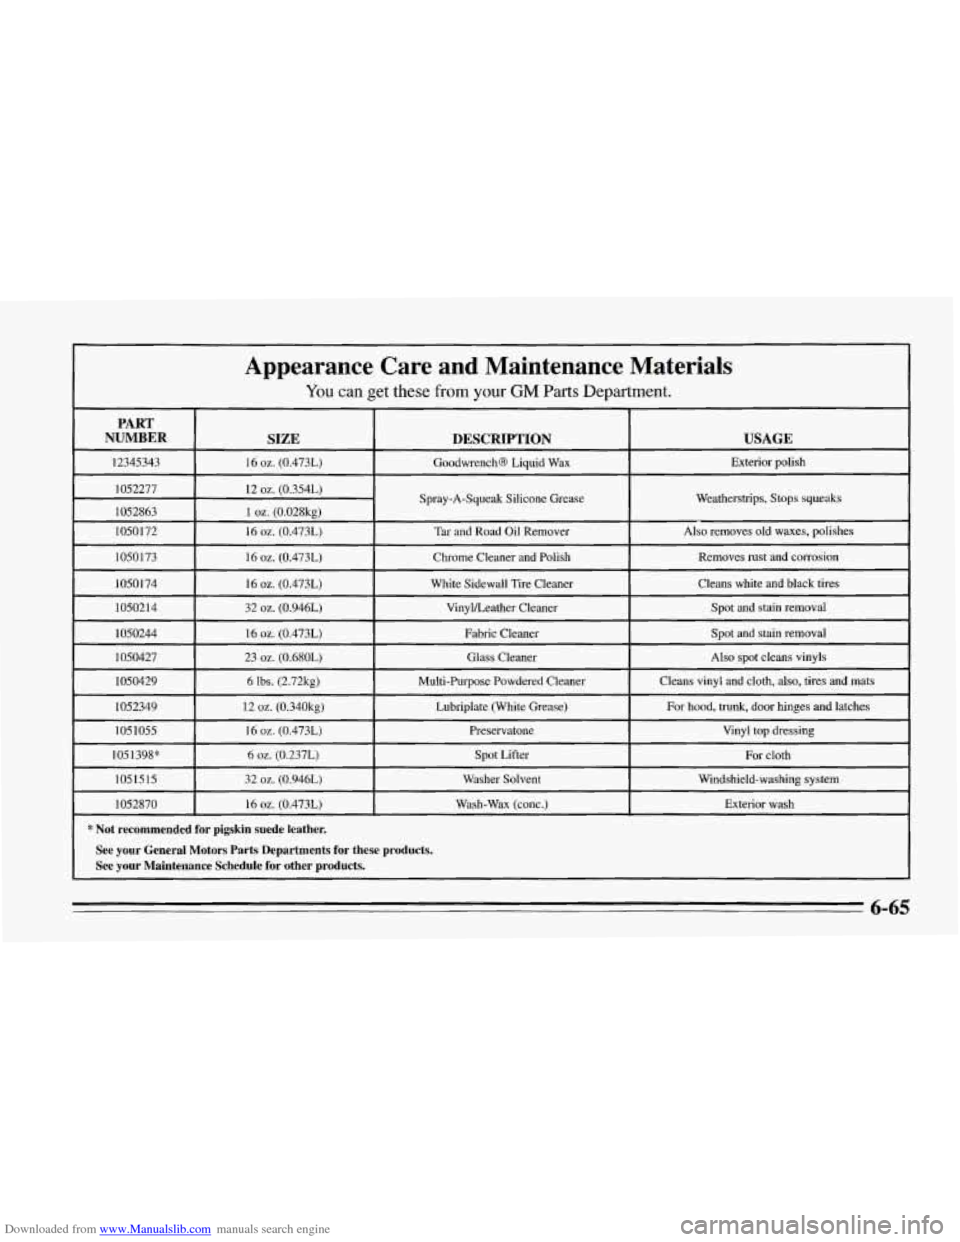
Downloaded from www.Manualslib.com manuals search engine Appearance Care and Maintenance Materials
You can get these from your GM Parts Department.
PART
NUMBER
DESCRIPTION
SIZE
USAGE
12345343
Exterior polish
GoodwrenchB Liquid
Wax
16 oz. (0.473L)
I052277
1052863 12
02. (0.354L)
Also removes old waxes, polishes Tar and Road Oil Remover
1050172 16 oz. (0.473L)
1
oz. (0.028kg)
Spray-A-Squeak Silicone Grease
Weatherstrips, Stops squeaks
1050173 Chrome Cleaner and Polish
16
oz. (0.473L)
VinyVLeather Cleaner
32
02. (0.946L)
1050214 Cleans white and black tires White Sidewall Tire Cleaner
16
oz. (0.473L)
10501 74 Removes rust and corrosion
~~
Spot and stain removal
1050244
Also spot cleans vinyls Glass Cleaner
23 oz. (0.680L)
1050427 Spot
and stain removal Fabric Cleaner
16
02. (0.473L)
1050429
6 lbs. (2.72kg) Multi-Purpose Powdered Cleaner
Lubriplate (White Grease)
12
oz. (0.340kg)
1052349 Cleans vinyl and
cloth,
also, tires and mats
Spot Lifter
6
oz. (0.237L)
1051398" Vinyl top dressing Preservatone
16
oz. (0.4731) 1051055
For hood, trunk, door hinges and latches
For cloth
1051515
Exterior wash
Wash-Wax (conc.)
16
oz. (0.4731)
1052870 Windshield-washing system
Washer Solvent
32
oz. (0.946L)
~ ~~
* Not recommended for pigskin suede leather.
See your General Motors Parts Departments for these products.
See your Maintenance Schedule for other products.
6-65