Page 240 of 388
Downloaded from www.Manualslib.com manuals search engine 3800 L36 (Code K) When you open the hood you’ll see:
1.
2.
3.
4.
5.
6.
7.
8.
9.
10.
11.
Battery
Engine Coolant Reservoir
Engine
Oil Dipstick
Automatic Transmission Dipstick
(if equipped)
Air Cleaner
Oil
Fill Cup
Brake Fluid Reservoir
Power Steering Reservoir
Windshield Washer Reservoir
Engine Fan
Clutch Fluid Reservoir
(if equipped)
6-8
Page 241 of 388
Downloaded from www.Manualslib.com manuals search engine 3.4L L32 (Code S) When you open the hood you’ll see:
1.
2.
3.
4.
5.
6.
7.
8.
9.
10.
11.
Battery
Engine Coolant Reservoir
Engine Oil Dipstick
Automatic Transmission Dipstick (if equipped)
Air Cleaner
Oil Fill Cap
Brake Fluid Reservoir
Power Steering Reservoir
Windshield Washer Reservoir
Engine Fan
Clutch Fluid Reservoir (if equipped)
6-9
Page 242 of 388
Downloaded from www.Manualslib.com manuals search engine 5.7L LT1 (Code P) When you open the hood you’ll see:
1.
2.
3.
4.
5.
6.
7.
8.
9.
10.
11.
Battery
Engine Coolant Reservoir
Engine Oil Dipstick
Automatic Transmission Dipstick (if equipped)
Air Cleaner
Oil Fill Cap
Brake Fluid Reservoir
Power Steering Reservoir
Windshield Washer Reservoir
Engine Fans
Clutch
Fluid Reservoir (if equipped)
Page 254 of 388

Downloaded from www.Manualslib.com manuals search engine To get the right reading, the fluid should be at normal
operating temperature, which
is 180°F to 200°F
(82°C to 93°C).
To
check transmission fluid hot: Get the vehicle
warmed up by driving about
15 miles (24 km) when
outside temperatures are above
50°F (10°C).
If it's colder than
50°F (10°C) drive the vehicle in
DRIVE (D) until the engine temperature gage moves
and then remains steady for ten minutes. Then follow
the hot check procedures.
To check transmission fluid cold: A cold check is
made after the vehicle has been sitting for eight hours or
more with
the engine off and is used only as a reference.
Let the engine run at idle for five minutes
if outside
temperatures are
50°F (10°C) or more. If it's colder
than
50°F (lO"C), you may have to idle the engine
longer. Should the fluid level be low during
a cold
check,
you must perform a hot check before adding
fluid. This will give you a more accurate reading
of the
fluid level.
To check the fluid hot or cold:
Park your vehicle on a level place. Keep the engine
running.
With the parking brake applied, place the shift lever
in PARK (P).
With your foot on the brake pedal, move the shift
lever through each gear range, pausing for about
three seconds
in each range. Then, position the shift
lever
in PARK (P).
Let the engine run at idle for three minutes or more.
Then, without shutting off the engine, follow these steps:
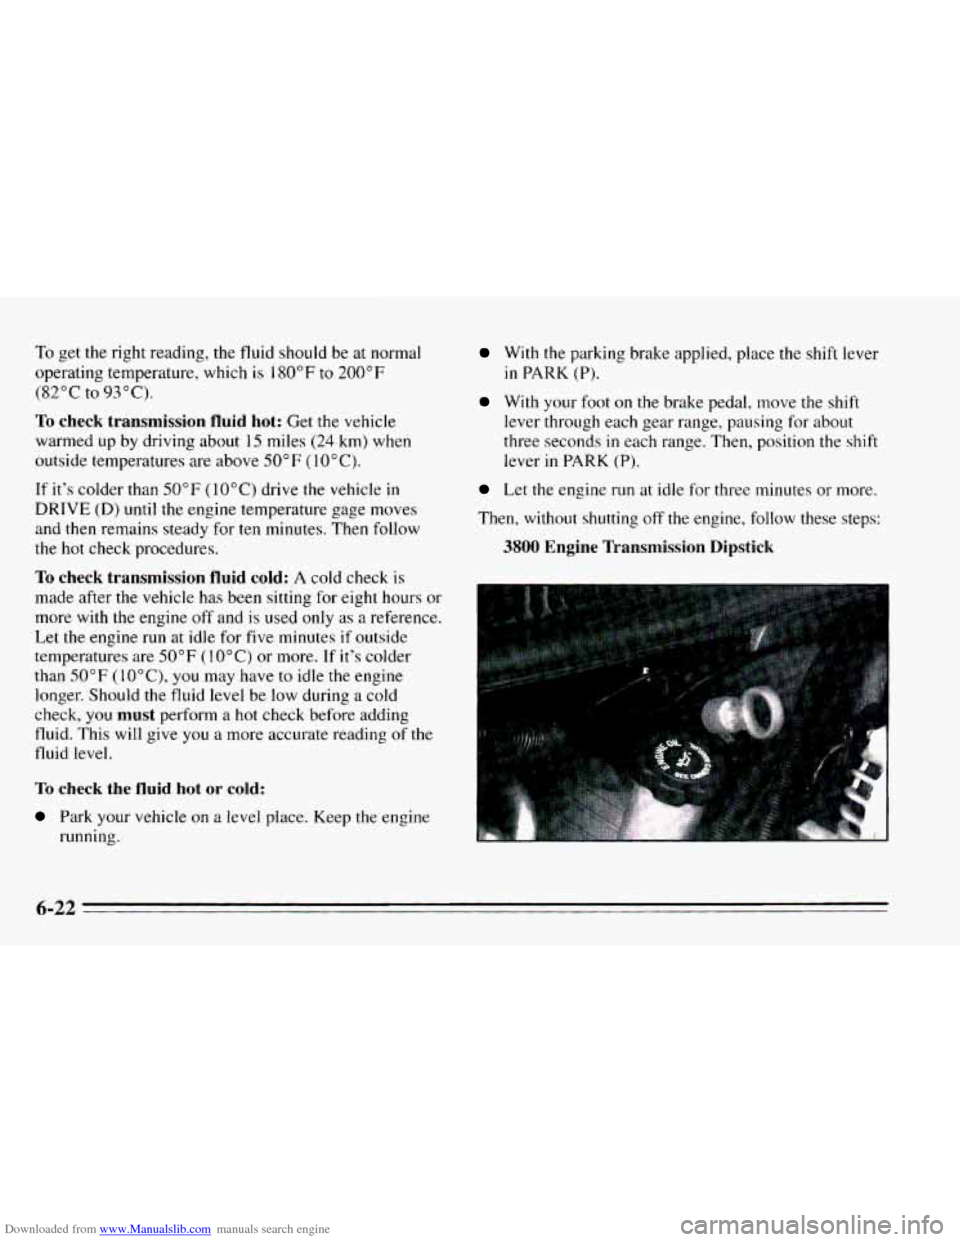
3800 Engine Transmission Dipstick
6-22
Page 266 of 388

Downloaded from www.Manualslib.com manuals search engine NOTICE:
When using concentrated washer fluid,
follow the manufacturer’s instructions for
adding water.
Don’t mix water with ready-to-use washer
fluid. Water can cause the solution to freeze
and damage your washer fluid tank and
other parts
of the washer system. Also,
water doesn’t clean
as well as washer fluid.
0 Fill your washer fluid tank only 314 full
when it’s very cold. This allows for
expansion, which could damage the tank if
it is completely full.
windshield washer. It can damage your
washer system and paint.
Don’t use radiator antifreeze in your
Brakes
Brake Master Cylinder
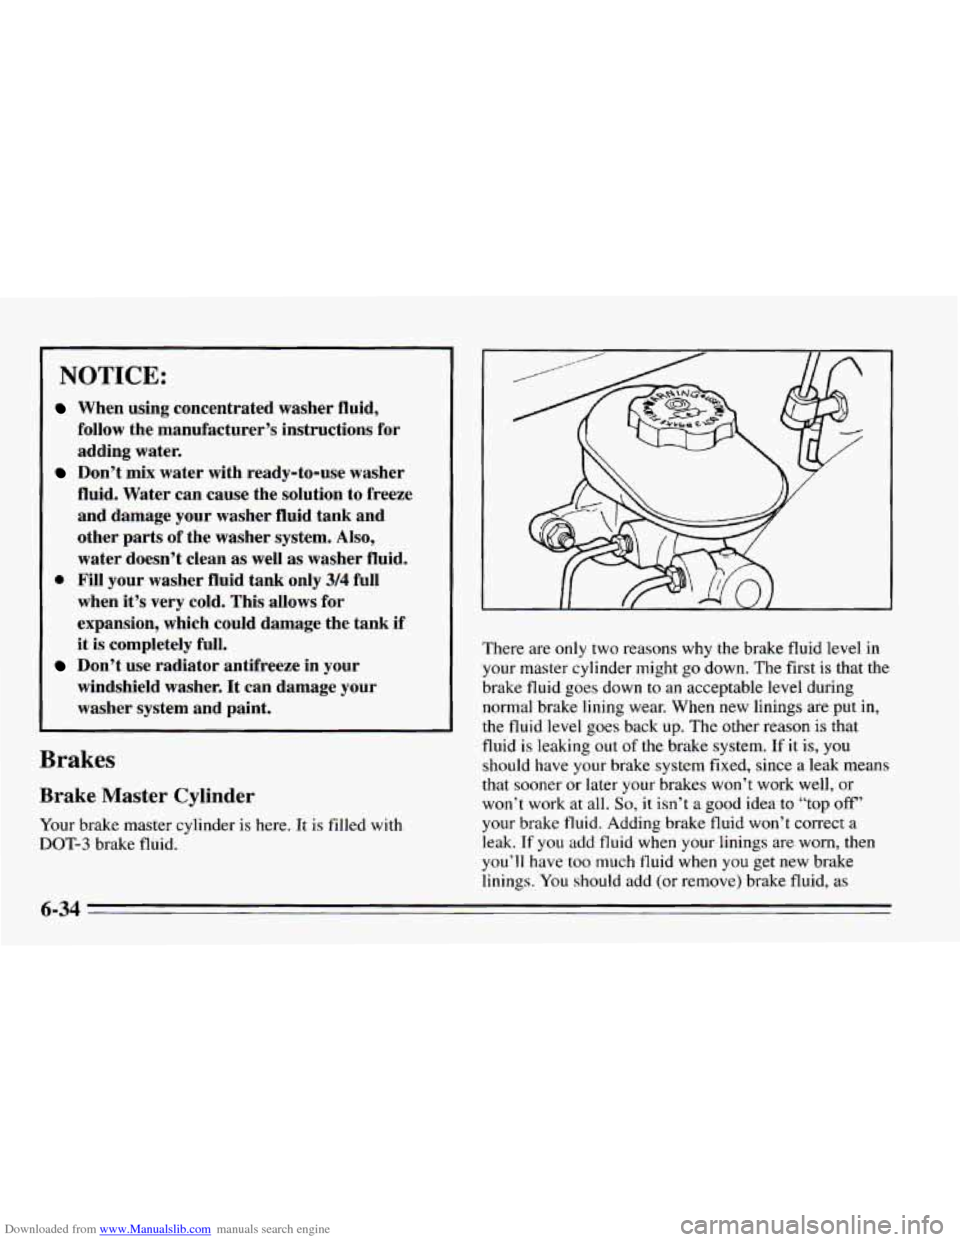
Your brake master cylinder is here. It is filled with
DOT-3 brake fluid. There
are only two reasons why the brake
fluid level in
your master cylinder might go down. The first is that the
brake fluid goes down
to an acceptable level during
normal brake lining wear. When new linings are put in,
the fluid level goes back up. The other reason
is that
fluid is leaking out
of the brake system. If it is, you
should have your brake system fixed, since a leak means
that sooner or later your brakes won’t work well, or
won’t work at all.
So, it isn’t a good idea to “top off’
your brake fluid. Adding brake fluid won’t correct a
leak.
If you add fluid when your linings are worn, then
you’ll have too much fluid when you get new brake
linings. You should add (or remove) brake fluid,
as
6-34
Page 267 of 388
Downloaded from www.Manualslib.com manuals search engine necessary, only when work is done on the brake
hydraulic system.
Refer to the Maintenance Schedule to determine when
to
check your brake fluid. See “Periodic Maintenance
Inspections’’ in the Index.
To Check Brake Fluid
You can check the brake fluid without taking off the cap.
Just look at the brake fluid reservoir.
The fluid level should
be above the plastic seam in the reservoir.
If it isn’t, have
your brake system checked to see if there is a leak.
After work
is done on the brake hydraulic system, make
sure the level
is above the plastic seam, near the base of
the filler neck.
6-35
Page 268 of 388

Downloaded from www.Manualslib.com manuals search engine What to Add
When you do need brake fluid, use only DOT-3 brake
fluid
-- such as Delco Supreme II@ (GM Part
No. 1052535). Use new brake fluid from a sealed
container only, and always clean the brake fluid
reservoir cap before removing it.
I NOTICE:
Don’t let someone put in the wrong kind of
fluid. For example, just a few drops of
mineral-based oil, such
as engine oil, in
your brake system can damage brake
system parts
so badly that they’ll have to be
replaced.
Brake fluid can damage paint, so be careful
not
to spill brake fluid on your vehicle. If
you do, wash it off immediately. See
“Appearance Care” in the Index.
Brake Wear
Unless you have the four-wheel disc brake option, your
Chevrolet has front disc brakes and rear
drum brakes.
Disc brake pads have built-in wear indicators that make
a
high-pitched warning sound when the brake pads are
worn and new pads are needed. The sound may come and
go or be heard all the time your vehicle is moving (except
when
you are pushing on the brake pedal firmly).
NOTICE:
Continuing to drive with worn-out brake pads
could result in costly brake repair.
6-36
Page 269 of 388

Downloaded from www.Manualslib.com manuals search engine Some driving conditions or climates may cause a brake
squeal when the brakes are first applied or lightly
applied. This does not mean something is wrong with
your brakes.
If you have rear drum brakes, they don’t have wear
indicators, but
if you ever hear a rear brake rubbing
noise, have the rear brake linings inspected. Also, the
rear brake drums should be removed and inspected each
time the tires are removed for rotation or changing.
When you have the front brakes replaced, have the rear
brakes inspected, too.
Brake linings should always be replaced as complete
axle sets.
Brake Pedal Travel
See your dealer if the brake pedal does not return to
normal height, or
if there is a rapid increase in pedal
travel. This could be
a sign of brake trouble.
Brake Adjustment
Every time you make a moderate brake stop, your disc
brakes adjust for wear. If you rarely make a moderate or
heavier stop, then your brakes might not adjust correctly.
If you drive in that way, then -- very carefully -- make
a few moderate brake stops about every 1,000
miles
(1600 km), so your brakes will adjust properly. If
your brake pedal goes down farther than normal, your
rear drum brakes may need adjustment. Adjust them by
backing up and firmly applying the brakes a few times.
Replacing Brake System Parts
The braking system on a modern vehicle is complex.
Its many parts have: to be of top quality and work well
together if the vehicle is to have really good braking.
Vehicles we design and test have top-quality
GM brake
parts in them, as your Chevrolet does when it is new.
When
you replace parts of your braking system -- for
example, when your brake linings wear down and you
have to have new ones put
in -- be sure you get new
genuine
GM replacement parts. If you don’t, your
brakes may no longer work properly. For example,
if
someone puts in brake linings that are wrong for your
vehicle, the balance between your front and rear brakes
can change
-- for the worse. The braking performance
you’ve come
to expect can change in many other ways if
someone puts in t+ wrong replacement brake parts.