1995 CHEVROLET ASTRO CARGO VAN Flat
[x] Cancel search: FlatPage 5 of 342
Downloaded from www.Manualslib.com manuals search engine Table of Contents
Introduction - How to Use this Manual
This section tells you how to use your manual and includes safety
and vehicle damage warnings and symbols.
Section 1 - Seats and Restraint Systems
This section tells you how to use your seats and safety belts
properly. It also explains the air bag system.
Section 2 - Features & Controls
This section explains how to start and operate your vehicle.
Section 3 - Comfort Controls & Audio Systems
This section tells you how to adjust the ventilation and comfort
controls and how
to operate your audio system.
Section 4 - Your Driving and the Road
Here you’ll find helpful information and tips about the road and
how
to drive under different conditions.
Section 5 - Problems on the Road
This section tells you what to do if you have a problem while
driving, such as a flat tire or engine overheating, etc.
Section 6- Service & Appearance Care
Here the manual tells you how to keep your vehicle running
properly and looking good.
Section 7 - Maintenance Schedule
This section. tells you when to perform vehicle maintenance and
what fluids and lubricants to use.
Section 8 - Customer Assistance Information
This section tells you how to contact GM for assistance and how to
get service publications. It also gives you information on
“Reporting Safety Defects” on page
8-4.
Index
Here’s an alphabetical listing of almost every subject in this
manual. You can use
it to quickly find something you want to read.
1
Page 22 of 342
Downloaded from www.Manualslib.com manuals search engine 3. Attach the quick release latch plate to the buckles in the roof. If you are
installing the center seat, colinect the right lap-shoulder belt to the
attachment on the seat cushion.
If you have a safety belt guide on your
seat, pull the belt through the guide before reattaching the lap-shoulder
belt to the side
of the seat. The release hole should be facing outward.
NOTICE:
Be sure to put the correct seats back in the proper positions so
the safety belts will work properly.
If you installed the safety belt with the release hole facing inward
(toward the seat), slide the plastic cover up
so you can see the buckle.
Disconnect the seat belt. Slide the cover back down and reinstall the
belt correctly.
Head Restraints
Head restraints are fixed on some models and adjustable on others. Slide an
adjustable head restraint up
or down so that the top of the restraint is closest
to the top of your ears. This position reduces the chance of a neck injury in a
crash.
Safety Belts: They’re for Everyone
This part of the manual tells you how to use safety belts properly. It also
tells you some things you should not do with safety belts.
And it explains the Supplemental Inflatable Restraint,
or “air bag” system.
1-10
Page 35 of 342
Downloaded from www.Manualslib.com manuals search engine A CAUTION:
Don’t put anything on, or attach anything to, the steering wheel.
Also, don’t put anything (such
as pets or objects) between the
driver and the steering wheel. If something is between an
occupant
and an air bag, it could affect the performance of the
air bag
- or worse, it could cause injury.
When should an air bag inflate?
The air bag is designed to inflate in moderate to severe frontal or
near-frontal crashes. The air bag will inflate
only if the impact speed is
above the system’s designed “threshold level.” If your vehicle goes straight
into a wall that doesn’t move or deform, the threshold level is about
11 to 16
mph (1 8 to 26 kdh). The threshold level can vary, however, with specific
vehicle design,
so that it can be somewhat above or below this range. If your
vehicle strikes something that will move or deform, such as a parked car, the
threshold level will be higher.
The air bag is not designed to inflate in
rollovers, side impacts, or rear impacts, because inflation would not help
the
occupant.
In any particular crash,
no one can say whether an air bag should have.
inflated simply because of the damage to a vehicle or because
of what the
repair costs were. Inflation is determined by
the angle of the impact and the
vehicle’s deceleration. Vehicle damage is
only one indication of this.
What makes an air bag inflate?
In a frontal impact of sufficient severity, the air bag sensing system detects
that the vehicle
is suddenly stopping as a result of a crash. The sensing
system triggers a chemical reaction of the sodium azide sealed in the
inflator. The reaction produces nitrogen gas, which inflates
the air bag. The
inflator, air bag, and related hardware are all part of the air bag module
packed inside the steering wheel.
How does an air bag restrain?
In moderate to severe frontal or near-frontal collisions, even belted
occupants can contact the steering wheel.
The air bag supplements the
protection provided by safety belts. Air bags distribute the force
of the
impact more evenly over the occupant’s upper body, stopping the occupant
more gradually.
But air bags would not help you in many types of collisions,
including rollovers and rear and side impacts, primarily because an
occupant’s motion is
not toward the air bag. Air bags should never be
regarded as anything more than a supplement
to safety belts, and then only
in moderate to severe frontal or near-frontal collisions.
1-23
Page 36 of 342
Downloaded from www.Manualslib.com manuals search engine What will you see after an air bag inflates?
After the air bag inflates, it quickly deflates. This occurs so quickly that
some people
may not even realize the air bag inflated. Some components of
the air bag module in the steering wheel hub will be hot for a short time, but
the part of the bag that comes into contact with
you will not be hot to the
touch. There will be some smoke coming from vents in the deflated air bag.
Air bag inflation will not prevent the driver from seeing or from being able
to steer the vehicle, nor will
it stop people from leaving the vehicle.
A CAUTION:
When an air bag inflates, there is dust in the air. This dust could
cause breathing problems for people with
a history of asthma or
other breathing trouble. To avoid this, everyone in the vehicle
should get out
as soon as it is safe to do so. If you have breathing
problems but can’t get out
of the vehicle after an air bag inflates,
then get fresh
air by opening a window or door.
The air bag is designed to inflate only once. After it inflates, you’ll
need some new parts for your air bag system. If you don’t get them, the
air bag system won’t be there
to help protect you in another crash. A
new system will include the air bag module and possibly other parts.
The service manual for your vehicle covers the need to replace other
parts
.
Your vehicle is equipped with a diagnostic module, which records
information about the air bag system. The module records information
about the readiness of the system, when the sensors are activated and
driver’s safety belt usage at deployment.
Let only qualified technicians work on your air bag system. Improper
service can mean that your air bag system won’t work properly. See
your dealer
for service.
NOTICE:
If you damage the cover of the driver’s facial air bag, it may not
work properly. You may have to replace the air bag module.
Do
not open or break the air bag cover.
1-24
Page 37 of 342
Downloaded from www.Manualslib.com manuals search engine Servicing Your Facial Air Bag-Equipped Vehicle
The facial air bag affects how your vehicle should be serviced. There are
parts of the air bag system in several places around your vehicle. You don’t
want the system to inflate while someone is working
on your vehicle. Your
GM dealer and
the 1995 GM Service Manual have information about
servicing your vehicle and the air bag system.
To purchase a service manual,
see “Service Publications”
in the Index. The air bag system does not need
regular maintenance.
Adding Equipment to Your Facial Air Bag-Equipped
Vehicle
0: If I add a push bumper or a bicycle rack to the front of my vehicle,
will it keep the air bag
from working properly?
A: As long as the push bumper or bicycle rack is attached to your vehicle
so that the vehicle’s basic structure isn’t changed, it’s not likely to keep
the air bags from working properly in a crash.
Q: Is there anything I might add to the front of the vehicle that could
keep the air bag from working properly?
A: Yes. If you add things that change your vehicle’s frame, bumper
system, front end sheet metal or height, they may keep the air bag
system from working properly. Also, the air bag system may not work
properly if
you relocate any of the air bag sensors. If you have any
question about this,
you should contact Customer Assistance before
you modify your vehicle. (The phone numbers and addresses for
Customer Assistance are
in Step Two of the Customer Satisfaction
Procedure in this manual. See “Customer Satisfaction Procedure” in
the Index
.)
1-25
Page 155 of 342
Downloaded from www.Manualslib.com manuals search engine Before Leaving on a Long Trip
Make sure you’re ready. Try to be well rested. If you must start when you’re
not fresh
- such as after a day’s work - don’t plan to make too many
miles that first
part of the journey. Wear comfortable clothing and shoes you
can easily drive in.
Is your vehicle ready for a long trip?
If you keep it serviced and maintained,
it’s ready to go. If it needs service, have it done before starting out. Of
course, you’ll find experienced and able service experts in
GM dealerships
all across North America. They’ll be ready and willing to help if you need
it.
Here are some things you can check before a trip:
Windshield Washer Fluid: Is the reservoir full? Are all windows clean
inside and outside?
Wiper Blades: Are they in good shape?
0 Fuel, Engine Oil, Other Fluids: Have you checked all levels?
0 Lights: Are they all working? Are the lenses clean?
Tires: They are vitally important to a safe, trouble-free trip. Is the tread
good enough for long-distance driving? Are the tires all inflated to the
recommended pressure?
Should you delay your trip a short time to avoid a major storm system?
Weather Forecasts: What’s the weather outlook along your route?
Maps: Do you have up-to-date maps?
High way Hypnosis
Is there actually such a condition as “highway hypnosis”? Or is it just plain
falling asleep at the wheel? Call it highway hypnosis, lack
of awareness, or
whatever.
There is something about an easy stretch of road with the same scenery,
along with the hum
of the tires on the road, the drone of the engine, and the
rush of the wind against the vehicle that can make you sleepy. Don’t let it
happen to you! If it does, your vehicle can leave the road in
less than a
second, and you could crash and be injured.
What can you do about highway hypnosis? First, be aware that it can
happen.
4- 17
Page 156 of 342
Downloaded from www.Manualslib.com manuals search engine Then here are some tips:
Make sure your vehicle is well ventilated, with a comfortably cool
Keep your eyes moving. Scan the road ahead and to the sides. Check
If you get sleepy, pull off the road into a rest, service, or parking area
interior.
your mirrors
and your instruments frequently.
and take a nap, get some exercise, or both. For safety, treat drowsiness
on the highway as an emergency.
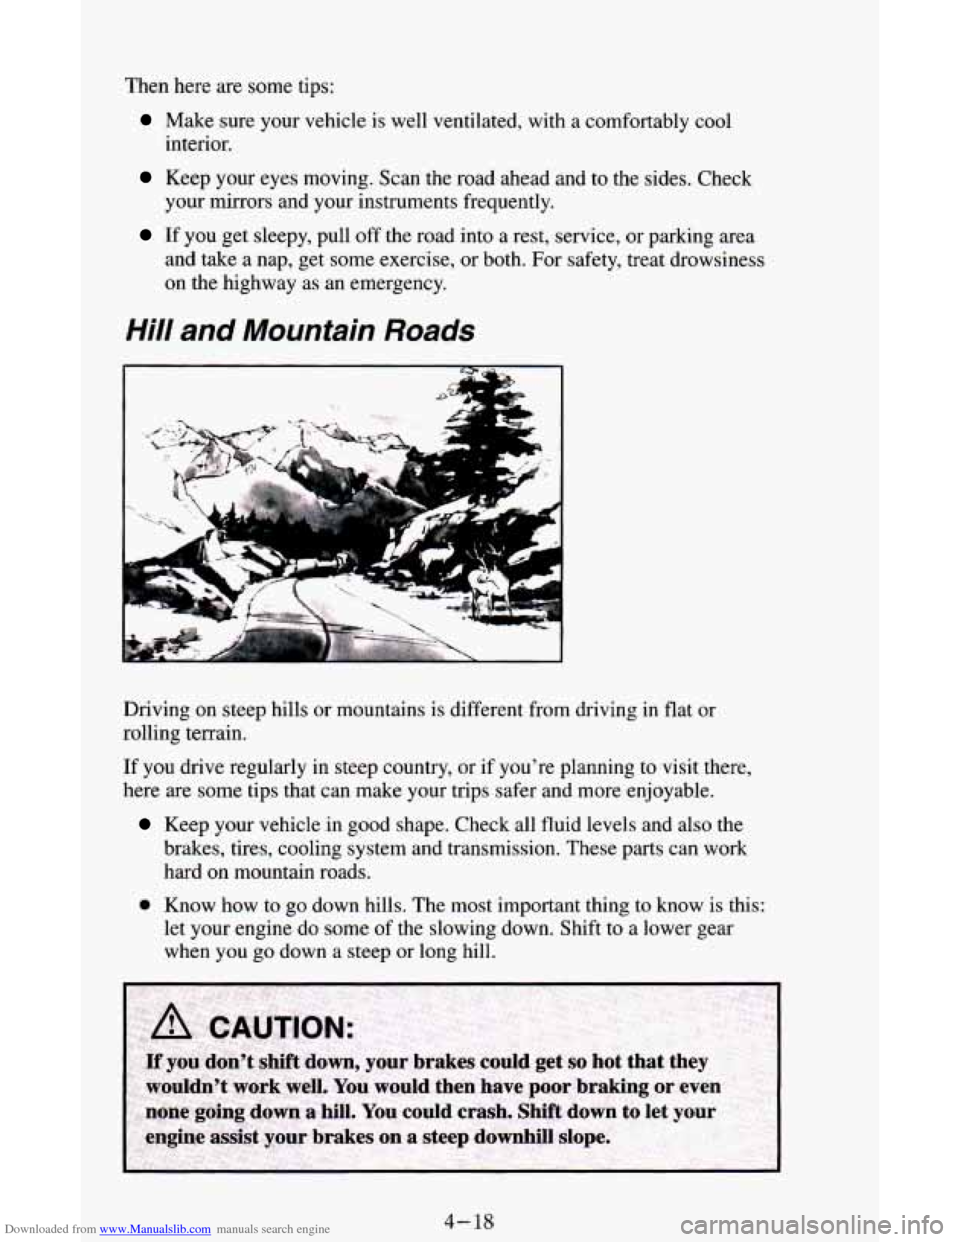
Hill and Mountain Roads
Driving on steep hills or mountains is different from driving in flat or
rolling terrain.
If you drive regularly in steep country, or if you’re planning to visit there,
here are some tips that can make your trips safer and more enjoyable.
Keep your vehicle in good shape. Check all fluid levels and also the
brakes, tires, cooling system and transmission. These parts can work
hard on mountain roads.
0 Know how to go down hills. The most important thing to know is this:
let your engine
do some of the slowing down. Shift to a lower gear
when you go down
a steep or long hill.
4- 18
Page 161 of 342
Downloaded from www.Manualslib.com manuals search engine Loading Your Vehicle
PAYLOAD =-I
PSI/KPA (COLD)
-0
-0 < SEE OWNER'S MANUAL FOR ADDITIONAL INFORMATION
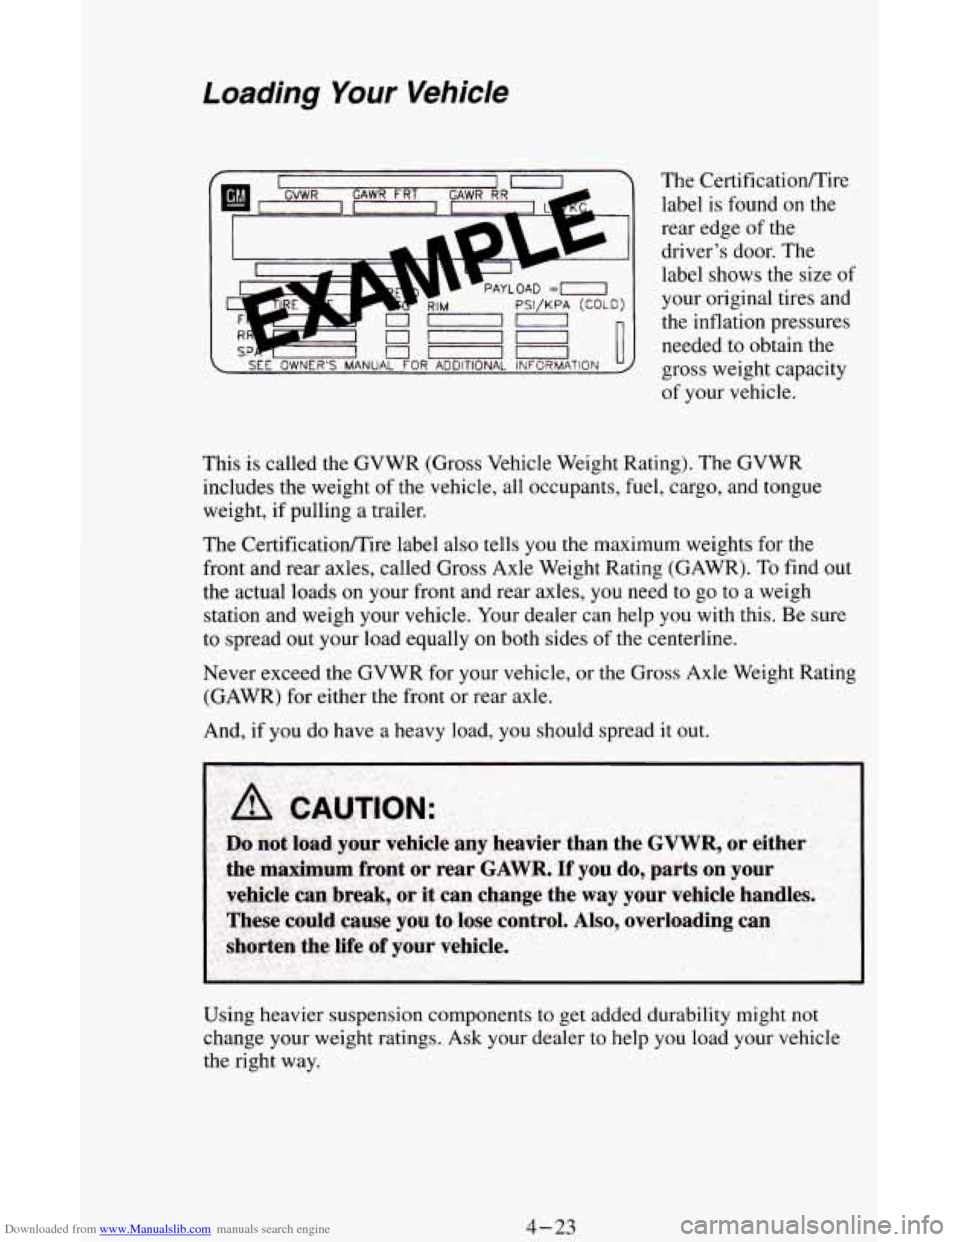
The Certificatioflire
label is found on the
rear edge
of the
driver's door. The
label shows the size
of
your original tires and
the inflation pressures
needed to obtain the
gross weight capacity
of your vehicle.
This is called the GVWR (Gross Vehicle Weight Rating). The GVWR
includes the weight of the vehicle, all occupants, fuel, cargo, and tongue
weight, if pulling a trailer.
The CertificatiodTire label also tells you the maximum weights for the
front and rear axles, called Gross Axle Weight Rating (GAWR).
To find out
the actual loads on your front and rear axles, you need to go to a weigh
station and weigh your vehicle. Your dealer
can help you with this. Be sure
to spread out your load equally on both sides of the centerline.
Never exceed the GVWR for your vehicle, or the Gross Axle Weight Rating
(GAWR) for either the front or rear axle.
And, if you do have a heavy load, you should spread it out.
Using heavier suspension components to get added durability might not
change your weight ratings. Ask your dealer
to help you load your vehicle
the right way.
4-23