Page 266 of 410
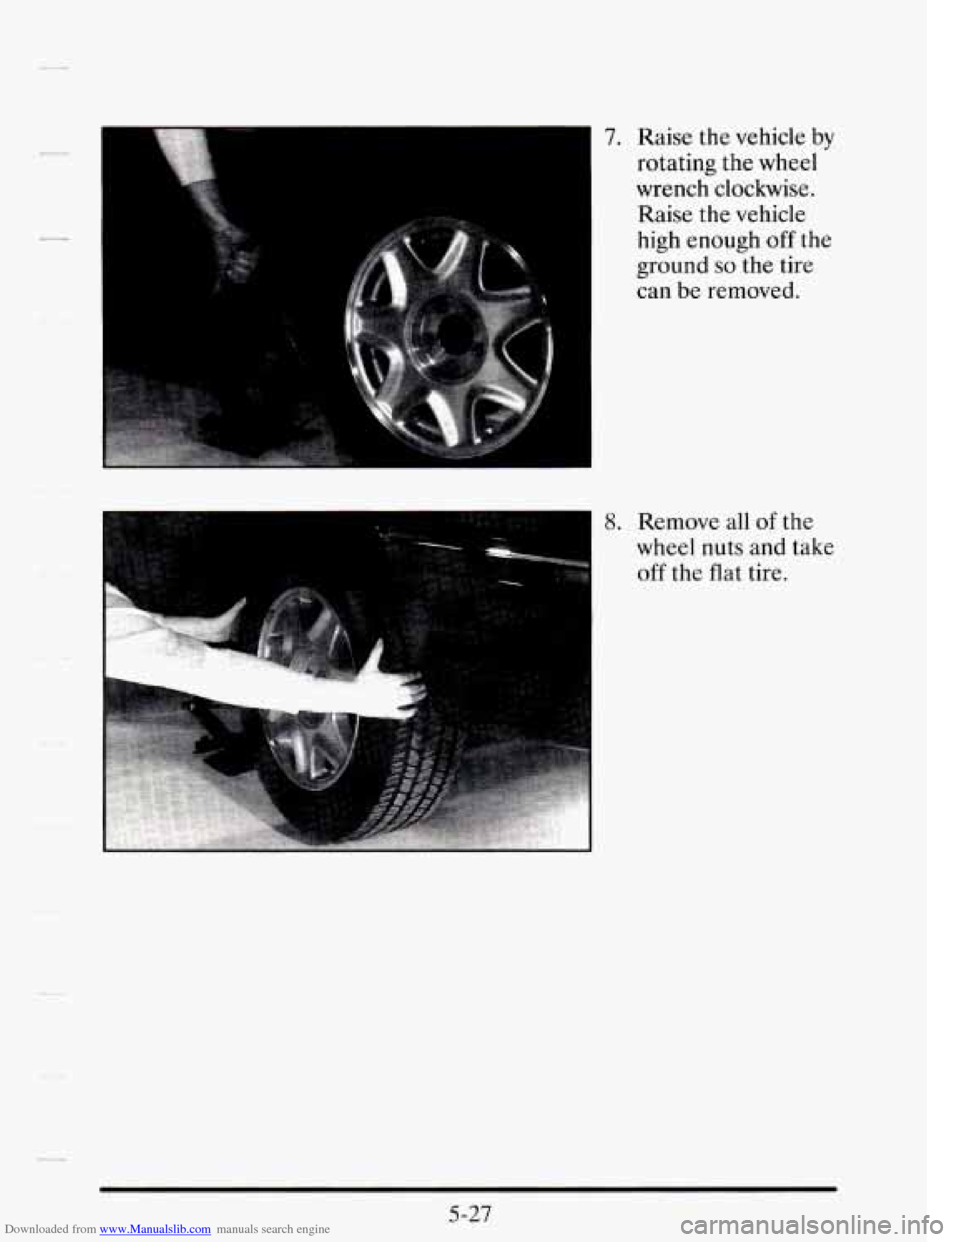
Downloaded from www.Manualslib.com manuals search engine 7. Raise the vehicle by
rotating the wheel
wrench clockwise.
Raise the vehicle
high enough
off the
ground
so the tire
can be removed.
1 8. Remove allof the
1 off the flat tire.
wheel nuts and take
Page 268 of 410
Downloaded from www.Manualslib.com manuals search engine r
-
-
--
P--
r
r
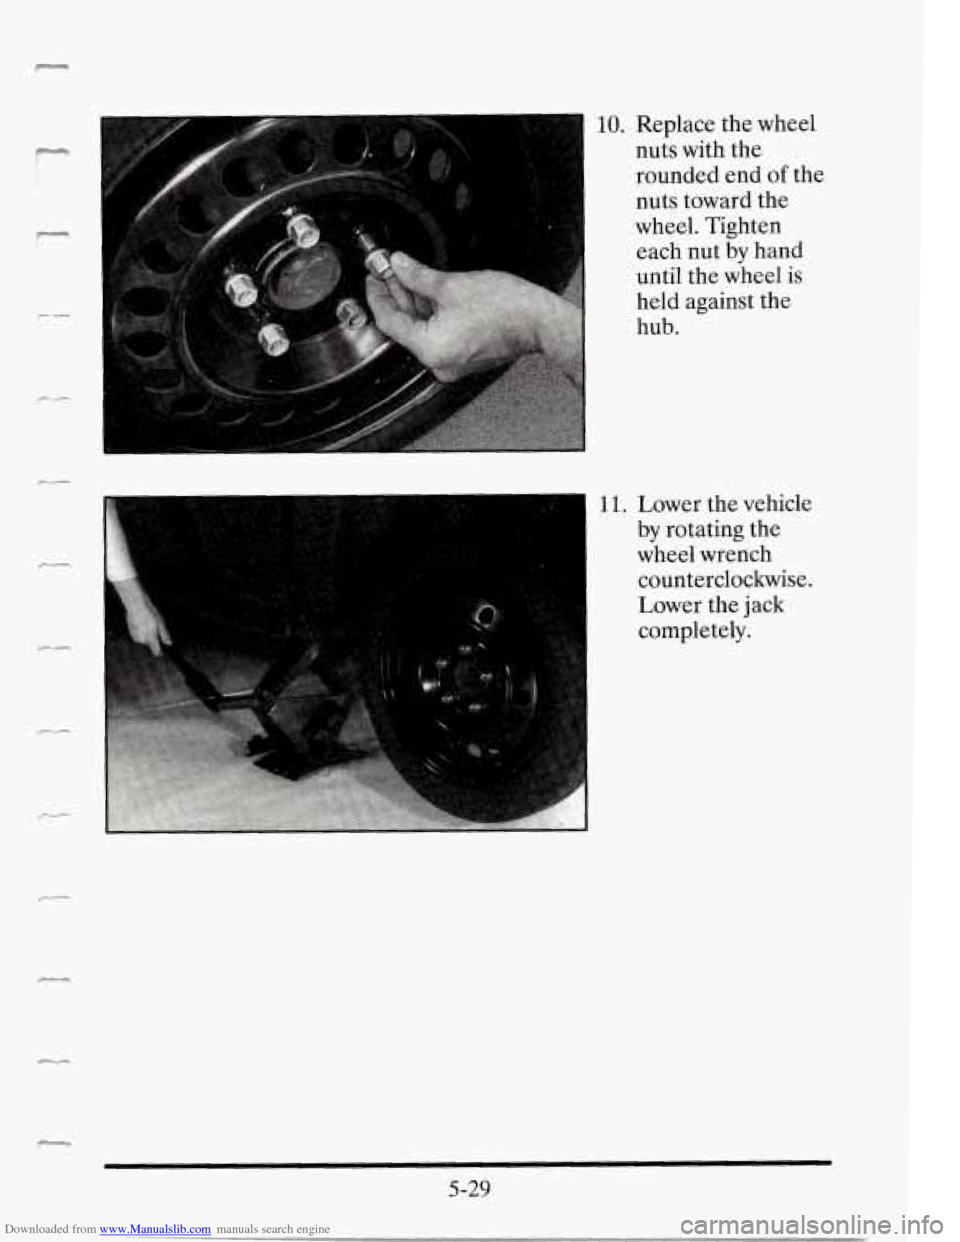
7 10. Replace the wheel
nuts with the
rounded end
of the
nuts toward the
wheel. Tighten
each nut by
hand
until the wheel is
held against the
hub.
11. Lower the vehicle
by rotating the
wheel wrench
counterclockwise.
Lower the jack
completely.
5-29
Page 278 of 410
Downloaded from www.Manualslib.com manuals search engine P
r
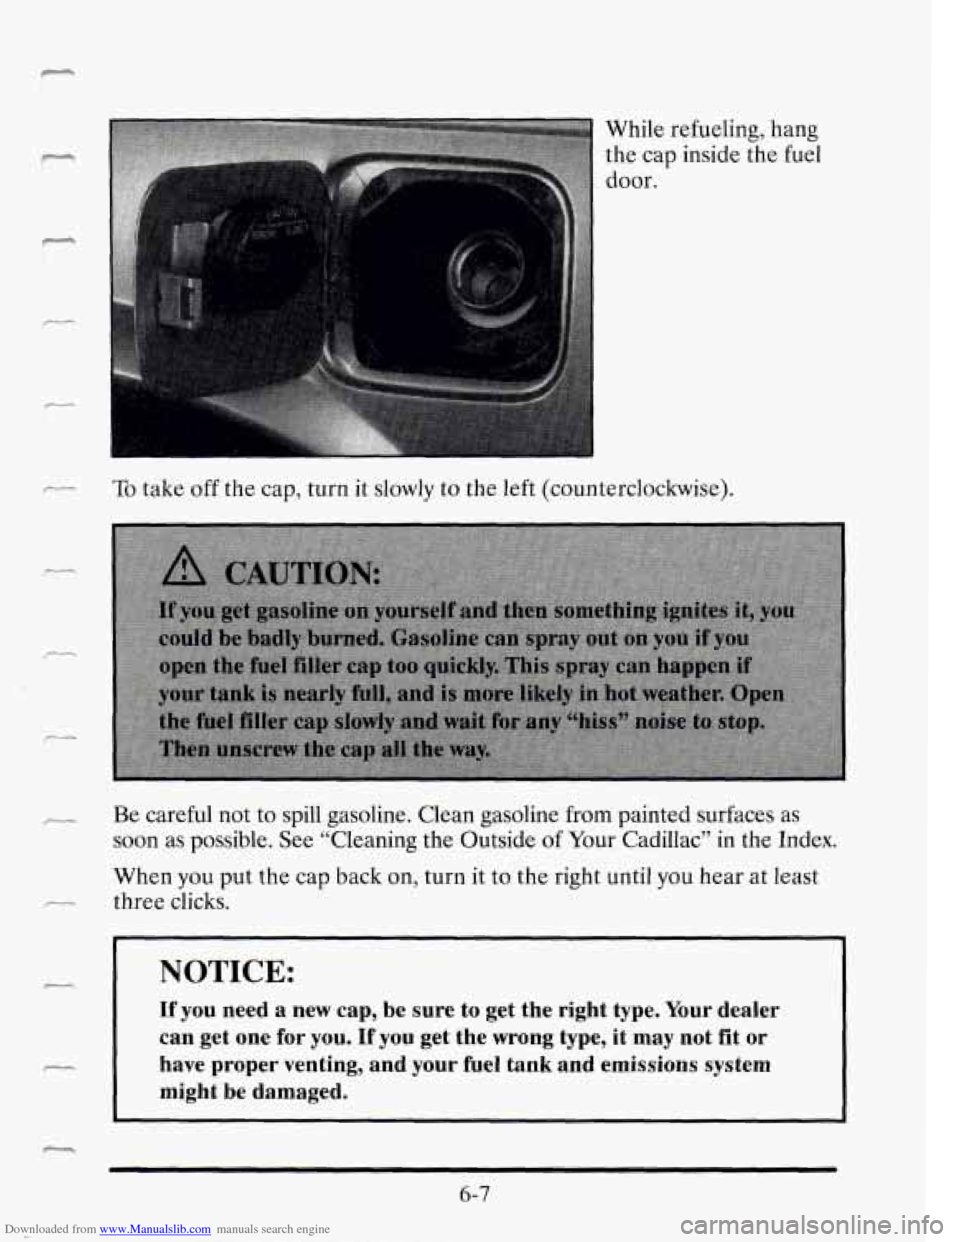
While refueling, hang
the cap inside the fuel
door.
To take off the cap, turn it slowly to the left (counterclockwise).
Be careful not to spill gasoline. Clean gasoline from painted surfaces as
soon as possible. See “Cleaning the Outside
of Your Cadillac” in the Index.
When you put the cap back on, turn it to the right until you hear at least
three clicks.
NOTICE:
If you need a new cap, be sure to get the right type. Your dealer
can get one for you.
If you get the wrong type, it may not fit or
have proper venting, and your fuel tank and emissions system
might be damaged.
-,
6-7
Page 283 of 410
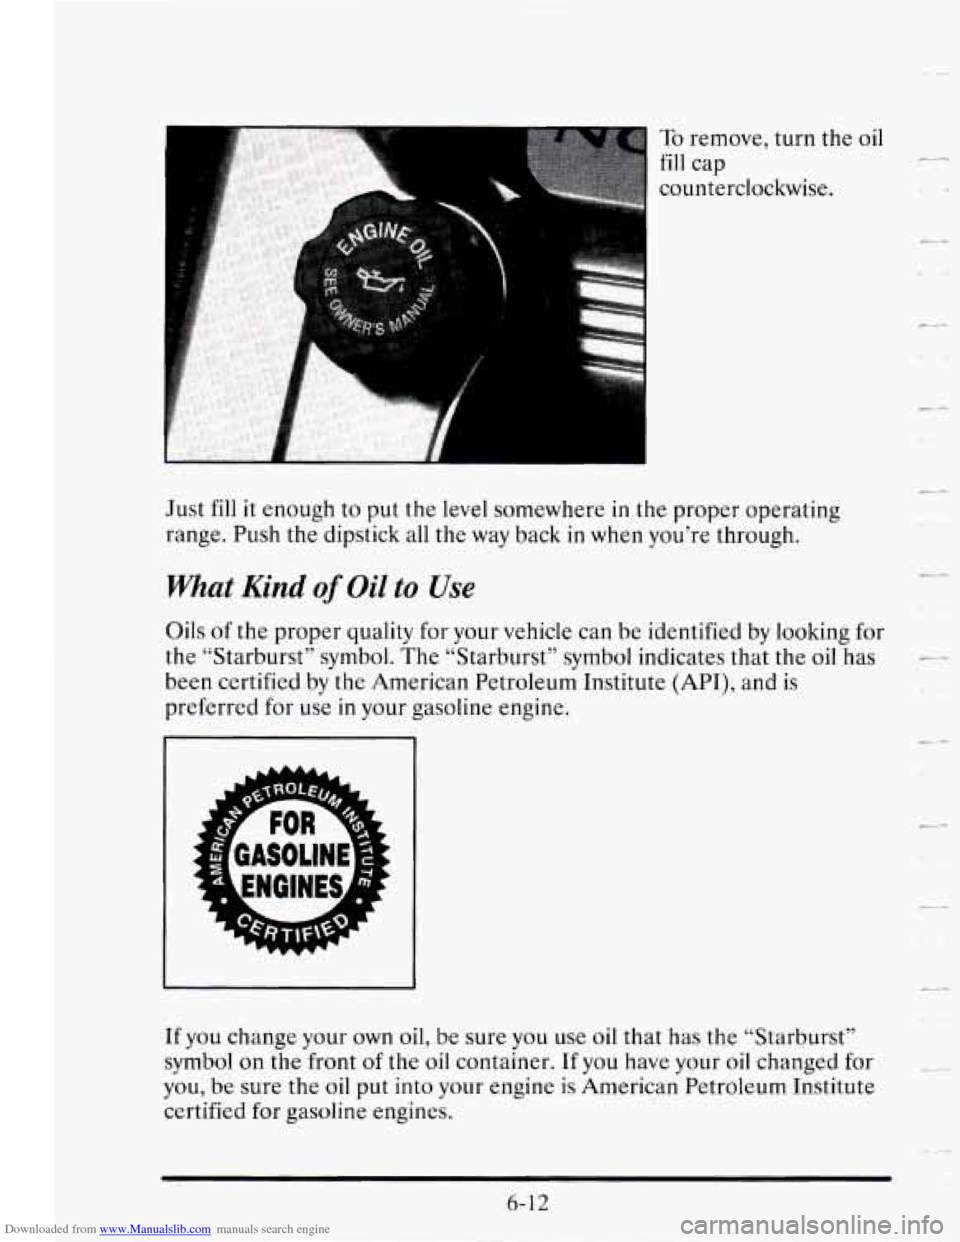
Downloaded from www.Manualslib.com manuals search engine I To remove, turn the
fill cap
counterclockwise. oil L-5
t*
Just fill it enough
to put the level somewhere in the proper operating
range. Push the dipstick
all the way back in when you’re through.
What Kind of Oil to Use
Oils of the proper quality for your vehicle can be identified by looking for
the “Starburst” symbol. The “Starburst” symbol indicates that the oil has
been certified by the American Petroleum Institute (API), and is
preferred for use
in your gasoline engine.
If you change your own oil, be sure you use oil that has the “Starburst”
symbol
on the front of the oil container. If you have your oil changed for
you, be sure the oil put into your engine is American Petroleum Institute
certified for
gasoline engines.
6-12
Page 292 of 410
Downloaded from www.Manualslib.com manuals search engine To check the fluid level
;c-
Park your vehicle on a level place. Keep the engine running.
With the parking brake applied, place the shift lever in PARK (P).
With your foot on the brake pedal, move the shift lever through each
gear range, pausing for about three seconds
in each range. Then,
position the shift lever
in PARK (P).
Let the engine run at idle for three to five minutes.
Then, without shutting off the engine, follow these steps:
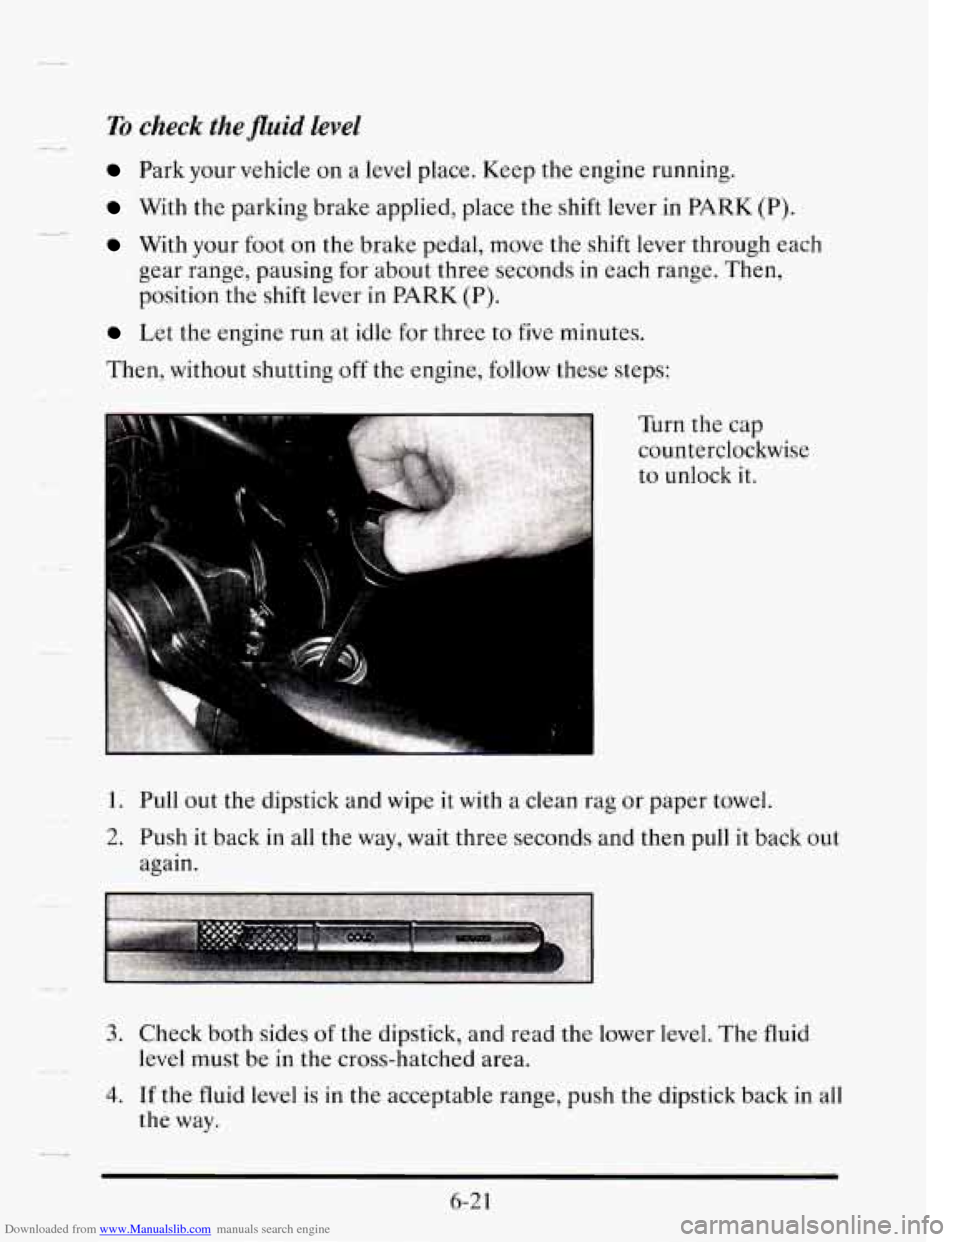
Turn the cap
counterclockwise
to unlock it.
1. Pull out the dipstick and wipe it with a clean rag or paper towel.
2. Push it back in all the way, wait three seconds and then pull it back out
again.
3. Check both sides of the dipstick, and read the lower level. The fluid
4. If the fluid level is in the acceptable range, push the dipstick back in all
level
must be in the cross-hatched area.
the way.
6-2 1
Page 306 of 410
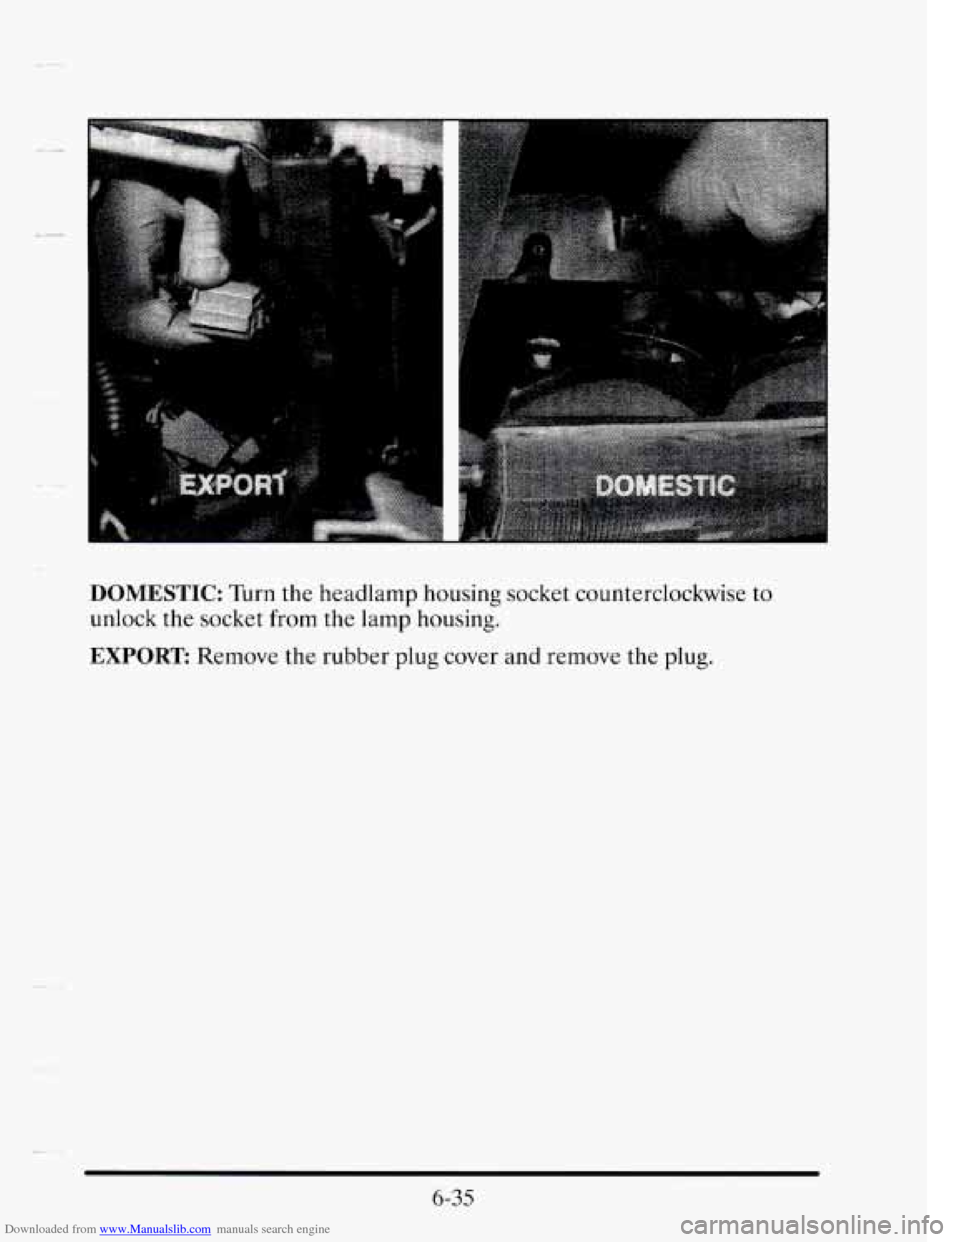
Downloaded from www.Manualslib.com manuals search engine DOMESTIC: Turn the headlamp housing socket counterclockwise to
unlock the socket from the lamp housing.
EXPORT Remove the rubber plug cover and remove the plug.
6-35
Page 311 of 410
Downloaded from www.Manualslib.com manuals search engine L_
._ 1
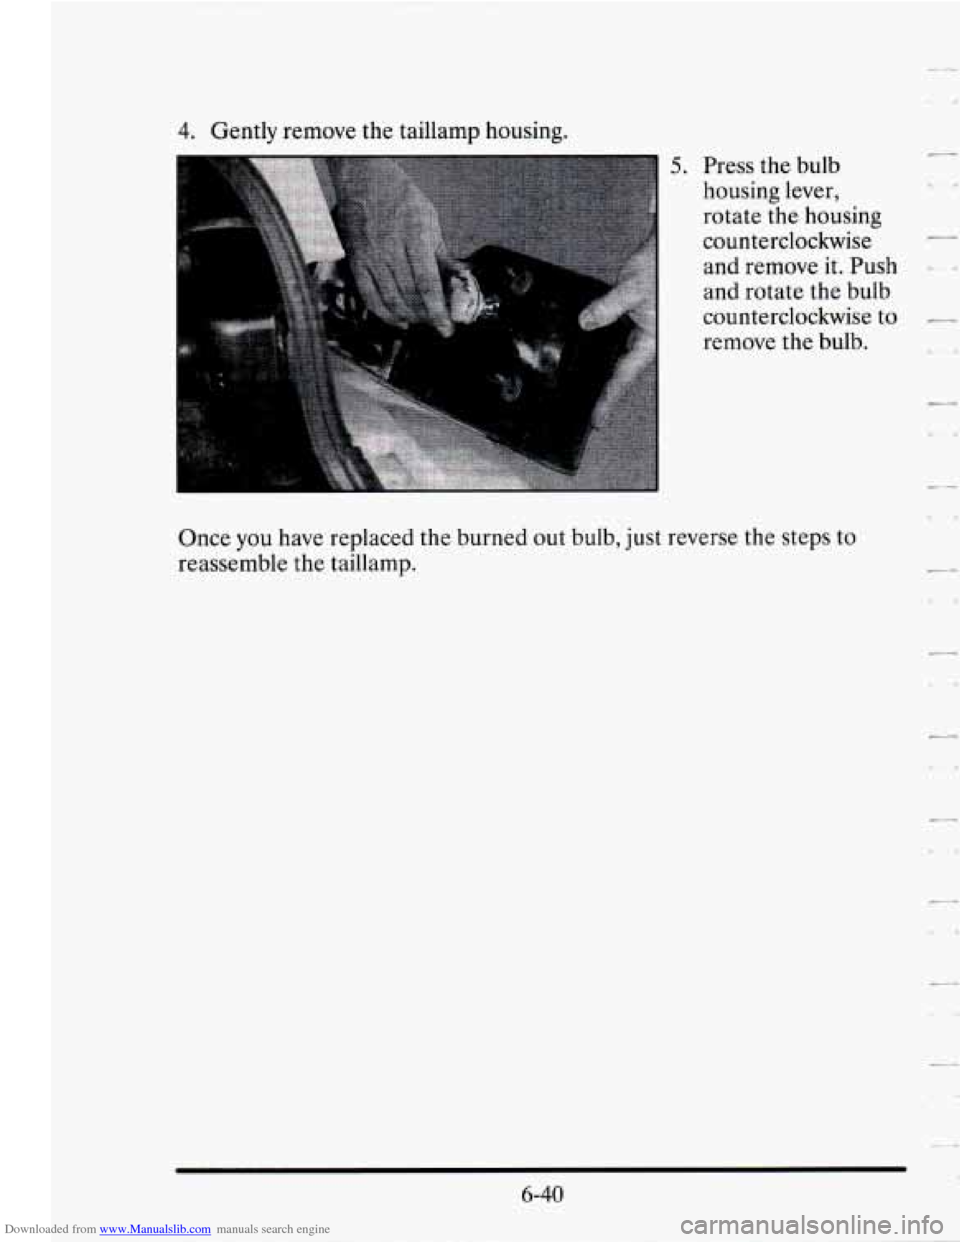
4. Gently remove the taillamp housing.
5. Press the bulb
housing lever,
rotate
the housing
counterclockwise
and remove it. Push
and rotate the bulb
counterclockwise to
-
remove the bulb.
Once
you have replaced the burned out bulb, just reverse the steps to
reassemble the taillamp.
-
6-40
Page 396 of 410
Downloaded from www.Manualslib.com manuals search engine ..
-A ..
The Inside of Your Cadillac ....................... 6-53
The Outside of Your Cadillac ...................... 6-57
Tires ........................................... 6-59
Top of the Instrument Panel ....................... 6-56
Vinyl .......................................... 6-55
Climate Control ..................................... 3-2
Clock. Setting the .................................. 3-10
Comfort Controls ................................... 3-1
Compact Disc Care .................................. 3-20
Compact Spare Tire ................................ 5-31
Compass, Electrochromic Rearview Mirror ............. 2-61
Console. Center .................................... 2-14
Console Shift Lever ................................. 2-32
Control. Loss of .................................... 4-17
Control of a Vehicle ................................. 4-6
Convenience Net ................................... 2-67
Convex Outside Mirror .............................. 2-65
Coolant ........................................... 6-23
Heater. Engine ............................. 2.23. 6.15
SurgeTank ..................................... 5-17
Cooling System .................................... 5-15
Cornering Lamps ................................... 2-56
Cruise Control ..................................... 2-47
Erasing Speed Memory ........................... 2-52
Getting Out of .................................. 2-52
Passing Another Vehicle While Using ............... 2-51
To Increase Speed ............................... 2-50
To Reduce Speed ................................ 2-51
To Resume a Set Speed ........................... 2-50
To Set .......................................... 2-48
Traction Control Activated ........................ 2-47
Use on Hills .................................... 2-51
Cruise Engaged Message ............................ 2-92
Cupholders ........................................ 2-14
Customer Assistance Information ...... See Owner Assistance
Damage. Finish
.................................... 6-59
Damage. Sheet Metal ............................... 6-59
Daytime Running Lamps ............................ 2-57
De.Ice. Front ....................................... 3-8
Dead Battery ....................................... 5-4
Defects. Reporting .................. See Owner Assistance
Defensive Driving
................................... 4-2
Defog ............................................. 3-5
.
.
.
.
.
.
.
.
.
.
4