Page 225 of 340

How to Add Fluid
Refer to the Maintenance Schedule to determine what
kind of transaxle fluid to use. See “Recommended
Fluids and Lubricants”
in the Index.
If the fluid level is low, add only enough of the proper
fluid to bring the level into the cross-hatched area on the
dipstick.
1. Pull out the dipstick.
2. Using a long-neck funnel, add enough fluid at the
dipstick hole
to bring it to the proper level.
It doesn’t take much fluid, generally less than a pint
(OSL). Don ’t ouefill. We recommend you use only fluid
labeled DEXRON@-111, because fluid with that label is
made especially for your automatic transaxle. Damage
caused by fluid other than DEXRON@-I11 is not covered
by your new vehicle warranty.
After adding fluid, recheck the fluid level as
described under “How
to Check.”
When the correct fluid level is obtained, push the
dipstick back in all the way.
Engine Coolant
The following explains your cooling system and how to
add coolant when it is low. If you have a problem with
engine overheating or if
you need to add coolant to your
radiator, see “Engine Overheating” in the Index.
The proper coolant for your Buick will:
Give freezing protection down to -34°F (-37°C).
Give boiling protection up to 262 OF (1 28 O C).
Protect against rust and corrosion.
Help keep the proper engine temperature.
Let the warning lights work as they should.
What to Use
Use a mixture of one-half clean water (preferably
distilled) and one-half antifreeze that meets “GM
Specification
1825-M,” which won’t damage aluminum
parts. You can also use a recycled coolant conforming to
GM Specification 1825-M with a complete coolant flush
and refill. Use GM Engine Coolant Supplement (sealer)
with any complete coolant flush and refill.
If you use
this mixture, you don’t need to add anything else.
~
6-17
ProCarManuals.com
Page 227 of 340
To Add Coolant
If this light comes on, it
means you’re low on engine
coolant.
If you need more coolant, add the proper mix at the
coolant recovery tank.
If the coolant recovery tank is completely empty, add
coolant to
the radiator. (See “Engine Overheating” in the
Index
.)
Add coolant mix at the recovery tank, but be careful not
to spill
it.
6-19
ProCarManuals.com
Page 230 of 340
What to Add
Refer to the Maintenance Schedule to determine what
kind of fluid
to use. See “Recommended Fluids and
Lubricants” in the Index.
NOTICE:
When adding power steering fluid or making a
complete fluid change, always use the proper
fluid. Failure to use the proper fluid can cause
leaks and damage hoses and seals.
Windshield Washer Fluid
What to Use
When you need windshield washer fluid, be sure to read
the manufacturer’s instructions before use.
If you will be
operating your vehicle in an area where the temperature
may fall below freezing, use
a fluid that has sufficient
protection against freezing.
To Add
Open the cap labeled WASHER FLUID ONLY. Add
washer fluid until the tank is full.
6-22
ProCarManuals.com
Page 232 of 340

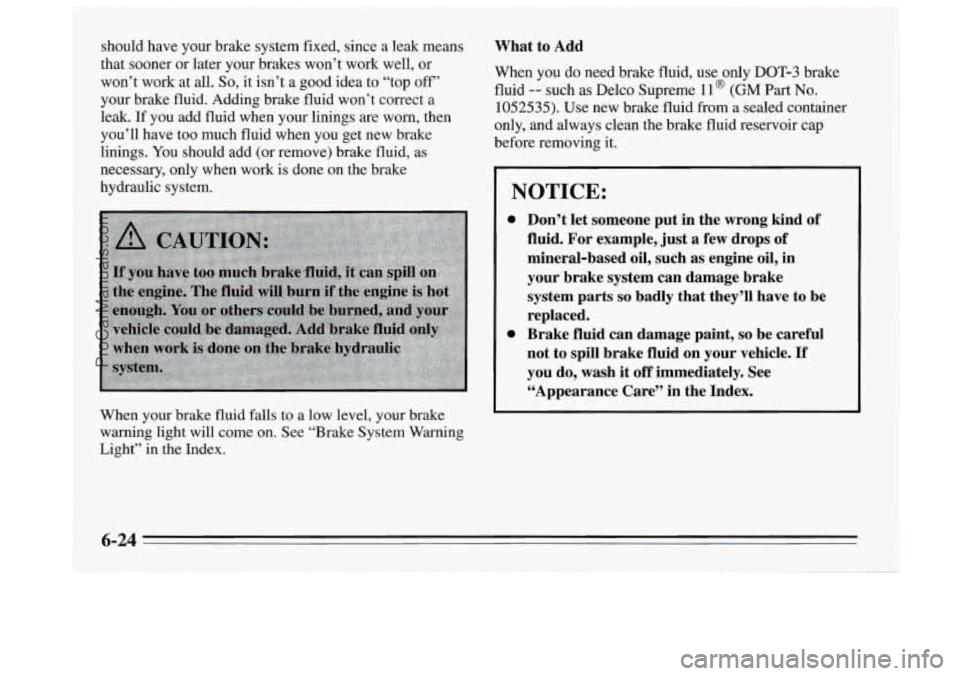
should have your brake system fixed, since a leak means
that sooner or later your brakes won’t work well, or
won’t work at all.
So, it isn’t a good idea to “top off’
your brake fluid. Adding brake fluid won’t correct a
leak. If you add fluid when your linings are worn, then
you’ll have too much fluid when you get new brake
linings. You should add (or remove) brake fluid, as
necessary, only when work is done on the brake
hydraulic system.
When your brake fluid falls to a low level, your brake
warning light will come on. See “Brake System Warning
Light” in the Index. What to Add
When you do need brake fluid, use only DOT-3 brake
fluid -- such as Delco Supreme ll@ (GM Part No.
1052535). Use new brake fluid from a sealed container
only, and always clean the brake fluid reservoir cap
before removing it.
NOTICE:
0
0
Don’t let someone put in the wrong kind of
fluid. For example, just
a few drops of
mineral-based oil, such
as engine oil, in
your brake system can damage brake system parts
so badly that they’ll have to be
replaced.
Brake fluid can damage paint,
so be careful
not to spill brake fluid on your vehicle.
If
you do, wash it off immediately. See
“Appearance Care’’ in the Index.
6-24
ProCarManuals.com
Page 235 of 340
Halogen Bulbs Bulb Replacement
In this section you’ll find directions for changing the
bulbs in some of the lamps on your Buick. See
“Replacement Bulbs” in the Index
to find the type of
bulb you should use.
Headlamps
1. Press and turn the bulb socket counterclockwise 1/4-t~rn.
2. Pull the bulb socket out of the headlamp housing.
6-27
ProCarManuals.com
Page 240 of 340
Tire Inspection and Rotation
Tires should be inspected every 6,000 to 8,000 miles
(I 0 000 to 13 000 km) for any signs of unusual wear.
If unusual wear is present, rotate your tires as soon as
possible and check wheel alignment. Also check for
damaged tires or wheels. See “When
it’s Time ,for New
Tires” and “Wheel Replacement” later
in this section for
more information.
The purpose of regular rotation is to achieve more
uniform wear for all tires on the vehicle. The first
rotation is the most important. See “Scheduled
Maintenance Services”
in the Index for scheduled
rotation intervals. When
rotating your tires, always use the correct rotation
pattern shown here.
Don’t include the compact spare tire
in your tire
rotation.
After the tires have been rotated, adjust the front and
rear inflation pressures
as shown on the Tire-Loading
Information label. Make certain that all wheel nuts are
properly tightened. See “Wheel
Nut Torque” in the
Index.
6-32
ProCarManuals.com
Page 250 of 340

Weatherstrips
Silicone grease on weatherstrips will make them last
longer, seal better, and not stick or squeak. Apply
silicone grease with
a clean cloth at least every six
months. During very cold, damp weather more frequent
application may be required. (See “Recommended
Fluids and Lubricants”
in the Index.)
Cleaning the Outside of Your Buick
The paint finish on your vehicle provides beauty, depth
of color, gloss retention and durability.
Washing Your Vehicle
The best way to preserve your vehicle’s finish is to keep it
clean by washing it often with lukewarm or cold water.
Don’t wash your vehicle in the direct rays
of the sun.
Don’t use strong soaps or chemical detergents. Use
liquid hand, dish or car washing (mild detergent) soaps.
Don’t use cleaning agents that are petroleum based,
or
that contain acid or abrasives. All cleaning agents
should be flushed promptly and not allowed to dry on
the surface, or they could stain. Dry
the finish with a
soft, clean chamois or a 100% cotton towel to avoid
surface scratches and water spotting.
High pressure car washes may cause water to enter your
vehicle.
Finish Care
Occasional waxing or mild polishing of your Buick by
hand may be necessary to remove residue from the paint
finish. You can get GM approved cleaning products
from your dealer. (See “Appearance Care and Materials”
in the Index.)
Your Buick has
a “basecoat/clearcoat” paint finish. The
clearcoat gives more depth and gloss to the colored
basecoat. Always use waxes and polishes that are
non-abrasive and made for
a basecoatklearcoat paint
finish.
I NOTICE:
Machine compounding or aggressive polishing on
a basecoatklearcoat paint finish may dull the
finish or leave swirl marks.
Foreign materials such as calcium chloride and other
salts, ice melting agents, road oil and tar, tree sap, bird
droppings, chemicals from industrial chimneys, etc. can
damage your vehicle’s finish
if they remain on painted
surfaces. Wash the vehicle
as soon as possible. If
necessary, use non-abrasive cleaners that are marked
safe for painted surfaces to remove foreign matter.
6-42
ProCarManuals.com
Page 255 of 340

Add-on Electrical Equipment Fuses and Circuit Breakers
NOTICE:
Don’t add anything electrical to your Buick unless
you check with your dealer first. Some electrical
equipment can damage your vehicle and the
damage wouldn’t be covered by your warranty.
Some add-on electrical equipment can keep other
components from working as they should.
Your vehicle has an air bag system. Before attempting to
add anything electrical to your Buick, see “Servicing
Your Air Bag-Equipped Buick”
in the Index. The wiring
circuits
in your vehicle are protected from
short circuits by
a combination of fuses, circuit breakers,
and fusible thermal links in the wiring itself. This
greatly reduces the chance of fires caused
by electrical
problems.
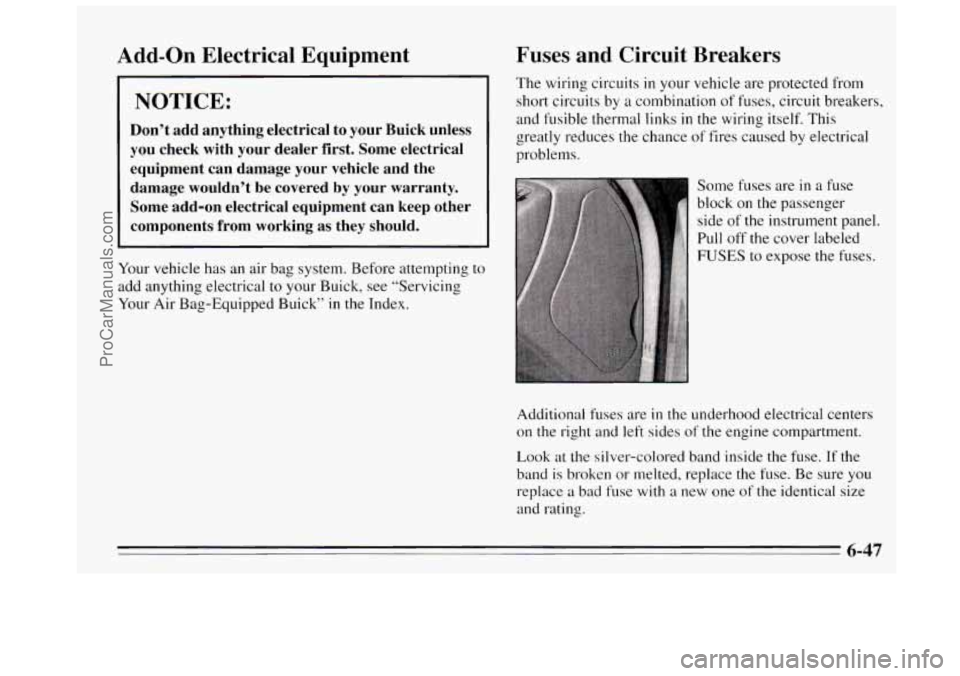
Some fuses are
in a fuse
block on the passenger
side of the instrument panel.
Pull off
the cover labeled
FUSES to expose the fuses.
Additional fuses are
in the underhood electrical centers
on the right and left sides of the engine compartment.
Look at the silver-colored band inside the fuse. If the
band is broken or melted, replace the fuse. Be sure
you
replace a bad fuse with a new one of the identical size
and rating.
6-47
ProCarManuals.com