Page 2 of 274
7 Pontiac Grand Am
introduction Part
I
Part 2
Part 3
Part 4
Part 5
Part 6
Part 7
Part 8
Part 9
1994 Owner’s Manual
Table of Contents
How to Use This Manual ............ 3
7 Seats & Restraint Systems ...........
Features & Controls ............... 45
Comfort Controls & Audio Systems . IO I -
Your Driving and the Road ......... 119 -
Problems on the Road ............. I47
Service & Appearance Care ........ I69
-
- -
-
-
II
H
H
II
Maintenance Schedule ............ 223
Customer Assistance Information . . 243
Includes ‘LReporting Safety Defects” on page 247.
Index ........................... 263 9
Service Station Information . . Last Page
H
Printed in USA 10260961 A Second Edition . . ,
ProCarManuals.com
Page 4 of 274

How to Use This Manual
It
Using Your 1994 Pontiac
Owner’s Manual
I‘
Many people read their owner’s manual
from beginning
to end when they first
receive their new vehicle. This will help
you learn about the features and controls
for your vehicle. In this manual, you’ll
find that pictures and words work
together to explain things quickly.
There are nine parts with black-tabbed
pages
in this manual. Each part begins
with a brief list of contents, so you can
usually tell at a glance
if that part
contains the information you want.
You can bend the manual slightly to reveal
the black tabs that help you find a part.
I
Part 1: Seats & Restraint Systems
This part tells you how to use your seats
and safety belts properly. It also explains
the
“SRS” (Air Bag) System.
Part 2: Features & Controls
This part,explains how to start and
operate your Pontiac.
Part 3: Comfort Controls & Audio
Systems
This part tells you how to adjust the
ventilation and comfort controls and how
to operate your sound system.
Part 4: Your Driving and the Road
Here you’ll find helpful information and
tips about
the road and how to drive
under different conditions.
Part 5: Problems on the Road
This part tells you what to do if you have
a problem while driving, such as a flat tire
or engine overheating, etc.
Part 6: Service & Appearance Care
Here the manual tells you how to keep
your Pontiac running properly and
looking good.
Part 7: Maintenance Schedule
This part tells you when to perform
vehicle maintenance and what fluids and
lubricants to use.
Part 8: Customer Assistance
Information
This part tells you how to contact Pontiac
for assistance and how to get service
publications. It
also gives you information
on “Reporting Safety Defects’’ on
page 247.
Part 9: Index
Here’s an alphabetical listing of almost
?very subject
in this manual. You can use it
to quickly find something you want to read.
Service Station Information
This is a quick reference of service
information.
You can find it on the last
page of this manual.
3.. .
ProCarManuals.com
Page 147 of 274
Your Driving and the Road
Maintenance When Trailer
Towing
Your vehicle will need service more often
when you’re pulling a trailer. See the
Maintenance Schedule for more on this.
Things that are especially important in
trailer operation are automatic transaxle
fluid (don’t overfill), engine oil, belts,
cooling system, and brake adjustment.
Each of these is co%ered in this manual,
and the Index will help you find them
quickly. If you’re trailering, it’s a good
idea to review these sections before
you
start your .trip.
Check periodically to see that all hitch
b e 146
ProCarManuals.com
Page 184 of 274
Air Cleaner
!der to the Maintenance Schedule tn
etemrne when to replace the 311- filter
;ee “‘Scheduled Maintenance Services“ in
?e Index. ~ ~~
NOTICE:
~ ~~~
If
the air cleaner is off, a backfire
can cause a damaging engine fire
And, dirt can easily get
into your
engine, which will damage it.
Always have the air cleaner in placp
when you’re driving.
Air Filter Replacement
1. Remove the screws on the housing
cover and pull the cover back.
2. Remove the air cleaner filter.
3. Install the replacement air cleaner
filter and replace the cover.
4. Tighten screws on the air filter cover.
183...
ProCarManuals.com
Page 185 of 274

Service & Appearance Care
Automatic Transaxle Fluid
When to Check and
Change
A good time to check your automatic
transaxle fluid level is when the engine oil
is changed. Refer to the Maintenance
Schedule to determine when to change
your fluid. See “Scheduled Maintenance
Services” in the Index.
How to Check
Because this operation can be a little
difficult, you may choose
to have this
done at a Pontiac Dealership Service
Department.
If you do it yourself, be sure to follow all
the instructions here, or you could get a
false reading on the dipstick.
NOTICE:
Too much or too little fluid can
damage your transaxle.
Too much
can mean that some of the fluid
could come out and fall on hot
engine parts or exhaust system,
starting a fire. Be sure
to get an
accurate reading if you check your
transaxle fluid.
Wait at least 30 minutes before checking
the transaxle fluid level
if you have been
driving:
0 When outside temperatures are above
90°F (32°C).
0 At high speed for quite a while.
0 In heavy traffic -- especially in hot
weather.
0 While pulling a trailer.
To get the right reading, the fluid should
,e at normal operating temperature,
which is 180°F to 200°F (82°C to 93°C).
Set the vehicle warmed up by driving
ibout 15 miles
(24 km) when outside
iemperatures are above
50°F (10°C). If
it’s colder than 50°F
(IOOC), you may
have to drive longer.
To Check the Fluid Level
1. Keep the engine running. Park your
vehicle on a level place. Keep the
engine running.
2. With the parking brake applied, place
the shift lever in PARK (P).
3. With your foot on the brake pedal,
move the shift lever through each gear
range, pausing for about three seconds
in each range. Then, position the shift
lever in PARK
(P).
4. Let the engine run at idle for three to
five minutes.
ProCarManuals.com
Page 188 of 274

How to Add Fluid
Here’s how to add fluid. Refer to the
Maintenance Schedule to determine what
kind of fluid
to use. See “Recommended
Fluids and Lubricants”
in the Index.
1. Remove the dipstick by flipping the
handle up and then pulling the
dipstick out.
2. Add fluid at the dipstick hole.
Add only enough fluid to bring the
fluid level up to the
FULL mark on the
dipstick.
3. Push the dipstick back in all the way;
then flip the handle down to lock the
dipstick
in place.
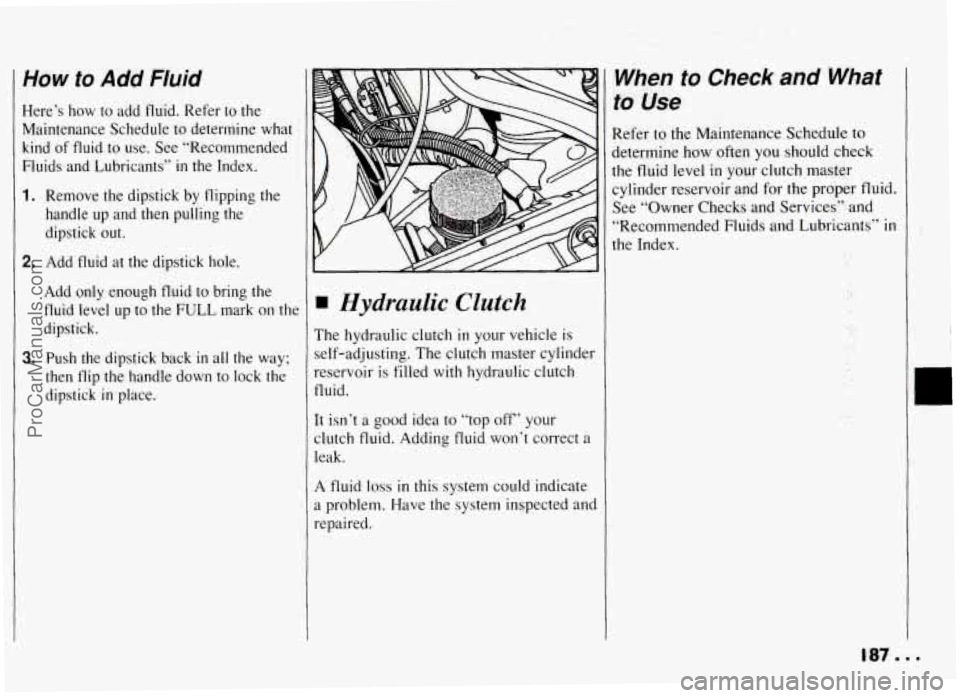
Hydraulic Clutch
The hydraulic clutch in your vehicle is
self-adjusting. The clutch master cylinder
reservoir is filled with hydraulic clutch
fluid.
It isn’t a good idea to “top off’ your
clutch fluid. Adding fluid won’t correct a
leak.
A fluid loss in this system could indicate
a problem. Have the system inspected and
repaired.
When to Check and What
to Use
Refer to the Maintenance Schedule to
determine how often you should check
the fluid level
in your clutch master
cylinder reservoir and for the proper fluid.
See “Owner Checks and Services” and
“Recommended Fluids and Lubricants”
in
the Index.
187...
ProCarManuals.com
Page 191 of 274

Service & Appearance Care
V
P
I
E
b
S’
C
C.
P
A
I Surge Tank Pressure
Cap
NOTICE:
Your pressure cap is an 18 psi
( 124 kPa) pressure-type cap and
must be tightly installed to prevent
coolant
loss and possible engine
damage from overheating.
irhen you replace your surge tank
ressure cap, a GM cap is recommended.
I Thermostat
lngine coolant temperature is controlled
y a thermostat in the engine coolant
ystem. The thermostat stops the flow
of
oolant through the radiator until the
oolant reaches a preset temperature.
Jhen you replace your thermostat, an
.C@ thermostat is recommended.
Power Steering Fluid
How To Check Power
Steering Fluid
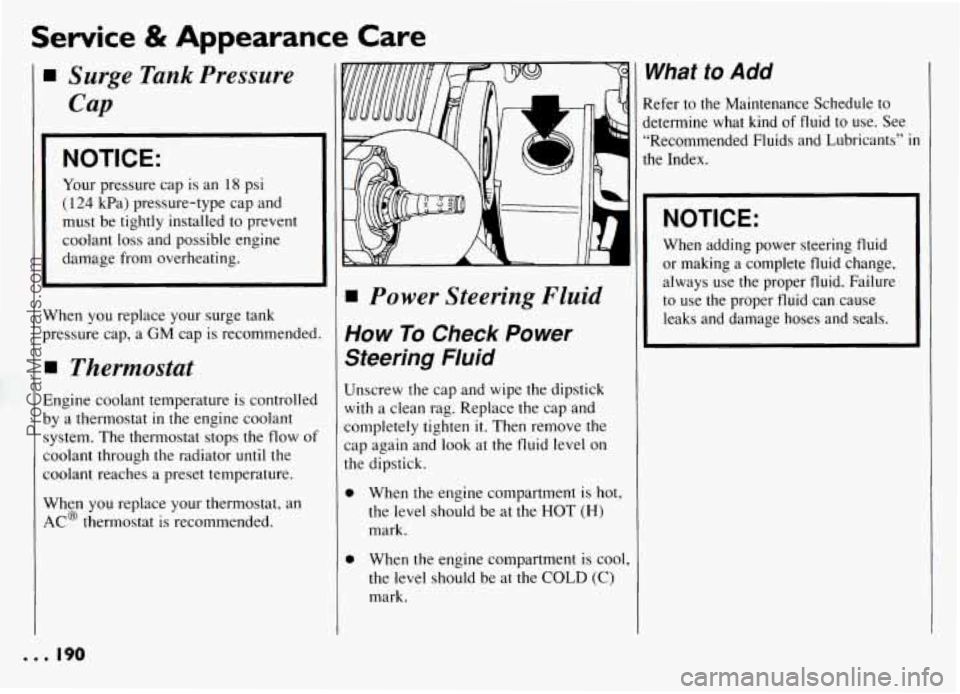
Unscrew the cap and wipe the dipstick
with a clean rag. Replace the cap and
completely tighten
it. Then remove the
cap again and
look at the fluid level on
the dipstick.
0
0
When the engine compartment is hot,
the level should be at the HOT
(H)
mark.
When the engine compartment is cool,
the level should be at the
COLD (C)
mark.
1
I
1
What to Add
Refer to the Maintenance Schedule to
jetermine what kind
of fluid to use. See
“Recommended Fluids and Lubricants”
in
the Index.
NOTICE:
When adding power steering fluid
or making a complete fluid change,
always use the proper fluid. Failure
to use the proper fluid can cause
leaks and damage hoses and seals.
... 190
ProCarManuals.com
Page 201 of 274
Service & Appearance Care
Tire Inspection and qotation
i’o make ,your tires last longer, have them
nspected and rotated at the mileages
ecommended
in the Maintenance
ichedule. See “Scheduled Maintenance
jervices”
in the Index.
Jse this rotation pattern.
4fter the tires have been rotated, adjust
he front and rear inflation pressure as
;hown on the Tire-Loading Information
abel. Make certain that all wheel nuts arc
xoperly tightened. See “Wheel Nut
rorque” in the Index.
When It’s Time for New
Tires
One way to tell when it’s time for new
tires is to check the treadwear indicators,
which
will appear when your tires have
only
2/32 inch (1.6 mm) or less of tread
remaining.
You need a new tire if
You can see the indicators at three or
more places around the tire.
0 You can see cord or fabric showing
through the tire’s rubber.
ProCarManuals.com