1994 JAGUAR XJ6 radio
[x] Cancel search: radioPage 23 of 521

(if applicable) term(s) (or Eng- lish Equivalent)
I R
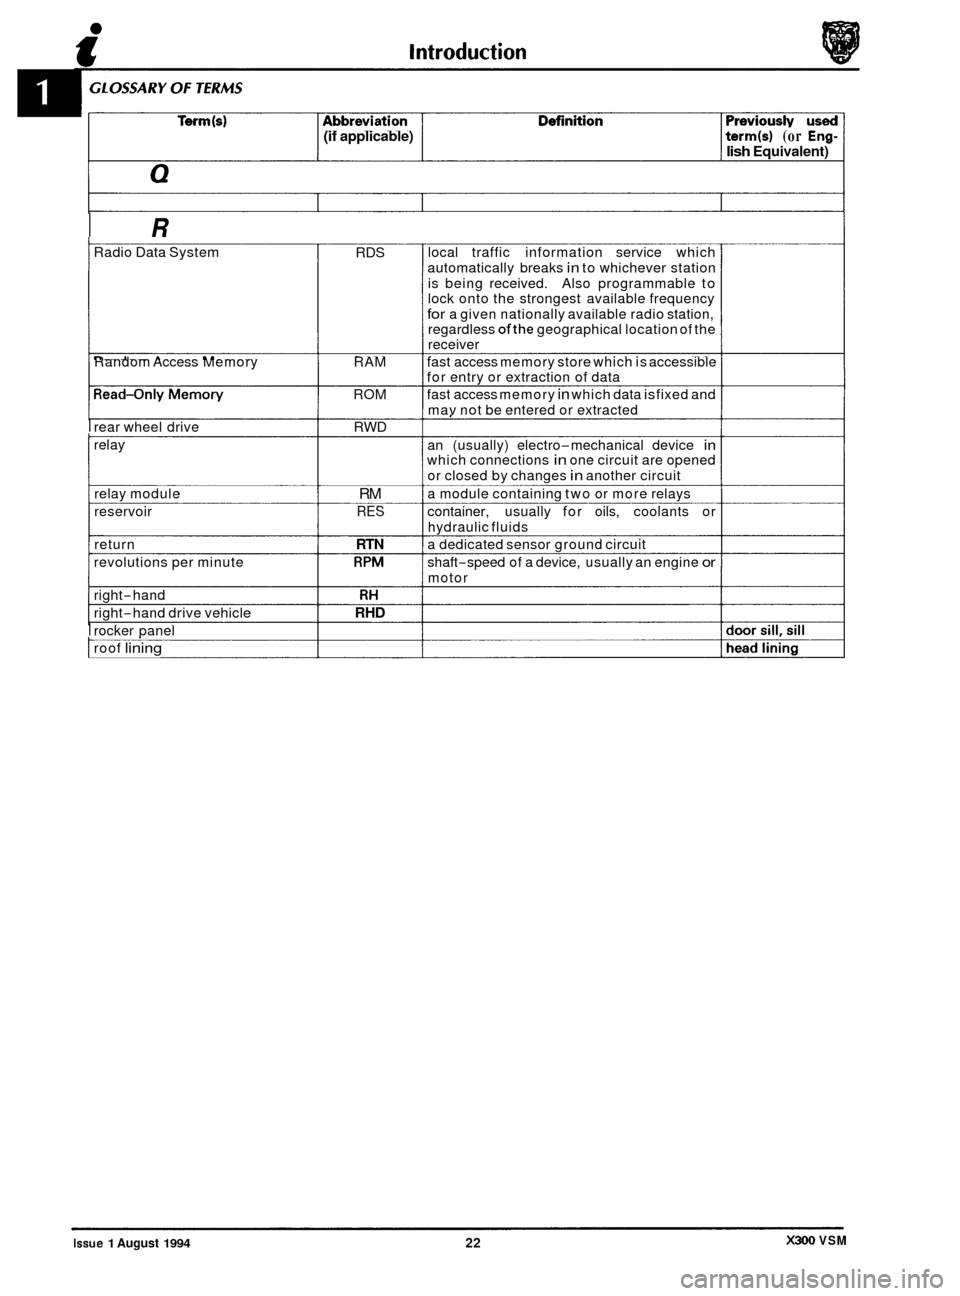
Radio Data System
Random Access Memory
I rear wheel drive
relay
relay module
reservoir
return
revolutions per minute
right
-hand
right
-hand drive vehicle
I rocker panel
I roof lining
RDS
RAM
ROM RWD
RM
RES
RTN
RPM
RH
RHD
local traffic information service which
automatically breaks
in to whichever station
is being received. Also programmable to
lock onto the strongest available frequency
for a given nationally available radio station,
regardless ofthe geographical location of the
receiver
fast access memory store which is accessible
for entry or extraction of data
fast access memory
in which data is fixed and
mav not be entered or extracted
an (usually) electro
-mechanical device in which connections in one circuit are opened
or closed by changes
in another circuit
a module containing two or more relays
container, usually for oils, coolants or
hydraulic fluids
a dedicated sensor ground circuit
shaft
-speed of a device, usually an engine or
motor
I
X300 VSM Issue 1 August 1994 22
Page 250 of 521

Body Components & Trim .
SECTION CON TENTS
Sub-Section Tit /e SRO Page
I to V ............ Preliminary Pages ................................................................. i to v
13.1
............. General Description ................................................................. 1
13.2 ............. Doorand Fuel FillerFlap .............................................................. 2
13.2.1
............ Doors. Description ................................................................... 2
13.2.2
............ Front Door Trim Pad Veneer Panel. Renew ......................... 76.47.11 ............. 2
13.2.2.
...........
13.2.3 ............ Rear Door Upper Trim Pad. Remove For Access and Refit ............ 76.34.05/90 .......... 3
13.2.5.
........... Rear Door Window Lift Switch Veneer Panel. Renew ................ 76.47.34 ............. 3
13.2.6.
........... Rear Door Lower Trim Pad, Remove for Access and Refit ............. 76.34.06/90 .......... 4
13.2.7
............ Rear Door Lower Trim Pad, Renew ............................... 76.34.06 ............. 4
13.2.8.
........... Rear Door Armrest. Renew ...................................... 76.34.23 ............. 5
13.2.9 ............ Rear Door Pocket, Renew ....................................... 76.34.28 ............. 5
13.2.10 .......... Front Door Upper Trim Pad, Renew ..................................................... 6
13.2.11 ........... Front Door Lower Trim Pad, Renew ..................................................... 6
13.2.12 .......... DoorLock Barrel, Renew .............................................................. 6
13.2.13 Front
or Rear Door Lock Striker, Renew .................................................. 6
13.2.14
.......... Front or Rear Door Outer Handle Operating Rod, Renew ................................... 6
13.2.15 .......... FrontArmrest, Renew ................................................................. 7
13.2.16 .......... Front or Rear Armrest Support. Renew ................................................... 7
13.2.17 .......... Front Door Pocket. Renew ............................................................. 7
........................................................... 8
Rear
Door Trim
Pad Veneer Panel. Renew .......................... 76.47.12 ............. 2
13.2.4
............ Rear Door Upper Trim Pad, Renew ............................... 76.34.05 ............. 3
..........
13.2.18 .......... Fuel Filler Flap, Description
13.2.19
.......... Filler Flap and Hinge, Renew .......................................................... 8
13.2.20
.......... Filler Cap Retention Magnet. Renew .................................................... 8
.......... Filler Flap Latching Assembly, Renew ................................................... 8
13.2.21
13.3
............. Passenger Compartment ............................................................... 9
13.3.1
............ Console Assembly, Remove for Access and Refit .................... 76.25.01/90 .......... 9
13.3.2
............ Console Assembly, Renew (Daimler/ VDP) ........................ 76.25.07/50 ......... 10
13.3.3
............ Console Assembly, Remove for Access and Refit (Daimler/ VDP) ...... 76.25.01/91 ......... 12
13.3.4
............ Console Assembly, Renew ....................................... 76.25.01 ............ 13
13.3.5
............ Console Rear Extension Finisher, Renew ........................... 76.25.04 14
Selector Trim Finisher, Renew (3.2 Liter)
........................... 76.25.07 ............ 14
Modeswitch Finisher, Renew .................................... 76.25.09 ............ 15
13.3.10
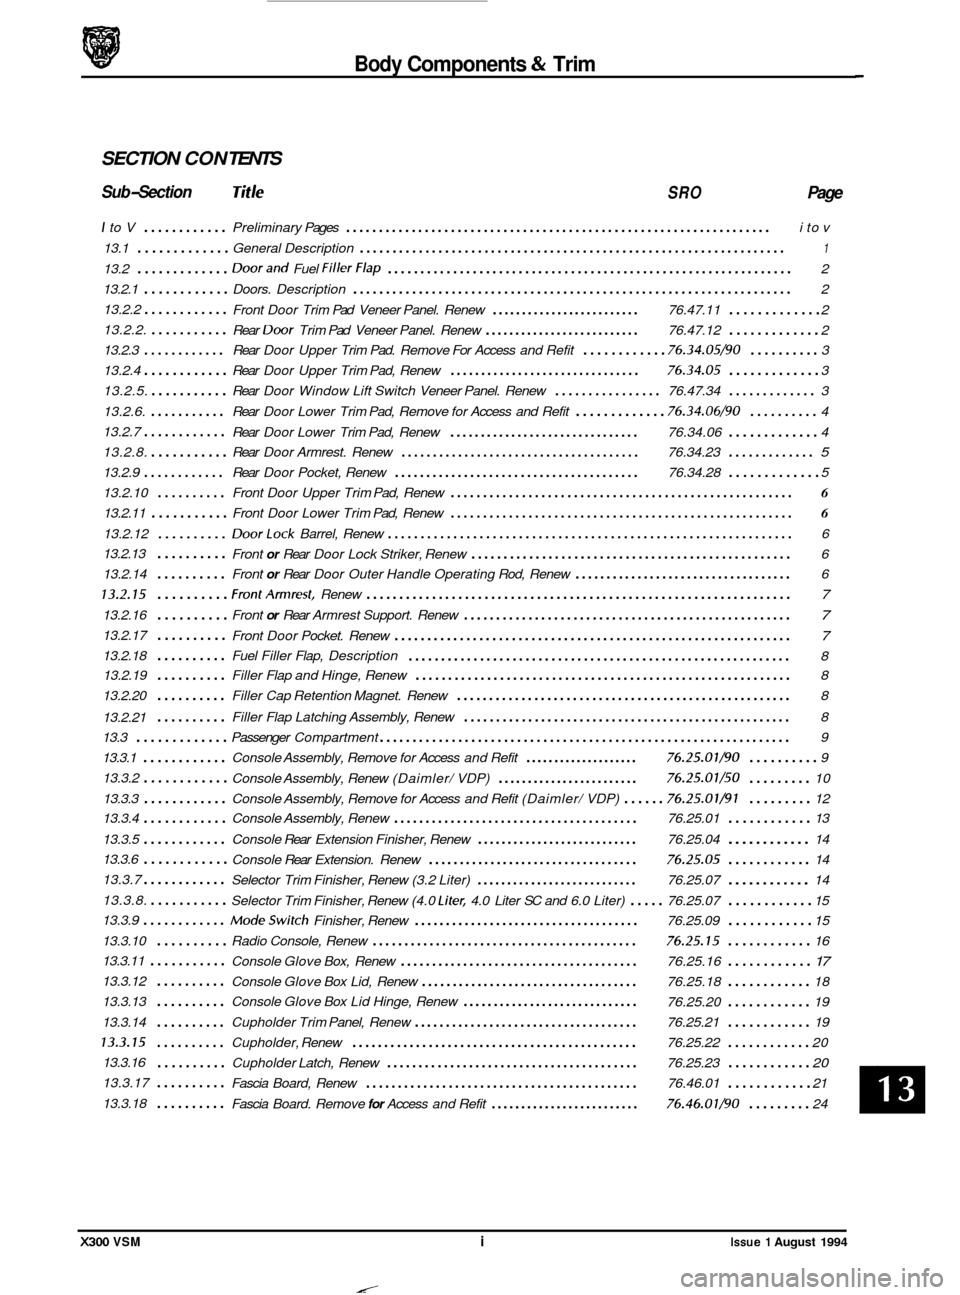
.......... Radio Console, Renew .......................................... 76.25.15 ............ 16
Console Glove Box, Renew
...................................... 76.25.16 ............ 17
Console Glove Box Lid, Renew ................................... 76.25.18 ............ 18
.......... Console Glove Box Lid Hinge, Renew ............................. 76.25.20 ............ 19
13.3.14
.......... Cupholder Trim Panel, Renew .................................... 76.25.21 ............ 19
13.3.15 .......... Cupholder, Renew ............................................. 76.25.22 ............ 20
.......... Cupholder Latch, Renew ........................................ 76.25.23 ............ 20
Fascia Board, Renew ........................................... 76.46.01 ............ 21
13.3.6
............ Console
Rear Extension. Renew .................................. 76.25.05 ............ 14
13.3.7
............
13.3.8. ........... Selector Trim Finisher, Renew (4.0 Liter, 4.0 Liter SC and 6.0 Liter) ..... 76.25.07 ............ 15
13.3.9
............
............
13.3.11 ...........
13.3.12
13.3.13 ..........
13.3.16
13.3.17
..........
13.3.18 .......... Fascia Board. Remove for Access and Refit ......................... 76.46.01/90 ......... 24
X300 VSM i Issue 1 August 1994
Page 256 of 521

Body Components & Trim
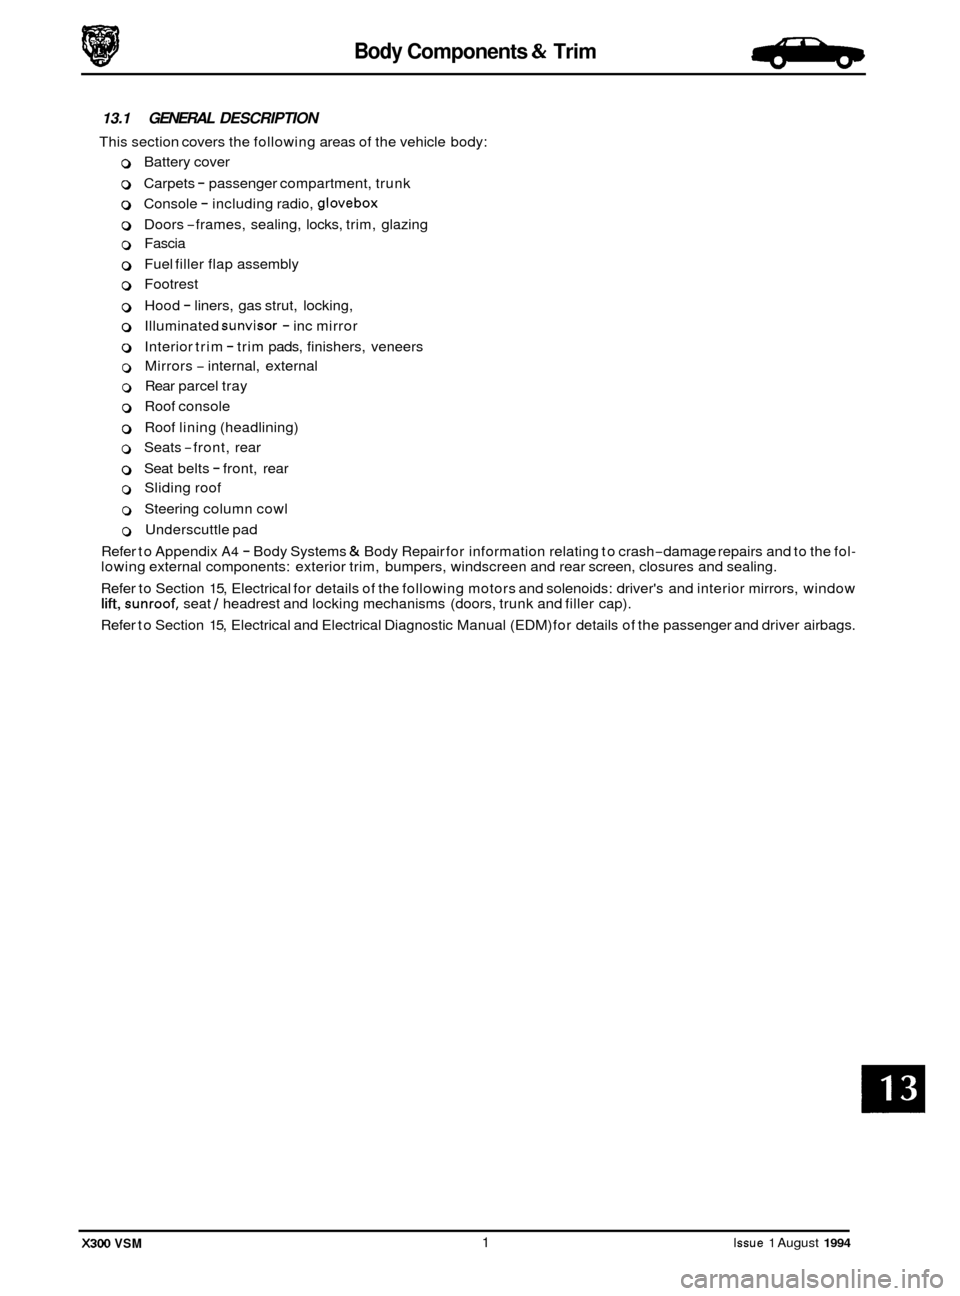
13.1 GENERAL DESCRIPTION
This section covers the following areas of the vehicle body:
0 Battery cover
0 Carpets - passenger compartment, trunk
0 Console - including radio, glovebox
0 Doors -frames, sealing, locks, trim, glazing
0 Fascia
0 Fuel filler flap assembly
0 Footrest
0 Hood - liners, gas strut, locking,
0 Illuminated sunvisor - inc mirror
0 Interior trim - trim pads, finishers, veneers
0 Mirrors - internal, external
0 Rear parcel tray
0 Roof console
0 Roof lining (headlining)
o Seats -front, rear -
0 Seat belts - front, rear
0 Sliding roof
0 Steering column cowl
0 Underscuttle pad
Refer to Appendix
A4 - Body Systems & Body Repair for information relating to crash-damage repairs and to the fol- lowing external components: exterior trim, bumpers, windscreen and rear screen, closures and sealing.
Refer to Section 15, Electrical for details of the following motors and solenoids: driver's and interior mirrors, window
lift, sunroof, seat / headrest and locking mechanisms (doors, trunk and filler cap).
Refer to Section 15, Electrical and Electrical Diagnostic Manual (EDM) for details of the passenger and driver airbags.
X300 VSM 1 Issue 1 August 1994
Page 264 of 521

Body Components & Trim
13.3 PASSENGER COMPARTMENT
13.3.1
SRO 76.25.01/90
9 Remove the battery cover. Disconnect the battery.
* Remove the drivers side underscuttle pad, see sub-sec- tion 13.3.19.
. Remove the passenger side underscuttle pad, see sub- section 13.3.20.
Remove the console ashtray, see sub-section 13.3.28.
. Remove the console finisher veneer panel, see sub-sec- tion 13.3.24.
. Remove the radio console, see sub-section 13.3.10.
. Remove the fascia center veneer panel, see sub-section
9 Undo and remove the console upper securing screws.
. Displace and reposition the rear air distribution outlet box.
. Disconnect the cigar lighter multi-plug (where fitted).
. Disconnect the security system valet switch harness
mult i-plug ,
9 Remove the rear air distribution outlet box.
. Undo and removethecenter console rear mounting secur- ing screw.
Displace and remove the console assembly and place on
the bench.
. Place the console in position in the vehicle.
. Fit and tighten the console front securing screws.
. Fit and tighten the console rear securing screw.
. Reconnect the security system valet switch multi-plug.
. Place the air distribution outlet in position.
. Connect the rear cigar lighter harness multi-plug (where
. Fit and fully seat the air distribution outlet.
. Refit the fascia center veneer panel.
Refit the radio console.
. Refit the console finisher veneer panel.
Console Assembly - Remove For Access And
Refit
13.3.23.
fitted).
Refit the console ashtray.
Refit the underscuttle pads.
. Reconnect the battery. Refit the battery cover.
X300 VSM 9 Issue 1 August 1994
Page 265 of 521

Body Components & Trim -
13.3.2
SRO 76.25.01/50
. Remove the console rear extension finisher, see sub-sec-
. Remove the console rear extension veneer panel, see sub-
. Remove the console rear extension, see sub-section
. Remove the drivers side underscuttle pad, see sub-sec-
. Remove the passenger side underscuttle pad, see sub-
. Remove the console ashtray, see sub-section 13.3.28.
. Remove the console finisher veneer panel, see sub-sec-
. Remove the radio console, see sub-section 13.3.10.
Remove the fascia center veneer panel, see sub-section
Undo and remove the console upper securing screws.
. Displace and reposition the rear air distribution outlet box.
. Disconnect the cigar lighter multi-plug (where fitted).
. Disconnect the security system valet switch harness
multi
-plug.
. Remove the air distribution outlet box.
9 Undo and remove the center console rear mounting secur- ing screw.
. Displace and remove the console assembly and place on
the bench.
. Displace and remove the spire clips from the console as- sembly.
. Open the glove box lid.
. Remove the glove box lid latch.
. Undo and remove the glove box lid rear securing screws.
. Displace and remove the glove box lid /glove box assem- bly.
. Place the console aside.
. Place the new console to the front.
. Fit and align the glove box lid /glove box assembly.
. Fit but do not fully tighten the glove box lid securing screw.
. Close the glove box lid and check the adjustment.
. Open and adjust the lid.
. Finally tighten the securing screws.
. Fit and align the glove box lid latch.
. Close the glove box lid.
. Fit and align the spire clips to the console.
Console Assembly - Renew (Daimler / VDP)
Remove the battery cover. Disconnect the battery.
tion 13.3.5.
section 13.3.27.
13.3.6.
tion 13.3.19.
section
13.3.20.
tion 13.3.24.
13.3.23.
Issue 1 August 1994 10 X300 VSM
Page 266 of 521

Body Components & Trim -
. Place the console in position in the vehicle.
. Fit and tighten the front securing screws.
. Fit and tighten the rear securing screw.
. Reconnect the security system valet switch multi-plug.
= Place the air distribution outlet in position.
. Connect the rear cigar lighter harness multi-plug (where
9 Fit and fully seat the air distribution outlet.
Refit the fascia center veneer panel.
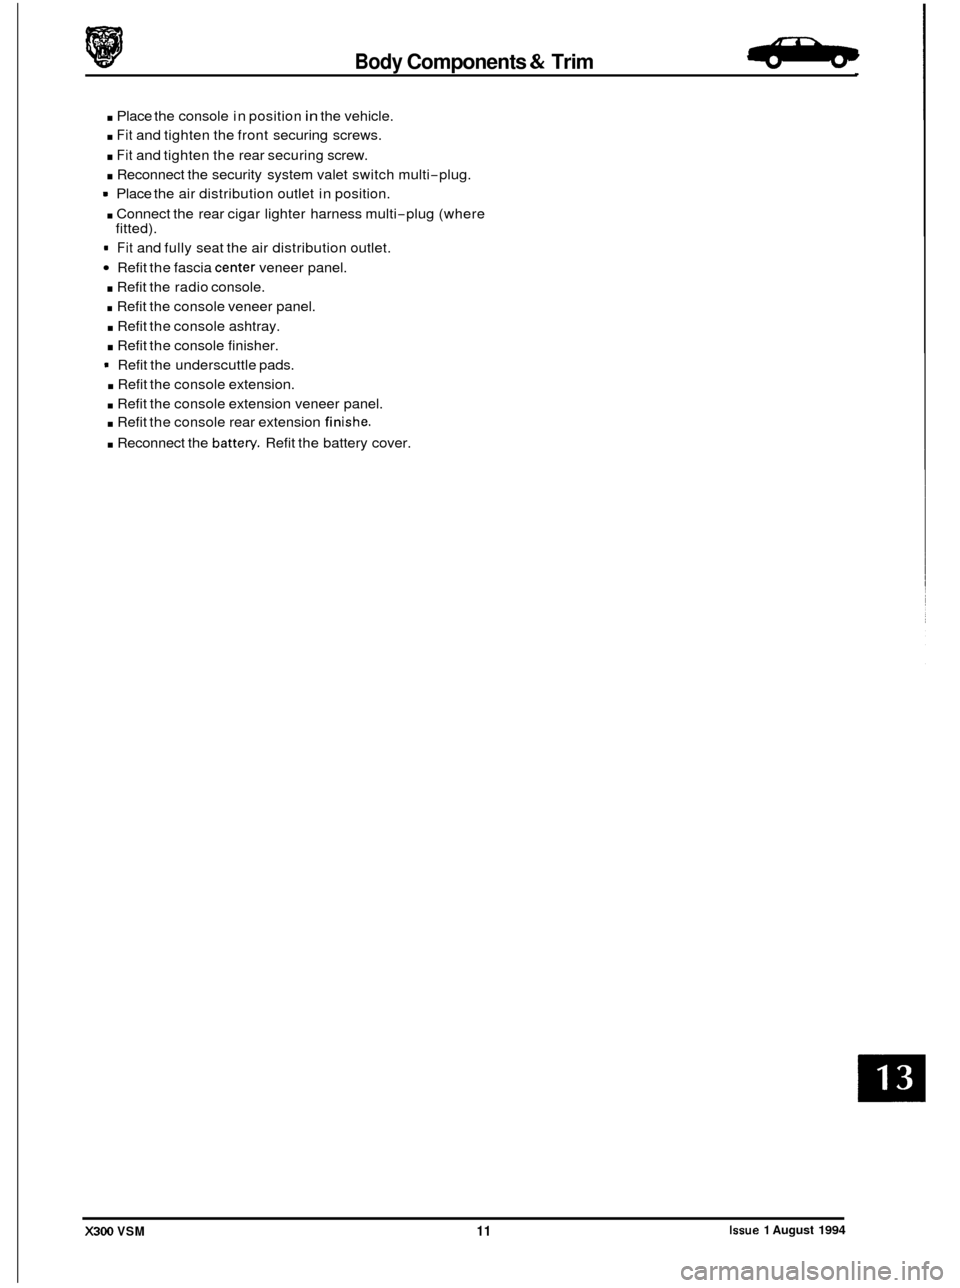
. Refit the radio console.
. Refit the console veneer panel.
. Refit the console ashtray.
. Refit the console finisher.
9 Refit the underscuttle pads.
. Refit the console extension.
. Refit the console extension veneer panel.
. Refit the console rear extension finishe.
. Reconnect the batten/. Refit the battery cover.
fitted).
Issue 1 August 1994 X300 VSM 11
Page 267 of 521

Body Components & Trim
0 13.3.3
SRO 76.25.01/91
. Remove the battery cover. Disconnect the battery.
. Remove the console rear extension finisher, see sub-sec-
8 Remove the console rear extension veneer panel, see sub-
. Remove the console rear extension, see sub-section
. Remove the drivers side underscuttle pad, see sub-sec-
. Remove the passenger side underscuttle pad, see sub-
. Remove the console ashtray, see sub-section 13.3.28.
. Remove the console finisher veneer panel, see sub-sec-
. Remove the radio console, see sub-section 13.3.10.
. Remove the fascia center veneer panel, see sub-section 13.2.23.
Undo and remove the console upper securing screws.
. Displace and reposition the rear air distribution outlet box.
. Disconnect the cigar lighter multi-plug (where fitted).
. Disconnect the security system valet switch harness
multi
-plug.
. Remove the air distribution outlet box.
. Undo and remove the center console rear mounting secur-
ing screw.
. Displace and remove the console assembly and place on
the bench.
. Place the console in position in the vehicle.
. Fit and tighten the front securing screws.
. Fit and tighten the rear securing screw.
. Reconnect the security system valet switch multi-plug.
Place the air distribution outlet in position.
. Connect the rear cigar lighter harness multi-plug (where
. Fit and fully seat the air distribution outlet.
Refit the center vent veneer panel assembly.
Refit the radio console.
. Refit the console veneer panel.
. Refit the console ashtray.
. Refit the console finisher.
. Refit the underscuttle pads.
. Refit the console extension.
. Refit the console extension veneer panel.
. Refit the console rear finishe.
. Reconnect the battery. Refit the battery cover.
Console Assembly - Remove For Access And
Refit (Daimler
/ VDP)
tion 13.3.5.
section 13.3.27.
13.3.6.
tion 13.3.19.
section 13.3.20.
tion 13.3.24.
0
fitted).
0
m
0
X300 VSM Issue 1 August 1994 12
Page 268 of 521

Body Components & Trim -
0 13.3.4 Console Assembly, Renew
SRO 76.25.01
. Remove the battery cover. Disconnect the battery.
. Remove the drivers side and passenger side underscuttle
pads, see subsections 13.3.19 and 13.3.20.
Remove the console ashtray, see sub-section 13.3.28.
. Remove the console finisher veneer panel, see sub-sec-
tion 13.3.24.
. Remove the radio console, see sub-section 13.3.10.
. Remove the fascia center veneer panel, see sub-section
. Undo and remove the console upper securing screws.
. Displace and reposition the rear air distribution outlet box.
. Disconnect the cigar lighter multi-plug (where fitted).
. Disconnect the security system valet switch multi-plug.
. Remove the rear air distribution outlet box.
. Disconnect the security system valet switch multi-plug.
. Remove the rear air distribution outlet box.
. Undo and remove the center console rear mounting secur- ing screw.
. Remove the console assembly and place on the bench.
. Displace and remove spire clips from console assembly.
. Open the glove box lid.
. Remove the glove box lid latch.
Undo and remove glove box lid rear securing screws.
Displace and remove glove box lid / glove box assembly.
. Place the console aside.
Place the new console to the front.
. Fit and align the glove box lid /glove box assembly.
. Fit but do not fully tighten the glove box lid securing screw.
. Close the glove box lid and check the adjustment.
Open and adjust the glove box
lid.
. Finally tighten the lid securing screws.
. Fit and align the glove box lid latch.
. Close the glove box lid.
. Fit and align the spire clips to the console.
. Place the console in position in the vehicle.
. Fit and tighten the console front securing screws.
Fit and tighten the console rear securing screw.
. Reconnect the security system valet switch multi-plug.
. Place the air distribution outlet in position.
Connect rear cigar lighter harness multi-plug (if fitted).
Fit and fully seat the air distribution outlet.
. Refit fascia center veneer panel.
Refit the radio console.
. Refit the console finisher veneer panel.
. Refit the console ashtray.
9 Refit underscuttles.
. Reconnect the battery.
. Refit the battery cover.
13.3.23.
Issue 1 August 1994 X300 VSM 13