1994 CHEVROLET SUBURBAN reset
[x] Cancel search: resetPage 96 of 385
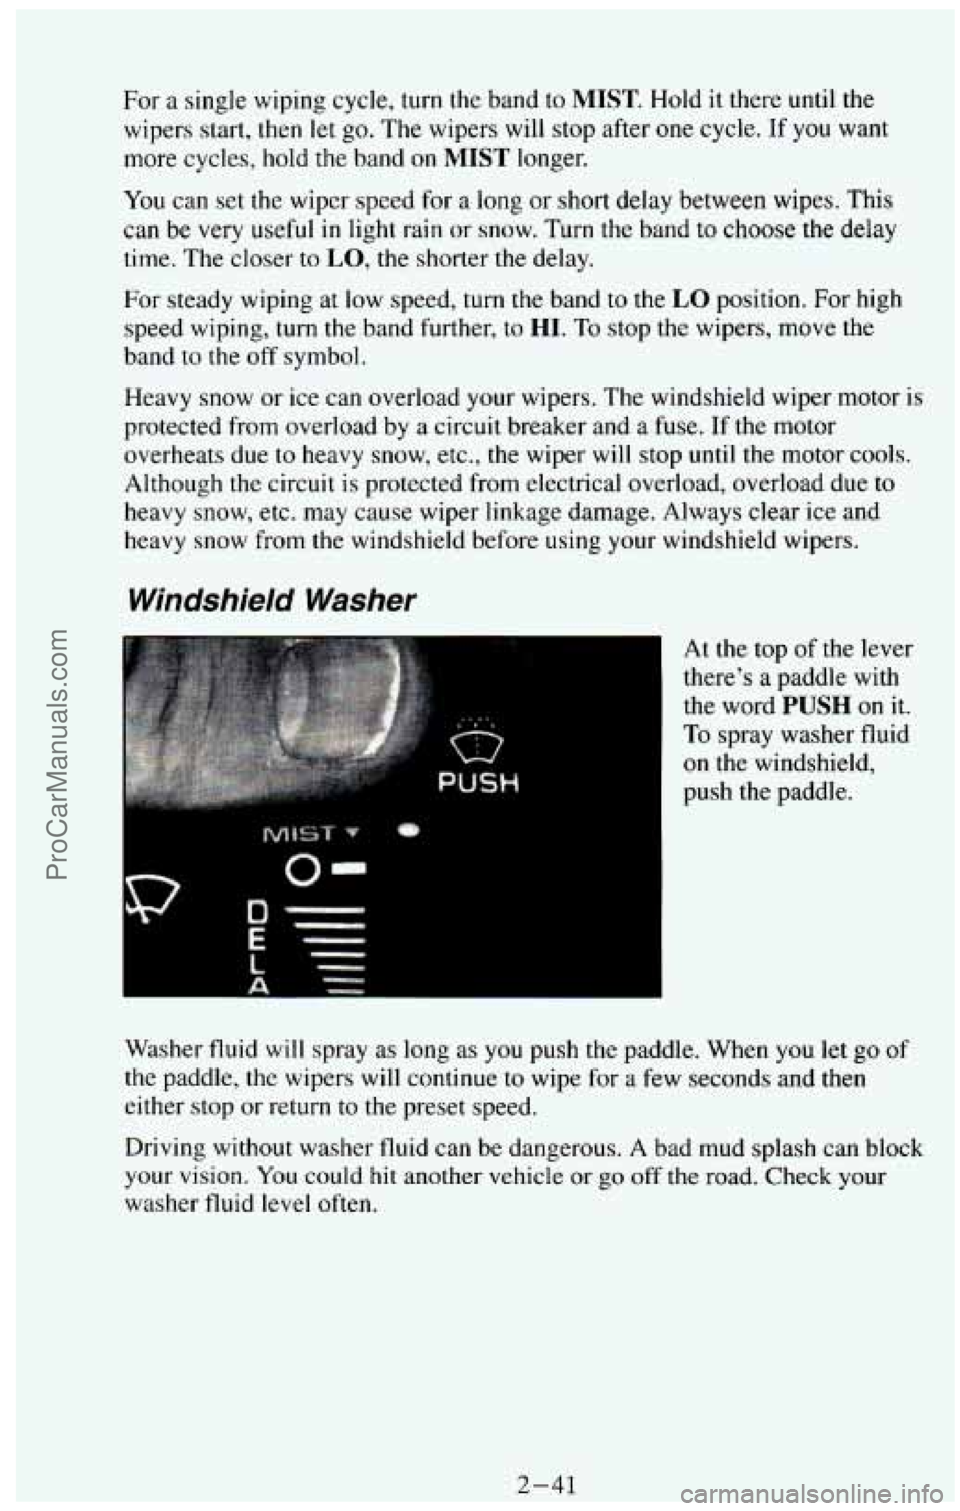
For a single wiping cycle, turn the band to MIST. Hold it there until the
wipers start, then let go.
The wipers will stop after one cycle. If you want
more cycles, hold
the band on MIST longer.
You can set the wiper speed for a long or short delay between wipes. This
can be very
useful in light rain or snow. Turn the band to choose the delay
time.
The closer to LO, the shorter the delay.
For steady wiping at low speed, turn the band to the LO position. For high
speed wiping, turn the band further, to
HI. To stop the wipers, move the
band to the off symbol.
Heavy snow or ice can overload your wipers.
The windshield wiper motor is
protected from overload by a circuit breaker and a
fuse. If the motor
overheats due to
heavy snow, etc., the wiper will stop until the motor cools.
Although
the circuit is protected from electrical overload, overload due to
heavy snow, etc. may cause wiper linkage damage. Always clear ice and
heavy snow from
the windshield before using your windshield wipers.
Windshield Washer
0-
At the top of the lever
there's
a paddle with
the word
PUSH on it.
To spray washer fluid
on the windshield,
push the paddle.
Washer fluid will spray as long
as you push the paddle. When you let go of
the paddle, the wipers will continue to wipe for a few seconds and then
either stop or return
to the preset speed.
Driving without washer fluid can be dangerous. A bad mud splash can block
your vision.
You could hit another vehicle or go off the road. Check your
washer fluid level often.
2-41 ProCarManuals.com
Page 99 of 385
To Resume a Sef Speed
Suppose you set your Cruise Control at a desired speed and then you apply
the brake. This,
of course, shuts off the Cruise Control. But you don’t need
to reset
it.
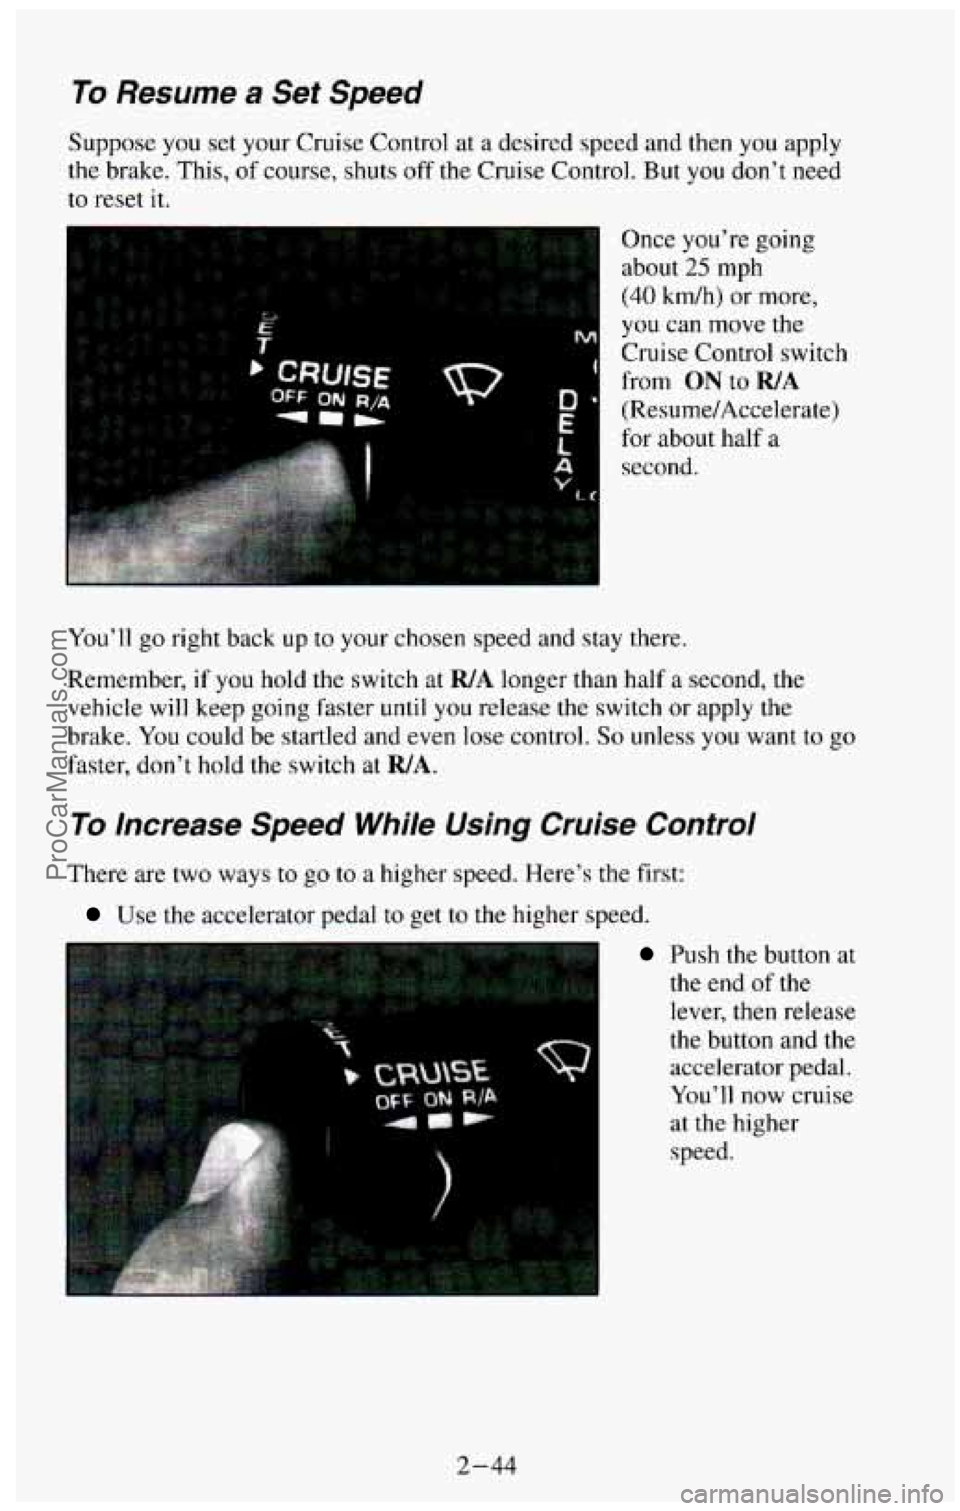
Once you’re going
about
25 mph
(40 km/h) or more,
you can move the
Cruise Control switch
from
ON to WA
(Resume/Accelerate)
for about half a
second.
You’ll go right back
up to your chosen speed and stay there.
Remember, if you hold the switch at
R/A longer than half a second, the
vehicle
will keep going faster until you release the switch or apply the
brake.
You could be startled and even lose control. So unless you want to go
faster, don’t hold the switch at
WA.
To lncrease Speed While Using Cruise Control
There are two ways to go to a higher speed. Here’s the first:
Use the accelerator pedal to get to the higher speed.
Push the button at
the end of
the
lever, then release
the button and the
accelerator pedal.
You’ll
now cruise
at the higher
speed.
2-44
ProCarManuals.com
Page 120 of 385
Speedometer and Odometer
. ..
' -20
MPH
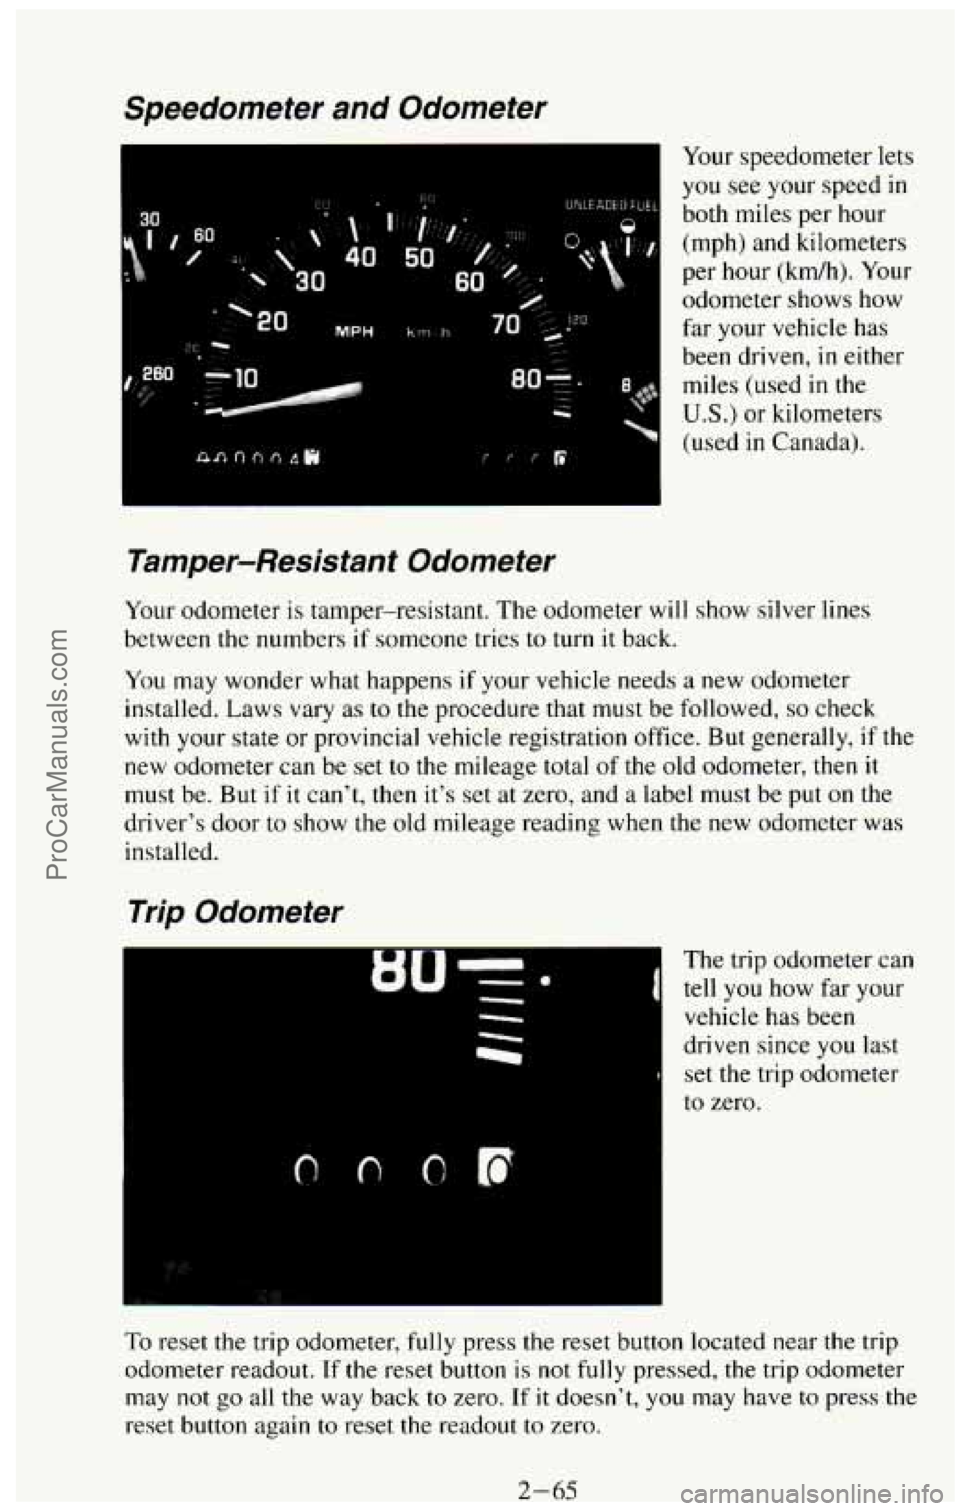
Your speedometer lets
you see your speed in
both miles per hour
(mph) and kilometers
per hour (kdh). Your
odometer shows how
far your vehicle has
been driven, in either
miles (used
in the
US.) or kilometers
(used
in Canada).
Tamper-Resistant Odometer
Your odometer is tamper-resistant. The odometer will show silver lines
between
the numbers if someone tries to turn it back.
You may wonder what happens if your vehicle needs a new odometer
installed. Laws vary
as to the procedure that must be followed, so check
with your state or provincial
vehicle registration office. But generally, if the
new odometer can be set to the mileage total
of the old odometer, then it
must be. But if it can't, then it's set at zero, and a label must be put on the
driver's door to show the old mileage reading when the new odometer was
installed.
Trip Odometer
The trip odometer can
tell you how far your
vehicle has been
driven since
you last
set the trip odometer
to zero.
To reset the trip odometer, fully press the reset button located near the trip
odometer readout.
If the reset button is not fully pressed, the trip odometer
may
not go all the way back to zero. If it doesn't, you may have to press the
reset button again
to reset the readout to zero.
2-65 ProCarManuals.com
Page 151 of 385
TUNE Button
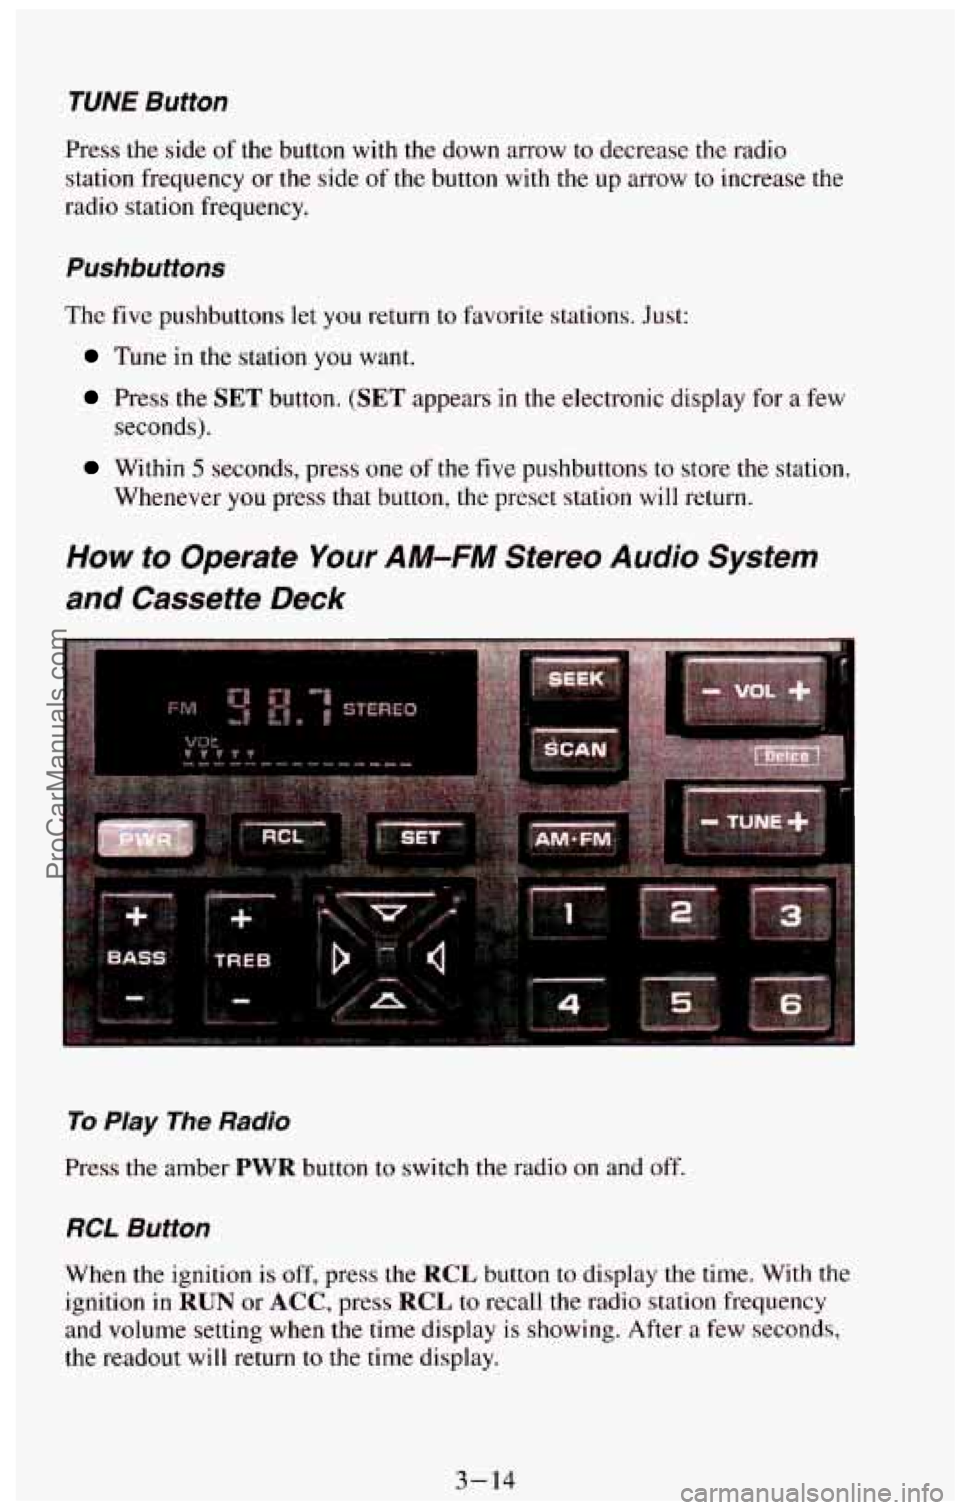
Press the side of the button with the down arrow to decrease the radio
station frequency or
the side of the button with the up arrow to increase the
radio station frequency.
Pushbuttons
The five pushbuttons let you return to favorite stations. Just:
Tune in the station you want.
Press the SET button. (SET appears in the electronic display for a few
Within 5 seconds, press one of the five pushbuttons to store the station.
seconds).
Whenever you press that button, the preset station will return.
How to Operate Your AM-FM Stereo Audio System
and Cassette Deck
To Play The Radio
Press the amber PWR button to switch the radio on and off.
RCL Button
When the ignition is off, press the RCL button to display the time. With the
ignition
in RUN or ACC, press RCL to recall the radio station frequency
and volume setting when the time display is showing. After
a few seconds,
the readout
will return to the time display.
3-14
ProCarManuals.com
Page 153 of 385
Pushbuttons
The six pushbuttons let you return to favorite stations. You can set the
pushbuttons for up to twelve favorite stations
(6 AM and 6 FM). To set the
pushbuttons, just:
Tune in the station you want.
Press the SET button. (SET appears in the electronic display for a few
seconds.)
0 Within 5 seconds, push one of the six pushbuttons to store the station.
After that, whenever
you press that button, the preset station will
re turn.
Clock
To set the clock, just:
a Press the SET button. The word SET will light up in the electronic
display.
0 Within 5 seconds, press and hold the SEEK button until the correct
hour appears
on the display.
Then, press and hold the SCAN button until the correct minute appears
on the display.
display for
a few seconds.
After you set the time, the word SET will remain in the electronic
. ... .. ,
. ., ... . , - . .... .
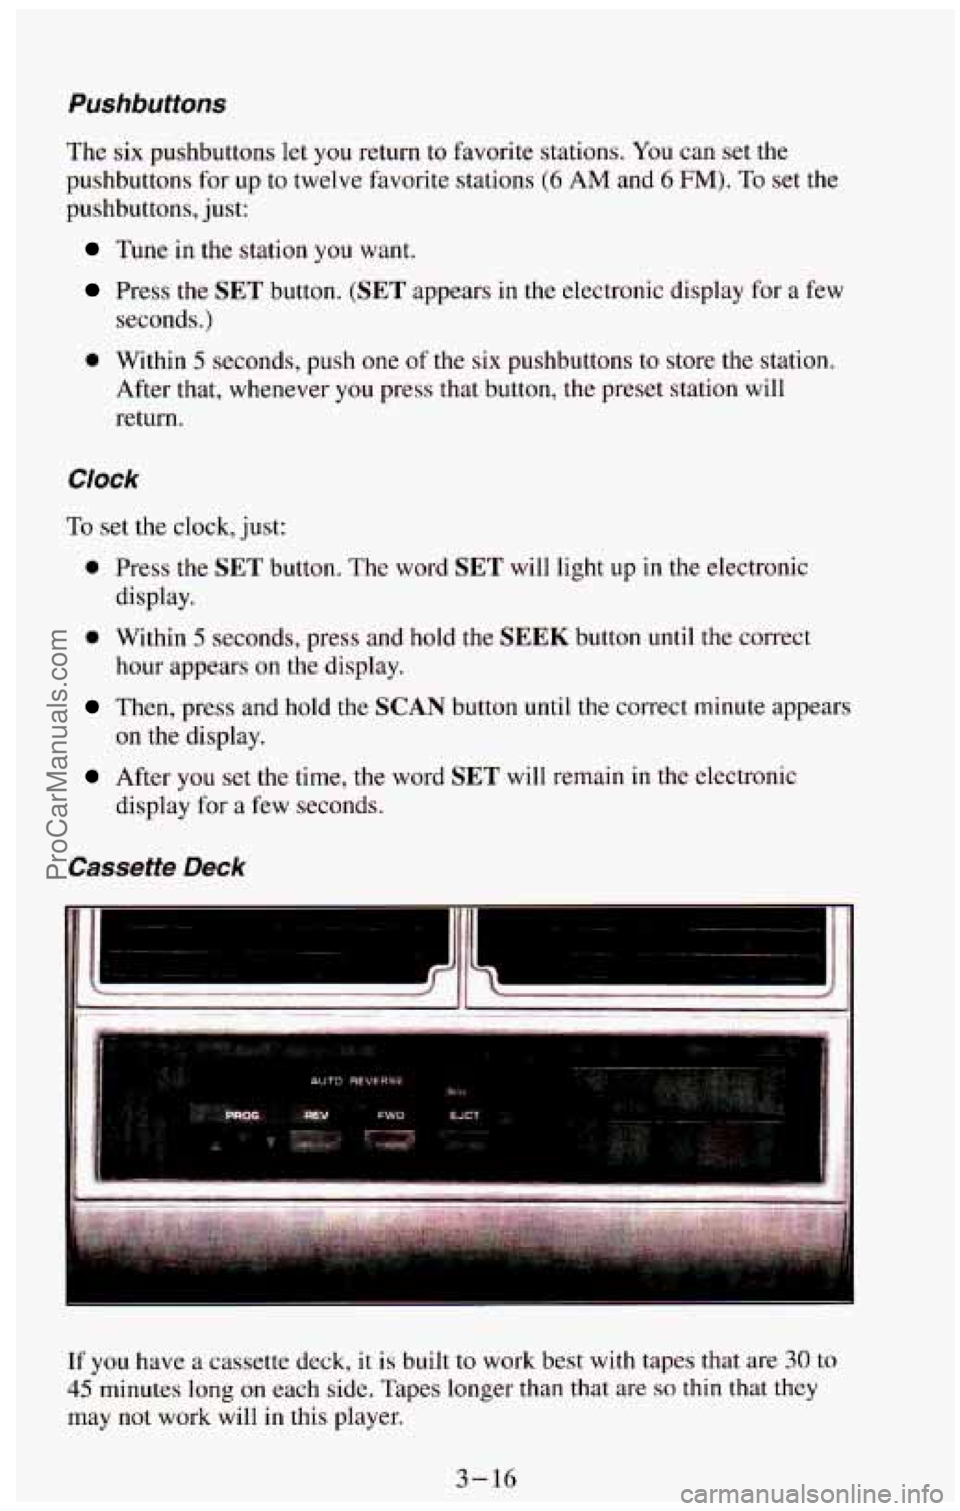
If you have a cassette deck, it is built to work best with tapes that are 30 to
45 minutes long on each side. Tapes longer than that are so thin that they
may not work will in this player.
3-16
ProCarManuals.com
Page 156 of 385
Stereo (AM)
Your Delco@ radio can receive C-QUAM@stereo broadcasts. Many AM
stations around the country use C-QUAM@to produce stereo, though
some
do not. If your Delco@ system can get C-QUAM@ signals, your
“STEREO” light will come on when you are receiving stereo. (C-QUAM@
is a registered trademark of Motorola Inc.).
VOL Button
The VOL button controls the volume. Pressing VOL “+.I’ increases volume;
VOL “-” decreases volume.
TUNE Button
To tune in radio stations, press the TUNE button. TUNE “+” increases
radio station frequency;
TUNE “-’, decreases radio station frequency.
BAUFADE Buttons
To balance and fade the sound between the lefthight or fronthear speakers,
use the four buttons
with the speaker symbols on them. Press the left and
right buttons to adjust the left and right speaker balance. Pressing
the top
and bottom
buttons adjusts the front and rear speaker volume balance, or
fade. The relative balance and fade adjustments are shown on the electronic
display.
Pushbuttons
The six pushbuttons let you return to favorite stations. You can set the
pushbuttons for up to twelve favorite stations (6 AM and 6 FM). To set the
pushbuttons, just:
Tune in the station you want.
Press the SET button. (SET appears in the electronic display for a few
seconds.)
0 Within 5 seconds, push one of the six pushbuttons to store the station.
After that, whenever you press that button, the preset station will
return.
Clock
To set the clock, just:
Press the SET button. The word SET will light up in the electronic
display.
hour appears on the display.
Within 5 seconds, press and hold the SEEK button until the correct
3-19
ProCarManuals.com
Page 285 of 385
Surge Tank Pressure Cap- Diesel Engines
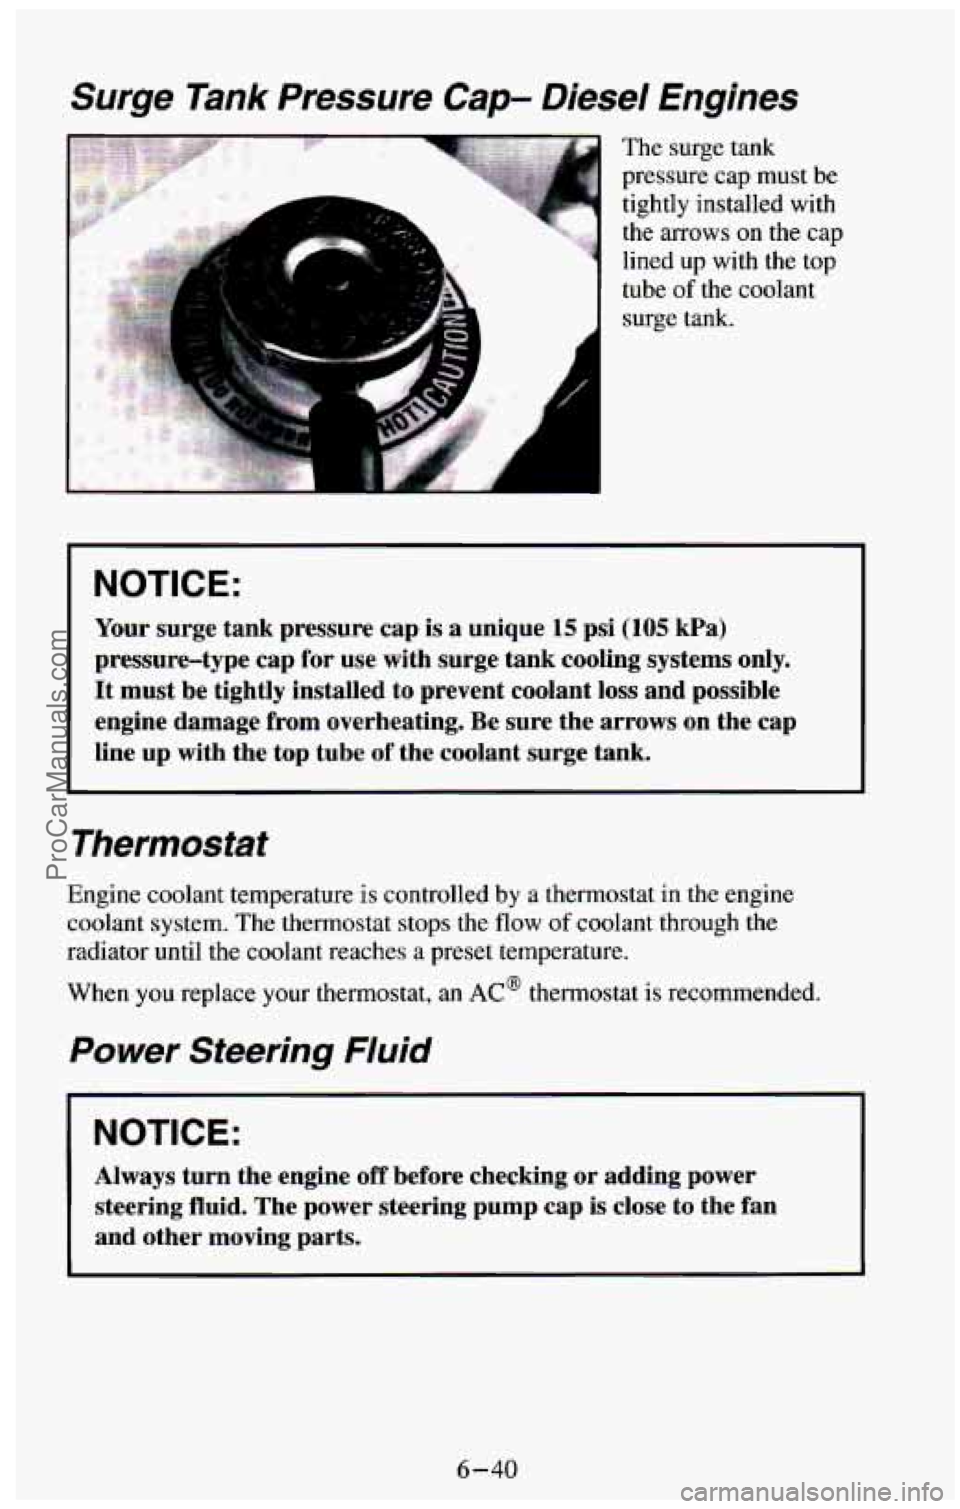
The surge tank
pressure cap must be
tightly installed with
the arrows
on the cap
lined up with the top
tube
of the coolant
surge tank.
NOTICE:
Your surge tank pressure cap 1s a unique 15 psi (105 kPa)
pressure-type cap for use with surge tank cooling systems only.
It must be tightly installed to prevent coolant loss and possible
engine damage from overheating. Be sure the arrows on the cap
line up with the top tube
of the coolant surge tank.
Thermostat
Engine coolant temperature is controlled by a thermostat in the engine
coolant system. The thermostat stops the flow
of coolant through the
radiator until the coolant reaches a preset temperature.
When you replace your thermostat, an
AC@ thermostat is recommended.
Power Steering Fluid
I NOTICE:
Always turn the engine off before checking or adding power
steering
fluid. The power steering pump cap is close to the fan
and other moving parts.
6-40
ProCarManuals.com
Page 312 of 385
Traction - A, B, C
The traction grades, from highest to lowest are: A, B, and C. They represent
the tire’s ability to stop on wet pavement
as measured under controlled
conditions on specified government test surfaces
of asphalt and concrete. A
tire marked C may have poor traction performance.
Warning: The traction grade assigned to this tire is based on braking
(straight-ahead) traction tests and does not include cornering (turning)
traction.
Temperature - A, By C
The temperature grades are A (the highest), B, and C, representing the tire’s
resistance
to the generation of heat and its ability to dissipate heat when tested
under controlled conditions
on a specified indoor laboratory test wheel.
Sustained high temperature can cause the material of the tire to degenerate
and reduce tire life, and excessive temperature can lead to sudden tire failure.
The grade
C corresponds to a level of performance which all passenger car
tires
must meet under the Federal Motor Vehicle Safety Standard No. 109.
Grades B and A represent higher levels of performance on the laboratory test
wheel
than the minimum required by law.
Warning: The temperature grade for this tire is established for a tire that is
properly inflated and not overloaded. Excessive speed, underinflation, or
excessive loading, either separately or in combination, can cause heat
buildup and possible tire failure.
These grades are molded on the sidewalls of passenger car tires.
While the tires available as standard or optional equipment on General
Motors vehicles may vary with respect to these grades, all such tires meet
General Motors performance standards and have been approved for use on
General Motors vehicles. All passenger type
(P Metric) tires must conform
to Federal safety requirements in addition to these grades.
Wheel Alignment and Tire Balance
The wheels on your vehicle were aligned and balanced carefully at the
factory to give you the longest tire life and best overall performance.
In most cases, you will not need to have your wheels aligned again.
However,
if you notice unusual tire wear or your vehicle pulling one way or
the other, the alignment may need to be reset. If you notice your vehicle
vibrating when driving on
a smooth road, your wheels may need to be
rebalanced.
6-67 ProCarManuals.com