1994 CHEVROLET SUBURBAN CD player
[x] Cancel search: CD playerPage 138 of 385
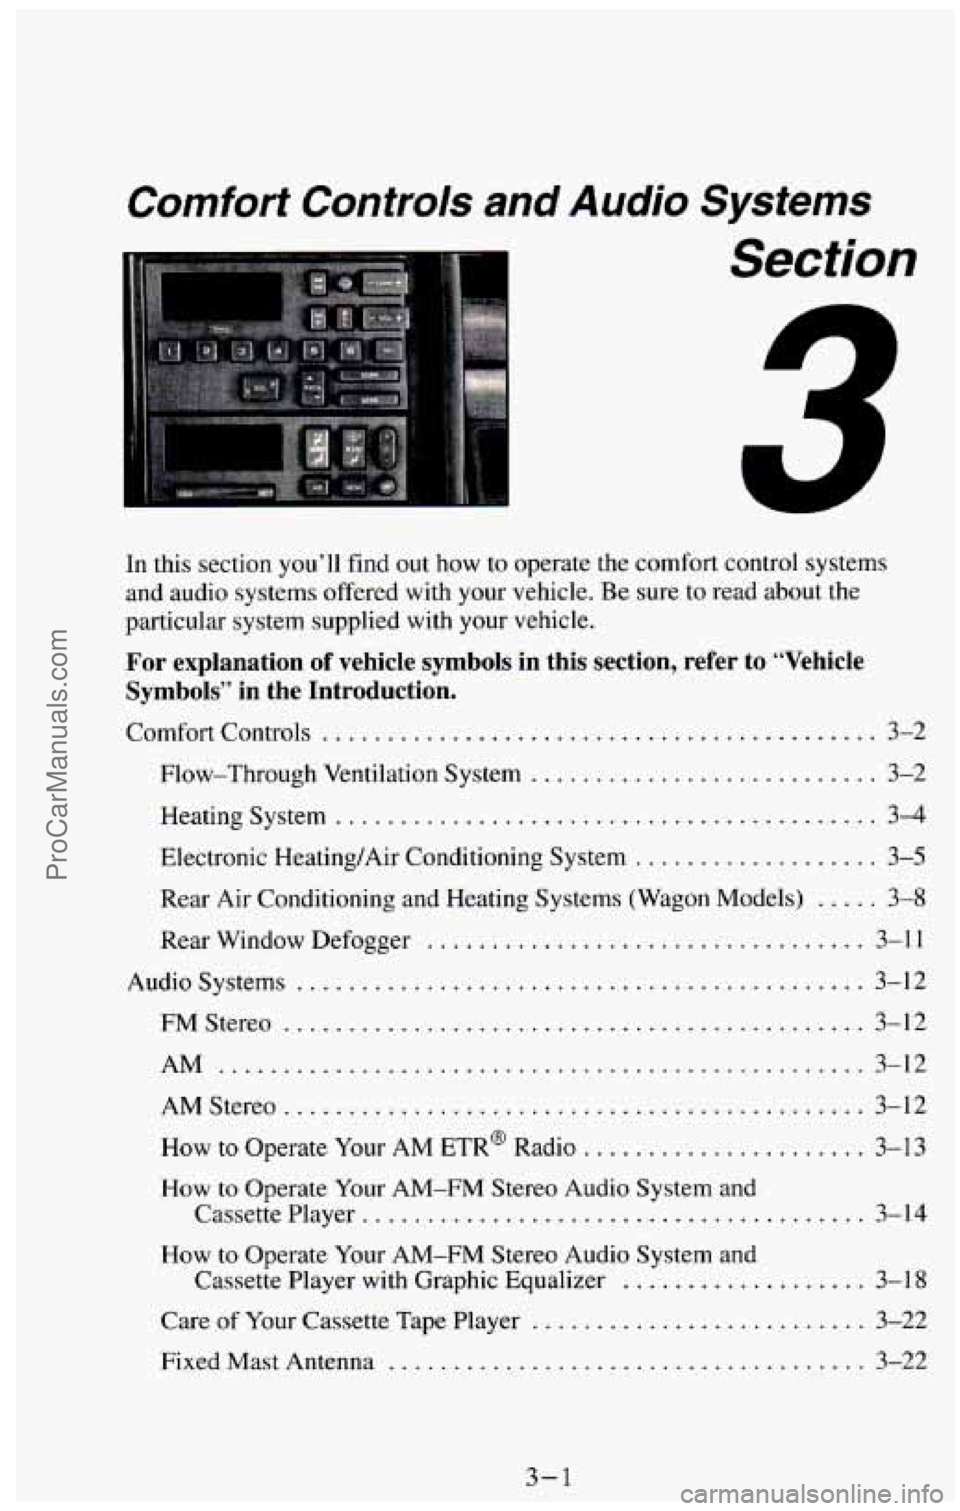
Comfort Controls and Audio Systems
Section
-
In this section you’ll find out how to operate the comfort control systems
and audio systems offered with your vehicle.
Be sure to read about the
particular system supplied with your vehicle.
For explanation of vehicle symbols in this section, refer to “Vehicle
Symbols” in the Introduction.
Comfort Controls . . . . . . . . . . ,
Flow-Through Ventilation System . . .
. . . . . . . . . . * . . . . . 3-2
,................... 3-2
Heating System
. . . . . . . . . . . . . . . . . . . . . . . . . . . . . . . . . . . . . . . . . . 3-4
Electronic Heating/Air Conditioning System . . . . . . . . . . . . . . . . . . . 3-5
Rear Air Conditioning and Heating Systems (Wagon Models)
. . . . . 3-8
Rear Window Defogger , , . . . . . . . . . . . . . . . . . . . . . . . . . . . . 3-11
Audiosystems
............................................ 3-12
FM Stereo . . . . . . . . . . 3-12 ... ..................I...
AM .........................,,....................... 3-12
AMStereo
............................................. 3-12
How to Operate Your AM ETR@ Radio
. . . . . . . . . . . . . . . . . . . . . . 3-13
How to Operate Your AM-FM Stereo Audio System and
Cassette Player
. . . . . . . . . . . . . , . . . . . . . . . . . . . , , . . . . . . . . . 3-14
How to Operate Your AM-FM Stereo Audio System and
Cassette Player with Graphic Equalizer
. . . . . . . . . . . . . . . . . . . 3-1 8
Care of Your Cassette Tape Player . , , , , . . . . . . . . . . . . . . . . . . . 3-22
Fixed Mast Antenna
. . . . . . . . . . ............ 3-22 ...........
3-1
ProCarManuals.com
Page 150 of 385
NOTICE:
Before you add any sound equipment to your vehicle - like a
tape player,
CB radio, mobile telephone or two-way radio - be
sure you can add what you want.
If you can, it’s very important
to do it properly. Added sound equipment may interfere with the
operation of your vehicle’s engine, Delco@ radio or other
systems, and even damage them. And, your vehicle’s systems
may interfere with the operation
of sound equipment that has
been added improperly.
So, before adding sound equipment, check with your dealer and
be sure to check Federal rules covering mobile radio and
telephone units.
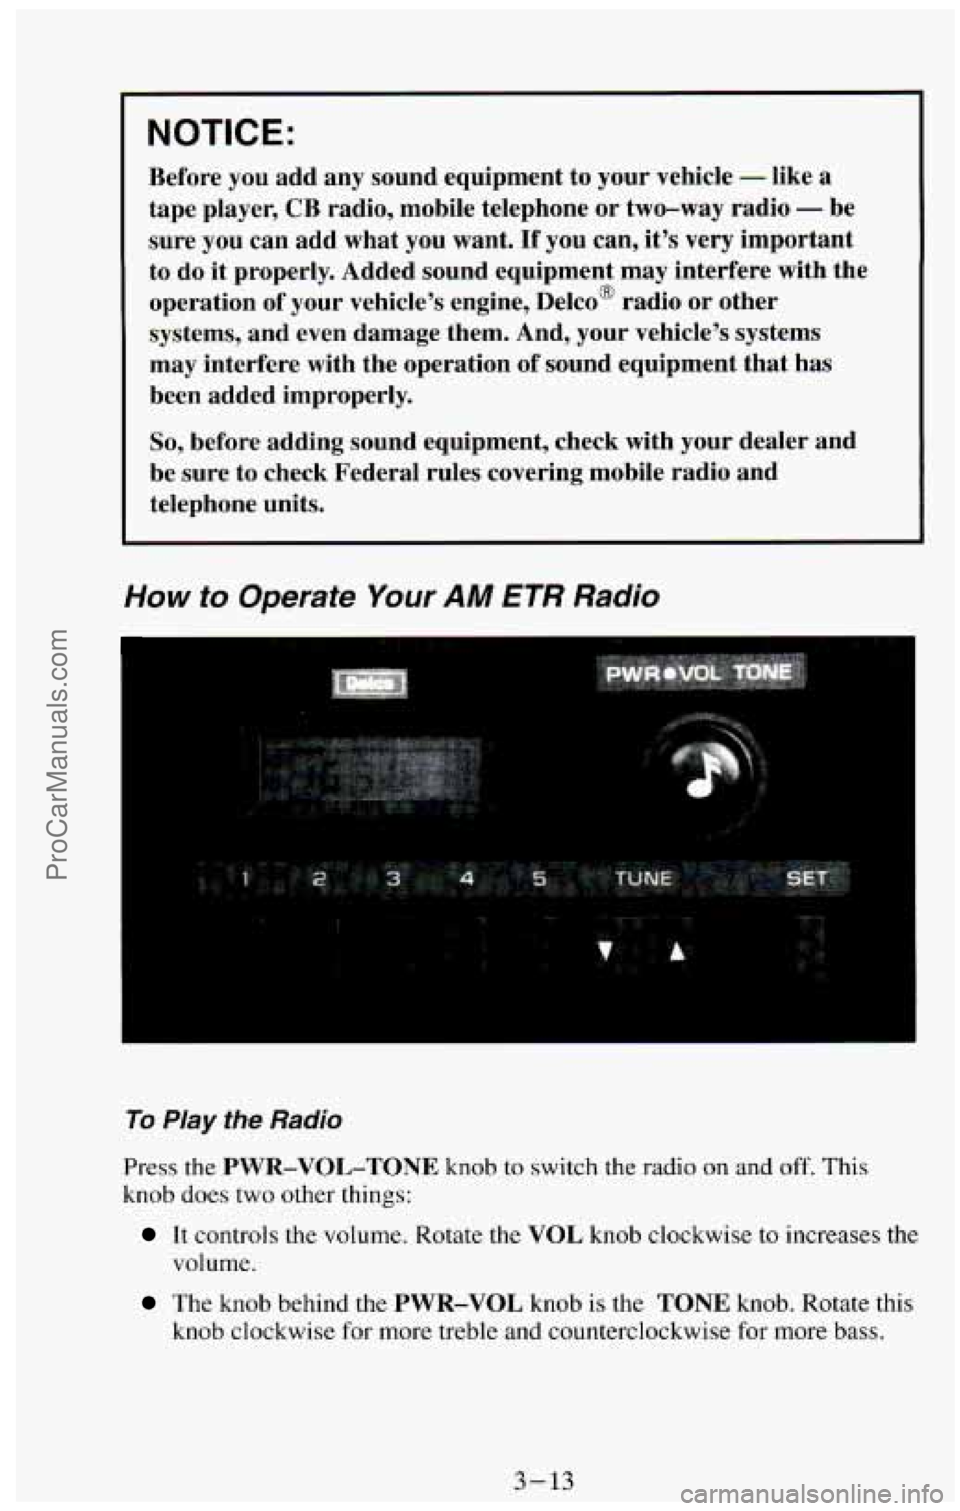
How to Operate Your AM ETR Radio
To Play the Radio
Press the PWR-VOL-TONE knob to switch the radio on and off. This
knob does two other things:
It controls the volume. Rotate the VOL knob clockwise to increases the
volume.
The knob behind the PWR-VOL knob is the TONE knob. Rotate this
knob clockwise
for more treble and counterclockwise for more bass.
3-13
ProCarManuals.com
Page 153 of 385
Pushbuttons
The six pushbuttons let you return to favorite stations. You can set the
pushbuttons for up to twelve favorite stations
(6 AM and 6 FM). To set the
pushbuttons, just:
Tune in the station you want.
Press the SET button. (SET appears in the electronic display for a few
seconds.)
0 Within 5 seconds, push one of the six pushbuttons to store the station.
After that, whenever
you press that button, the preset station will
re turn.
Clock
To set the clock, just:
a Press the SET button. The word SET will light up in the electronic
display.
0 Within 5 seconds, press and hold the SEEK button until the correct
hour appears
on the display.
Then, press and hold the SCAN button until the correct minute appears
on the display.
display for
a few seconds.
After you set the time, the word SET will remain in the electronic
. ... .. ,
. ., ... . , - . .... .
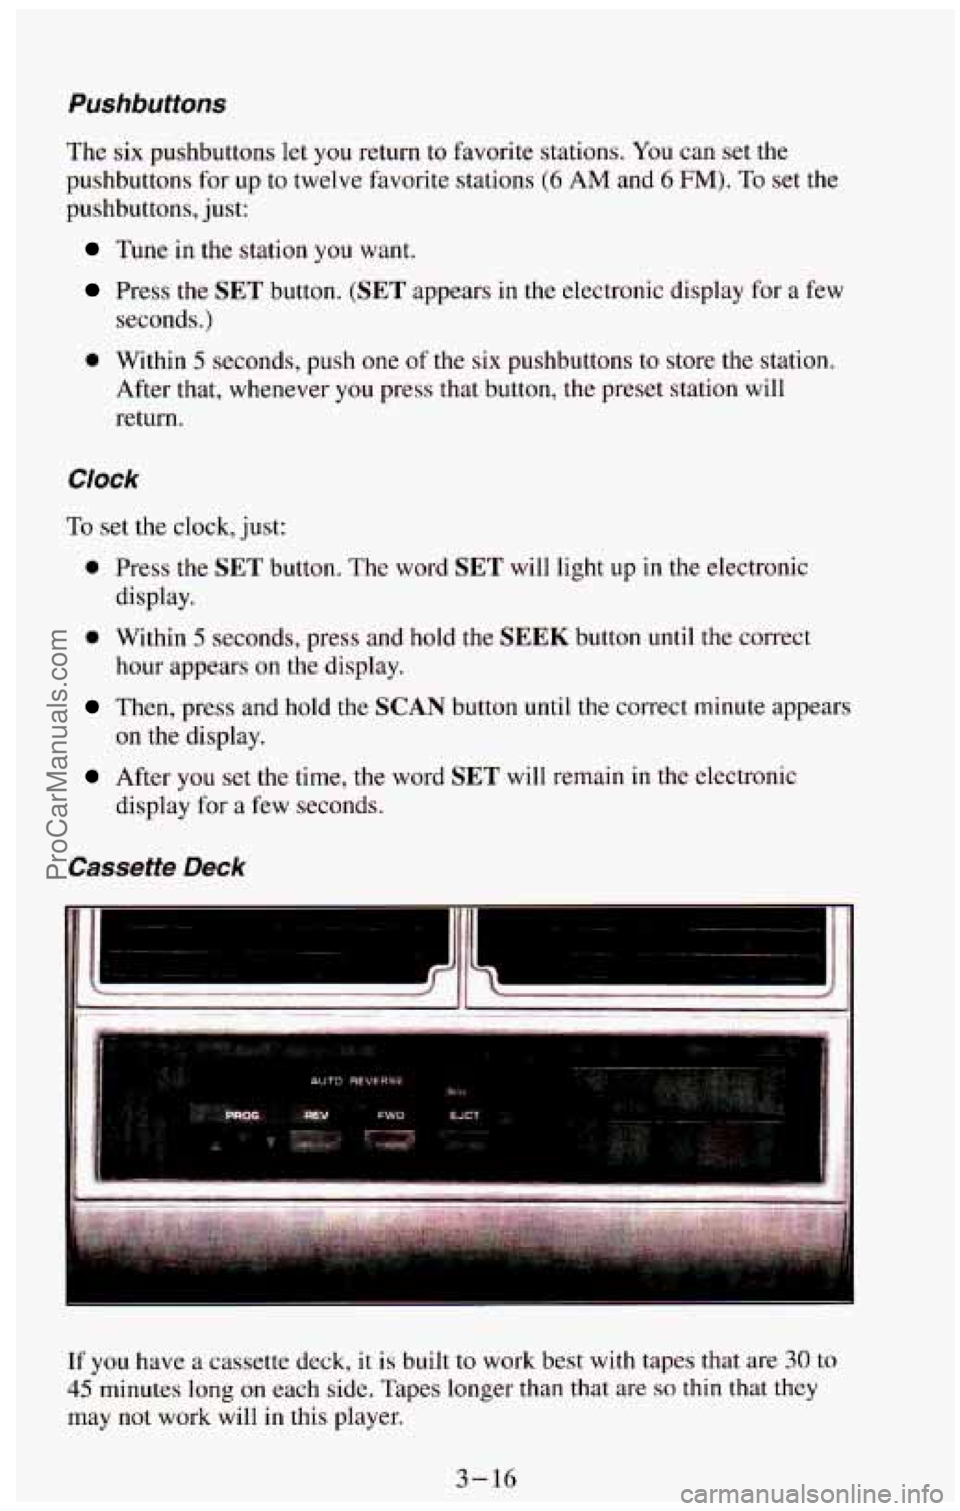
If you have a cassette deck, it is built to work best with tapes that are 30 to
45 minutes long on each side. Tapes longer than that are so thin that they
may not work will in this player.
3-16
ProCarManuals.com
Page 154 of 385
Press the PWR button on the radio to turn the system on. The radio will
play until a cassette is pushed into the cassette entry door (the tape side goes
in first.)
Once the tape
is playing, use the radio control buttons for volume, tone,
balance and fade, just
as you do for the radio. The arrows on the player
indicate which side
of the tape is being played.
PROG
To go from one side of the tape to the other, press the PROG button.
Observe the lighted arrows to determine which side of the tape is being
played.
If a tape is inserted with side “1” (or “A”) up, then the up arrow means that
that side
is being played. Likewise, a down arrow would indicate that side
“2” (or “B”) had been selected. The player will automatically switch to the
other side of the tape when the first side ends.
REV
To rapidly rewind the tape, press the REV button. The tape will rapidly
rewind
until you press either the PROG or EJCT button. If the beginning
of the tape is reached while in the REV mode, play will resume on the same
side of the tape.
FWD
To rapidly advance the tape, press the FWD button. The tape will rapidly
advance
until you press either the PROG or EJCT button. If the end of the
tape is reached while in the
FWD mode, the tape will change direction, and
play will resume on the opposite side of the tape.
EJCT
Press the EJCT button to eject the cassette tape from the player (the radio
will then play).
3-17
ProCarManuals.com
Page 157 of 385
Then, press and hold the SCAN button until the correct minute appears
on the display.
After you set the time, the word SET will remain in the electronic
display for a few seconds.
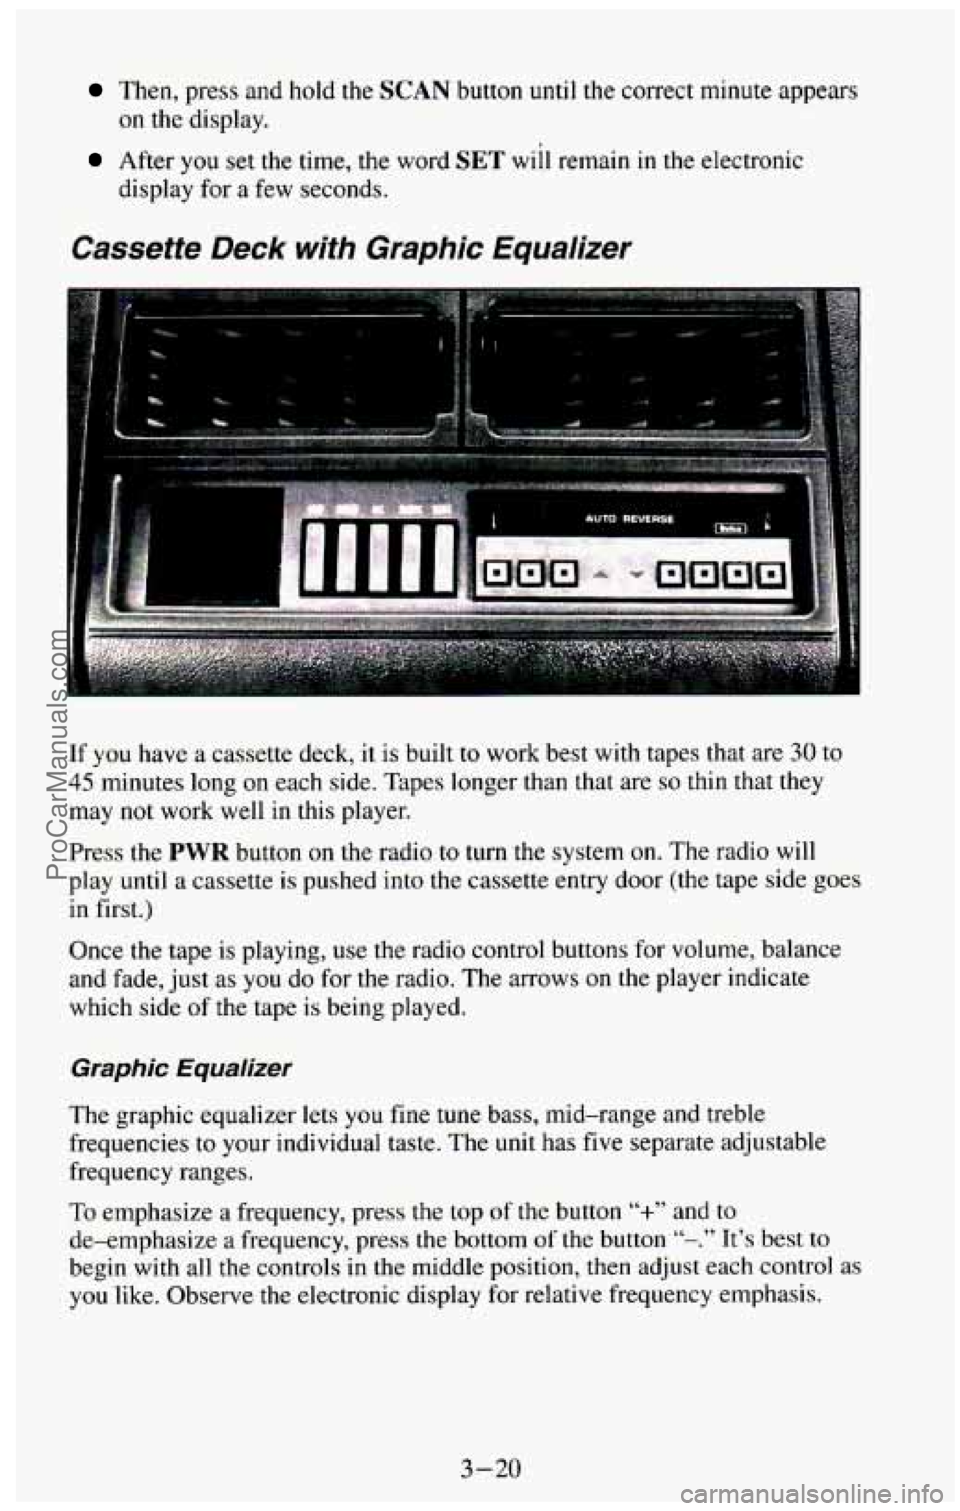
Cassette Deck with Graphic Equalizer
If you have a cassette deck, it is built to work best with tapes that are 30 to
45 minutes long on each side. Tapes longer than that are so thin that they
may not work well in this player.
Press the
PWR button on the radio to turn the system on. The radio will
play until a cassette is pushed into the cassette entry door
(the tape side goes
in first.)
Once the tape is playing,
use the radio control buttons for volume, balance
and fade, just
as you do for the radio. The arrows on the player indicate
which side
of the tape is being played.
Graphic Equalizer
The graphic equalizer lets you fine tune bass, mid-range and treble
frequencies to your individual taste.
The unit has five separate adjustable
frequency ranges.
To emphasize a frequency,
press the top of the button “+” and to
de-emphasize a frequency, press the bottom of the button “-.” It’s best to
begin with all the controls in the middle position, then adjust each control as
you like. Observe the electronic display for relative frequency emphasis.
3-20
ProCarManuals.com
Page 158 of 385
002 Button
For better sound when playing high bias chrome or metal tapes, press the
Cr02 button. The light in the button will be on while the player is in the
Cr02 mode. When playing standard tapes, you will get better sound while
in the standard mode.
If the Cr02 button is lit, press it to return the player
to standard mode (the light will
go out).
PROG Button
To
go from one side of the tape to the other, press the PROG button.
Observe the lighted arrows to determine which side
of the tape is being
played.
If a tape is inserted with side “1” (or “A’) up, then the up arrow means that
that side is being played. Likewise, a down arrow would indicate that side
“2” (or “B”) had been selected. The player will automatically switch to the
other side
of the tape when the first side ends.
EJECT Button
Press the EJECT button to eject the cassette tape from the player (the radio
will then play.)
TAPE
The up arrow and down arrow, below the word TAPE on the cassette deck,
let you know which side of the tape is currently playing. For more
information, see
PROG in this section.
FWD Button
To
rapidly advance the tape, press the FWD button. The light in the button
will be lit and the tape will rapidly advance until you press the
PROG
button or press the FWD button again. If the end of the tape is reached
while in the
F”D mode, the tape will change direction, and play will
resume
on the opposite side of the tape.
SEEK Button
To search for the next selection on the tape, press the SEEK button. The
light in the
SEEK button will be lit and the player will seek the beginning
of the next selection. For the seek mode to stop at the next selection, there
must be at least a 4-second gap between selections
on the tape.
REV Button
To rapidly rewind the tape, press the REV button. The light in the button
will be lit and the tape will rapidly rewind until you press the
PROG button
or press the
REV button again. If the beginning of the tape is reached while
in the REV mode, play will resume on the same side of the tape.
3 -23
ProCarManuals.com
Page 159 of 385
REPT Butfon
Press the REPT button to repeat the currently playing selection on the tape.
For the
REPT mode to repeat a selection, there must be at least a 4-second
gap between selections on the tape.
Care of Your Cassette Tape Player
A tape player that is not cleaned regularly can result in reduced sound
quality, ruined cassettes, or a damaged player mechanism. Cassette tapes
should be stored in their plastic cases away from contaminants, direct
sunlight, and extreme heat. If they aren’t, they may not operate properly or
cause failure
of the tape player.
As regular maintenance, your tape player should be cleaned each month or
after every
15 hours of use. If you notice a reduction in sound quality, try a
known good cassette to see
if the tape or the tape player is at fault. If this
other cassette has
no improvement in sound quality, clean the tape player.
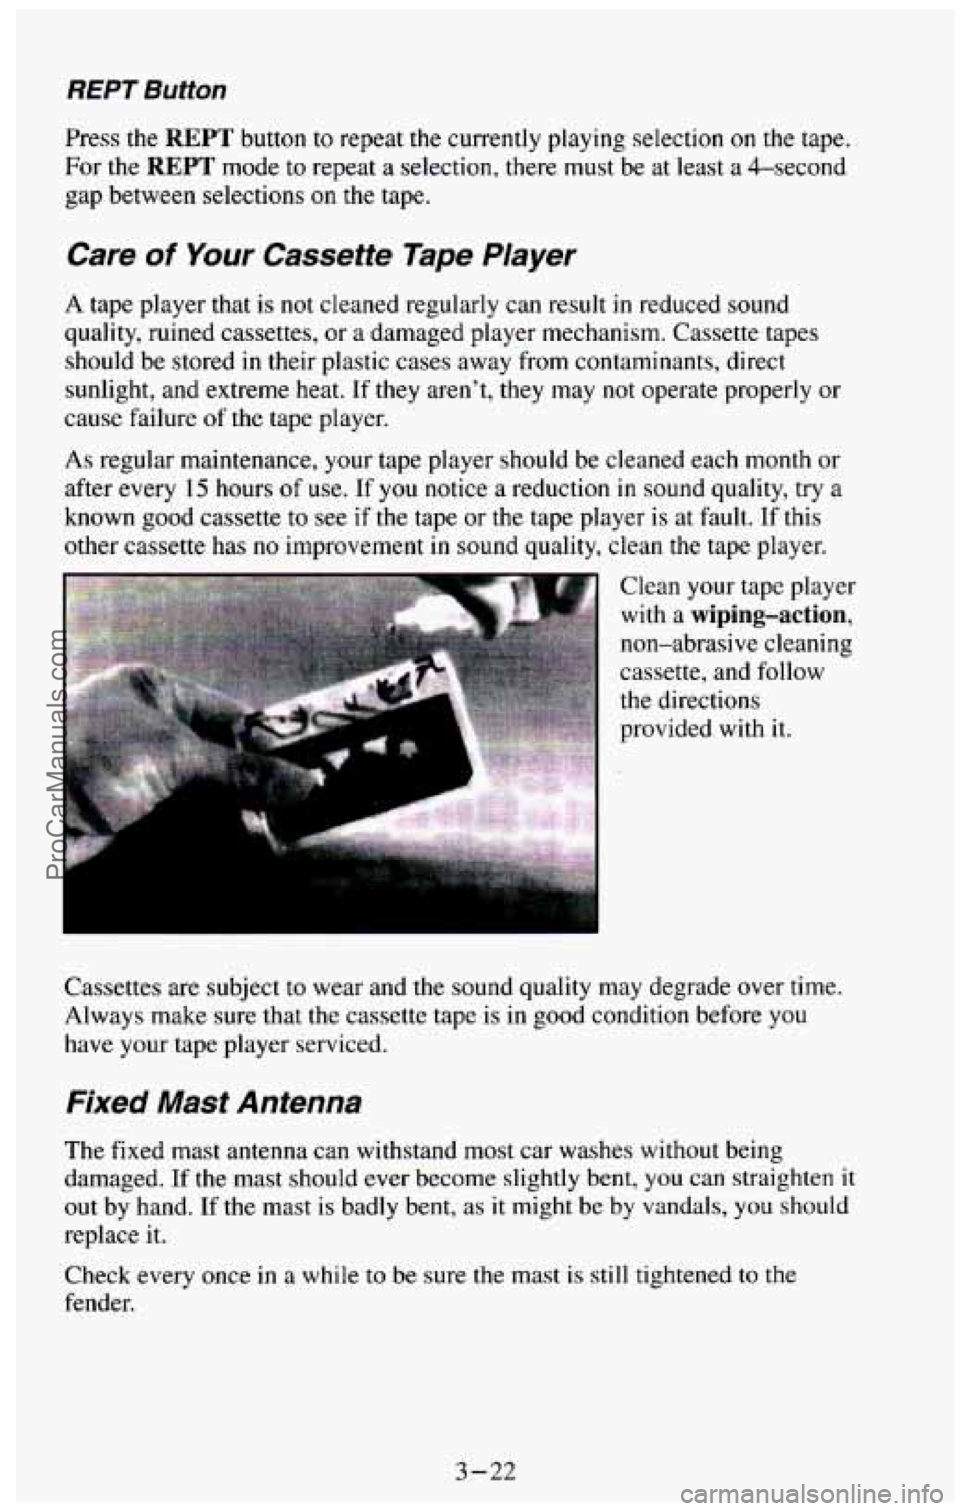
Clean your tape player
with a wiping-action,
non-abrasive cleaning
cassette, and follow
the directions
provided with it.
Cassettes are subject to wear and
the sound quality may degrade over time.
Always make sure that the cassette tape is in
good condition before you
have your tape player serviced.
Fixed Mast Antenna
The fixed mast antenna can withstand most car washes without being
damaged.
If the mast should ever become slightly bent, you can straighten it
out by hand. If the mast is badly bent, as it might be by vandals, you should
replace it.
Check every once
in a while to be sure the mast is still tightened to the
fender.
3-22
ProCarManuals.com
Page 375 of 385
Index
A
Aircleaner ................................................... 6-27
Air Conditioning ............................................ 3.5, 6.83
Rear (Wagon Models)
........................................... 3-8
Refrigerant Capacity
........................................... 6-83
SystemControls
............................................... 3-8
Antenna, Fixed Mast
............................................. 3-22
Alternative Dispute Resolution Program
............................... 8-3
Antilock Brakes (See “Brakes”) System Warning Light 2-68
Appearancecare
................................................ 6-69
Materials
.................................................... 6-77
Audiosystems
.................................................. 3-12
AMRadio
................................................... 3-12
AM-FM Stereo Audio System with Cassette Deck
................... 3-14
AM-FM Stereo Audio System with Cassette Deck and Equalizer
........ 3-18
CassetteDeck
................................................... 3-20
Cassette Tape Player Care
......................................... 3-22
Automatic Transmission
.......................................... 2-21
Fluid
....................................................... 6-28
Axle ..................................................... 2-32, 6-33
Front
....................................................... 6-35
Rear
........................................................ 6-33
RearLockin
e; ................................................. 6-33
B
Battery ........................................................ 6-49
Belts (See “Safety Belts”)
Better Business Bureau
............................................ 8-3
Blizzard
....................................................... 4-33
Brakes
Adjustment
.................................................. 6-45
Antilock
..................................................... 4-6
Antilock Warning Light
........................................ 2-68
Fluid
....................................................... 6-44
Four-wheel Antilock
........................................... 4-7
Hydro-Boost System (Hydraulic Pump) ........................... 642
Master Cylinder
.............................................. 643
Parking
..................................................... 2-26
PedalTravel
................................................. 6-45
Replacing Parts ............................................... 6-46
System Warning Light
......................................... 2-69
Trailer
................................................. 4-36, 440
Wear Indicators
............................................... 645
Braking
......................................................... 4-5
In Emergencies
................................................ 4-7
Break-In, New Vehicle
........................................... 2-11
Bulb Replacement ............................................... 6-50
Replacement Chart
............................................ 6-86
1 ProCarManuals.com