1994 CHEVROLET SUBURBAN open hood
[x] Cancel search: open hoodPage 73 of 385
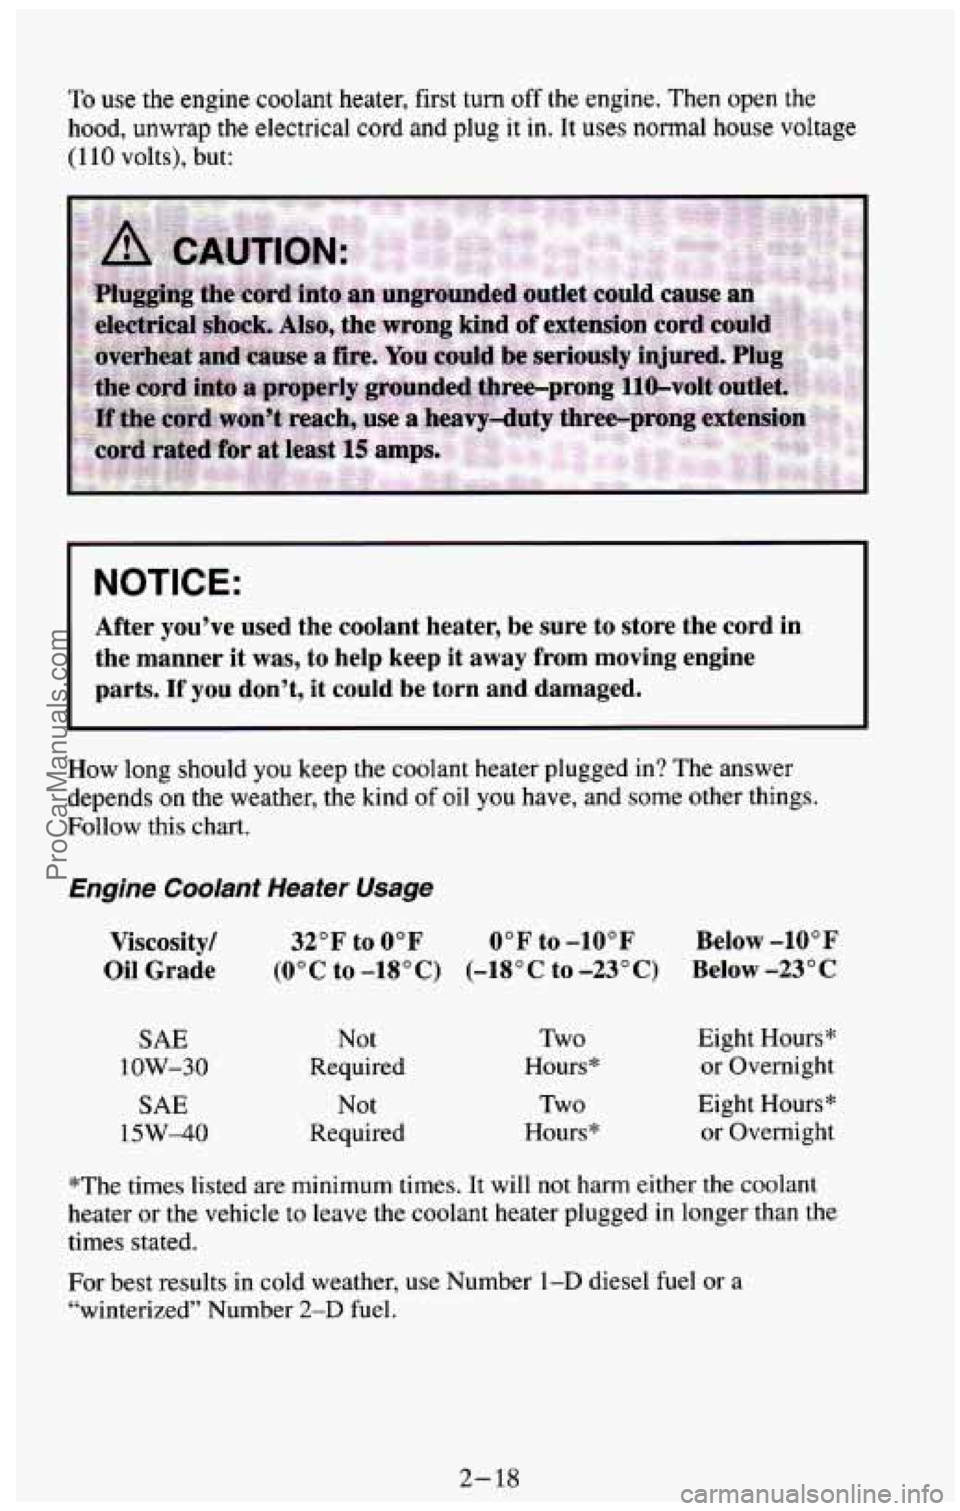
To use the engine coolant heater, first turn off the engine. Then open the
hood, unwrap the electrical cord and plug it in. It uses normal house voltage
(1 10 volts), but:
NOTICE:
After you’ve used the coolant heater, be sure to store the \
cord in
the manner it was, to help keep it away from moving engine
parts.
If you don’t, it could be torn and damaged.
How long should you keep the coolant heater plugged in? The answer
depends
on the weather, the kind of oil you have, and some other things.
Follow this chart.
Engine Coolant Heater Usage
Viscosity/
Oil Grade
SAE
1 OW-30
SAE
15W-40
32°F to 0°F 0°F to -10°F Below -10°F
(o0C to -18°C) (-18°C to-23°C) Below
-23°C
Not
Required
Not
Required Two
Hours*
Two
Hours* Eight Hours*
or Overnight
Eight Hours* or Overnight
*The times listed are minimum times.
It will not harm either the coolant
heater or the vehicle to leave the coolant heater plugged
in longer than the
times stated.
For best results
in cold weather, use Number 1-D diesel fuel or a
“winterized” Number
2-D fuel.
2-18
ProCarManuals.com
Page 75 of 385
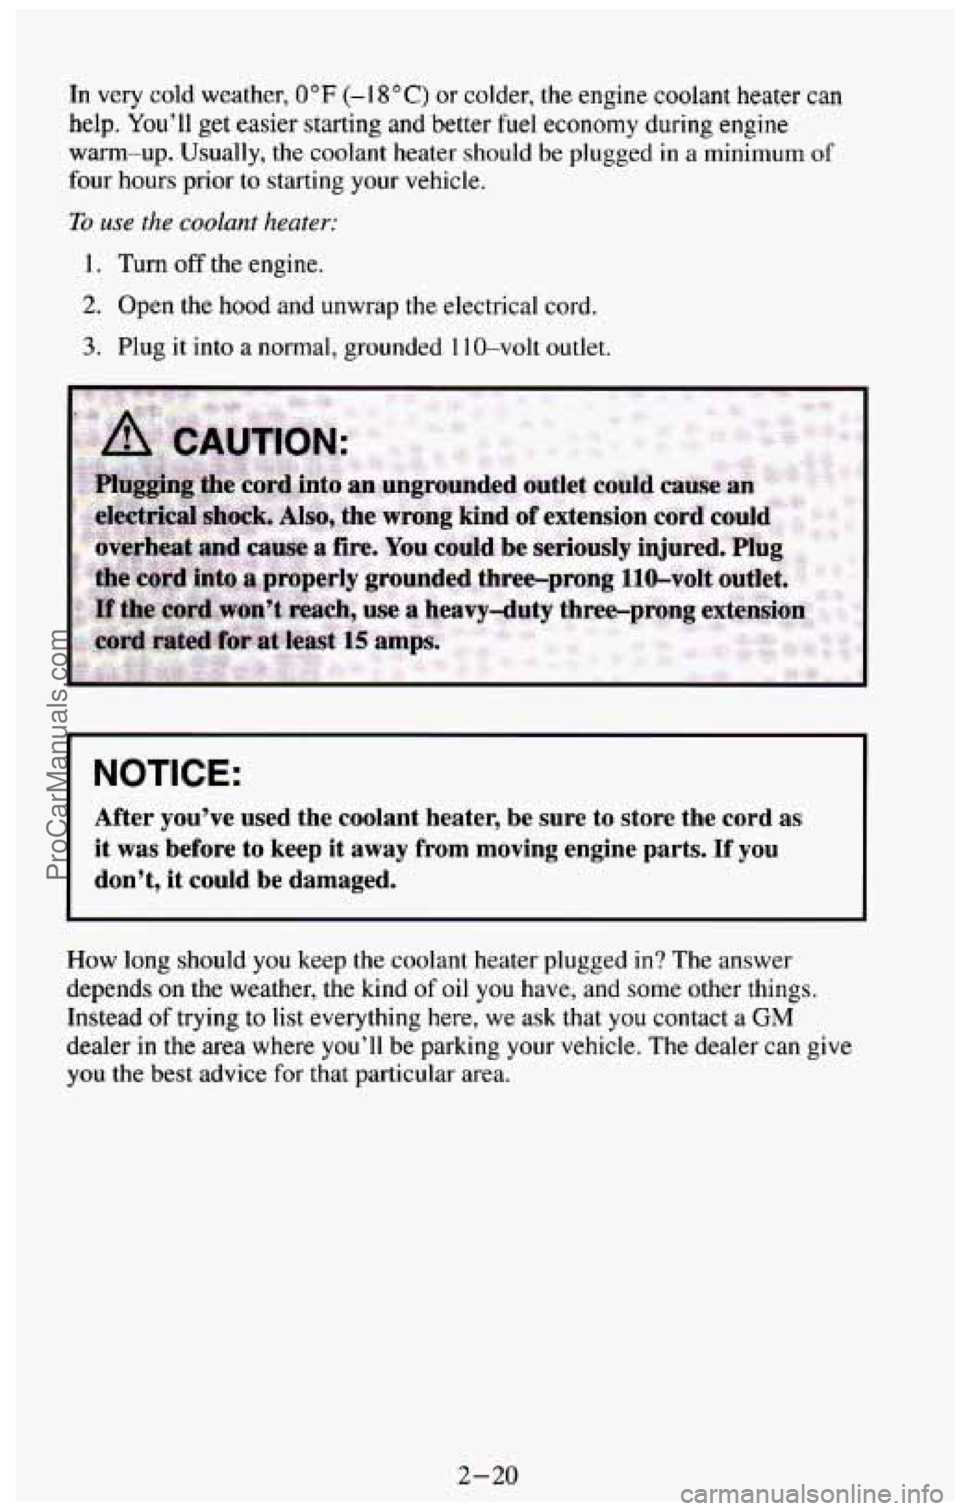
In very cold weather, 0°F (- 1 8 “C) or colder, the engine coolant heater can
help. You’ll get easier starting and better fuel economy during engine
warn-up. Usually, the coolant heater should be plugged in a minimum of
four hours prior to starting your vehicle.
To use the coolant heater:
1. Turn off the engine.
2. Open the hood and unwrap the electrical cord.
3. Plug it into a normal, grounded 1 10-volt outlet.
I
I
NOTICE:
After you’ve used the coolant heater, be sure to store the \
cord as
it was before
to keep it away from moving engine parts. If you
don’t, it could be damaged.
How long should you keep the coolant heater plugged in? The answer
depends on the weather, the kind of oil
you have, and some other things.
Instead
of trying to list everything here, we ask that you contact a GM
dealer in the area where you’ll be parking your vehicle. The dealer can give
you the best advice for that particular area.
2-20
ProCarManuals.com
Page 207 of 385
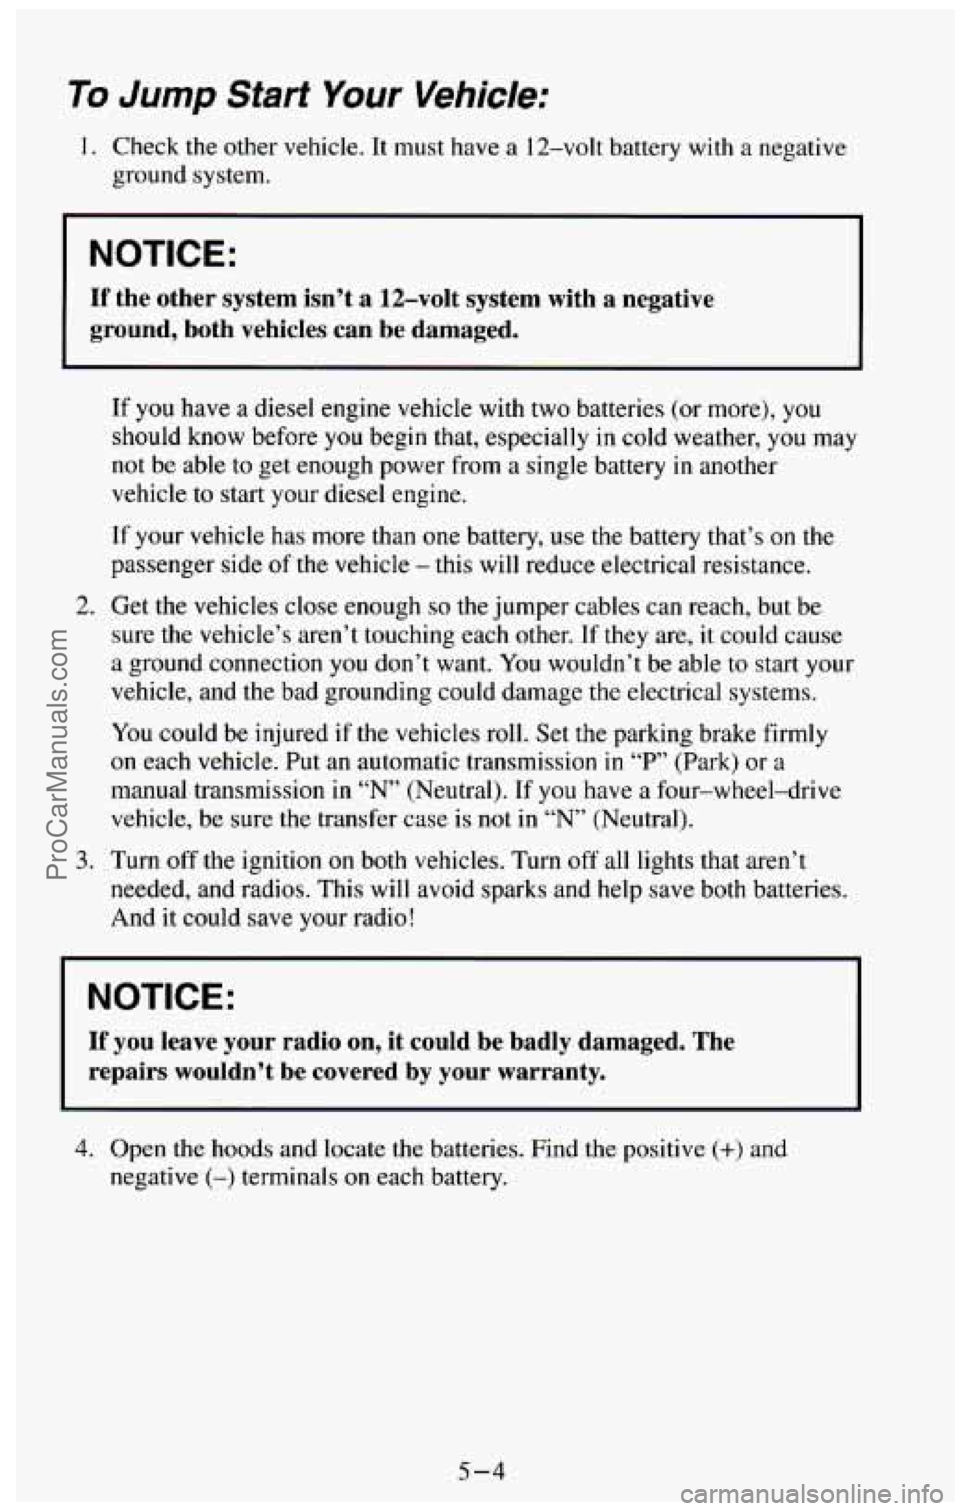
Tu Jump Start Your Vehicle;
1. Check the other vehicle. It must have a 12-volt battery with a negative
ground system.
I NOTICE:
I
If the other system isn’t a 12-volt system with a negative
ground, both vehicles can be damaged.
If you have a diesel engine vehicle with two batteries (or more), you
should know before you begin that, especially in cold weather, you may
not be able to get enough power from a single battery in another
vehicle to start your diesel engine.
If your vehicle has more than one battery, use the battery that’s on the
passenger side
of the vehicle - this will reduce electrical resistance.
2. Get the vehicles close enough so the jumper cables can reach, but be
sure the vehicle’s aren’t touching each other.
If they are, it could cause
a ground connection
you don’t want. You wouldn’t be able to start your
vehicle, and the bad grounding could damage the electrical systems.
You could be injured if
the vehicles roll. Set the parking brake firmly
on each vehicle. Put an automatic transmission in “P’ (Park) or a
manual transmission in “N’ (Neutral). If you have a four-wheel-drive
vehicle, be sure the transfer case is not in “N” (Neutral).
3. Turn off the ignition on both vehicles. Turn off all lights that aren’t
needed, and radios. This will avoid sparks and help save both batteries.
And it could save your radio!
NOTICE:
If you leave your radio on, it could be badly damaged. The
repairs wouldn’t
be covered by your warranty.
4. Open the hoods and locate the batteries. Find the positive (+) and
negative
(-) terminals on each battery.
5-4
ProCarManuals.com
Page 215 of 385
If No Steam Is Coming From Your Engine
If you get the overheat warning but see or hear no steam, the problem may
not be too serious. Sometimes the engine can get a little too hot when you:
Climb a long hill on a hot day.
Stop after high speed driving.
Idle for long periods in traffic.
Tow a trailer.
If you get the overheat warning with no sign of steam, try this for a minute
or
so:
1. If you have an air conditioner, turn it off.
2. Turn on your heater to full hot at the highest fan speed and open the
3. If you’re in a traffic jam, shift to “N’ (Neutral).
window
as necessary.
If you
no longer have the overheat warning, you can drive. Just to be safe,
drive slower for about ten minutes. If the warning doesn’t come back on,
you can drive normally.
If the warning continues, pull over, stop, and park your vehicle right away.
If there’s still
no sign of steam, push the accelerator until the engine speed is
about twice as fast as normal idle speed. Bring the engine speed back to
normal idle speed after two or three minutes. Now see
if the warning stops.
But then, if
you still have the warning, TURN OFF THE ENGINE AND
GET EVERYONE OUT OF THE VEHICLE until it cools down.
You may decide not to lift the hood but to get service help right away.
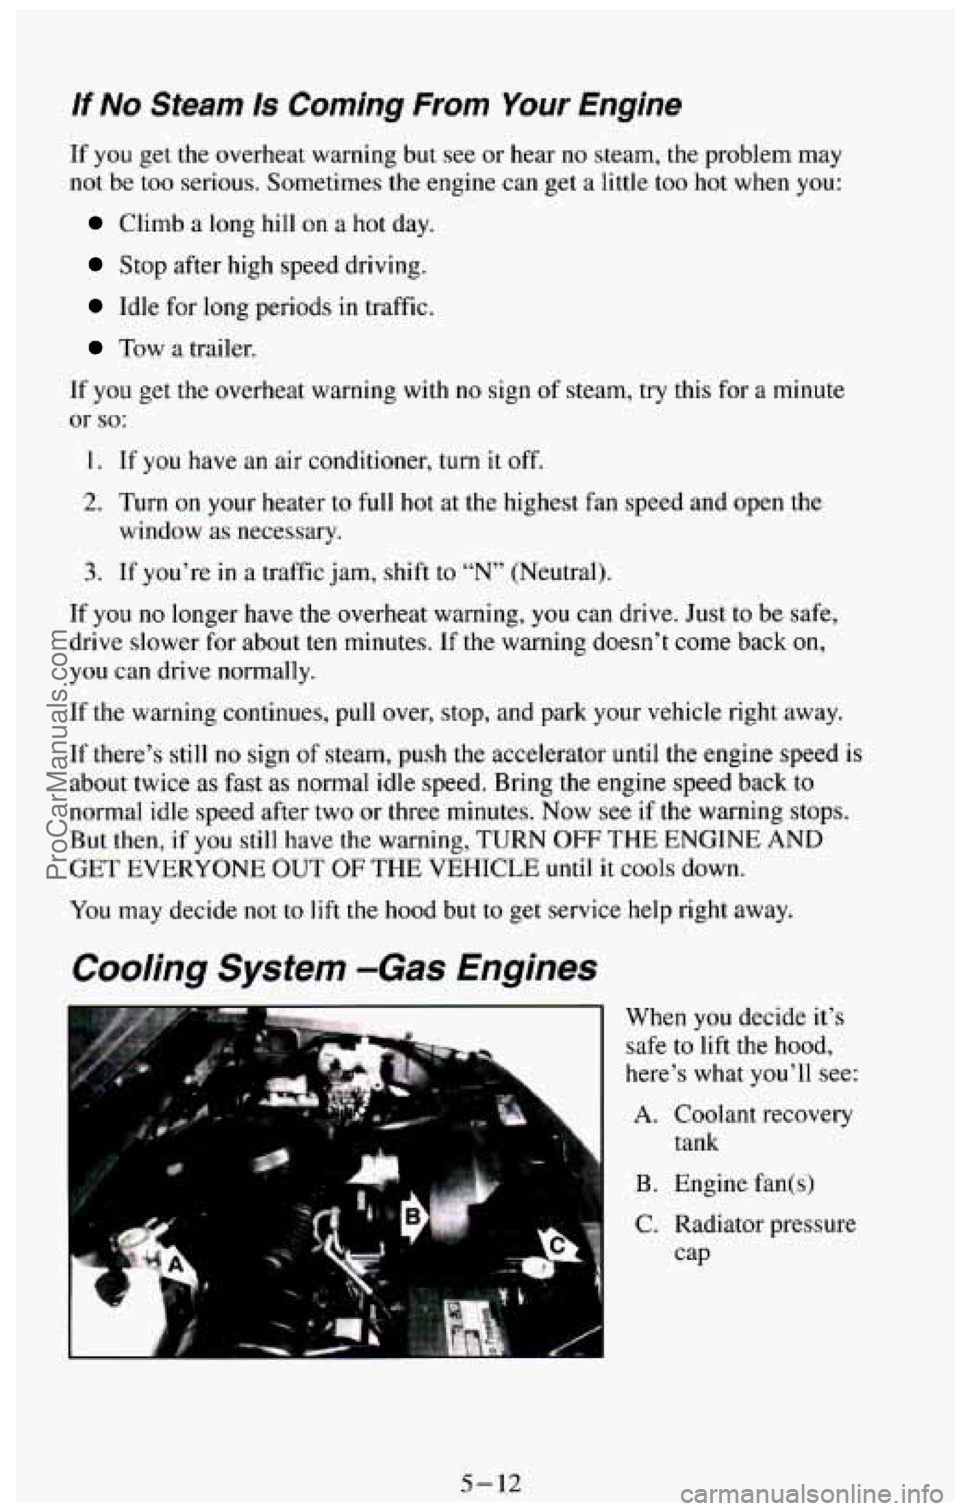
Cooling System -Gas Engines
When you decide it’s
safe to lift the hood,
here’s what you’ll see:
A. Coolant recovery
“I tank
B. Engine fan(s)
C. Radiator pressure
cap
5-12
ProCarManuals.com
Page 259 of 385
Checking Things Under the Hood
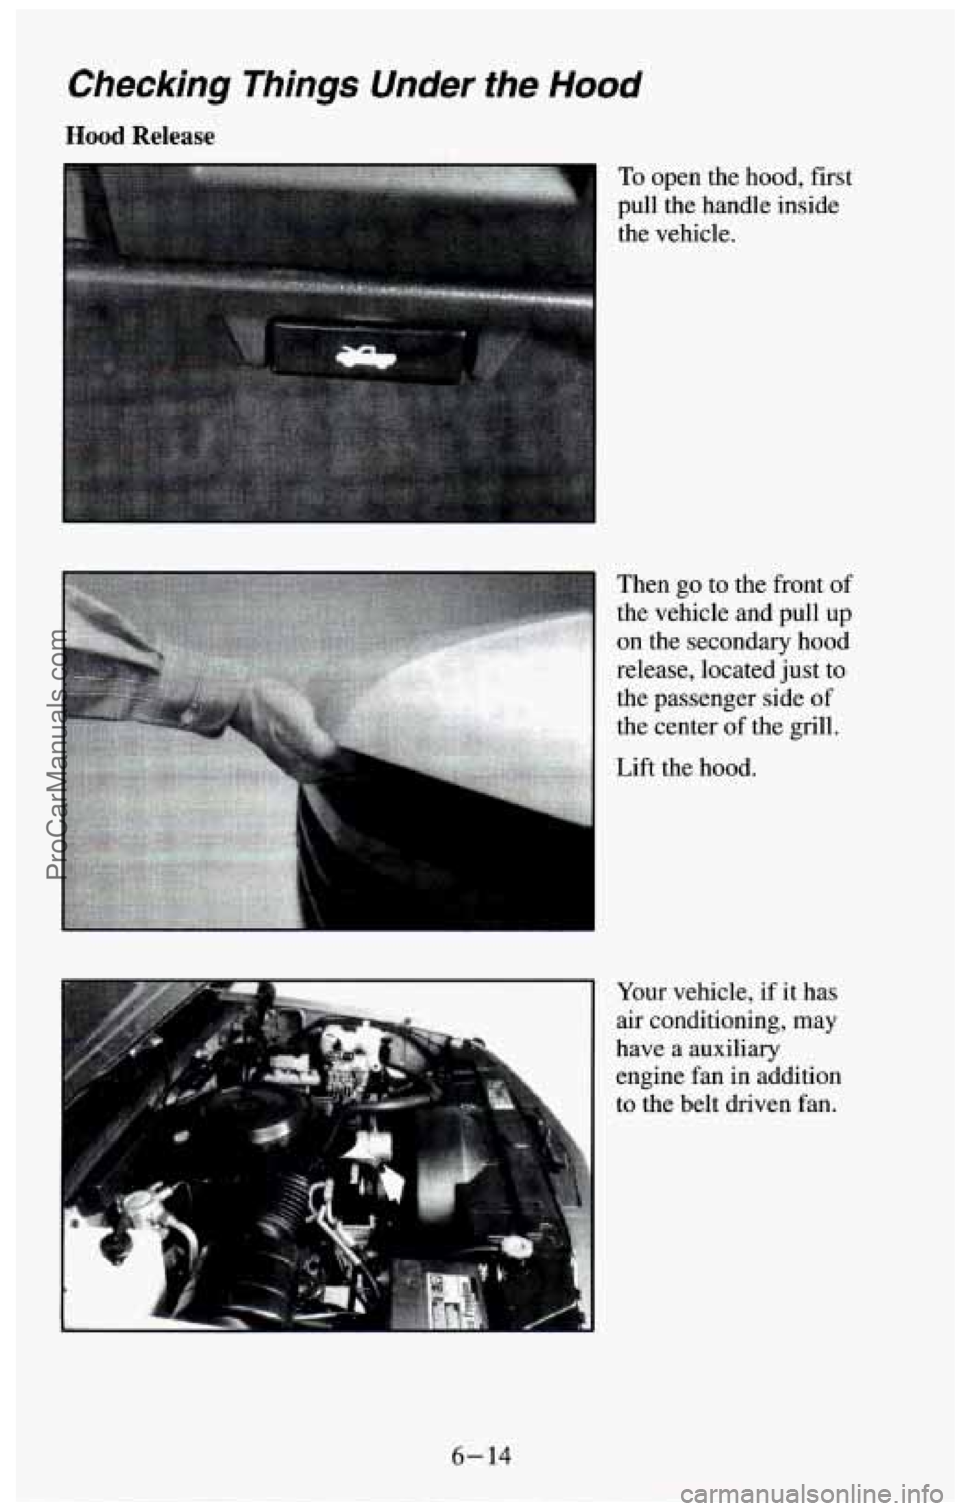
Hood Release
To open the hood, first
pull the handle inside
the vehicle.
Then go to the front of
the vehicle and pull up
on the secondary hood
release, located just to
the passenger side
of
the center of the grill.
Lift the hood.
Your vehicle,
if it has
air conditioning, may
have a auxiliary
engine fan in addition
to the belt driven fan.
6-14
ProCarManuals.com
Page 357 of 385
Lap and Shoulder Belts Condition and Operation - Inspect belt system,
including webbing, buckles, latch plates, retractors, guide loops\
and
anchors. Have
a belt assembly replaced if the webbing has been cut or
otherwise damaged.
Body Lubrication Service - Lubricate all body door hinges with engine
oil.
Also lubricate the tailgate, tailgate handle pivot points, and tailgate
mounted spare tire carrier (if equipped). Lubricate the body hood,
fuel door
and rear compartment hinges, latches and locks including interior glove box
and console doors, and any folding seat hardware. Lubricate the hood safety
lever pivot and prop rod pivot. More frequent lubrication may be required
when exposed to
a corrosive environment.
Periodic Maintenance Inspections - Listed below are inspections and
services which should be performed at least twice
a year (for instance each
spring or fall). You should let your
GM dealer’s service department or other
qualified service center do
these jobs. Make sure any necessary repairs are
completed at once.
Steering and Suspension Inspection? - Inspect front and rear suspension
and steering system for damaged, loose or missing parts, signs
of wear or
lack of lubrication. Inspect power steering lines and hoses for proper
hook-up, binding, leaks, cracks, chafing, etc. Lubricate the steering linkage.
Accelerator Control System - On gasoline engines, lubricate the pivot at
the
TBI throttle lever stud with engine oil. Do not oil any accelerator or
cruise control cables. Replace any cables that have high effort or excessive
wear.
Exhaust System Inspection - Inspect the complete system including the
three-way catalytic converter. Inspect the body near
the exhaust system.
Look for broken, damaged, missing or out-of-position parts,
as well as,
open seams, holes, loose connections or other conditions which could cause
a heat buildup
in the floor pan or could let exhaust fumes seep into the
passenger compartments.
Drive Axle Service? - Check readfront axle tluid level and add as needed,
Check constant velocity joints and axle seals for leaking.
Transfer Case (Four-wheel Drive) Inspection+ - Every 12 months or at
oil change intervals, check front axle and transfer case and add lubricant
when necessary. Oil the control lever pivot point and all exposed control
linkage. Check
vent hose at transfer case for kinks and proper installation.
More frequent lubrication may be required on heavy-duty or off-road use.
?A fluid loss in these systems may indicate a problem. Have them inspected
and repaired at once.
7-24
ProCarManuals.com