1994 CHEVROLET SUBURBAN clock
[x] Cancel search: clockPage 150 of 385
NOTICE:
Before you add any sound equipment to your vehicle - like a
tape player,
CB radio, mobile telephone or two-way radio - be
sure you can add what you want.
If you can, it’s very important
to do it properly. Added sound equipment may interfere with the
operation of your vehicle’s engine, Delco@ radio or other
systems, and even damage them. And, your vehicle’s systems
may interfere with the operation
of sound equipment that has
been added improperly.
So, before adding sound equipment, check with your dealer and
be sure to check Federal rules covering mobile radio and
telephone units.
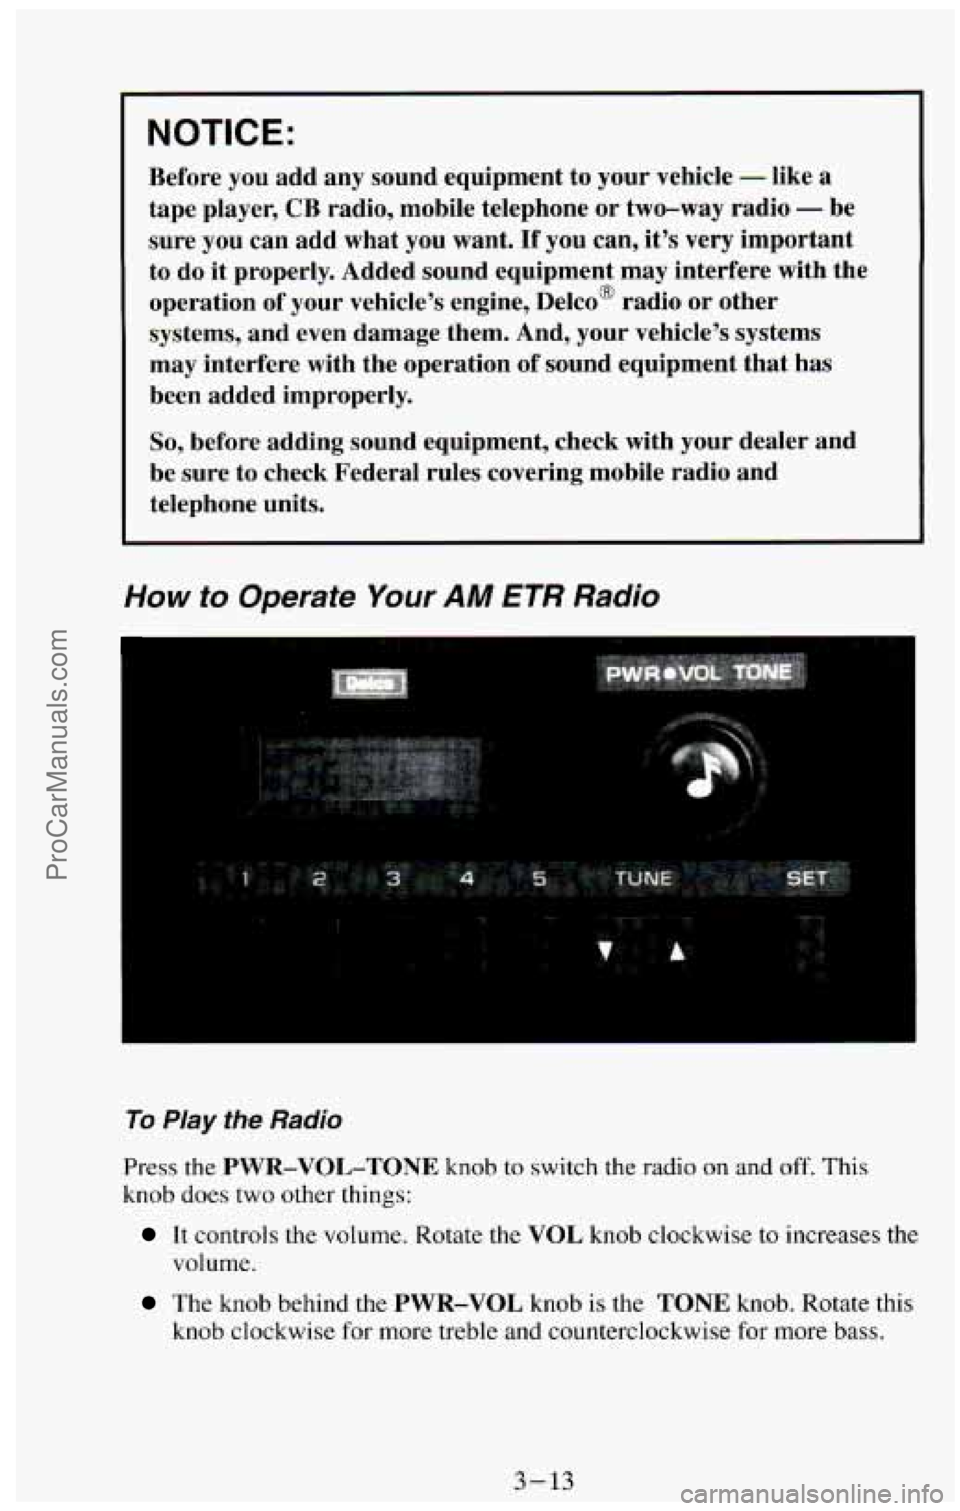
How to Operate Your AM ETR Radio
To Play the Radio
Press the PWR-VOL-TONE knob to switch the radio on and off. This
knob does two other things:
It controls the volume. Rotate the VOL knob clockwise to increases the
volume.
The knob behind the PWR-VOL knob is the TONE knob. Rotate this
knob clockwise
for more treble and counterclockwise for more bass.
3-13
ProCarManuals.com
Page 153 of 385
Pushbuttons
The six pushbuttons let you return to favorite stations. You can set the
pushbuttons for up to twelve favorite stations
(6 AM and 6 FM). To set the
pushbuttons, just:
Tune in the station you want.
Press the SET button. (SET appears in the electronic display for a few
seconds.)
0 Within 5 seconds, push one of the six pushbuttons to store the station.
After that, whenever
you press that button, the preset station will
re turn.
Clock
To set the clock, just:
a Press the SET button. The word SET will light up in the electronic
display.
0 Within 5 seconds, press and hold the SEEK button until the correct
hour appears
on the display.
Then, press and hold the SCAN button until the correct minute appears
on the display.
display for
a few seconds.
After you set the time, the word SET will remain in the electronic
. ... .. ,
. ., ... . , - . .... .
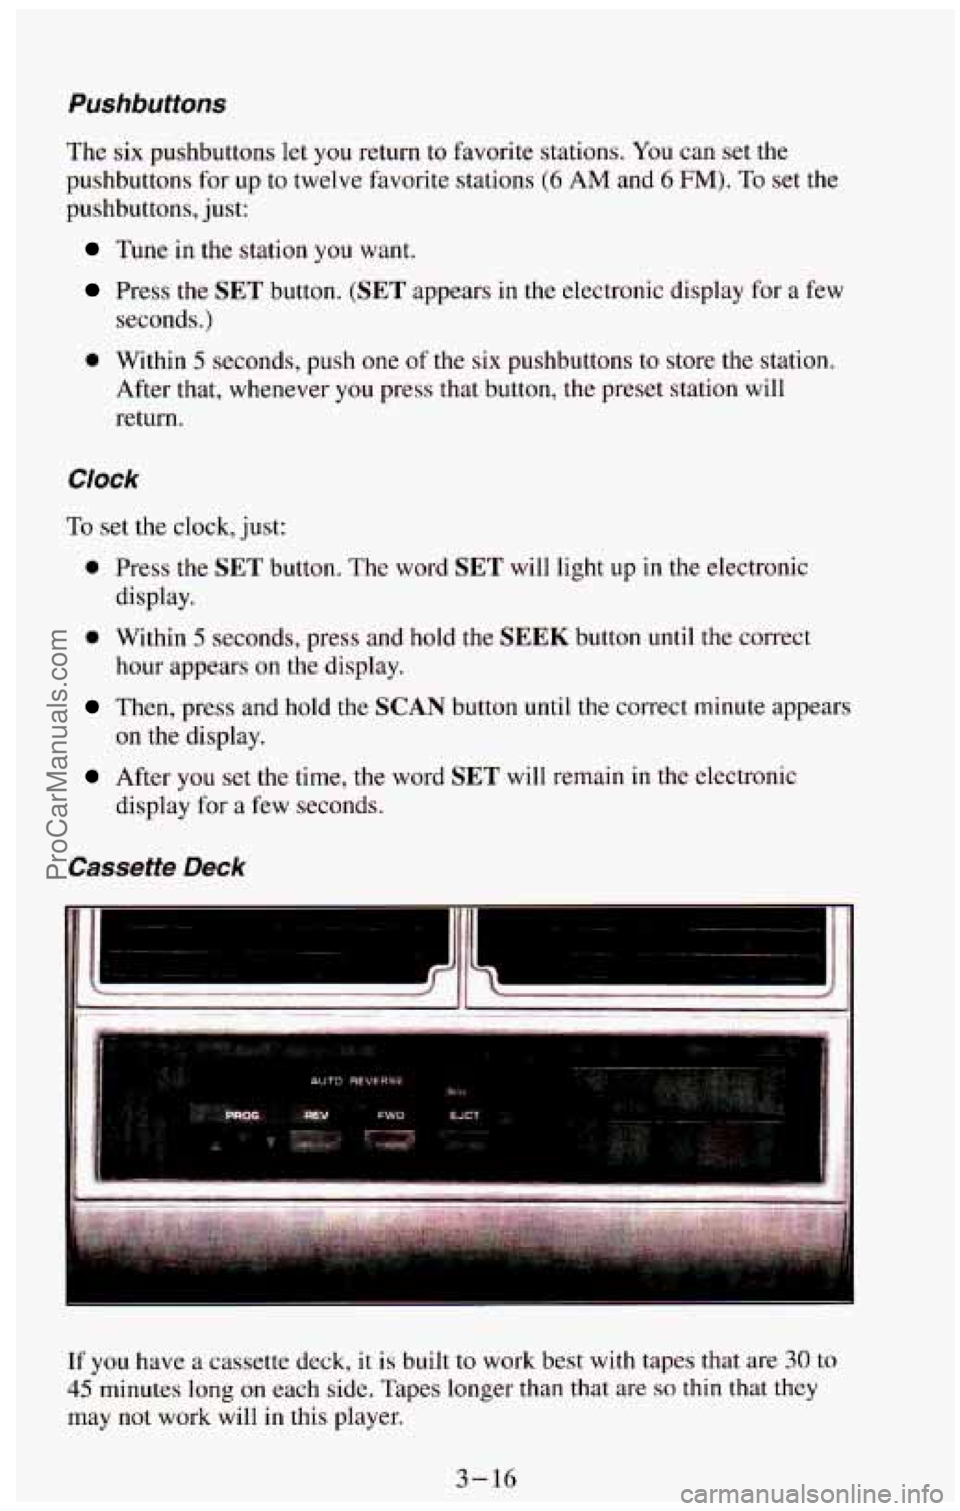
If you have a cassette deck, it is built to work best with tapes that are 30 to
45 minutes long on each side. Tapes longer than that are so thin that they
may not work will in this player.
3-16
ProCarManuals.com
Page 156 of 385
Stereo (AM)
Your Delco@ radio can receive C-QUAM@stereo broadcasts. Many AM
stations around the country use C-QUAM@to produce stereo, though
some
do not. If your Delco@ system can get C-QUAM@ signals, your
“STEREO” light will come on when you are receiving stereo. (C-QUAM@
is a registered trademark of Motorola Inc.).
VOL Button
The VOL button controls the volume. Pressing VOL “+.I’ increases volume;
VOL “-” decreases volume.
TUNE Button
To tune in radio stations, press the TUNE button. TUNE “+” increases
radio station frequency;
TUNE “-’, decreases radio station frequency.
BAUFADE Buttons
To balance and fade the sound between the lefthight or fronthear speakers,
use the four buttons
with the speaker symbols on them. Press the left and
right buttons to adjust the left and right speaker balance. Pressing
the top
and bottom
buttons adjusts the front and rear speaker volume balance, or
fade. The relative balance and fade adjustments are shown on the electronic
display.
Pushbuttons
The six pushbuttons let you return to favorite stations. You can set the
pushbuttons for up to twelve favorite stations (6 AM and 6 FM). To set the
pushbuttons, just:
Tune in the station you want.
Press the SET button. (SET appears in the electronic display for a few
seconds.)
0 Within 5 seconds, push one of the six pushbuttons to store the station.
After that, whenever you press that button, the preset station will
return.
Clock
To set the clock, just:
Press the SET button. The word SET will light up in the electronic
display.
hour appears on the display.
Within 5 seconds, press and hold the SEEK button until the correct
3-19
ProCarManuals.com
Page 167 of 385
What should you do if this ever happens? Ease up on the accelerator pedal,
steer the vehicle the way
you want it to go, and slow down.
Speed limit signs near curves warn that
you should adjust your speed. Of
course, the posted speeds are based on good weather and road conditions.
Under less favorable conditions you’ll want
to go slower.
If you need to reduce your speed as you approach a curve, do it before you
enter the curve, while your front wheels are straight ahead.
Try
to adjust your speed so you can “drive” through the curve. Maintain a
reasonable, steady speed. Wait
to accelerate until you are out of the curve,
and then accelerate gently
into the straightaway.
Steering in Emergencies
There are times when steering can be more effective than braking. For
example,
you come over a hill and find a truck stopped in your lane, or a car
suddenly pulls out from nowhere, or a child darts out from between parked
cars and stops right
in front of you. You can avoid these problems by
braking
- if you can stop in time. But sometimes you can’t; there isn’t
room. That’s the time for evasive action
- steering around the problem.
Your vehicle can perform very well
in emergencies like these. First apply
your brakes. It is better to remove as much speed as you can from a possible
collision. Then steer around the problem, to the left or right depending on
the space available.
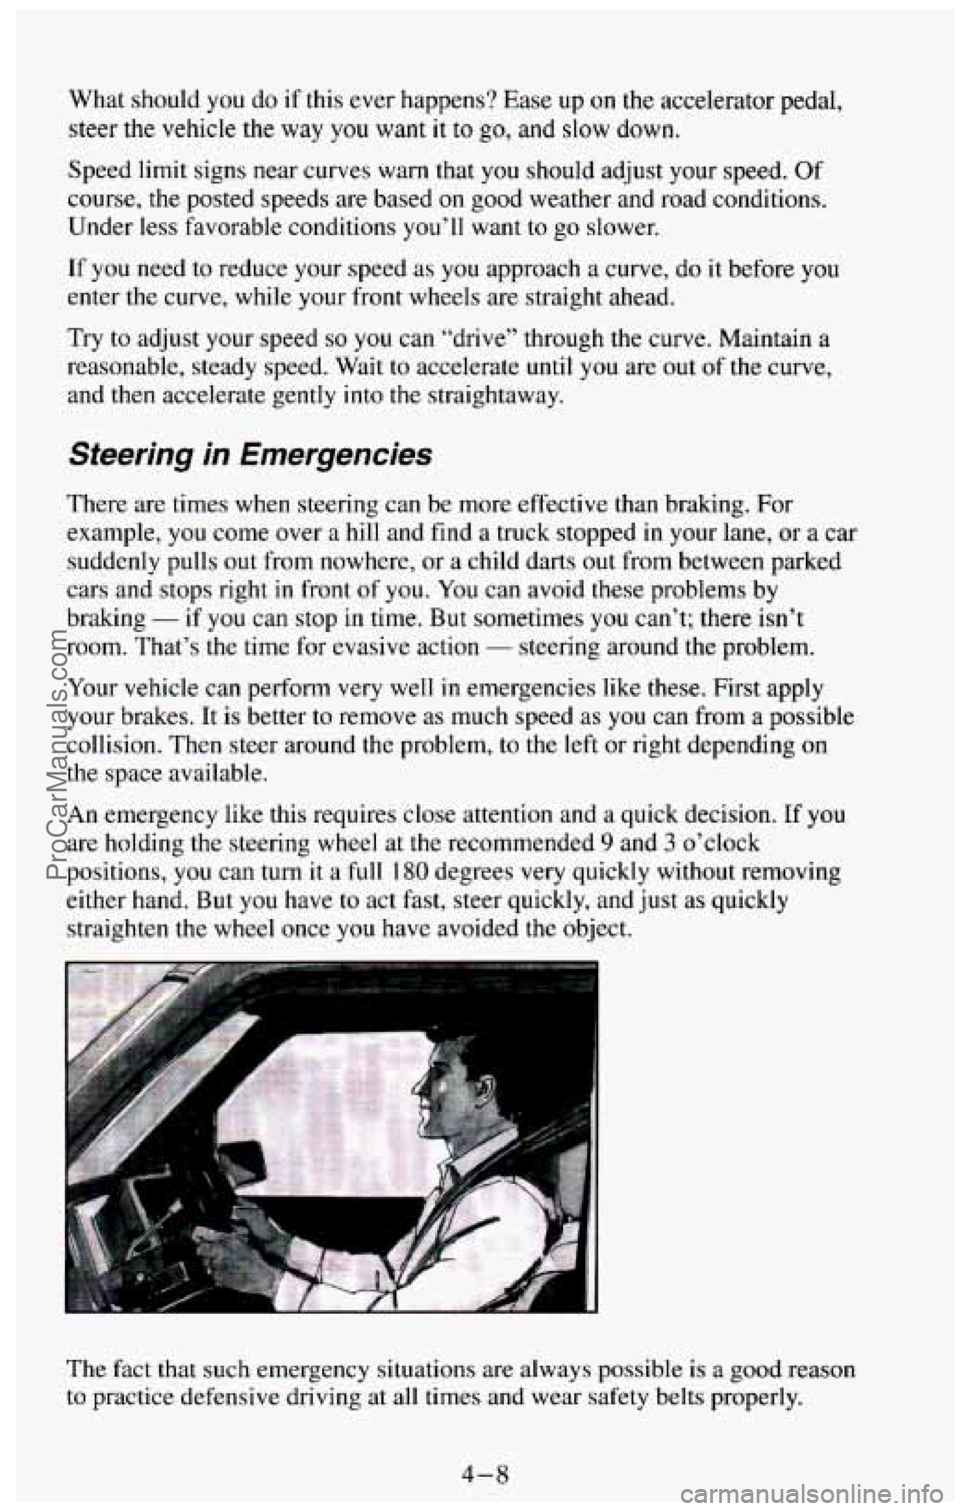
An emergency like this requires close attention and a quick decision. If
you
are holding the steering wheel at the recommended 9 and 3 o’clock
positions, you can turn it a full
180 degrees very quickly without removing
either hand. But you have
to act fast, steer quickly, and just as quickly
straighten the wheel once you have avoided the object.
The fact that such emergency situations
are always possible is ii good reason
to practice defensive driving at all times and wear safety belts properly.
4-8
ProCarManuals.com
Page 176 of 385
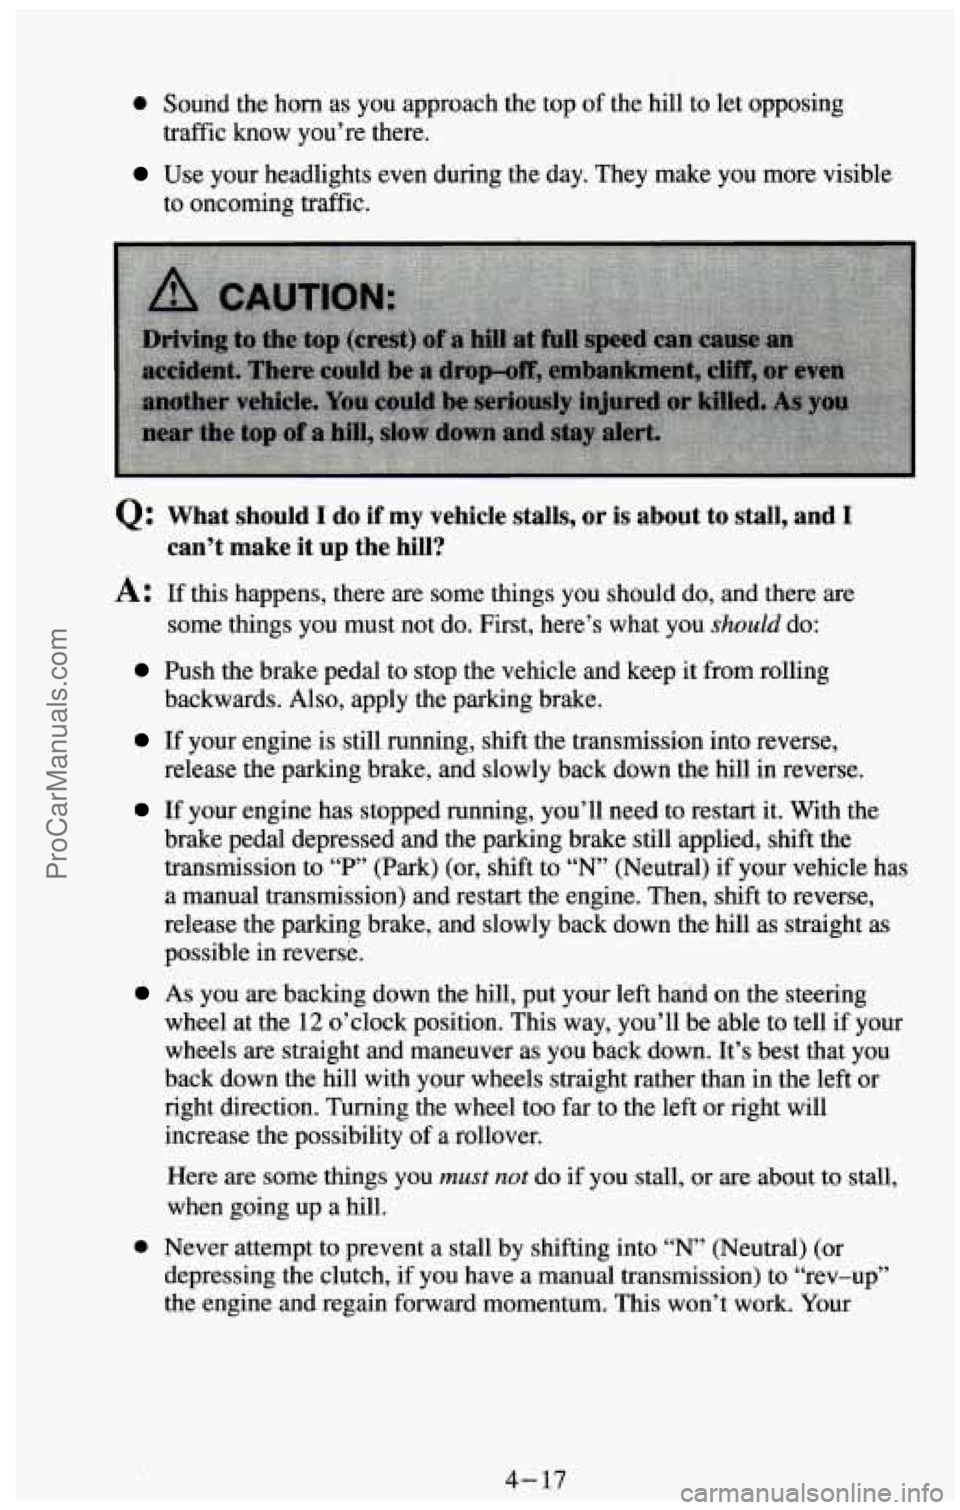
0 Sound the horn as you approach the top of the hill to let opposing
Use your headlights even during the day. They make you more visible
traffic know you’re there.
to
oncoming traffic.
Q: What should I do if my vehicle stalls, or is about to stall, and I
can’t make it up the hill?
A: If this happens, there are some things you should do, and there are
some things you must not do. First, here’s what you
should do:
Push the brake pedal to stop the vehicle and keep it from rolling
backwards. Also, apply the parking brake.
If your engine is still running, shift the transmission into reverse,
release the parking brake, and slowly back down the hill in reverse.
If your engine has stopped running, you’ll need to restart it. With the
brake pedal depressed and the parking brake still applied, shift the
transmission to
“P” (Park) (or, shift to “N’ (Neutral) if your vehicle has
a manual transmission) and restart the engine. Then, shift to reverse,
release the parking brake, and slowly back down the
hill as straight as
possible in reverse.
wheel at the
12 o’clock position. This way, you’ll be able to tell if your
wheels are straight and maneuver as you back down. It’s best that you
back down the hill with your wheels straight rather than in the left or
right direction. Turning the wheel too far to the left or right will
increase the possibility of a rollover.
As you are backing down the hill, put your left hand on the steering
Here are some things you
must not do if you stall, or are about to stall,
when going
up a hill.
0 Never attempt to prevent a stall by shifting into “N” (Neutral) (or
depressing the clutch, if you have a manual transmission) to “rev-up”
the engine and regain forward momentum. This won’t work.
Your
4- 17
ProCarManuals.com
Page 330 of 385
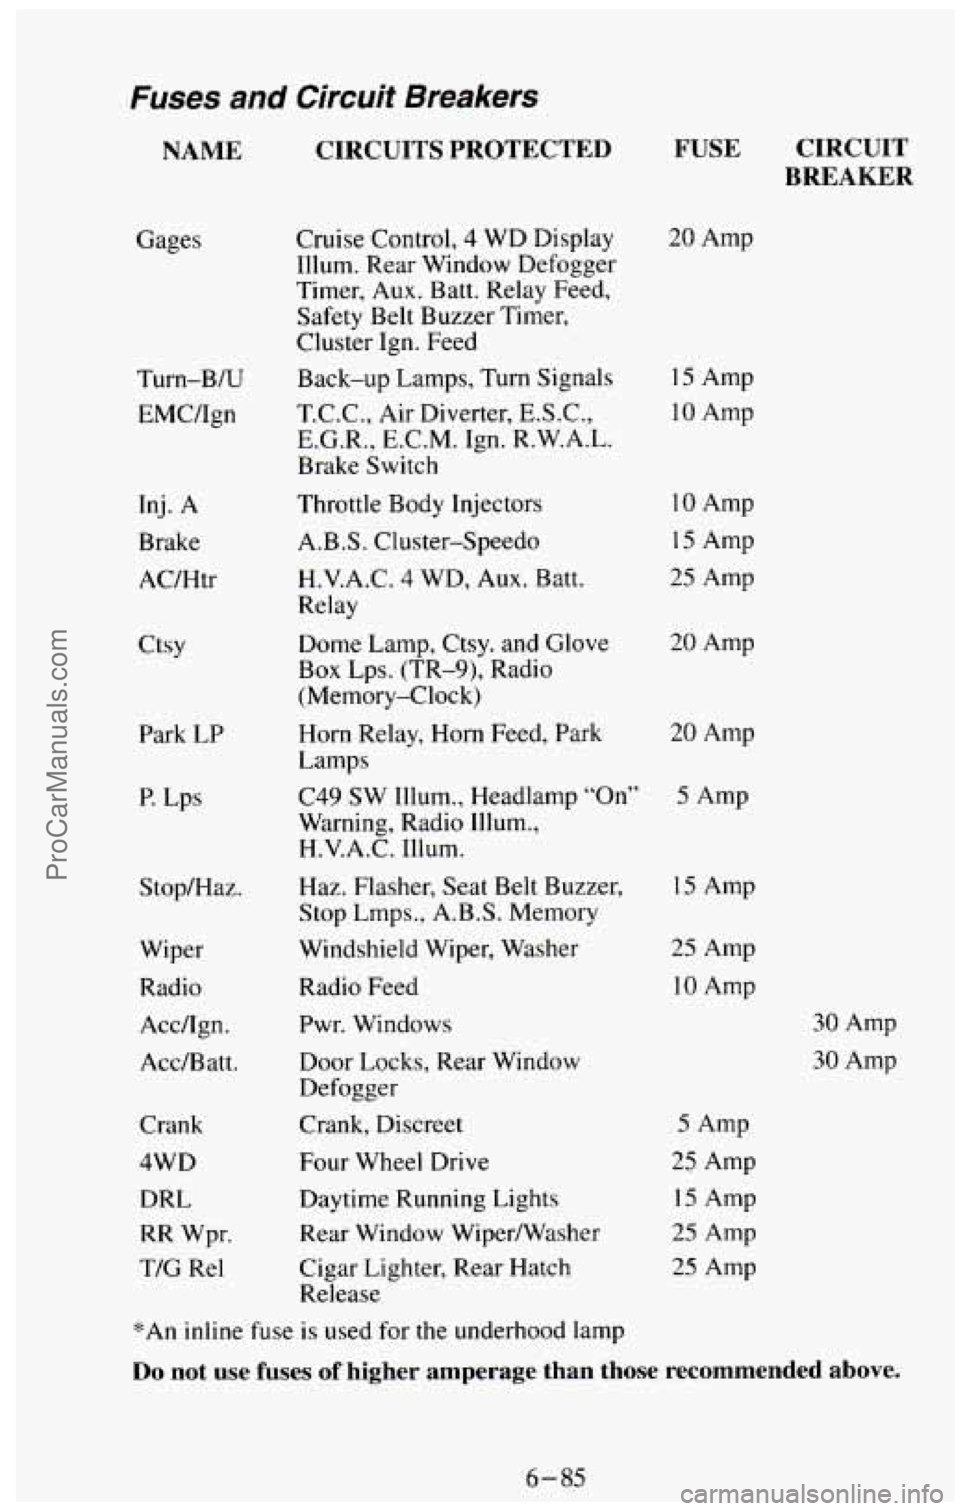
Fuses and Circuit Breakers
NAME CIRCUITS PROTECTED
Gages Turn-B/U
EMC/Ign
Inj. A
Brake
AC/Htr
Ctsy Park
LP
P. Lps
Stop/Haz.
Wiper
Radio Acc/Ign.
Acc/Batt.
Crank
4WD DRL
RR Wpr.
TIC Re1 Cruise Control,
4 WD Display
Illum. Rear Window Defogger
Timer, Aux. Batt. Relay Feed,
Safety Belt Buzzer Timer,
Cluster Ign. Feed
Back-up Lamps, Turn Signals
T.C.C., Air Diverter, E.S.C.,
E.G.R., E.C.M. Ign. R.W.A.L.
Brake Switch
Throttle Body Injectors
A.B.S. Cluster-Speed0
H.V.A.C.
4 WD, Aux. Batt.
Relay
Dome Lamp, Ctsy. and Glove
Box Lps. (TR-9), Radio
(Memory-Clock)
FUSE CIRCUIT
BREAKER
20 Amp
15 Amp
10 Amp
10 Amp
15 Amp
25 Amp
20 Amp
Horn Relay,
Horn Feed, Park 20 Amp
Lamps
C49 SW Illum., Headlamp
“On” 5 Amp
Warning, Radio Illum.,
H.V.A.C.
Illum.
Haz. Flasher, Seat Belt Buzzer,
Stop
Lmps., A.B.S. Memory
Windshield Wiper, Washer
Radio Feed Pwr. Windows
Door Locks, Rear Window
Defogger
Crank, Discreet
Four Wheel Drive
Daytime Running Lights
Rear Window Wipermasher
Cigar Lighter, Rear Hatch
Release
15 Amp
25 Amp
10 Amp
5 Amp
25 Amp
15 Amp
25 Amp
25 Amp
30 Amp
30 Amp
*An inline fuse is used for the underhood lamp
Do not use fuses of higher amperage than those recommended above.
6-85
ProCarManuals.com
Page 376 of 385
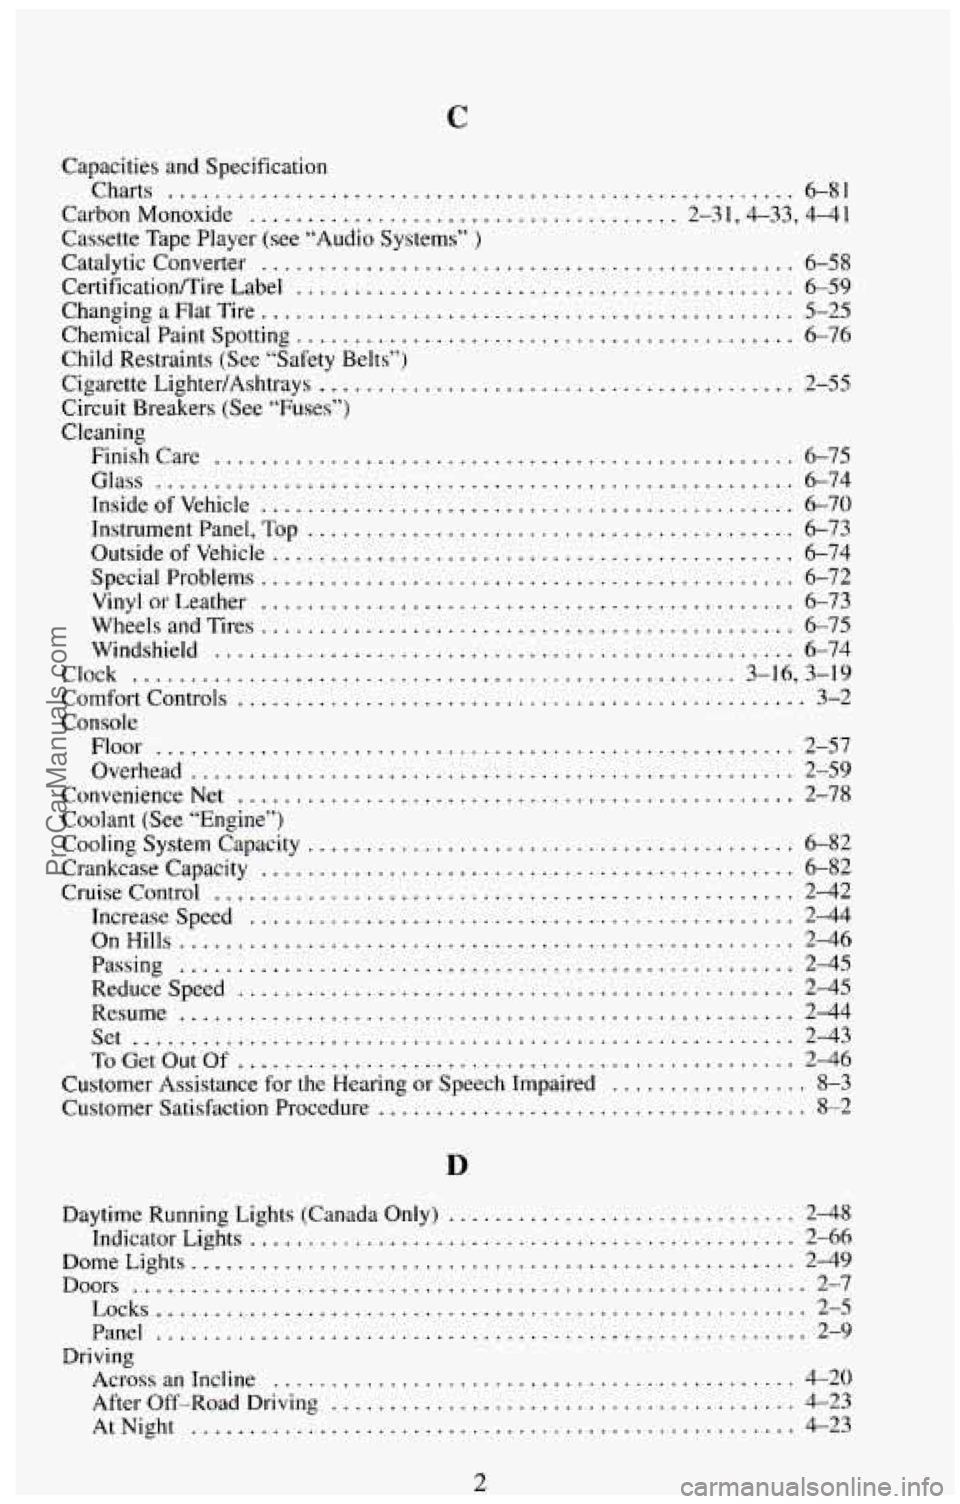
C
Capacities and Specification
Charts
...................................................... 6-81
Carbon Monoxide
..................................... 2-3 1,4-33, 4-4 1
Cassette Tape Player (see “Audio Systems” )
Catalytic Converter .............................................. 6-58
CertificatiodTire Label
........................................... 6-59
Chemical Paint Spotting ........................................... 6-76
Child Restraints (See “Safety Belts”)
Cigarette LightedAshtrays
......................................... 2-55
Circuit Breakers (See “Fuses”)
Cleaning ChangingaFlatTire
.............................................. 5-25
Finishcare .................................................. 6-75
Glass ....................................................... 6-74
InsideofVehicle .............................................. 6-70
Instrument Panel, Top
.......................................... 6-73
Outside of Vehicle
............................................. 6-74
Special Problems
.............................................. 6-72
Vinyl or Leather
.............................................. 6-73
WheelsandTires
.............................................. 6-75
Windshield
.................................................. 6-74
Clock
.................................................... 3-16, 3-19
Comfort Controls ................................................. 3-2
Console Floor
....................................................... 2-57
Overhead
.................................................... 2-59
ConvenienceNet ................................................ 2-78
Coolant
(See “Engine”)
Cooling System Capacity
.......................................... 6-82
Crankcase Capacity
.............................................. 6-82
Cruise Control
.................................................. 2-42
Increasespeed
............................................... 2-44
OnHills
..................................................... 2-46
Passing
..................................................... 2-45
Reducespeed ................................................ 2-45
Resume ..................................................... 2-44
Set
......................................................... 2-43
ToGetOutOf
................................................ 246
Customer Assistance for
the Hearing or Speech Impaired ................. 8-3
Customer Satisfaction Procedure
..................................... 8-2
Daytime Running Lights (Canada Only)
.............................. 2-48
Indicator Lights
............................................... 2-66
DomeLights .................................................... 2-49
Doors .......................................................... 2-7
Locks
........................................................ 2-5
Panel
...................................................... 2-9
Across an Incline ............................................. 4-20
After Off-Road Driving
........................................ 4-23
Driving
AtNight
.................................................... 4-23
2 ProCarManuals.com