Page 10 of 385
These symbols are on some of your controls:
I I Windshield Wiper
rl
i Rear Window
Washer Windshield
Washer Windshield
Defroster
1
3c
Rear
Window
Defogger Ventilating Fan
These symbols are used on
warning and indicator lights:
Engine Coolant
Temperature
BRAKE
I Brake
I p3
Baftery Charging
System
Fuel
ANTI-
I LOCK
I 4 Wheel
Anti-Lock
I RELEASE
Parking Brake Release
I\J
Rear Window Wiper
Hatch
Release
I
Engine Oil
Pressure
I SHIFT
1 Shift Light
ix
ProCarManuals.com
Page 56 of 385
Features & Controls
Section
L
r
1
Here you can learn about the many standard and optional features on your
vehicle. and information on starting. shifting and braking
. Also explained
are
the instrument panel and the warning systems that tell you if everything
is working properly-and what to do if you have a problem .
For explanation of vehicle symbols. refer to “Vehicle Symbols” in the
Introduction .
Keys ..................................................... 2-3
DoorLocks
................................................ 2-5
Your Doors and How They Work .... .................... 2-7 ..
................................................ Side Doors 2-7
Tailgate. Tailgate Glass and Rear
Doors ... ... ............... 2-8
Tailgate
........................... ...................... 2-8
PanelDoors
............................................... 2-9
Theft
.................................................... 2-10
New Vehicle Break-In
...................................... 2-11
Ignition Switch
.................................... . 2-12
Starting Your Gasoline Engine ......................... . 2-13
Driving Through Deep Standing Water
......................... 2-15
Starting Your Diesel Engine
................................. 2-16
Automatic Transmission .................................... 2-21
Five-Speed Manual Transmission
............................. 2-24
LockingRearAxle ......................................... 2-26
Parking Brake .................................... . . 2-26
2-1
ProCarManuals.com
Page 66 of 385
Parking at Night
Park in a lighted spot, close all windows and lock your vehicle. Remember
to keep your valuables out
of sight. Put them in a storage area, or take them
with you.
Parking Lots
If you park in a lot where someone will be watching your vehicle, it’s best
to lock it up and take your keys. But what if you have to leave your ignition
key? What if you have to leave something valuable
in your vehicle?
Put your valuables in a storage area or console.
Lock the console.
0 Lock all the doors except the driver’s.
Then take the door key with you.
New Vehicle “Break=/#”
NOTICE:
Your modern vehicle doesn’t need an elaborate “break-in.” But
it will perform better in the long run
if you follow these
guidelines:
Keep your speed at 55 mph (88 km/h) or less for the first
500 miles (804 km).
0 Don’t drive at any one speed - fast or slow - for the first
500 miles (804 km), Don’t make full-throttle starts.
Avoid making hard stops for the first 200 miles (322 km) or
so. During this time your new brake linings aren’t yet broken
in. Hard stops with new linings can mean premature wear and
earlier replacement. Follow this “breaking-in” guideline
every time
you get new brake linings,
2-11
ProCarManuals.com
Page 78 of 385
- Going about 35 mph (56 km/h) or more, push the accelerator all
the way down.
You’ll shift down to the next gear and have more power.
@ should not be used when towing a trailer, carrying a heavy load,
driving on steep hills, or for
off road driving. Select “D” (third gear)
when operating the vehicle under any of these conditions.
D (Third Gear)
This is like @, but you never go into Overdrive. You should use when
towing a trailer, carrying a heavy load, driving on steep hills, or for
off-road driving.
2 (Second Gear)
This position gives you more power but lower fuel economy. You can
use
“2” on hills. It can help control your speed as you go down steep
mountain roads, but then you would also want to use your brakes
off
and on. If you manually select “2”, the transmission will drive in
second gear.
You may use this feature for reducing torque to the rear
wheels when you are trying to start your vehicle from
a stop on
slippery road surfaces.
1 (First Gear)
This position gives you even more power (but lower fuel economy)
than
“2.” You can use it on very steep hills, or in deep snow or mud. If
the selector lever
is put in “1,” the transmission won’t shift into first
gear until the vehicle is going slowly enough.
NOTICE:
If your rear wheels can’t rotate, don’t try to drive. This might
happen if you were stuck in very deep sand or mud or were up
against
a solid object. You could damage your transmission.
Also, if you stop when going uphill, don’t hold your vehicle there
with only the accelerator pedal. This could overheat and damage
the transmission. Use your brakes
or shift into “P” Park to hold
your vehicle in position on
a hill.
2-23
ProCarManuals.com
Page 79 of 385
Five-Speed Manual Transmission
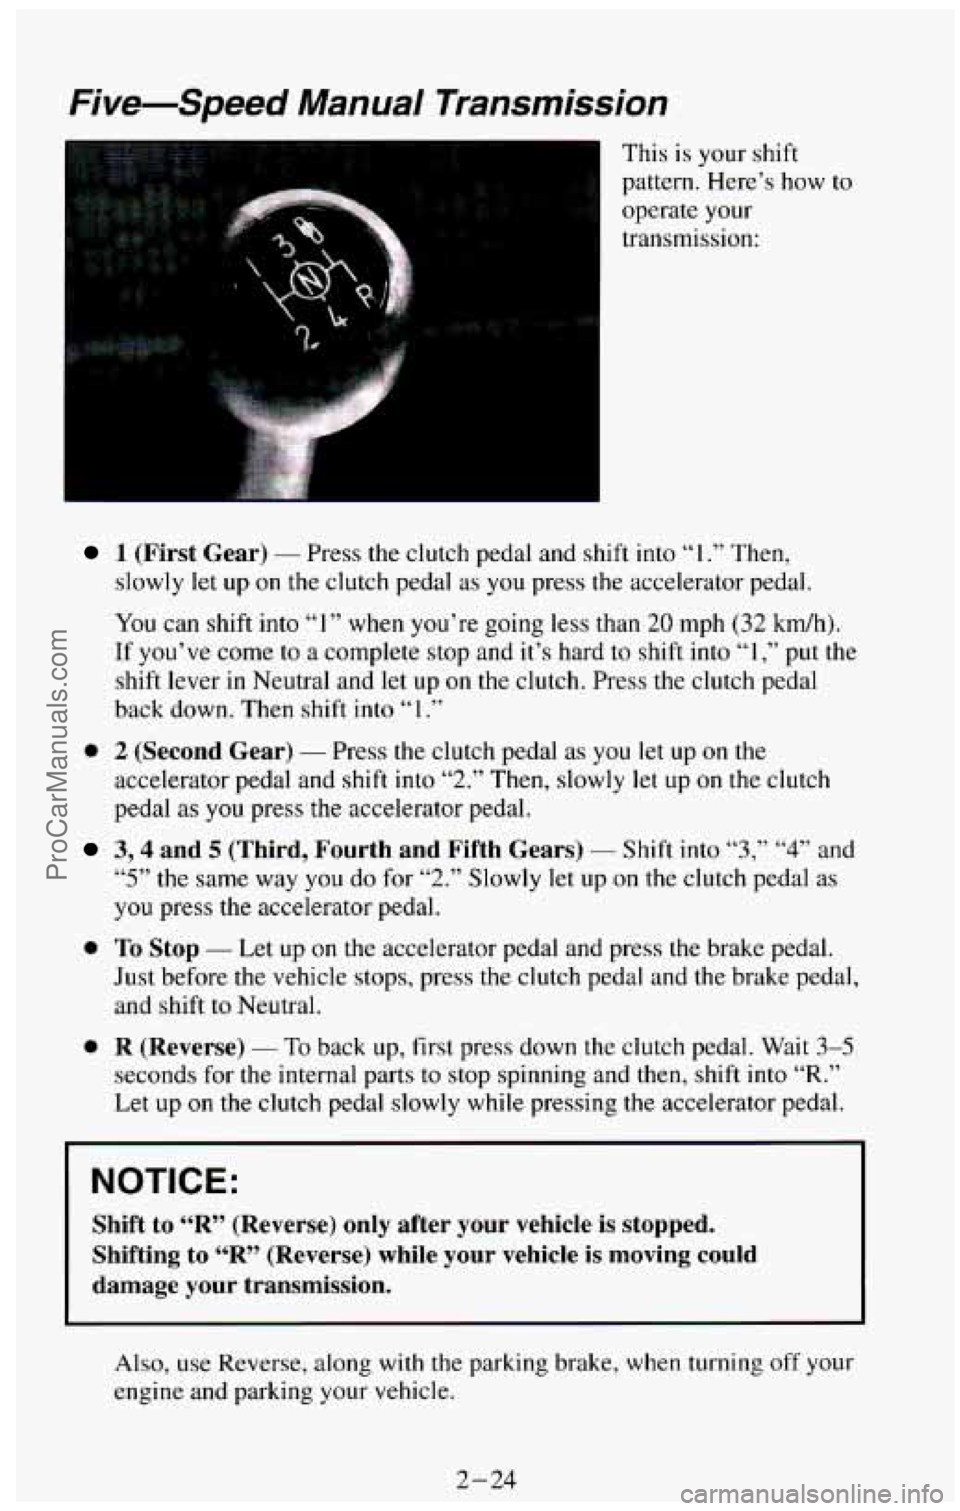
This is your shift
pattern. Here’s how
to
operate your
transmission:
..
1 (First Gear) - Press the clutch pedal and shift into “I .” Then,
slowly let up
on the clutch pedal as you press the accelerator pedal.
You can shift into
“1” when you’re going less than 20 mph (32 kdh).
If you’ve come to
a complete stop and it’s hard to shift into “1 ,” put the
shift lever
in Neutral and let up on the clutch. Press the clutch pedal
back down. Then shift
into “1 .”
0 2 (Second Gear) - Press the clutch pedal as you let up on the
accelerator pedal and
shift into “2.” Then, slowly let up on the clutch
pedal as you press the accelerator pedal.
3,4 and 5 (Third, Fourth and Fifth Gears) - Shift into “3,” “4” and
“5” the same way you do for “2.” Slowly let up on the clutch pedal as
you press the accelerator pedal.
Just before the vehicle stops, press the clutch pedal and the brake pedal,
0 To Stop - Let up on the accelerator pedal and press the brake pedal.
and shift to Neutral.
0 R (Reverse) - To back up, first press down the clutch pedal. Wait 3-5
seconds for the internal parts to stop spinning and then, shift into “R.”
Let up on the clutch pedal slowly while pressing the accelerator pedal.
NOTICE:
Shift to “R” (Reverse) only after your vehicle is stopped.
Shifting to
“R” (Reverse) while your vehicle is moving could
damage your transmission.
Also, use Reverse, along with the parking brake, when turning off your
engine and parking your vehicle.
2-24
ProCarManuals.com
Page 81 of 385
I NOTICE:
If you skip more than one gear when you downshift, or if you
race the engine when you downshift, you can damage the engine,\
clutch
or transmission.
Locking Rear Axle
If you have this feature, your rear axle can give you additional traction on
snow, mud, ice, sand or gravel. It works like a standard axle most of the
time, but when one
of the rear wheels has no traction and the other does, the
locking feature will allow the wheel with traction to move the vehicle.
Parking Brake
To set the parking brake:
Hold the regular brake
pedal down with your
right foot. Push down
the parking brake
pedal with
your left
foot.
If the ignition is on, the brake system warning light will come on.
2-26 ProCarManuals.com
Page 82 of 385
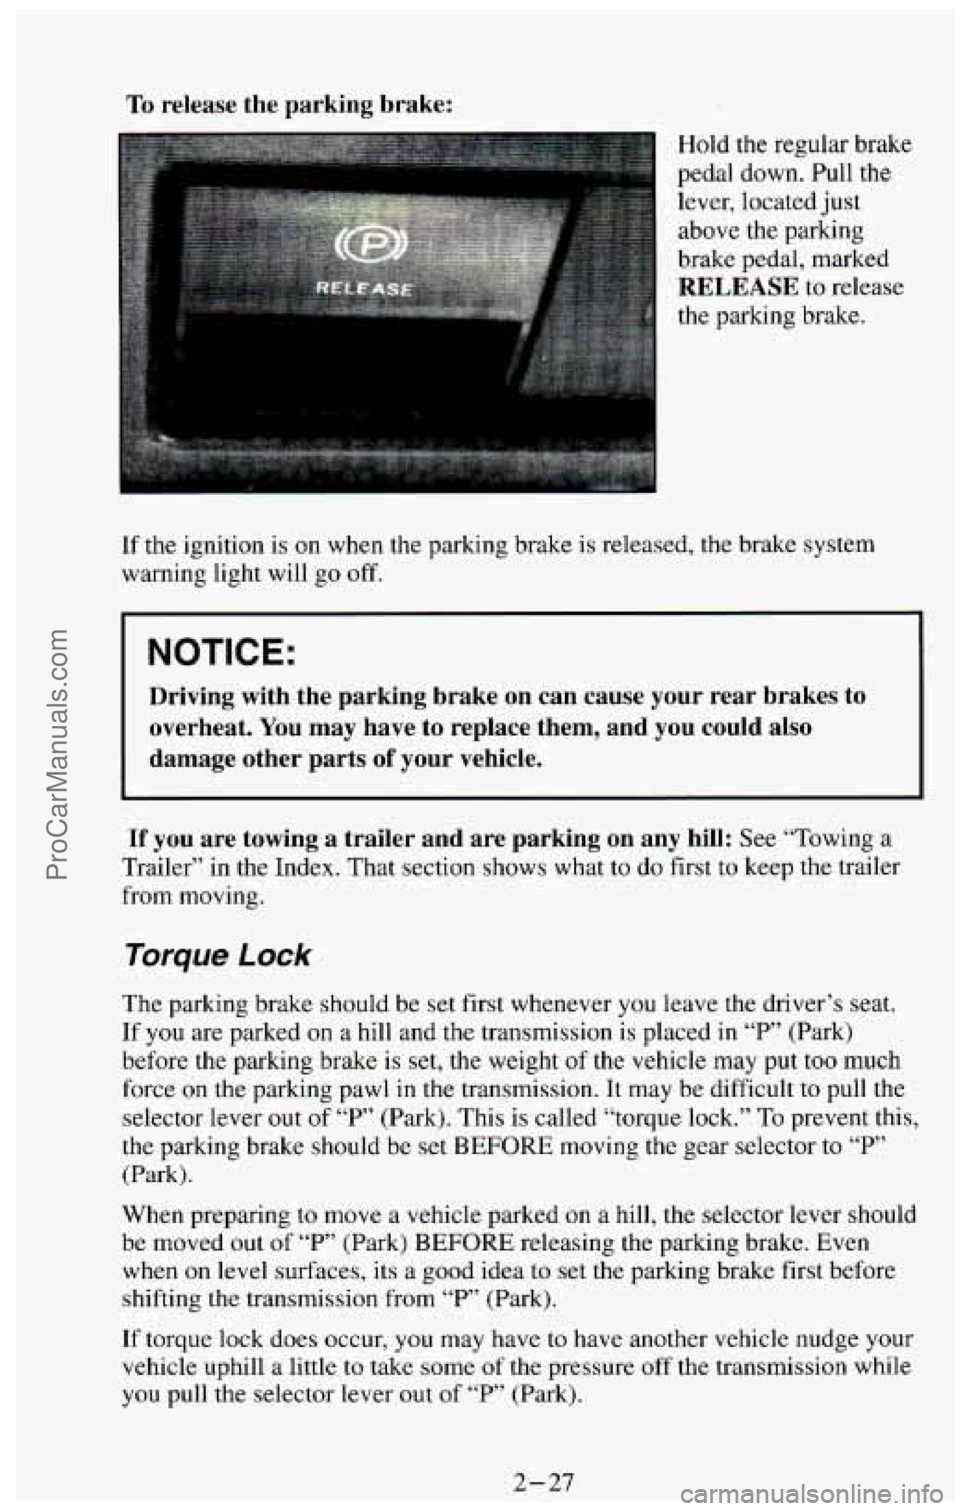
To release the parking brake:
Hold the regular brake
pedal down. Pull the
lever, located just
above the parking
brake pedal, marked
RELEASE to release
the parking brake.
If the ignition is on when the parking brake is released, the brake system
warning light will
go off.
NOTICE:
Driving with the parking brake on can cause your rear brakes to
overheat. You may have to replace them, and you could also
damage other parts
of your vehicle.
If you are towing a trailer and are parking on any hill: See “Towing a
Trailer” in the Index. That section shows what to do first to keep the trailer
from moving.
Torque Lock
The parking brake should be set first whenever you leave the driver’s seat.
If you are parked on a hill and the transmission is placed in “P’ (Park)
before the parking brake is set, the weight
of the vehicle may put too much
force on the parking pawl in the transmission. It may be difficult to pull the
selector lever out
of “P” (Park). This is called “torque lock.” To prevent this,
the parking brake should be set
BEFORE moving the gear selector to “P”
(Park).
When preparing to move a vehicle parked on a hill, the selector lever should
be moved out
of “P” (Park) BEFORE releasing the parking brake. Even
when on level surfaces, its a good idea to set the parking brake first before
shifting the transmission from
“P” (Park).
If torque lock does occur, you may have to have another vehicle nudge your
vehicle uphill a
little to take some of the pressure off the transmission while
you pull the selector lever
out of “P’ (Park).
2-27
ProCarManuals.com
Page 83 of 385
Shifting Into “P” (Park)
(Automatic Transmission Models Only)
Steering Column Shift Lever
1. Hold the brake
pedal down with
your right
foot
and set the
parking brake.
2. Move the shift lever into “P” (Park) position like this:
0 Pull the lever toward you.
0 Move the lever up as far as it will go.
3. If you have four-wheel drive, be sure the transfer case is in a drive gear
- not in “N’ (Neutral)
4. Move the ignition key to LOCK.
2-28
ProCarManuals.com