1994 CHEVROLET S10 instrument panel
[x] Cancel search: instrument panelPage 47 of 340
Downloaded from www.Manualslib.com manuals search engine Features & Controls
Section
.
Here you can learn about the many standard and optional features on your
vehicle. and information on starting. shifting. and braking
. Also explained
are the instrument panel and the warning systems that tell you if everything
is working properly- and what to do if you have a problem
.
For explanation of vehicle symbols. refer to “Vehicle Symbols\
” in the Introduction
.
Keys ..................................................... 2-3
Your Doors and How They Work
.............................. 2-5
SideDoors
............................................. 2-5
DoorLocks ............................................. 2-6
Tailgate
................................................ 2-7
Theft
..................................................... 2-8
New Vehicle Break-In
....................................... 2-9
Ignitionswitch
............................................ 2-10
Starting Your Engine
....................................... 2-12
Driving Through Deep Standing Water
...................... 2-14
Automatic Transmission
.................................... 2-16
Five-Speed Manual Transmission
............................. 2-19
LockingRearAxle
......................................... 2-21
ParkingBrake
............................................ 2-21
Parking Over Things That
Burn ............................... 2-24
EngineExhaust
........................................... 2-25
Running Your Engine While You’re Parked ................... 2-26
2-1
Page 58 of 340
Downloaded from www.Manualslib.com manuals search engine Starting Your Engine
Engines start differently. The 8th digit of your Vehicle Identification
Number (VIN) shows the code letter or number for your engine. You will
find the VIN at the top left of your instrument panel. (See “Vehicle
Identification Number” in the Index.) Follow the proper steps to start the
engine.
Automatic transmission:
Move your shift lever to “P” (Park) or “N’ (Neutral). Your engine won’t
start in any other position
- that’s a safety feature. To restart when you’re
already moving, use
“N” (Neutral) only.
NOTICE:
Don’t try to shift to “P” (Park) if your vehicle is moving. If you
do, you could damage the transmission. Shift to “P” (Park) \
only
when your vehicle is stopped.
Manual transmission:
Hold the clutch pedal to the floor, then shift your gear selector to neutral
while starting the engine. Your vehicle won’t start
if the clutch pedal is not
all the way down
- that’s a safety feature.
To start your 2.2 Liter engine:
1. Without pushing the accelerator pedal, turn your ignition key t\
o “Start.”
When the engine starts, let go of the key. The idle speed will go down
as your engine gets
warm.
NOTICE:
Holding your key in “Start” for longer than 15 seconds at a time
will cause your battery to be drained much sooner. And the
excessive heat can damage your starter motor.
2. If your engine still won’t start (or starts but then stops), it could be
flooded with too much gasoline. Try pushing your accelerator pe\
dal all
the way to the floor and holding it there as you hold the key in “Start”
for about three seconds. If
the vehicle starts briefly but then stops
again, do the same thing, but this time keep the pedal down for five or
six seconds. This clears the extra gasoline from the engine.
2-12
Page 74 of 340
Downloaded from www.Manualslib.com manuals search engine ..
The front axle portion of the diagram on the indicator will light up when
you shift into four-wheel drive. A slight delay between shifting an\
d the
pattern’s lighting is normal. If the pattern does not light up, or if the front
axle does not go out after you shift out of four-wheel drive, have your
dealer check your system. Turn the
INT LIGHTS switch located to the
right of your headlight switch to dim your transfer case indicator light\
when
your headlights or parking lights are on. This will also cause\
your
instrument panel lights to dim.
2HI: This setting is for driving in most street and highway situations. Your
front axle is not engaged in two-wheel drive.
4HI: This setting engages your front axle to help drive your vehicl\
e. Use
4HI when you need extra traction, such as on snowy or icy roads, \
or in most
off-road situations.
N SET PARK BRAKE: Shift to this neutral setting only when your vehicle
needs to be towed.
4LO: This setting also engages your front axle to give you extra traction.
You may never need
4LO. It sends the maximum power to all four wheels.
You might choose
4LO if you were driving off-road in sand, mud, or deep
snow and climbing or descending steep hills.
You can shift from
2HI to 4HI or from 4HI to 2HI while the vehicle is
moving. It is not necessary for you to press the transfer case shift lever
button. Your front axle will engage faster
if you take your foot off of the
accelerator for a few seconds after you shift.
To shift your transfer case into N SET PARK BRAKE:
1. Stop the vehicle and shift your transmission into “N” (Neutral).
2. Set the parking brake. Your vehicle can roll unless the brakes are
applied.
To shift into or out of 4LO :
1. The vehicle must be stopped or moving less than 3 mph (4.8 Wh)
with the transmission in “N’ (Neutral) or the clutch pedal depressed.
2. Press the transfer case shift button and shift in one continuous motion.
Don’t pause in
N SET PARK BRAKE as you shift into or out of 4L0, or
your gears could clash.
Remember that driving in
4HI or 4LO may reduce fuel economy. Also,
driving in four-wheel drive on dry pavement could cause your t\
ires to wear
faster and make your transfer case harder to shift.
2-28
I
Page 75 of 340
Downloaded from www.Manualslib.com manuals search engine Electronic Transfer Case
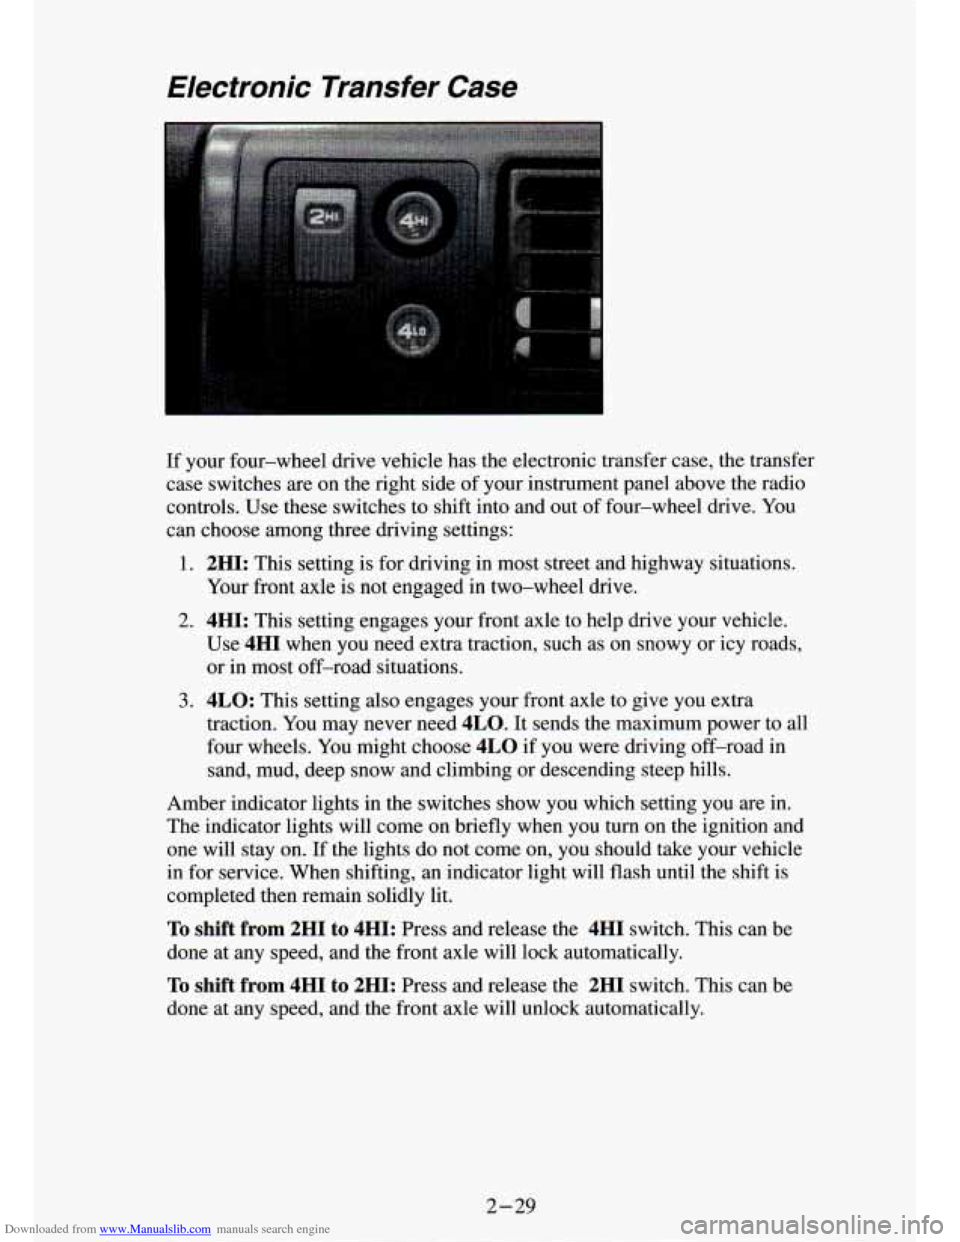
If your four-wheel drive vehicle has the electronic transfer case, the transfer
case switches are on the right side of your instrument panel above the radio
controls. Use these switches to shift into and out of four-wheel drive. You
can choose among three driving settings:
1. 2HI: This setting is for driving in most street and highway situations.
Your front axle is not engaged
in two-wheel drive.
2. 4HI: This setting engages your front axle to help drive your vehicle.
Use
4HI when you need extra traction, such as on snowy or icy roads, \
or in most off-road situations.
3. 4LO: This setting also engages your front axle to give you extra
traction. You may never need
4LO. It sends the maximum power to all
four wheels. You might choose
4LO if you were driving off-road in
sand, mud, deep snow and climbing or descending steep hills.
Amber indicator lights in the switches show you which setting \
you are in.
The indicator lights will come on briefly when you
turn on the ignition and
one
will stay on. If the lights do not come on, you should take your vehicle
in for service. When shifting, an indicator light will flash until the shift is
completed then remain solidly lit.
To shift from 2HI to 4HI: Press and release the 4HI switch. This can be
done at any speed, and the front axle will lock automatically.
To shift from 4HI to 2HI: Press and release the 2HI switch. This can be
done at any speed, and the front axle will unlock
; omaticallv.
2-29
Page 81 of 340
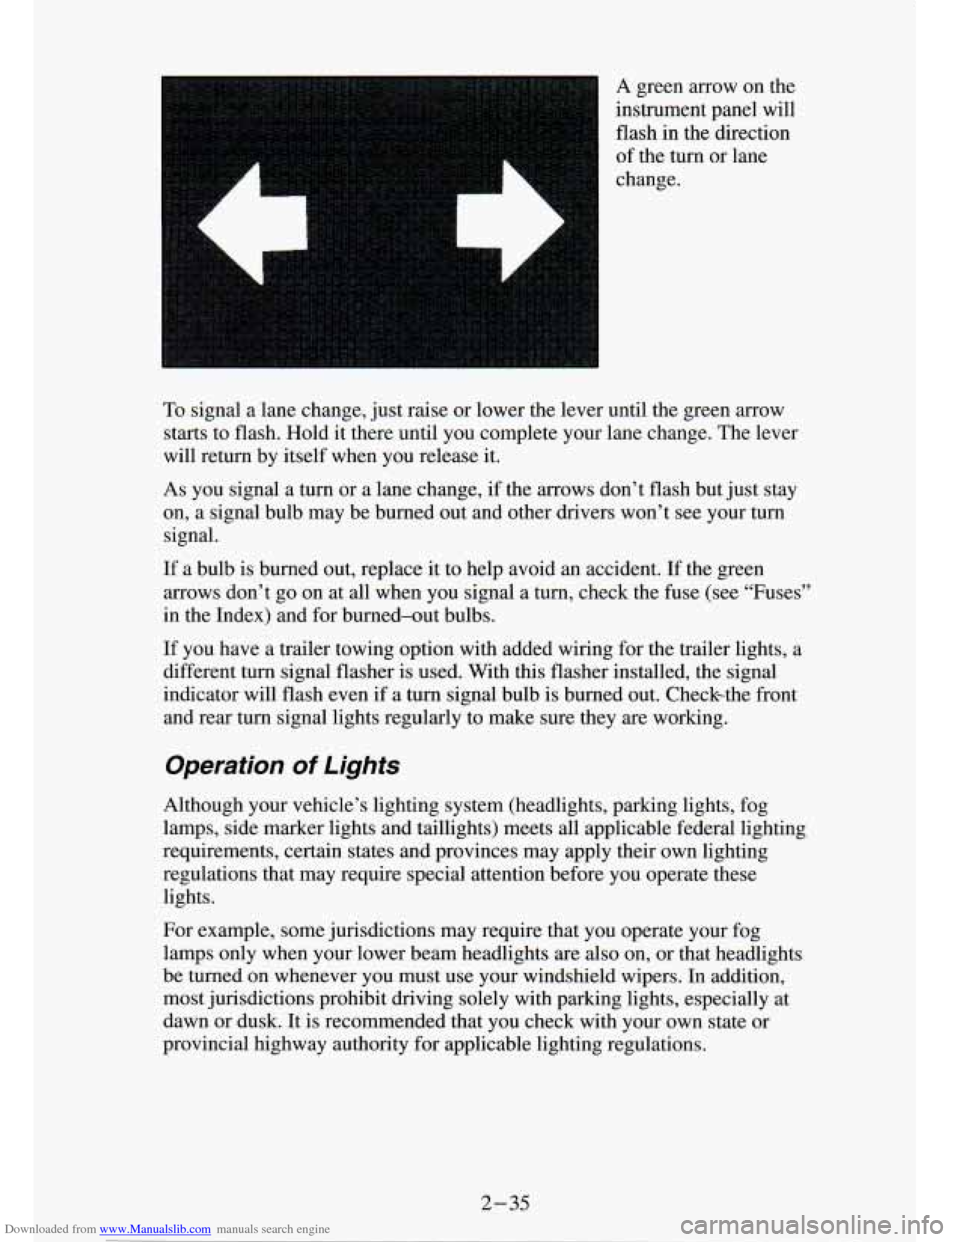
Downloaded from www.Manualslib.com manuals search engine A green arrow on the
instrument panel will
flash in the direction
of the turn
or lane
change.
To signal a lane change, just raise or lower the lever until the green arrow
starts to flash. Hold it there until you complete your lane change. The lever
will return by itself when you release it.
As you signal a turn or a lane change, if the arrows don’t f\
lash but just stay
on, a signal bulb may be burned out and other drivers won’t see your turn
signal.
If a bulb is burned out, replace it to help avoid an accident. If the green
arrows don’t go
on at all when you signal a turn, check the fuse (see “Fuses”
in the Index) and for burned-out bulbs.
If you have a trailer towing option with added wiring for
the trailer lights, a
different turn signal flasher is used. With this flasher installed, the signal
indicator will flash even if a turn signal bulb is burned out. Checkthe front
and rear turn signal lights regularly to make sure they
are working.
Operation Of Lights
Although your vehicle’s lighting system (headlights, parking \
lights, fog
lamps, side marker lights and taillights) meets all applicable federal ligh\
ting
requirements, certain states and provinces may apply their own lighting
regulations that may require special attention before you operat\
e these
lights.
For example, some jurisdictions may require that you operate your f\
og
lamps only when your lower beam headlights
are also on, or that headlights
be turned on whenever you must use your windshield wipers. In add\
ition,
most jurisdictions prohibit driving solely with parking lights, \
especially at
dawn or dusk. It is recommended that you check with your own state or
provincial highway authority for applicable lighting regulations.
2 -35
Page 82 of 340
Downloaded from www.Manualslib.com manuals search engine Headlight High-Low Beam
Windshield Wipers
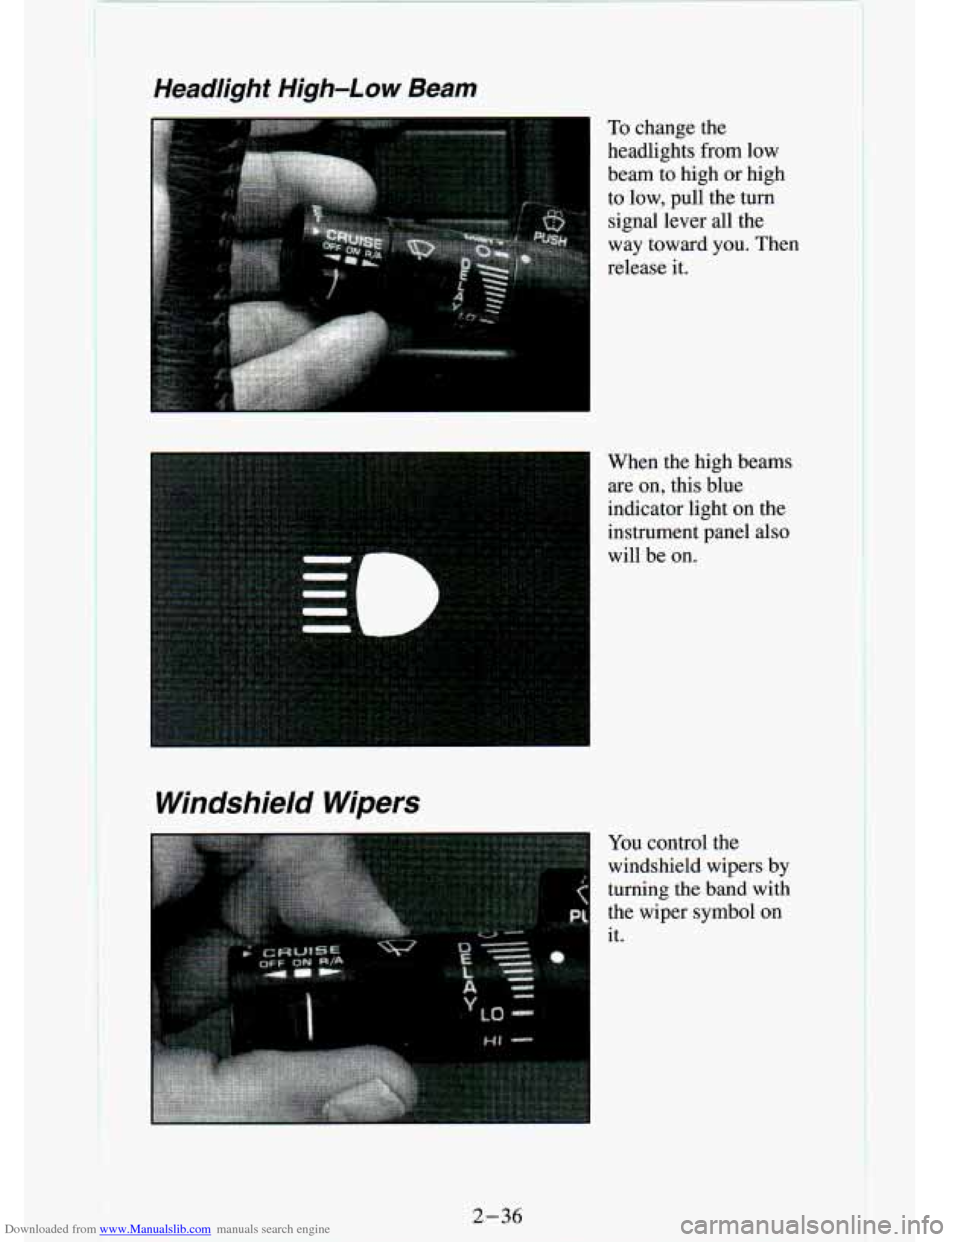
To change the
headlights from low
beam to high or high
to low, pull the
turn
signal lever all the
way toward you. Then
release
it.
When the high beams are on, this blue
indicator light
on the
instrument panel also
will be
on.
You control the
windshield wipers by
turning the band with
the wiper symbol on
it.
2-36
Page 91 of 340
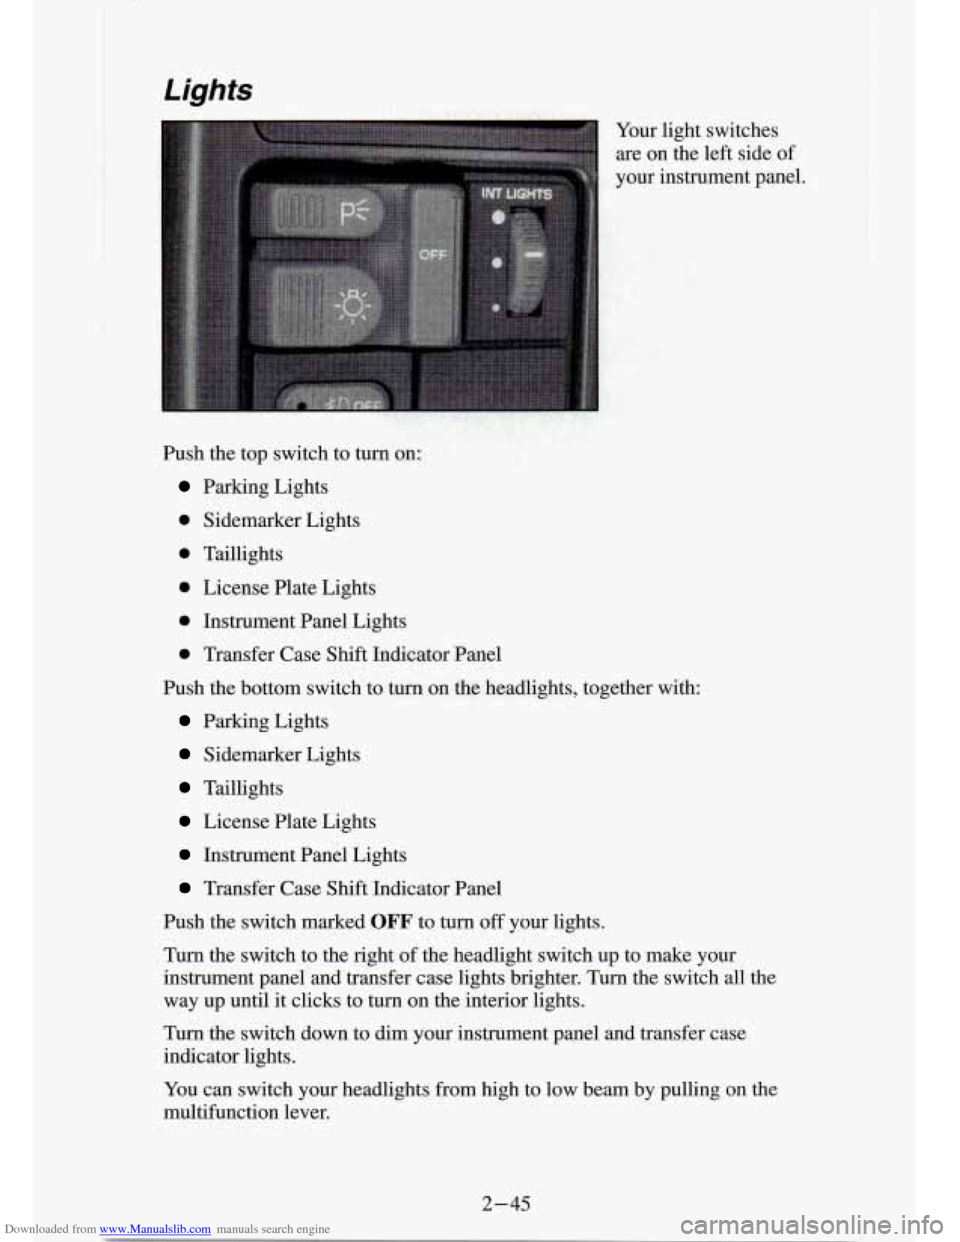
Downloaded from www.Manualslib.com manuals search engine Your light switches
are on the left side of
: your instrument panel.
Push the top switch to
turn on:
Parking Lights
0 Sidemarker Lights
0 Taillights
0 License Plate Lights
0 Instrument Panel Lights
0 Transfer Case Shift Indicator Panel
Push the bottom switch to
turn on the headlights, together with:
Parking Lights
Sidemarker Lights
Taillights
License Plate Lights
Instrument Panel Lights
Transfer Case Shift Indicator Panel
Push the switch marked
OFF to turn off your lights.
Turn the switch to the right of the headlight switch up to make your
instrument panel and transfer case lights brighter. Turn the switch all the
way up until it clicks to
turn on the interior lights.
Turn the switch down to
dim your instrument panel and transfer case
indicator lights.
You can switch your headlights from high to low beam
by pulling on the
multifunction lever.
I
.2-45
Page 92 of 340
Downloaded from www.Manualslib.com manuals search engine A circuit breaker protects your headlights. If you have an electrical
overload, your headlights will flicker
on and off. Have your headlight
wiring checked right away if this happens.
Fog Lamps (Option)
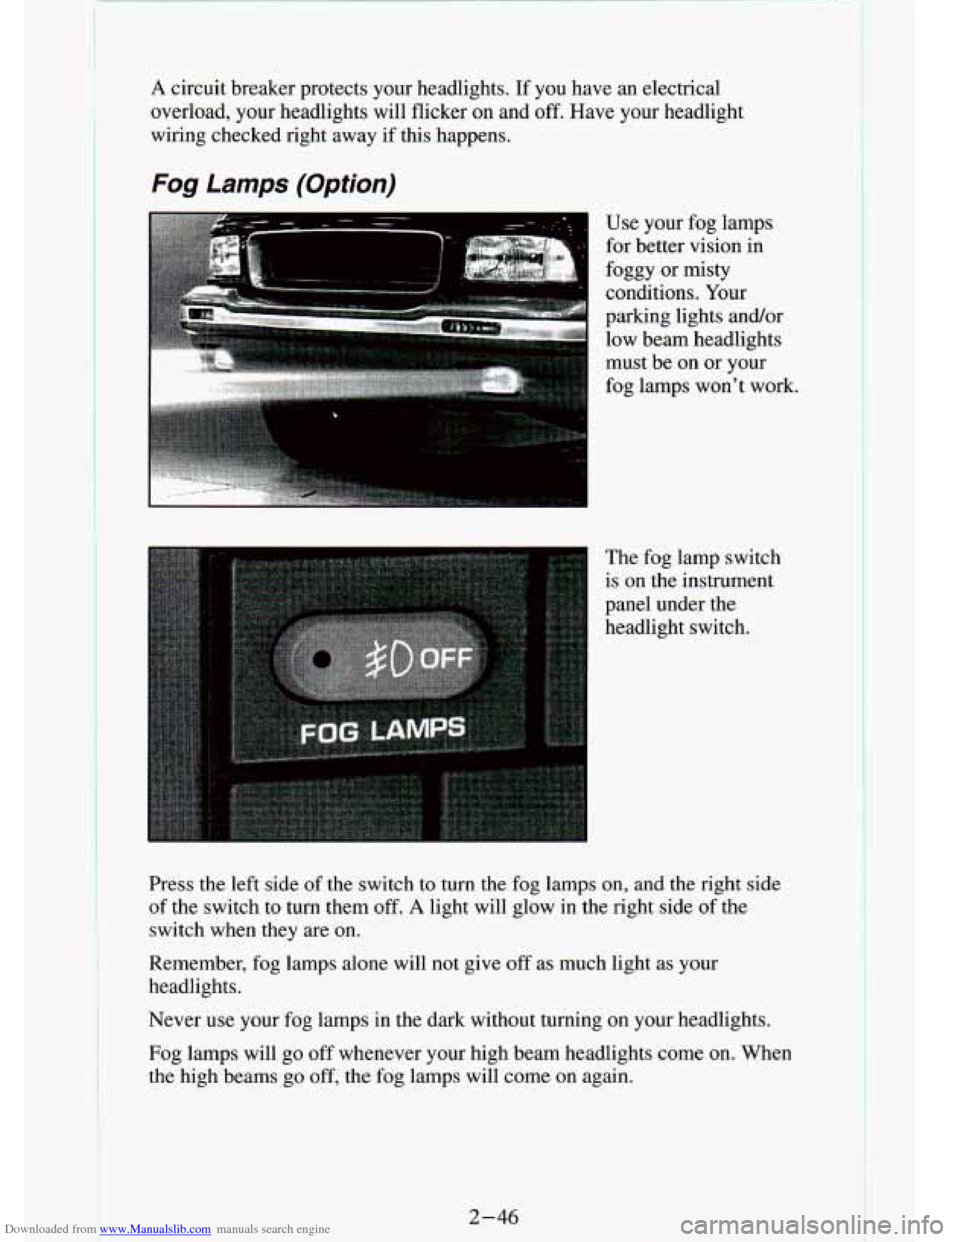
Use your fog lamps
for better vision in
foggy or misty
conditions. Your
parking lights and/or low beam headlights
must be
on or your
fog lamps won't work.
The fog lamp switch
is on the instrument
panel under the
headlight switch.
Press the left side of the switch to turn the fog lamps on, and the right side
of the switch
to turn them off. A light will glow in the right side of the
switch when they are on.
Remember, fog lamps alone will not give off as much light as your
headlights.
Never
use your fog lamps in the dark without turning on your headlights.
Fog lamps will go
off whenever your high beam headlights come on. When
the high beams go off, the fog lamps will come
on again.
2-46
I