1994 CHEVROLET S10 instrument panel
[x] Cancel search: instrument panelPage 93 of 340
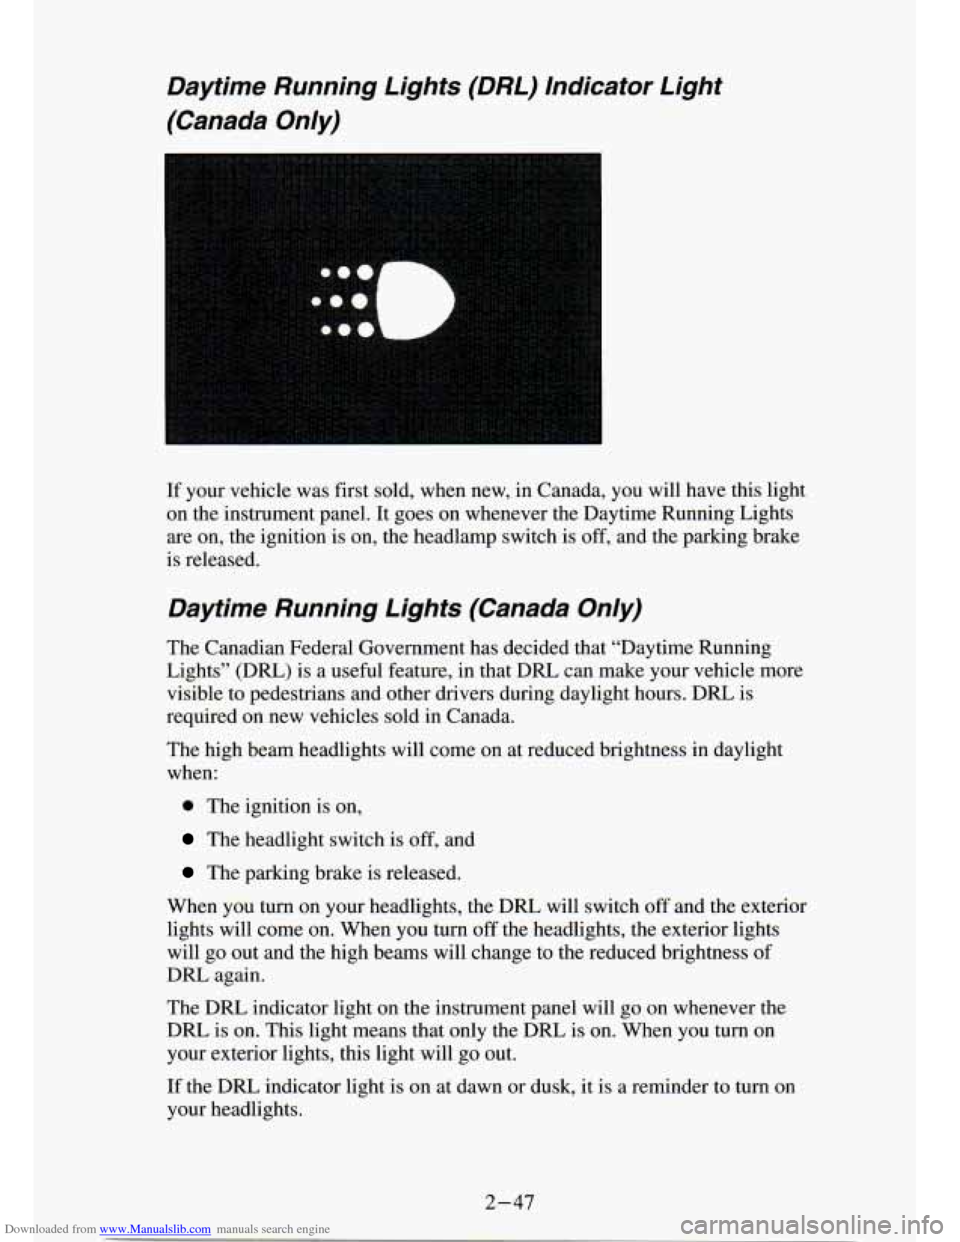
Downloaded from www.Manualslib.com manuals search engine Daytime Running Lights (DRL) Indicator Light
(Canada Only)
If your vehicle was first sold, when new, in Canada, you will\
have this light
on the instrument panel. It goes on whenever the Daytime Running Lights
are on, the ignition is on, the headlamp switch is
off, and the parking brake
is released.
Daytime Running Lights (Canada Only)
The Canadian Federal Government has decided that “Daytime Running \
Lights” (DRL) is a useful feature, in that
DRL can make your vehicle more
visible to pedestrians and other drivers during daylight hours. \
DRL is
required on new vehicles sold in Canada.
The high beam headlights will come
on at reduced brightness in daylight
when:
0 The ignition is on,
The headlight switch is off, and
The parking brake is released.
When you turn on your headlights, the DRL will switch off and the exterior
lights will come on. When you turn
off the headlights, the exterior lights
will go out and the high beams will change to the reduced brightness
of
DRL again.
The DRL indicator light on the instrument panel will go on whenever the
DRL is on. This light means that only the DRL is on. When you turn on
your exterior lights, this light will
20 out.
If the DRL indicator light is on at uawn or dusk, it is a reminder to turn on
your headlights.
2-47
Page 101 of 340
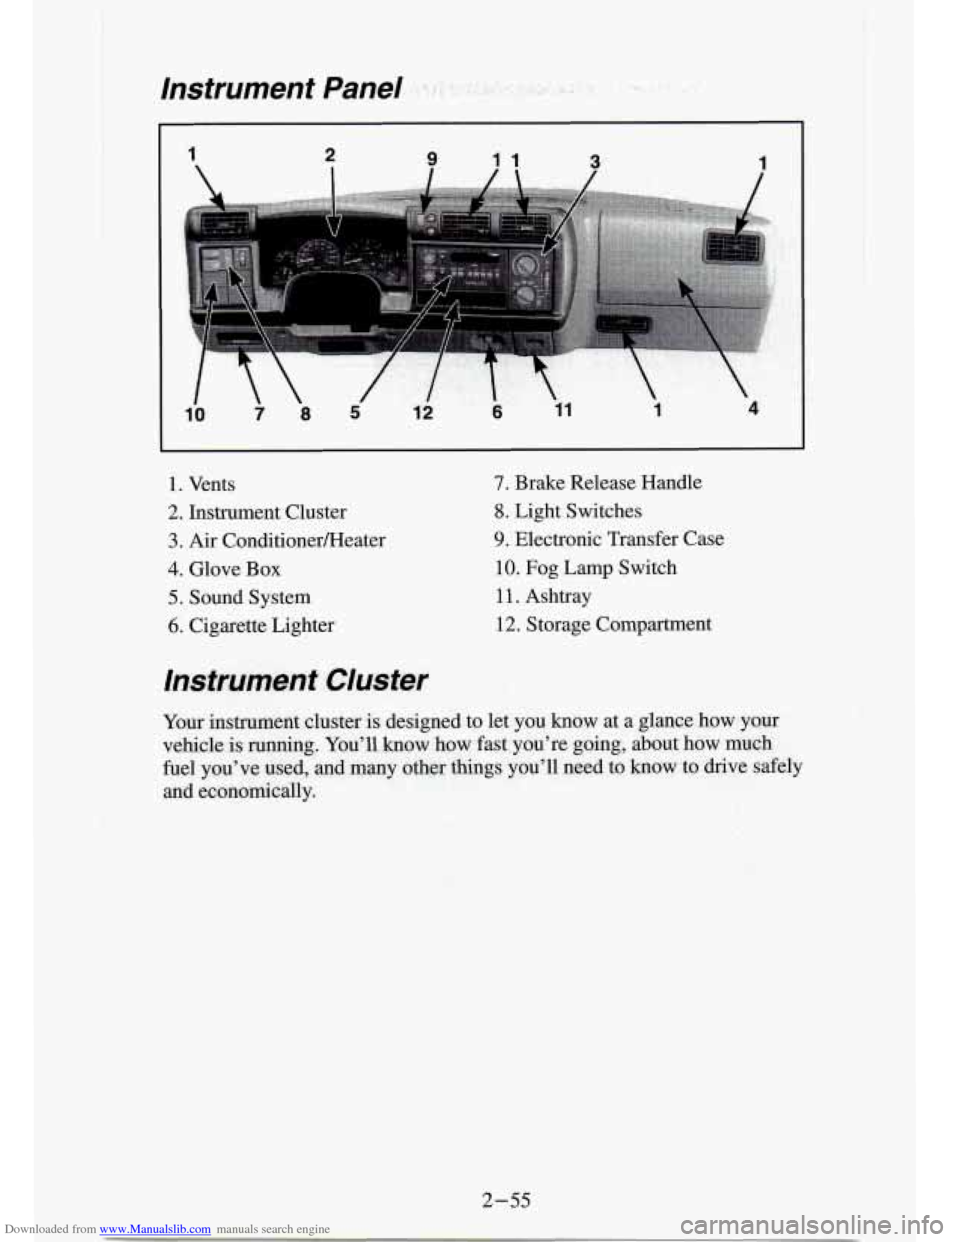
Downloaded from www.Manualslib.com manuals search engine Instrument Panel ~ . -, .
1. Vents
2. Instrument Cluster
3. Air ConditionerFteater
4. Glove Box
5. Sound System
6. Cigarette Lighter
7. Brake Release Handle
8. Light Switches
9. Electronic Transfer Case
10. Fog Lamp Switch
1 1. Ashtray
12. Storage Compartment
Instrument Cluster
Your instmmnt dustex is designed to let you know at a glance how yaur
vehicle is.
running. You’ll how bow fast^ you’re going, about how much
fuel you’ve
used, -and many other things you’ll need to know to drive safely
and economically.
2 - 5.5
Page 117 of 340
Downloaded from www.Manualslib.com manuals search engine Air Vents
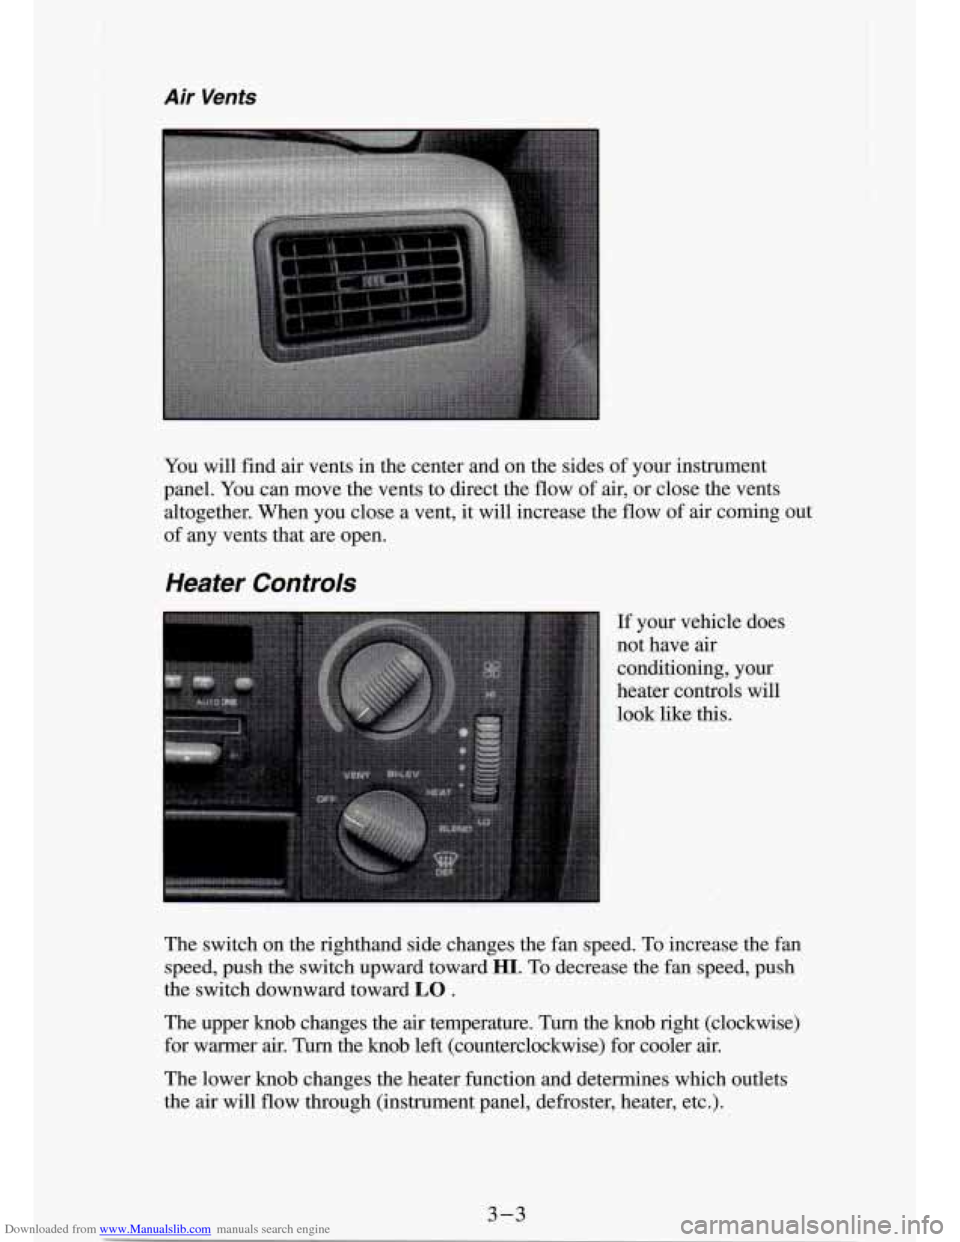
You will find air vents in the center and on the sides of your instrument
panel. You can move the vents to direct the flow
of air, or close the vents
altogether. When you close a vent,
it will increase the flow of air coming out
of any vents that are open.
Heater Controls
If your vehicle does
not have
air
conditioning, your
heater controls will
look like this.
The switch on the righthand side changes the fan speed. To increase the
fan
speed, push the switch upward toward HI. To decrease the fan speed, push
the switch downward toward
LO .
The upper knob changes the air temperature. Turn the knob right (clockwise)
for warmer
air. Turn the knob left (counterclockwise) for cooler air.
The lower knob changes the heater function and determines which\
outlets
the
air will flow through (instrument panel, defroster, heater, etc.).
3-3
Page 118 of 340
Downloaded from www.Manualslib.com manuals search engine OFF: This setting turns off all heating functions. Some outside air will still
come out of the heater outlet whenever the vehicle is moving forward.
VENT Airflow is through the instrument panel vents. Set the upper knob to
the temperature desired. This setting is useful for mild outside temperatures,
when little heating
or cooling is desired.
BI-LEV: Outside air comes in through the heater floor vents and the
instrument panel vents. This setting is useful in cool weather \
with bright sunlight.
HEAT Heated air comes out through the heater floor vents and windsh\
ield
defroster vents. This setting is useful for cold weather.
BLEND: Airflow is divided equally between the heater floor vent and t\
he
windshield defroster vents. This setting is useful in cool weather when you
have fog or ice on the windshield or side windows.
DEF: This setting directs most air through the windshield defroster \
vents
and some through the heater vents. This setting is useful when\
you have fog
or ice on the windshield.
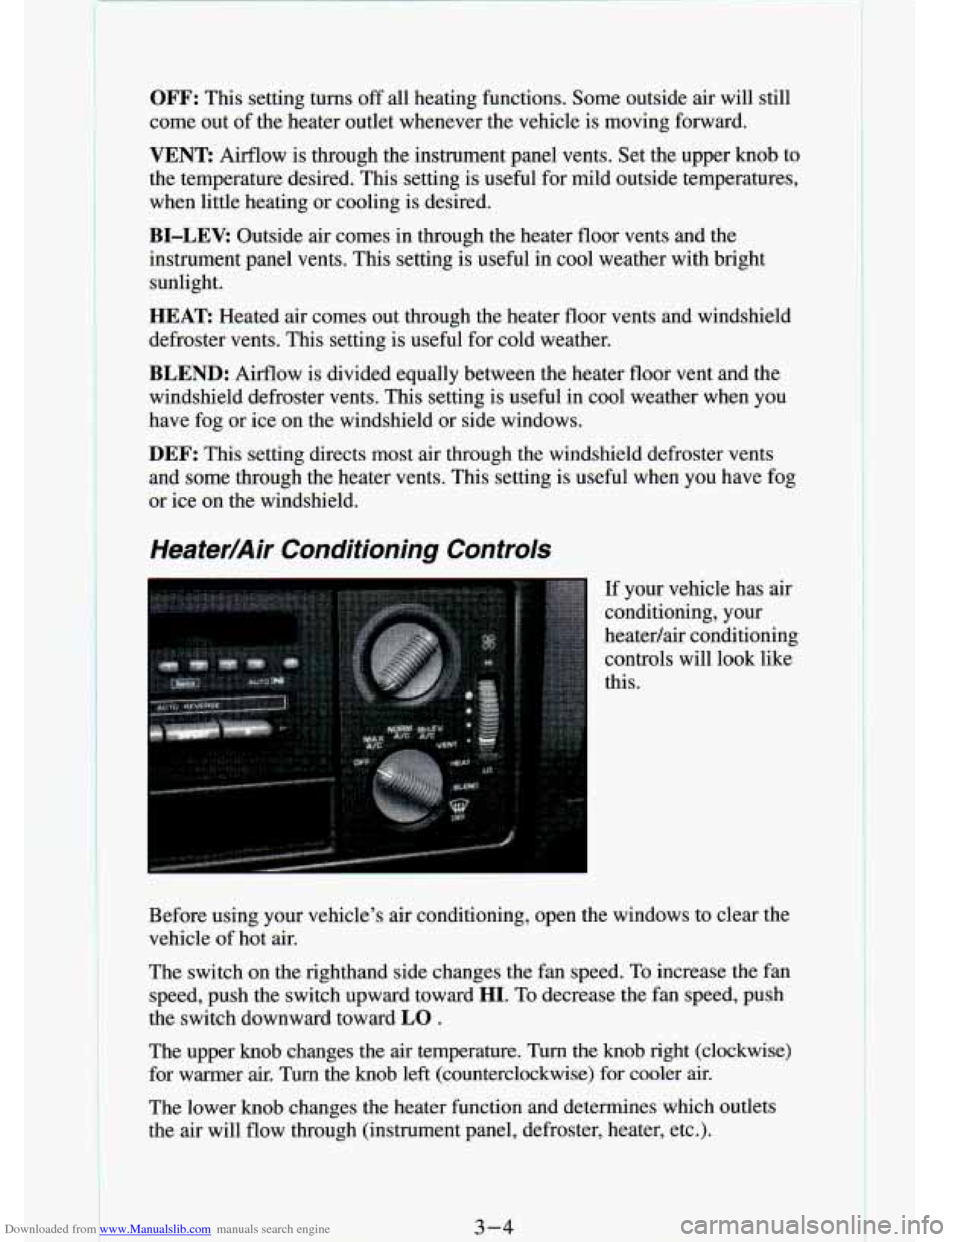
Heater/Air Conditioning Controls
If your vehicle has air
conditioning, your
heatedair conditioning
controls will look like
this.
Before using your vehicle's air conditioning, open the windows \
to clear the vehicle
of hot air.
The switch on the righthand side changes the fan speed. To increase the fan
speed, push the switch upward toward
HI. To decrease the fan speed, push
the switch downward toward
LO .
The upper knob changes the air temperature. Turn the knob righ\
t (clockwise)
for warmer air. Turn the knob left (counterclockwise) for coo\
ler air.
The lower knob changes the heater function and determines which out\
lets
the air will flow through (instrument panel, defroster, heater, etc\
.).
3-4
Page 142 of 340
Downloaded from www.Manualslib.com manuals search engine 1
Avoid needless heavy braking. Some people drive in spurts - heavy
acceleration followed by heavy braking
- rather than keeping pace with
traffic. This is a mistake. Your brakes may not have time to cool between
hard stops. Your brakes will wear out much faster if you do a lot of heavy
braking.
If you keep pace with the traffic and allow realistic following
distances, you will eliminate a lot of unnecessary braking. That means better
braking and longer brake life.
If your engine ever stops while you’re driving, brake normally \
but don’t
pump your brakes. If you do, the pedal may get harder to push down. If
your engine stops, you will still have some power brake assist. But you
will
use it when you brake. Once the power assist is used up, it may take longer
to stop and the brake pedal will be harder to push.
Anti-Lock Brakes (ABS)
Your vehicle has an advanced electronic braking system that can help\
you
keep it under control.
If your vehicle has an anti-lock brake system warning light on th\
e
instrument panel, it has four-wheel anti-lock brakes. Otherwise, it has
rear-wheel anti-lock brakes. When you start a vehicle that has \
four-wheel anti-lock brakes and begin to drive away, you may hear
a momentary motor
or clicking noise. This is the ABS system testing itself.
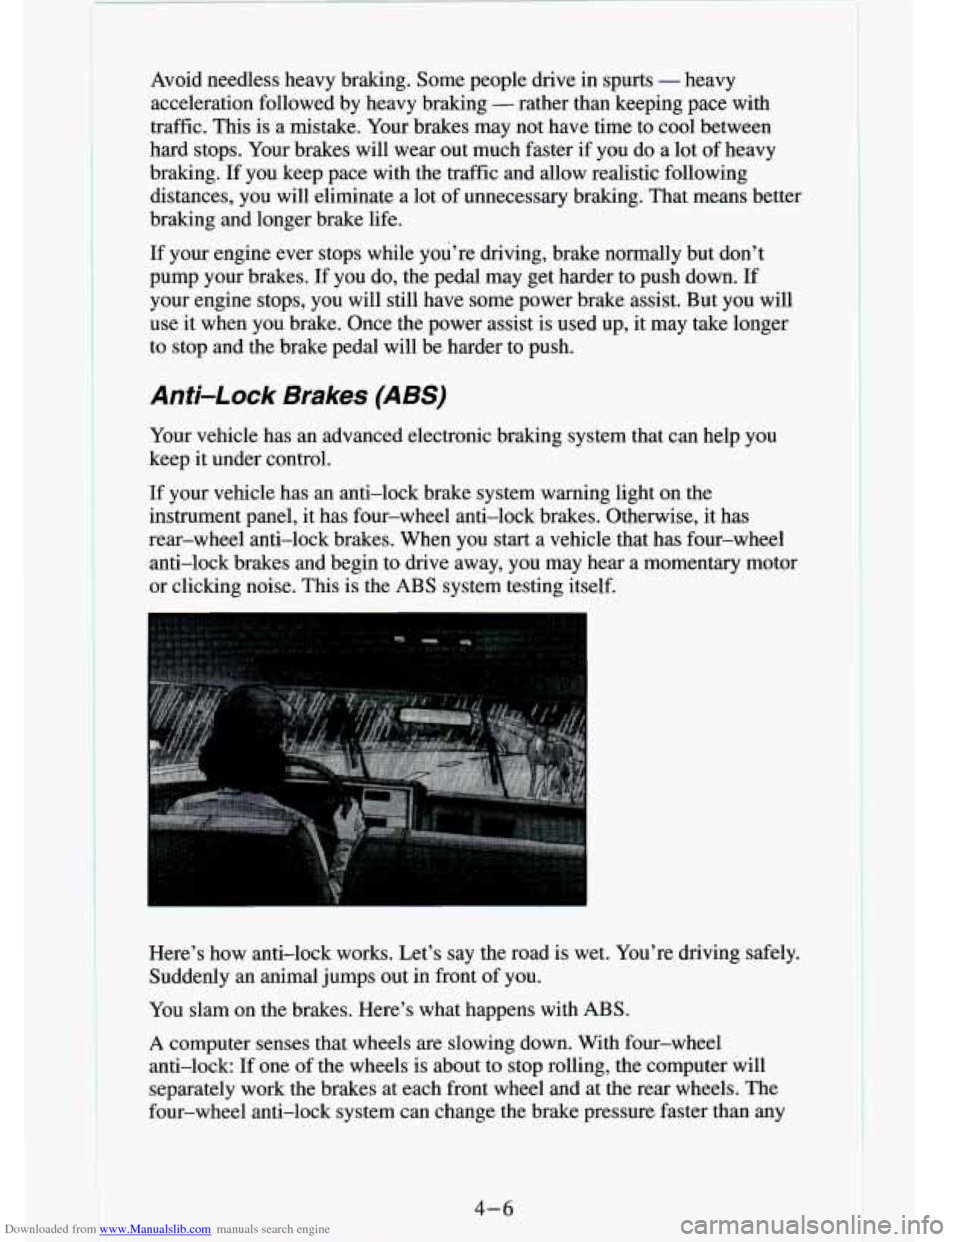
Here’s how anti-lock works. Let’s say the road is wet. Y\
ou’re driving safely. Suddenly an animal jumps out in front of you.
You slam on the brakes. Here’s what happens with ABS.
A computer senses that wheels are slowing down. With four-wheel
anti-lock:
If one of the wheels is about to stop rolling, the computer will
separately work the brakes at each front wheel
and at the rear wheels. The
four-wheel anti-lock system can change the brake pressure faster\
than any
4-6
Page 178 of 340
Downloaded from www.Manualslib.com manuals search engine trailer brake controller by hand to be sure the brakes are working. This lets
you check your electricql connection at the same time.
During your trip, check occasionally to be sure that the load \
is secure, and
that the lights and any trailer brakes
are still working.
Following Distance
Stay at least twice as far behind the vehicle ahead as you would when
driving your vehicle without a trailer. This can help you avoid situations \
that
require heavy braking apd sudden turns.
Passing
You’ll need more passing distance up ahead when you’re to\
wing a trailer.
And, because you’re a good deal longer, you’ll need to g\
o much farther
beyond the passed vehicle before you can return to your lane. \
Backing Up
Hold the bottom of the steering wheel with one hand. Then, to move the
trailer to the left, just move that hand to the left. To move the trailer to the
right, move your hand to the right. Always back up slowly and\
, if possible,
have someone guide you.
Making Turns
When you’re turning with a trailer, make wider turns than n\
ormal. Do this
so your trailer won’t strike soft shoulders, curbs, road signs, \
trees, or other
objects. Avoid jerky or sudden maneuvers. Signal well in advance.
Turn Signals When Towing a Trailer
When you tow a trailer, your vehicle has to have a different \
turn signal
flasher and extra wiring. The green arrows on your instrument panel wi\
ll
flash whenever you signal a turn or lane change. Properly hooked up, the
trailer lights will also flash, telling other drivers you’re \
about
to turn,
change lanes or stop.
When towing a trailer, the green arrows on your instrument pan\
el will flash
€or
turns even if the bulbs on the trailer are burned out. Thus, you may think
drivers behind you are seeing your signal when they are not. It’s importan\
t
to check occasionally to be sure the trailer bulbs are still \
working.
4-42
Page 224 of 340
Downloaded from www.Manualslib.com manuals search engine Be careful not to spill gasoline. Clean gasoline from painted surfaces as
soon as possible. See “Cleaning the Outside of Your Vehicle” in the Index.
When
you put the cap back on, turn it to the right until you hear a clicking
noise.
NOTICE:
If you need a new cap, be sure to get the right type. Your dea\
ler
can get one for you. If you get the wrong type, it may not fit or
have proper venting, and your fuel tank and emissions system
might be damaged.
Checking Things Under fhe Hood
Hood Release
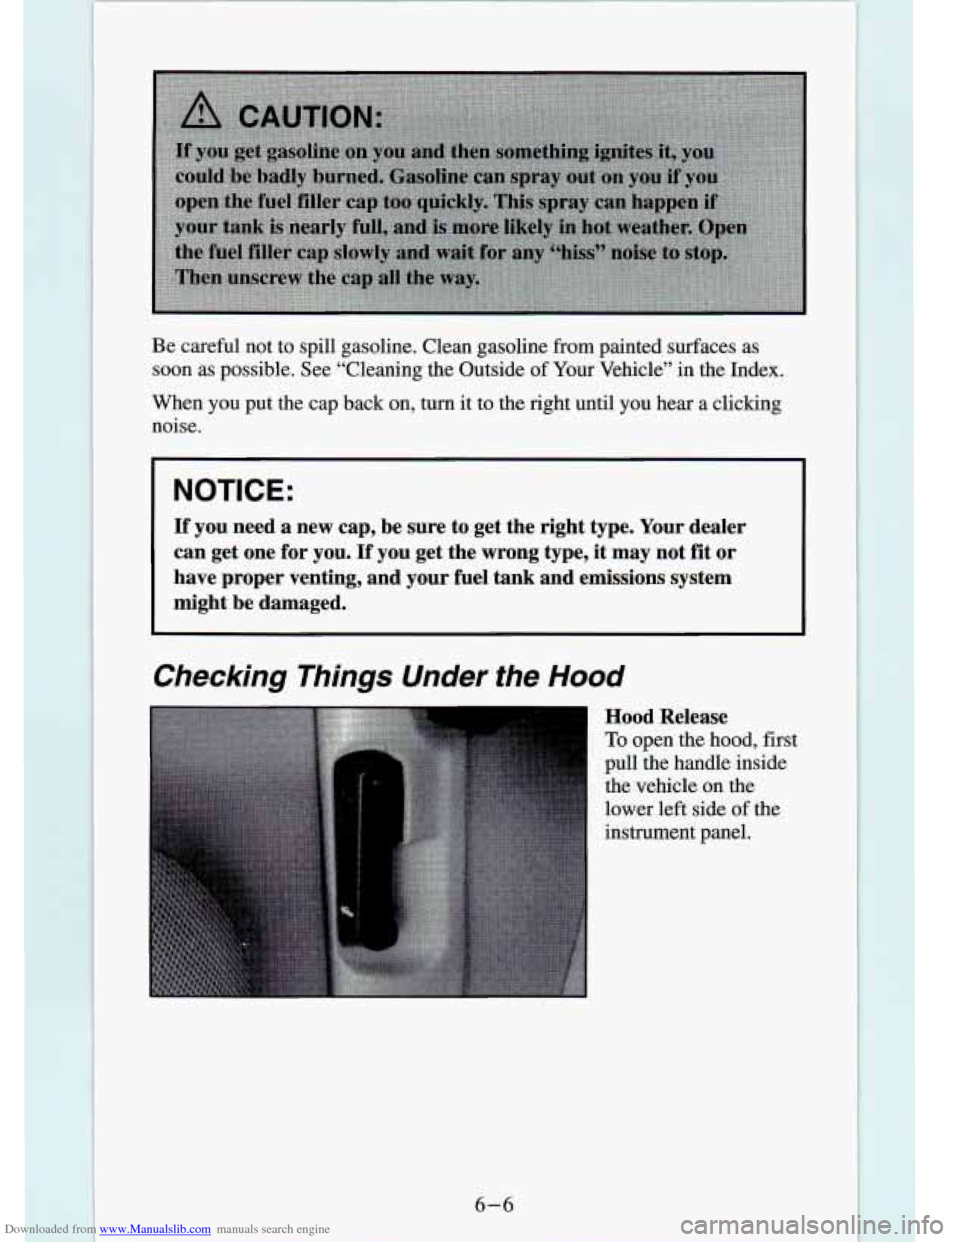
To open the hood, first
pull the handle inside
the vehicle on the
, lower left side of the
~ instrument panel.
6-6
Page 262 of 340
Downloaded from www.Manualslib.com manuals search engine Lock Cylinders
To be sure your locks operate properly, they must be lubricated.
Refer to the Maintenance Schedule to determine
how often to lubricate them
and what type
of lubricant to use.
You should not use penetrating oils because they could wash out the factory
installed lubricant and cause
the lock to bind. De-icers which contain
alcohol could
also wash away the lubricant, so be sure to lubricate the lock
after using a de-icer of this type.
Tailgate Handle
The tailgate handle pivot points on your vehicle should be lubricated to keep
the handle working smoothly.
Refer to the Maintenance Schedule to determine
how often to lubricate them
and what type
of lubricant to use.
Exhaust System
To help prevent damage to your exhaust system, do not continue to drive
your vehicle if you notice:
Engine misfiring
Loss of performance
Other unusual operating conditions
Have your engine and exhaust system serviced regularly.
Three- Way Catalytic Converter
Your vehicle's three-way catalytic converter is designed to reduce the
pollutants in your vehicle's exhaust. Use only unleaded fuel in your vehicle.
If you use leaded fuel, you could damage your three-way catalytic converter
and other engine components.
Malfunction Indicator Lamp (SERVICE ENGINE SOON )
This light on your instrument panel lets you know when your emission
system needs service. The light will come on briefly when you start your
engine to let you know that the system
is working. If it does not come on
when you start your engine, or if it comes on and stays on while you're
driving, your system may
need service. Your vehicle should still be
driveable, but you should have your system serviced right away.
6-44