1994 CHEVROLET S10 manual transmission
[x] Cancel search: manual transmissionPage 201 of 340
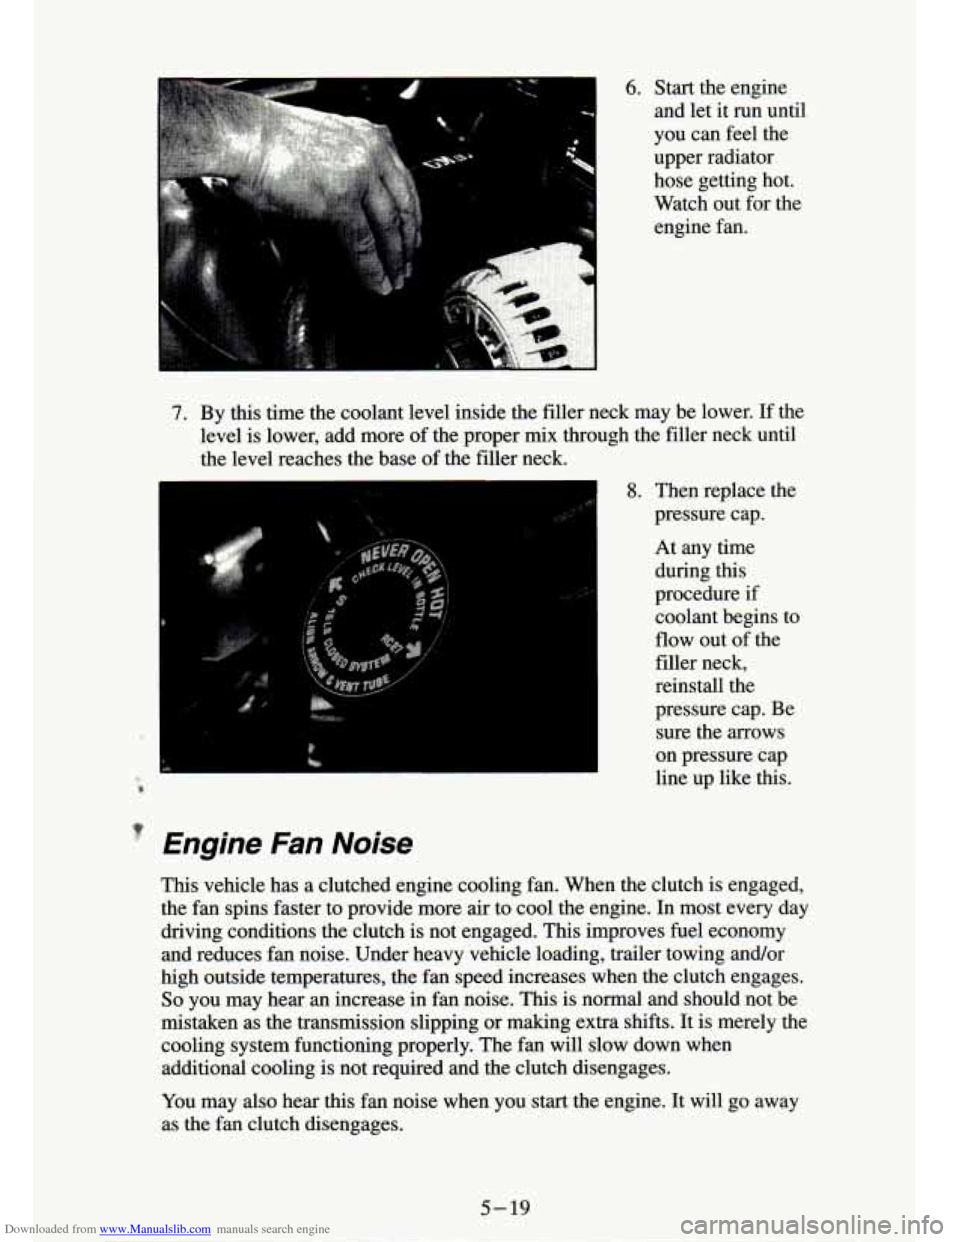
Downloaded from www.Manualslib.com manuals search engine 7. By this time the coolant level inside the filler neck may be lower. If the
level is lower, add more of the proper
mix through the filler neck until
the level reaches the base of the filler neck.
8. Then replace the
pressure cap.
At any time during
this
procedure if coolant begins to
flow out of the
filler neck,
reinstall the
pressure cap. Be sure the arrows
on pressure cap
line up like this.
P
' Engine Fan Noise
This vehicle has a clutched engine cooling fan. When the clutch is engaged,
the fan spins faster to provide more air
to cool the engine. In most every day
driving conditions the clutch is not engaged. This improves fuel economy
and reduces fan noise. Under heavy vehicle loading, trailer towing and/or
high outside temperatures, the fan speed increases when the clutch engages.
So you may hear an increase in fan noise. This is normal and should not be
mistaken as the transmission slipping or making extra shifts. It is merely the
cooling system functioning properly. The fan will slow down when
additional cooling is not required and the clutch disengages.
You may also hear this fan noise when you
start the engine. It will go away
as the
fan clutch disengages.
5-19
Page 216 of 340
Downloaded from www.Manualslib.com manuals search engine Storing The Jacking Equipment
Return the jack, wheel wrench and wheel blocks to the proper location
behind the seat. Secure the items
and replace the jack cover.
NOTICE:
Don’t use the existing hoist to store a tire with an aluminum
wheel or it could damage the wheel. Secure the tire in the pickup
bed.
If You’re Stuck: In Sand, Mud, Ice or Snow
What you don’t want to do when your vehicle is stuck is to spin your
wheels. The method
known as “rocking” can help you get out when you’re
stuck, but
you must use caution.
NOTICE:
Spinning your wheels can destroy parts of your vehicle as well as
the tires.
If you spin the wheels too fast while shifting your
transmission back and forth, you can destroy your transmission.
5-34
Page 217 of 340
Downloaded from www.Manualslib.com manuals search engine Rocking your vehicle to get it out:
First, turn your steering wheel left and right. That will clear the area around
your front wheels. Then shift back and forth between
“R’ (Reverse) and a
forward gear (or with a manual transmission, between First or \
Second gear and Reverse), spinning the wheels as little as possible. Release the
accelerator pedal while you shift, and press lightly on the accelerator pedal
when the transmission is
in gear. If that doesn’t get you out after a few .tries,
you may need to be towed out. Or, you can use your recovery hooks, if your
vehicle has them.
If you do need to be towed out, see “Towing Your
Vehicle” in the Index.
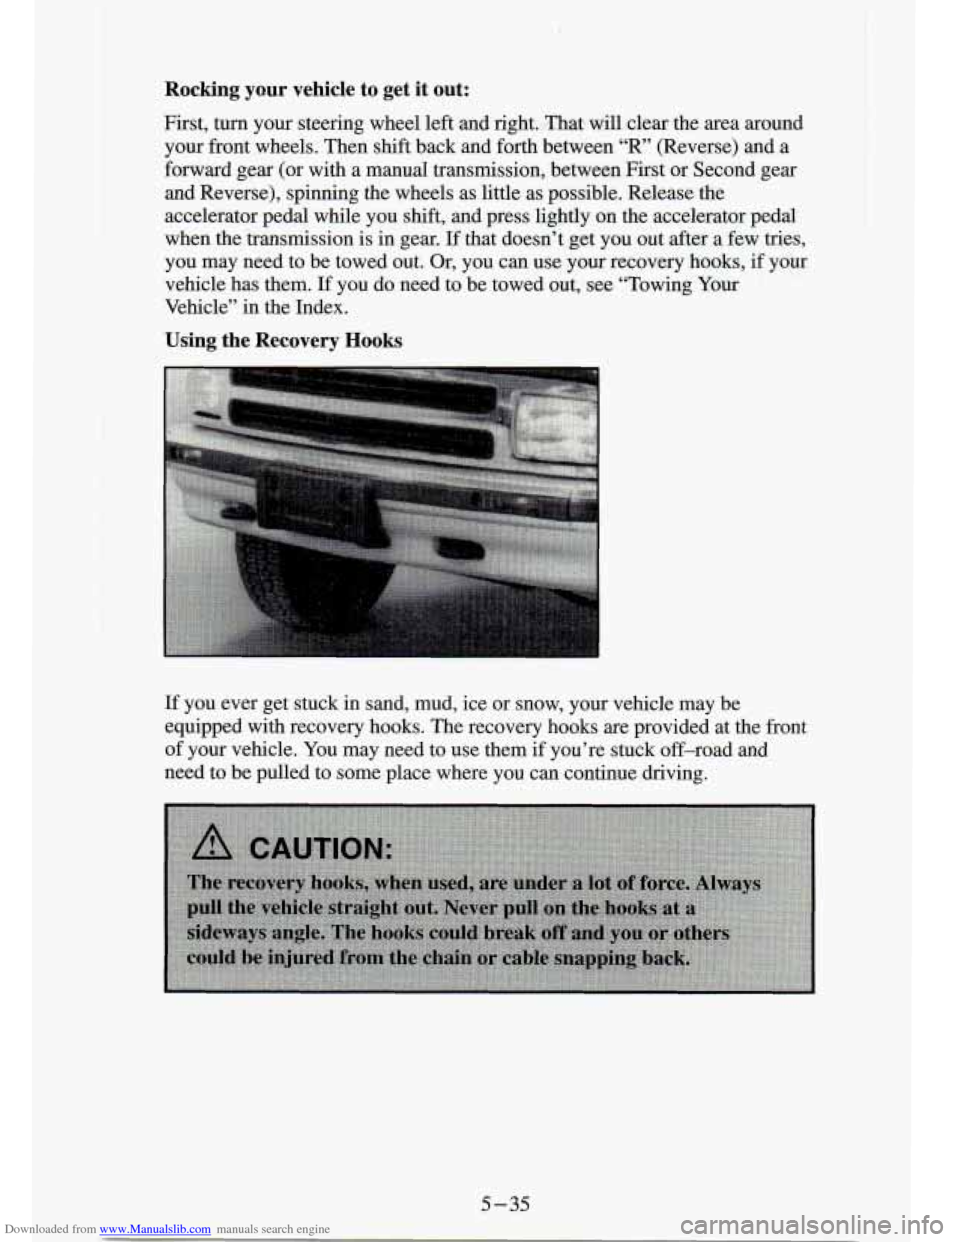
Using the Recovery Hooks
If you ever get stuck in sand, mud, ice or snow, your vehicle may be
equipped with recovery hooks. The recovery hooks are provided at the front
of your vehicle. You may need to use them if you’re stuck off-road and
need to be pulled to some place where you can continue driving.
5-35
Page 219 of 340
Downloaded from www.Manualslib.com manuals search engine Service & Appearance Care
I
Section
Here you will find information about the care of your vehicle . This part
begins with service and fuel information. and then it shows ho\
w to check important fluid and lubricant levels
. There is also technical information
about your vehicle. and a section devoted to its appearance care
.
Service ................................................... 6-2
Fuel
..................................................... 6-3
Engineoil
.............................................. 6-9
Aircleaner
............................................ 6-14
Automatic Transmission Fluid
............................. 6-15
Manual Transmission Fluid
............................... 6-18
Hydraulic Clutch
........................................ 6-20
RearAxle
............................................. 6-20
Transfer Case
.......................................... 6-21
FrontAxle
............................................. 6-22
Power Steering Fluid
.................................... 6-26
Windshield Washer Fluid
................................. 6-28
Checking Things Under the Hood
.............................. 6-6
Engine Coolant
......................................... 6-23
Brake Master Cylinder
................................... 6-29
Replacing Brake System Parts
................................ 6-32
Bulb Replacement
......................................... 6-33
Battery
.................................................. 6-32
Vehiclestorage
........................................... 6-32
Other Maintenance Items
.................................... 6-39
Loading Your Vehicle
...................................... 6-45
Tires
.................................................... 6-51
Appearancecare
.......................................... 6-59
Vehicle Identification Number (VIN)
.......................... 6-68
Service Parts Identification Label
............................. 6-70
Fuses and Circuit Breakers
.................................. 6-70
Capacities and Specifications Charts
........................... 6-73
6-1
Page 233 of 340
Downloaded from www.Manualslib.com manuals search engine While reassembling the air cleaner assembly, ensure that the air cleaner
cover tabs
are fully inserted into the slots in the air cleaner housing and the
PCV air tube is properly seated in the left hand valve cover.
Refer to
the Maintenance Schedule to determine when to replace the air
filter.
See “Scheduled Maintenance Services”
in the Index.
NOTICE:
If’ the air cleaner is off, a backfire can cause a damaging engine
fire.
And, dirt can easily get into your engine, which will damage
it. Always have the
air cleaner in place when you’re driving.
Automatic Transmission Fluid
When to Check and Change
A good time to check your automatic transmission fluid level is when the
engine oil is changed. Refer to the Maintenance Schedule to determine
when to change your fluid. See “Scheduled Maintenance Services” in the
Index.
How to Check
Because this operation can be a little difficult, you may choose to have this
done at a
GM dealership Service Department.
If you
do it yourself, be sure to follow all the instructions here, or you \
could
get a false reading on the dipstick.
6-15 I
Page 234 of 340
Downloaded from www.Manualslib.com manuals search engine . . . -*
I NOTICE:
Too much or too little fluid can damage your transmission. Too
much can mean that some of the fluid could come out and fall on
hot engine parts or exhaust system, starting a fire. Be sure to get
an accurate reading if you check your transmission fluid.
Wait at least 30 minutes before checking the transmission fluid\
level if you
have been driving:
When outside temperatures are above 90°F (32°C).
At high speed for quite a while.
In heavy traffic - especially in hot weather.
While pulling a trailer.
To get the right reading, the fluid should be at normal operating\
temperature, which is 180°F to 200°F (82°C to 93°C).
To check transmissionfluid hot: Get the vehicle warmed up by driving
about 15 miles (24
km) when outside temperatures are above 50°F (10OC).
If it's colder than 50°F (10" C), drive the vehicle in "D" (3rd Gear) until the
engine temperature gage moves and then remains steady for ten minutes.
Then follow the hot check procedures.
Tu check transmission fluid cold: A cold check is made after the vehicle has
been sitting for eight hours or more with the engine off and is used only as \
a
reference. Let the engine run at idle for five minutes if outside temperatures
are
50°F (10OC) or more. If it's colder than 50°F (lO"C), you may have to
idle the engine longer. Should the fluid level be low during a cold ch\
eck,
you
must perform a hot check before adding fluid. This will give you a\
more accurate reading of the fluid level.
To check the fluid hot or cold
Park your vehicle on a level place.
With the parking brake applied, place the shift lever in "P' (Park).
With your foot on the brake pedal, move the shift lever throu\
gh each
gear range, pausing
for about three seconds in each range. Then,
position the shift lever in
"P' (Park).
Let the engine run at idle for three minutes or more.
6- 16
I
Page 236 of 340
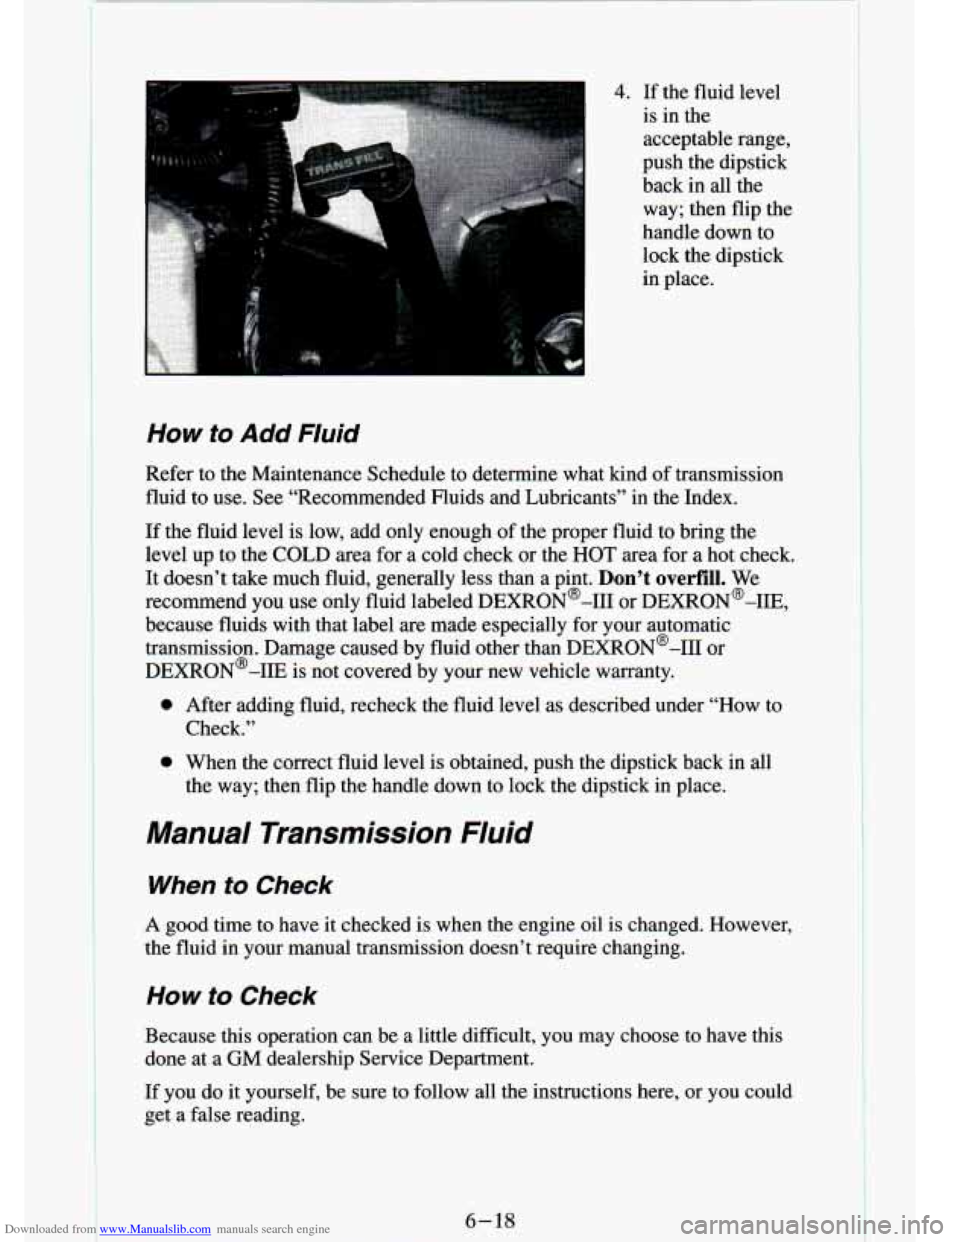
Downloaded from www.Manualslib.com manuals search engine 4. If the fluid level
is in the
acceptable range,
push the dipstick
back in all the
way; then flip the
handle down to
lock the dipstick
in place.
How to Add Fluid
Refer to the Maintenance Schedule to determine what kind of transmission
fluid to use. See “Recommended Fluids and Lubricants”
in the Index.
If the fluid level is low, add only enough of the proper fluid to bring the
level up to the COLD area for a cold check or the
HOT area for a hot check.
It doesn’t take much fluid, generally less than a pint.
Don’t overfill. We
recommend you use only fluid labeled DEXRON@-I11 or DEXRON@-IIE,
because fluids with that label are made especially for your automatic
transmission. Damage caused by fluid other than DEXRON@-I11 or
DEXR0N’-IIE is not covered by your new vehicle warranty.
0 After adding fluid, recheck the fluid level as described under “How to
Check.”
0 When the correct fluid level is obtained, push the dipstick ba\
ck in all
the way; then flip the handle down to lock the dipstick in place.
Manual Transmission Fluid
When to Check
A good time to have it checked is when the engine oil is changed. However,
the fluid in your manual transmission
doesn’t require changing.
How to Check
Because this operation can be a little difficult, you may choose to have this
done at a
GM dealership Service Department.
If you do it yourself, be sure to follow all the instructions\
here, or you could get a false reading.
6-18
Page 237 of 340
Downloaded from www.Manualslib.com manuals search engine NOTICE:
Too much or too little fluid cm damage your transmission. Too
much can mean that some of the’fluid could come out and fall on
hot engine parts or exhaust systm, starting a fire. Be sure to get
an accurate reading
if you check your transmission fluid.
Check the fluid level only ‘when your engine is off, the vehicle is parked on
a level place and the transmission is cool enough for you to rest your fingers
on the transmission case.
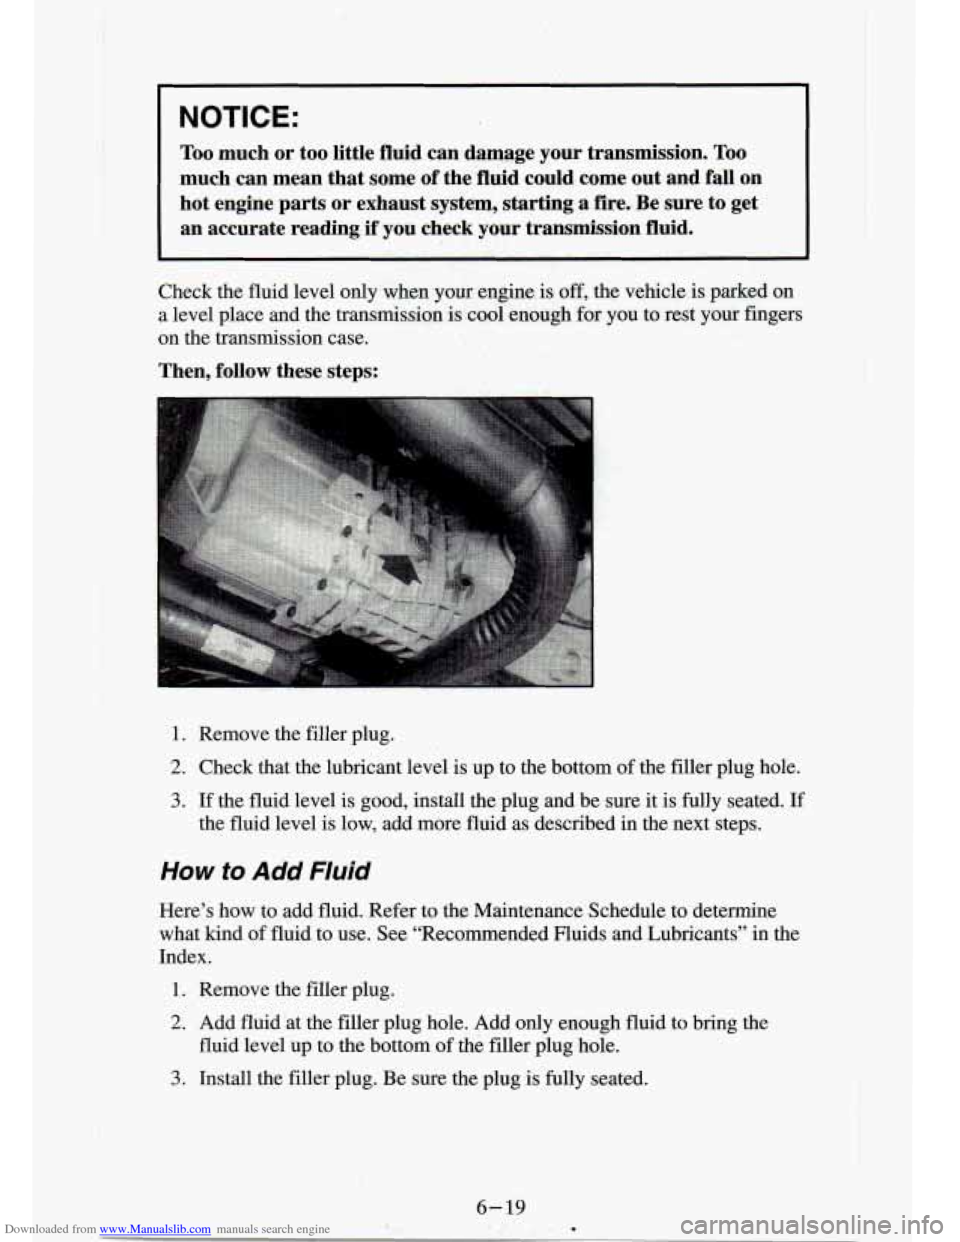
Then, follow these steps:
1. Remove the filler plug.
2. Check that the lubricant level is up to the bottom of the filler plug hole.
3. If the fluid level is good, install the plug and be sure it is fully seated. If
the fluid level is low, add more fluid as described in the next steps.
How to Add Fluid
Here’s how to add fluid. Refer to the Maintenance Schedule \
to determine
what
kind of fluid to use. See “Recommended Fluids and Lubricants” in the
Index.
1. Remove the filler plug.
2. Add fluid’at the filler plug hole. Add only enough fluid to bring the
fluid level up to the bottom
of the filler plug hole.
3. Install the filler plug. Be sure the plug is fully seated.