Page 42 of 340
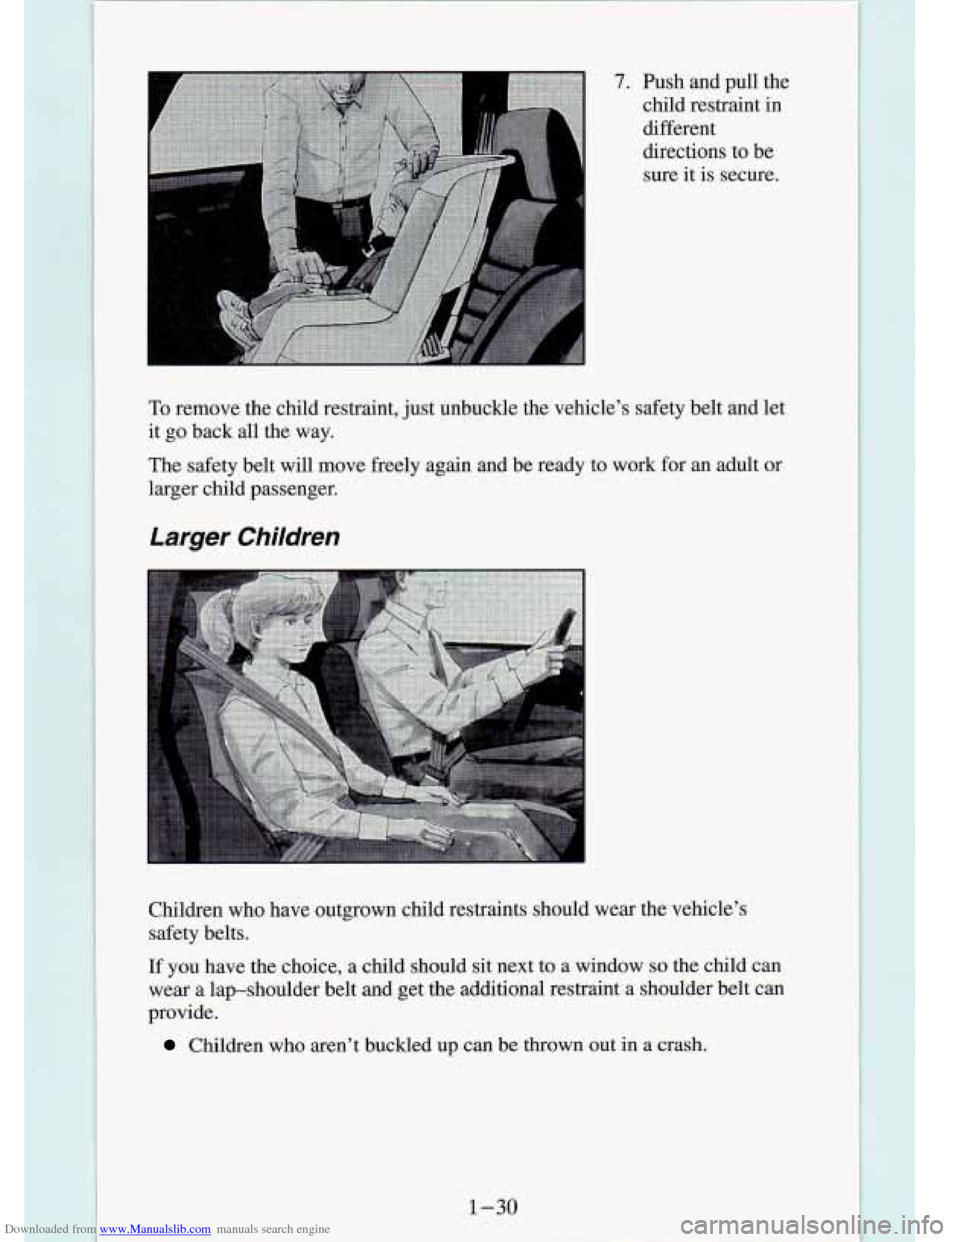
Downloaded from www.Manualslib.com manuals search engine 7. Push and pull the child restraint in
different
directions to be
sure it is secure.
To remove the child restraint, just unbuckle the vehicle’s safety belt and let
it go back all the way.
The safety belt will move freely again and be ready to work for an adult or
larger child passenger.
Larger Children
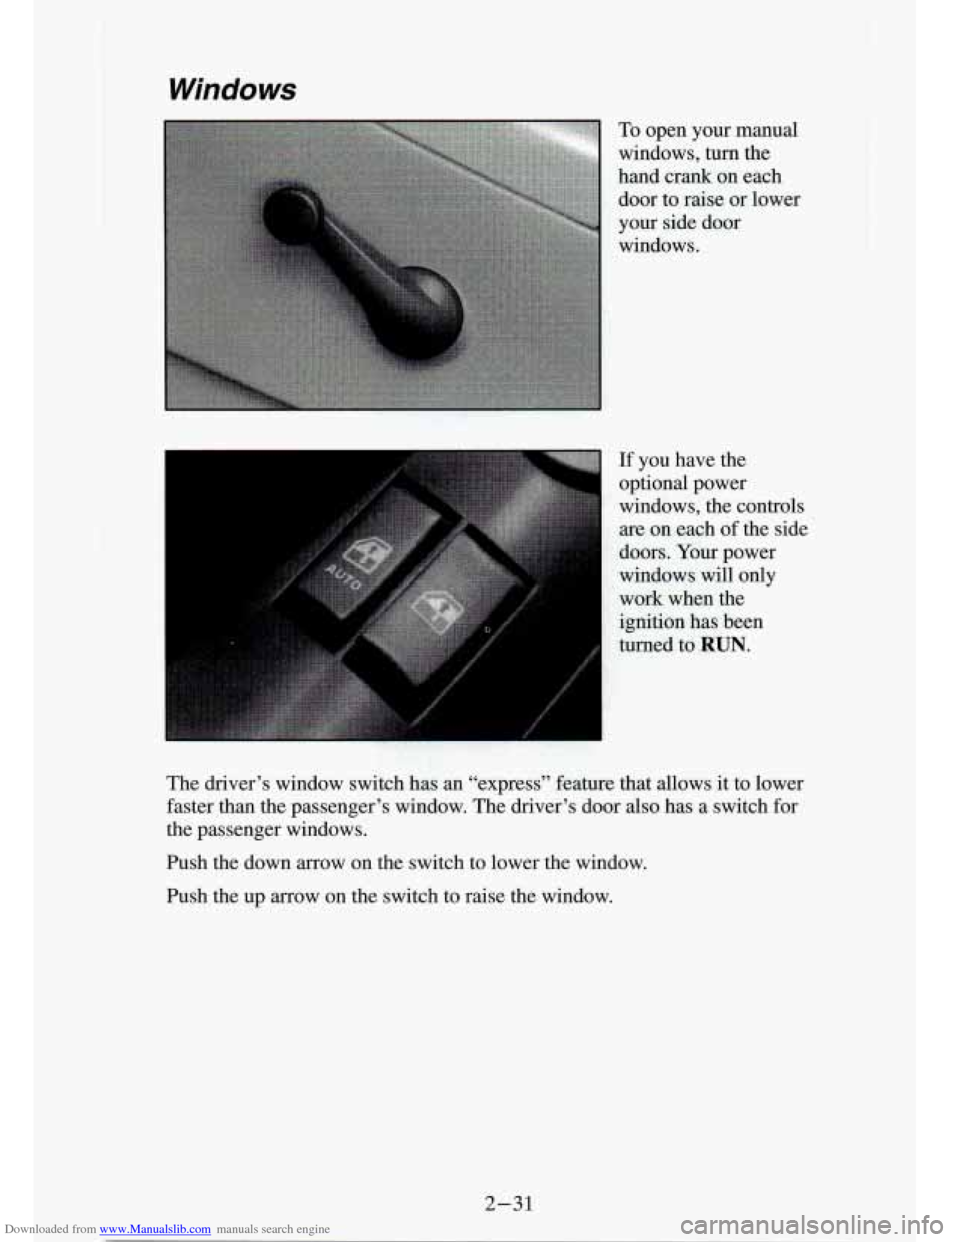
Children who have outgrown child restraints should wear the veh\
icle’s
safety belts.
If you have the choice, a child should sit next to a window so the child can
wear a lap-shoulder belt and get the additional restraint a sh\
oulder belt can
provide.
1-30
Children who aren’t buckled up can be thrown out in a crash.
Page 48 of 340
Downloaded from www.Manualslib.com manuals search engine ...
.
Four-wheel Drive ......................................... 2-27
Manual Transfer Case
.................................... 2-27
Electronic Transfer Case
.................................. 2-29
Windows
................................................ 2-31
Horn
.................................................... 2-33
TiltWheel
............................................... 2-33
Turn SignaYMultifunction Lever
.............................. 2-34
Turn Signal and Lane Change Indicator
...................... 2-34
Headlight High-Low Beam
............................... 2-36
Windshield Wipers
...................................... 2-36
Windshield Washer
...................................... 2-37
Cruise Control
.......................................... 2-39
Lights
................................................... 2-45
Mirrors
.................................................. 2-48
Accessory Power Outlets
.................................... 2-51
Cigarette LightedAshtray ................................... 2-52
Storage Compartments ...................................... 2-53
Instrument Cluster
......................................... 2-55
Wamrng Lights, Gages and Indicators
....................... 2-58
Center High Mounted Stop Lamp (CHMSL) Feed Wire
............ 2-67
Trailer Wiring Harness
...................................... 2-68
2-2
Page 55 of 340
Downloaded from www.Manualslib.com manuals search engine Parking at Night
Park in a lighted spot, close all windows and lock your vehicle. Remember
to keep your valuables out
of sight. Put them in a storage area, or take them
with you.
Parking Lots
If you park in a lot where someone will be watching your vehicle, it’s best
to lock it up and take your keys. But what if you have to leave your ignition
key? What if you have to leave something valuable
in your vehicle?
Put your valuables in a storage area, like your glove box.
Lock all the doors except the driver’s.
Then take the door key with you.
New Vehicle “Break-In”
NOTICE:
Your modern vehicle doesn’t need an elaborate ‘70reak-in.” But
it will perform better in the long run if‘ you follow these
guidelines:
Keep your speed at 55 mph (88 km/h) or less for the first
500 miles (804 km).
Don’t drive at any one speed - fast or slow - for the first
500 miles (804 km). Don’t make full-throttle starts.
Avoid making hard stops for the first 200 miles (322 km) or
so. During this time your new brake linings aren’t yet broken
in. Hard stops with new linings can mean premature wear and
earlier replacement. Follow this “b’reaking-in” guideline
every time you get new brake linings.
2-9
Page 77 of 340
Downloaded from www.Manualslib.com manuals search engine t
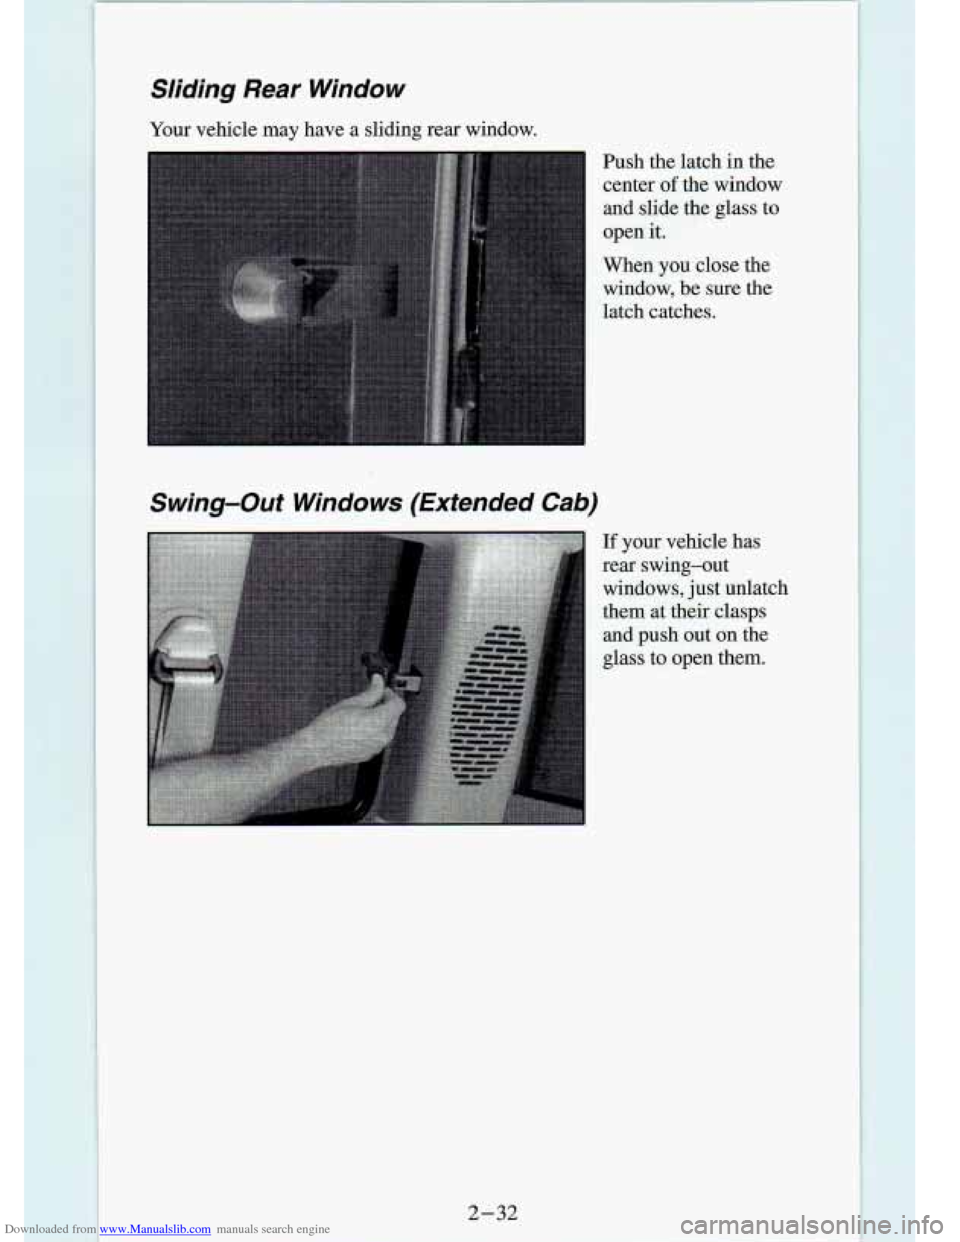
Windows
To open your manual
windows, turn the
hand crank on each
door to raise or lower
your side door
windows.
If you have the
optional power
windows, the controls
are on each of the side
doors. Your power
windows will only
work when the
ignition has been
turned to
RUN.
The driver’s window switch has an “express” feature that allows it to lower
faster than the passenger’s window.
The driver’s door also has a switch for
the passenger windows.
Push the down arrow on the switch to lower the window.
Push the up arrow on the switch to raise the window.
2-31
Page 78 of 340
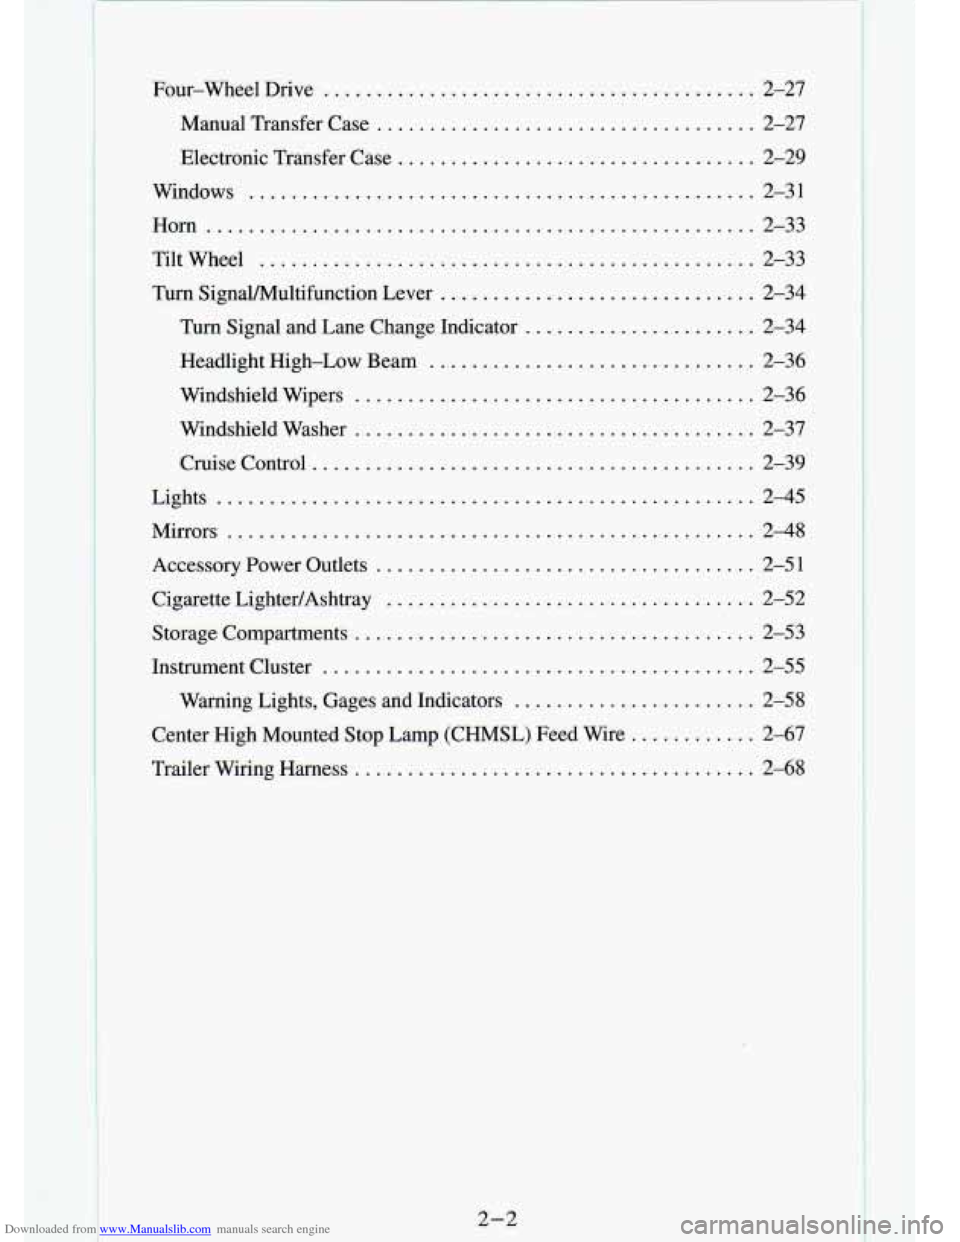
Downloaded from www.Manualslib.com manuals search engine Sliding Rear Window
Your vehicle may have a sliding rear window.
Push the latch in the
center
of the window
and slide the glass to
open
it.
When you close the
window, be sure the
latch catches.
Swing-Out Windows (Extended Cab)
If your vehicle h
rear swing-out as
windows, just unlatch
them at their clasps
and push
out on the
glass to open them.
Page 83 of 340
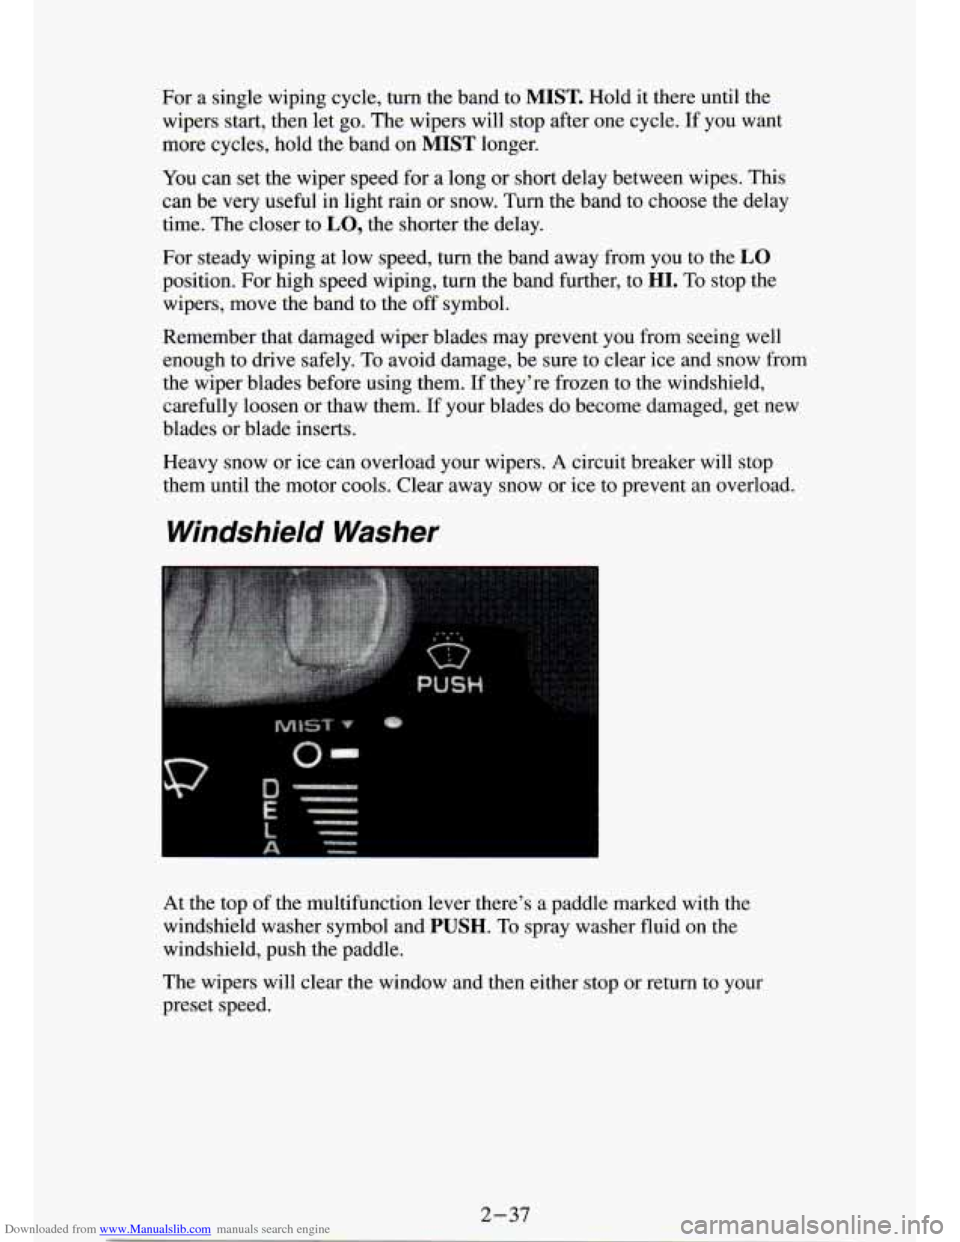
Downloaded from www.Manualslib.com manuals search engine For a single wiping cycle, turn the band to MIST. Hold it there until the
wipers start, then let go. The wipers will stop after one cycle. If you want
more cycles, hold the band on
MIST longer.
You can set the wiper speed for a long or short delay between wipes. This
can be very useful in light rain or snow. Turn the band to
choose the delay
time. The closer to
LO, the shorter the delay.
For steady wiping at low speed, turn the band away from you \
to the
LO
position. For high speed wiping, turn the band further, to HI. To stop the
wipers, move the band to the off symbol.
Remember that damaged wiper blades may prevent you from seeing \
well enough to drive safely.
To avoid damage, be sure to clear ice and snow from
the wiper blades before using them. If they’re frozen to the windshield,
carefully loosen or thaw them. If your blades do become damaged, get new
blades
or blade inserts.
Heavy snow or ice
c overload y---r wipers. A circuit breaker will stop
them until the motor cools. Clear away snow
or ice to prevent an overload.
Windshield Washer
At the top of the multifunction lever there’s a paddle marked with the
windshield washer symbol and
PUSH. To spray washer fluid on the
windshield, push the paddle.
The wipers will clear the window and then either stop or return t\
o your
preset speed.
2-37
Page 113 of 340
, this gage shows your batteryâ€")
Downloaded from www.Manualslib.com manuals search engine Voltmeter
I
When your engine is not running, but the ignition is on (in \
the RUN
position), this gage shows your battery’s state of charge in DC volts. When
the engine is running, the gage shows the condition of the charging system.
Readings between the low and high warning zones indicate the normal
operating range.
You can only drive for a short time with
the reading in either warning zone.
If you must drive,
turn off all unnecessary accessories.
Readings in either warning zone indicate a possible problem in the electrical
system. Have
the vehicle serviced as soon as possible.
Center High Mounted Stop Lamp (CHMSL)
Feed Wire
Your vehicle includes a Center High Mounted Stop Lamp (CHMSL) located
above the rear window.
If equipment such as a cap or camper is installed, a wire labeled “Center
High Mounted Stop Lamp (CHMSL)” feed is provided along the left rear
frame. This wire should be used to install a CHMSL in the cap or camper.
2-67
Page 116 of 340

Downloaded from www.Manualslib.com manuals search engine Comfort Controls
Flow-Through Ventilation System
Your vehicle's flow-through ventilation system supplies outside a\
ir to the
inside of your vehicle when it is moving. With the side windows closed, air
will flow into the front air inlet grilles, through the vehicle, and out the rear
air exhaust valve. Outside air will also enter the vehicle whe\
n the heater
or
the air conditioning fan is running.
Ventilation Tips
Keep the hood and front air inlet free of ice, snow, or any other
obstruction (such as leaves). The heater and defroster will w\
ork far
better, reducing the chance
of fogging the inside of your windows.
When you enter a vehicle in cold weather, turn the blower fan to HI for
a few moments before driving off. This helps clear the intake ducts of
snow and moisture, and reduces the chance of fogging the insid\
e of
your windows.
Keep the air path under the front seats clear of objects. This helps air to
circulate throughout your vehicle.