Page 115 of 340

Downloaded from www.Manualslib.com manuals search engine Comfort Controls & Audio Systems
Section
I .
In this part you’ll find out how to operate the comfort co\
ntrol systems and audio systems offered with your vehicle
. Be sure to read about the particular
system supplied with your vehicle
.
For explanation of vehicle symbols. refer to “Vehicle Symbols” in the
Introduction
.
Comfort Controls
Flow-Through Ventilation System
........................... 3-2
Heater Controls
.......................................... 3-3
Heater/Air Conditioning Controls
........................... 3-4
Engine Coolant Heater (Engine Block Heater)
.................... 3-5
Audiosystems
............................................. 3-5
FMStereo
.............................................. 3-6
AM
................................................... 3-6
AM Stereo
.................. ... -* ........ I ............ 3-6
How to Operate Your
E I R@ AM Radio ....................... 3-7
How to Operate Your ETR@ AM-FM Stereo Audio System
...... 3-8
How to Operate Your ETR@ AM-FM Stereo Audio Cassette
System
............................................. 3-10
How to Operate Your ETR@ AM-FM Stereo Audio Cassette System
With Equalizer
....................................... 3-13
Care
of Your Cassette Tape Player .......................... 3-16
How to Operate Your
ETR@ AM-FM Stereo Audio Compact Disc
(CD)Systern
........................................ 3-17
Care of Compact Disc
.................................... 3-22
Fixed Mast Antenna
..................................... 3-22
3-1
Page 116 of 340

Downloaded from www.Manualslib.com manuals search engine Comfort Controls
Flow-Through Ventilation System
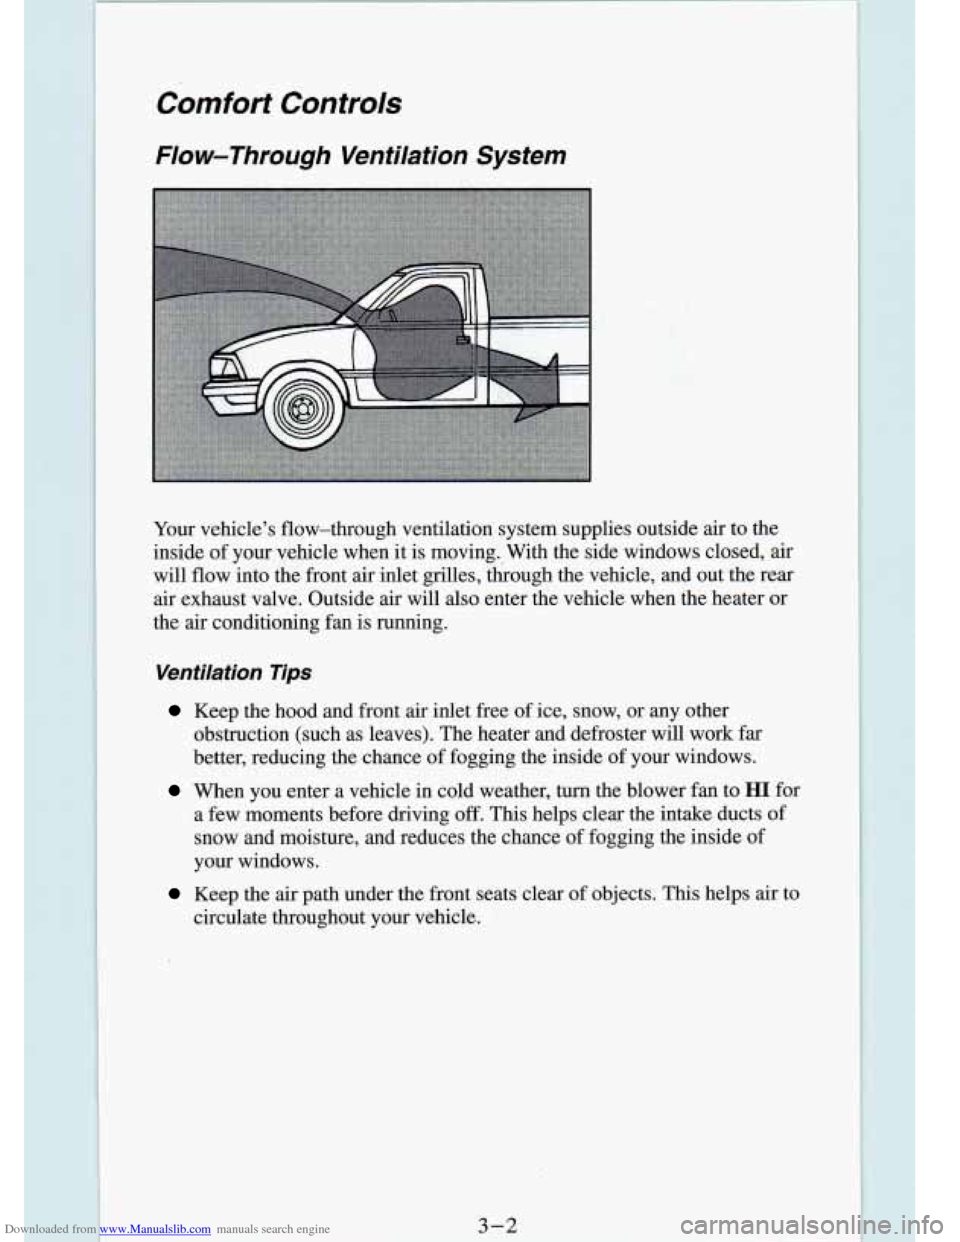
Your vehicle's flow-through ventilation system supplies outside a\
ir to the
inside of your vehicle when it is moving. With the side windows closed, air
will flow into the front air inlet grilles, through the vehicle, and out the rear
air exhaust valve. Outside air will also enter the vehicle whe\
n the heater
or
the air conditioning fan is running.
Ventilation Tips
Keep the hood and front air inlet free of ice, snow, or any other
obstruction (such as leaves). The heater and defroster will w\
ork far
better, reducing the chance
of fogging the inside of your windows.
When you enter a vehicle in cold weather, turn the blower fan to HI for
a few moments before driving off. This helps clear the intake ducts of
snow and moisture, and reduces the chance of fogging the insid\
e of
your windows.
Keep the air path under the front seats clear of objects. This helps air to
circulate throughout your vehicle.
Page 117 of 340
Downloaded from www.Manualslib.com manuals search engine Air Vents
You will find air vents in the center and on the sides of your instrument
panel. You can move the vents to direct the flow
of air, or close the vents
altogether. When you close a vent,
it will increase the flow of air coming out
of any vents that are open.
Heater Controls
If your vehicle does
not have
air
conditioning, your
heater controls will
look like this.
The switch on the righthand side changes the fan speed. To increase the
fan
speed, push the switch upward toward HI. To decrease the fan speed, push
the switch downward toward
LO .
The upper knob changes the air temperature. Turn the knob right (clockwise)
for warmer
air. Turn the knob left (counterclockwise) for cooler air.
The lower knob changes the heater function and determines which\
outlets
the
air will flow through (instrument panel, defroster, heater, etc.).
3-3
Page 118 of 340

Downloaded from www.Manualslib.com manuals search engine OFF: This setting turns off all heating functions. Some outside air will still
come out of the heater outlet whenever the vehicle is moving forward.
VENT Airflow is through the instrument panel vents. Set the upper knob to
the temperature desired. This setting is useful for mild outside temperatures,
when little heating
or cooling is desired.
BI-LEV: Outside air comes in through the heater floor vents and the
instrument panel vents. This setting is useful in cool weather \
with bright sunlight.
HEAT Heated air comes out through the heater floor vents and windsh\
ield
defroster vents. This setting is useful for cold weather.
BLEND: Airflow is divided equally between the heater floor vent and t\
he
windshield defroster vents. This setting is useful in cool weather when you
have fog or ice on the windshield or side windows.
DEF: This setting directs most air through the windshield defroster \
vents
and some through the heater vents. This setting is useful when\
you have fog
or ice on the windshield.
Heater/Air Conditioning Controls
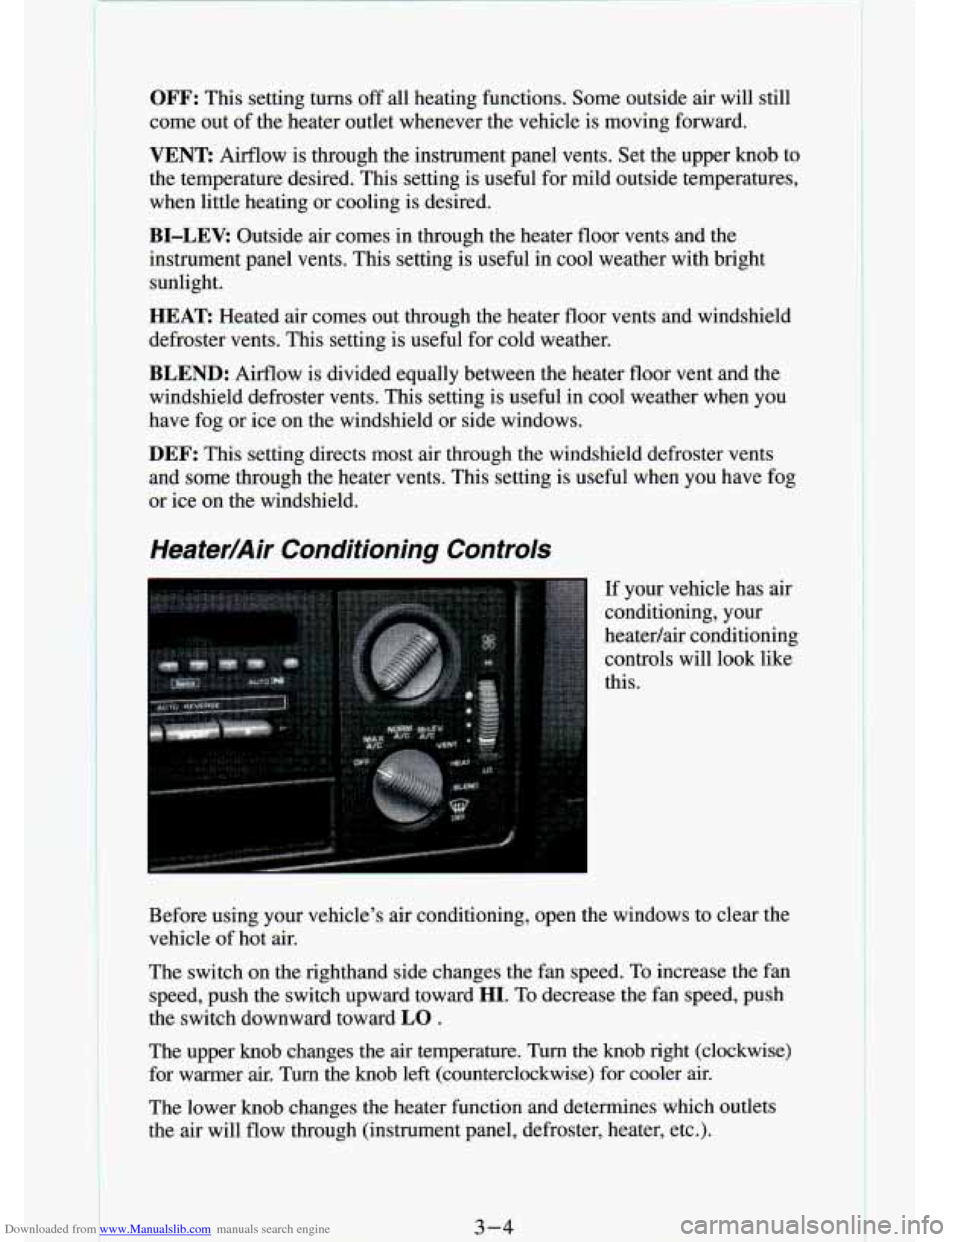
If your vehicle has air
conditioning, your
heatedair conditioning
controls will look like
this.
Before using your vehicle's air conditioning, open the windows \
to clear the vehicle
of hot air.
The switch on the righthand side changes the fan speed. To increase the fan
speed, push the switch upward toward
HI. To decrease the fan speed, push
the switch downward toward
LO .
The upper knob changes the air temperature. Turn the knob righ\
t (clockwise)
for warmer air. Turn the knob left (counterclockwise) for coo\
ler air.
The lower knob changes the heater function and determines which out\
lets
the air will flow through (instrument panel, defroster, heater, etc\
.).
3-4
Page 246 of 340

Downloaded from www.Manualslib.com manuals search engine Windshield Washer Fluid
To Add
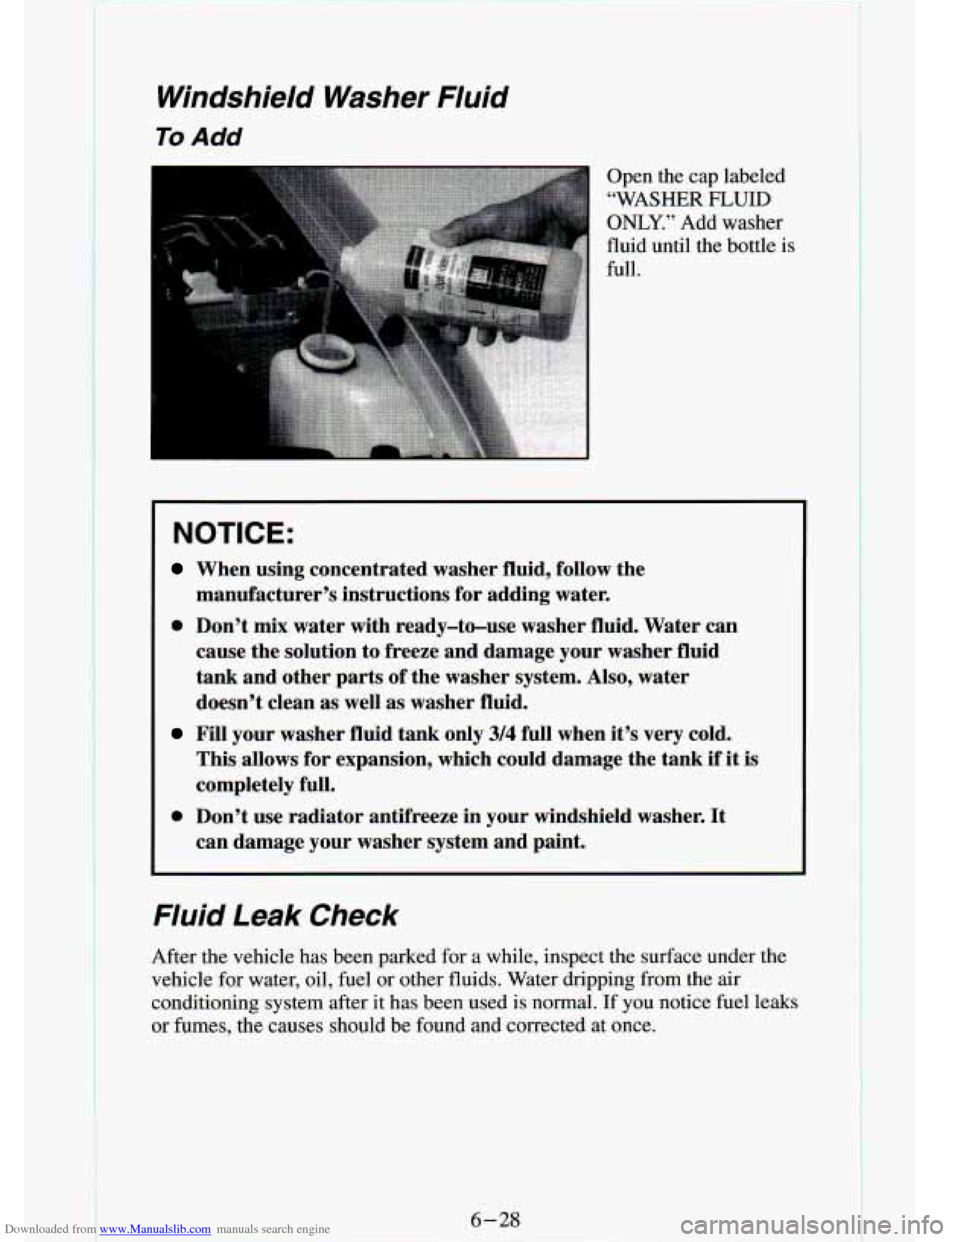
I Open the cap labeled
“WASHER
FLUID
ONLY.” Add washer
fluid until the bottle
is
full.
NOTICE:
When using concentrated washer fluid, follow the
manufacturer’s instructions for adding water.
0 Don’t mix water with ready-to-use washer fluid. Water can
cause the solution
to freeze and damage your washer fluid
tank and other parts
of the washer system, AIso, water
doesn’t clean as well as washer fluid.
Fill your washer fluid tank only 3/4 full when it’s very cold.
This allows for expansion, which could damage the tank
if it is
completely full.
can damage your washer system and paint.
0 Don’t use radiator antifreeze in your windshield washer. It
Fluid Leak Check
After the vehicle has been parked for a while, inspect the su\
rface under the
vehicle for water, oil, fuel or other fluids. Water dripping from the air
conditioning system after it has been used is normal. If you notice fuel leaks
or fumes, the causes should be found and corrected at once.
6-28
Page 251 of 340
Downloaded from www.Manualslib.com manuals search engine Fluid Leak Check
After the vehcle has been parked for awhile, inspect the surface under the
vehicle
for water, oil, fuel OX other fluids. Water dripping from the air
conditioning system after it has been used is normal. If you notice fuel leaks
or fumes, the causes should be found and corrected at once.
Bulb Replacement
Before you replace any bulbs, be sure that all the lights are off and the
engine isn’t running.
Halogen Bulbs
NOTICE:
Page 260 of 340
Downloaded from www.Manualslib.com manuals search engine Be sure that the notches are locked by the bottom claws. Make sure that
all other claws are properly locked on both sides of the insert slots.
2
1. Claw in Notch
2. Correct Installation
3. Incorrect Installation
Put the blade assembly pivot in the wiper arm hook. Pull up until the
Carefully lower the wiper arm and blade assembly onto the wind\
shield.
pivot locking tab locks
in the hook slot.
Air Conditioning
Every now and then have your dealership check your air conditi\
oning
system to be sure it has not lost any cooling ability.
If you think the system
is not working properly, have your dealership check it out as soo\
n as
possible.
The air conditioning will not work when the temperature is
- - v 40°F
(4°C).
Page 296 of 340

Downloaded from www.Manualslib.com manuals search engine 4.3L (Z)
PF52
A773C CV789C .CR43TSM
GF48
1
RC36
4.3L (W)
PF52
A1163C cv774c .CR43TSM
GF481
RC36
Service Replacement Part and Filter
Recommendations
Engine (VIN) 2.2L (4)
Oil Filter PF47
Air Cleaner Filter A1163C
PCV Valve cv9ooc
Spark Plugs* AC908
Fuel Filter GF48
1
Radiator Cap RC36
*Use copper-cored resistor type spark plugs.
Air Conditioning Refrigerants
Not all air conditioning refrigerants are the same. If the air conditioning
system
in your vehicle needs refrigerant, be sure the proper refrigerant is
used. If you’re not sure, ask your
GM dealer. For additional information, see
your “Warranty and Owner Assistance Information” booklet.
Air Conditioning Refrigerant Capacity
TYPE SYSTEM QUANTITY*
R-l34a c-60 30 oz. (35 kg)
*All
q1 Les are approximate. ..
NOTICE:
R-134a refrigerant is not compatible with R-12 refrigerant in
an air conditioning system. R-12 in an R-134a system will caus\
e
compressor failure, refrigerant oil sludge,
or poor air
conditioning system performance.