1994 CHEVROLET CORVETTE roof
[x] Cancel search: roofPage 5 of 274
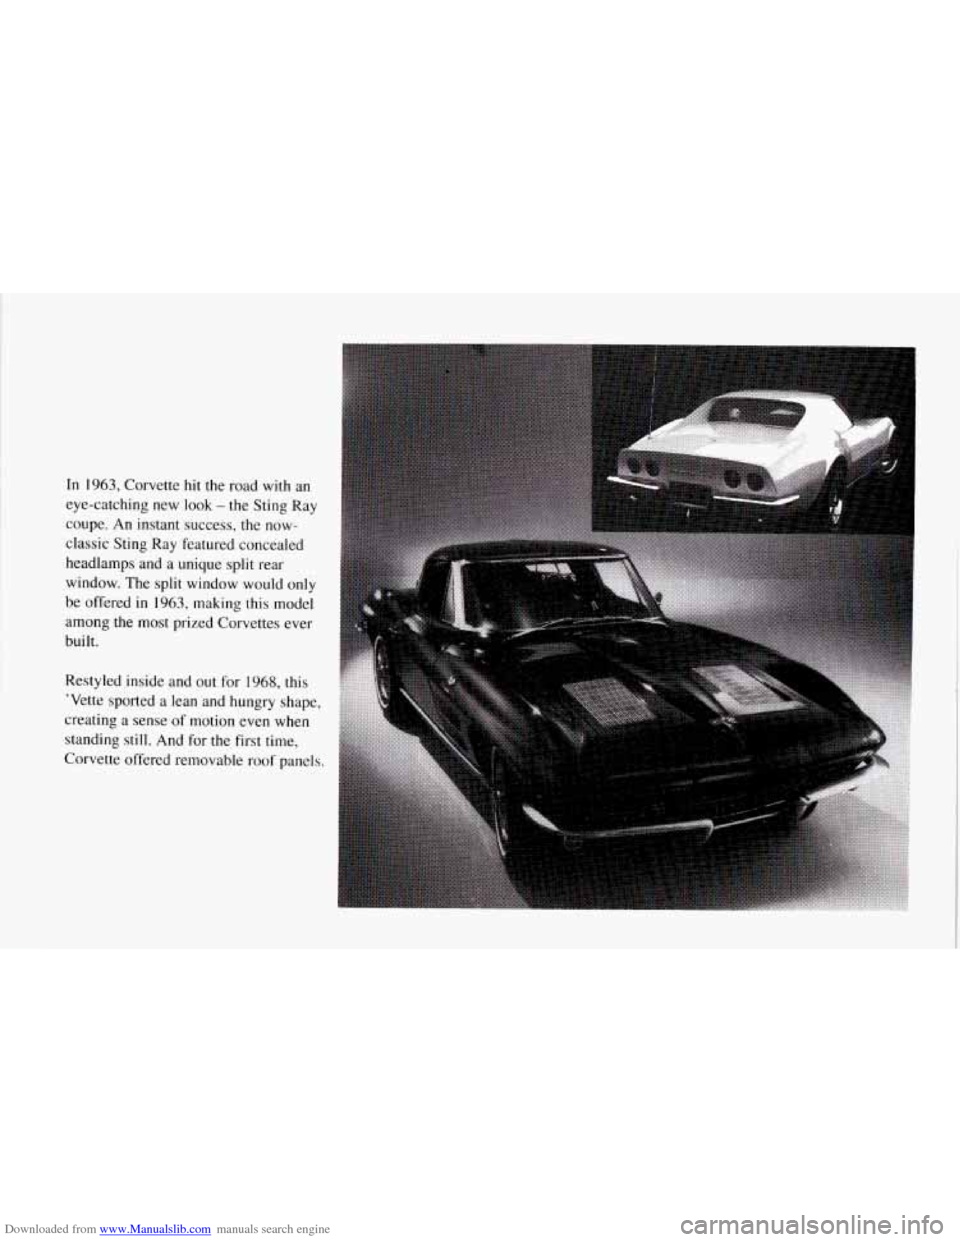
Downloaded from www.Manualslib.com manuals search engine In 1963, Corvette hit the road with an
eye-catching new look
- the Sting Ray
coupe. An instant success, the now-
classic Sting
Ray featured concealed
headlamps and a unique split rear
window. The split window would only
be offered
in 1963, making this model
among the most prized Corvettes ever
built.
Restyled inside and out
for 1968, this
'Vette sported a lean and hungry shape,
creating
a sense of motion even when
standing still. And for the first
time,
Corvette offered removable roof panels.
Page 6 of 274
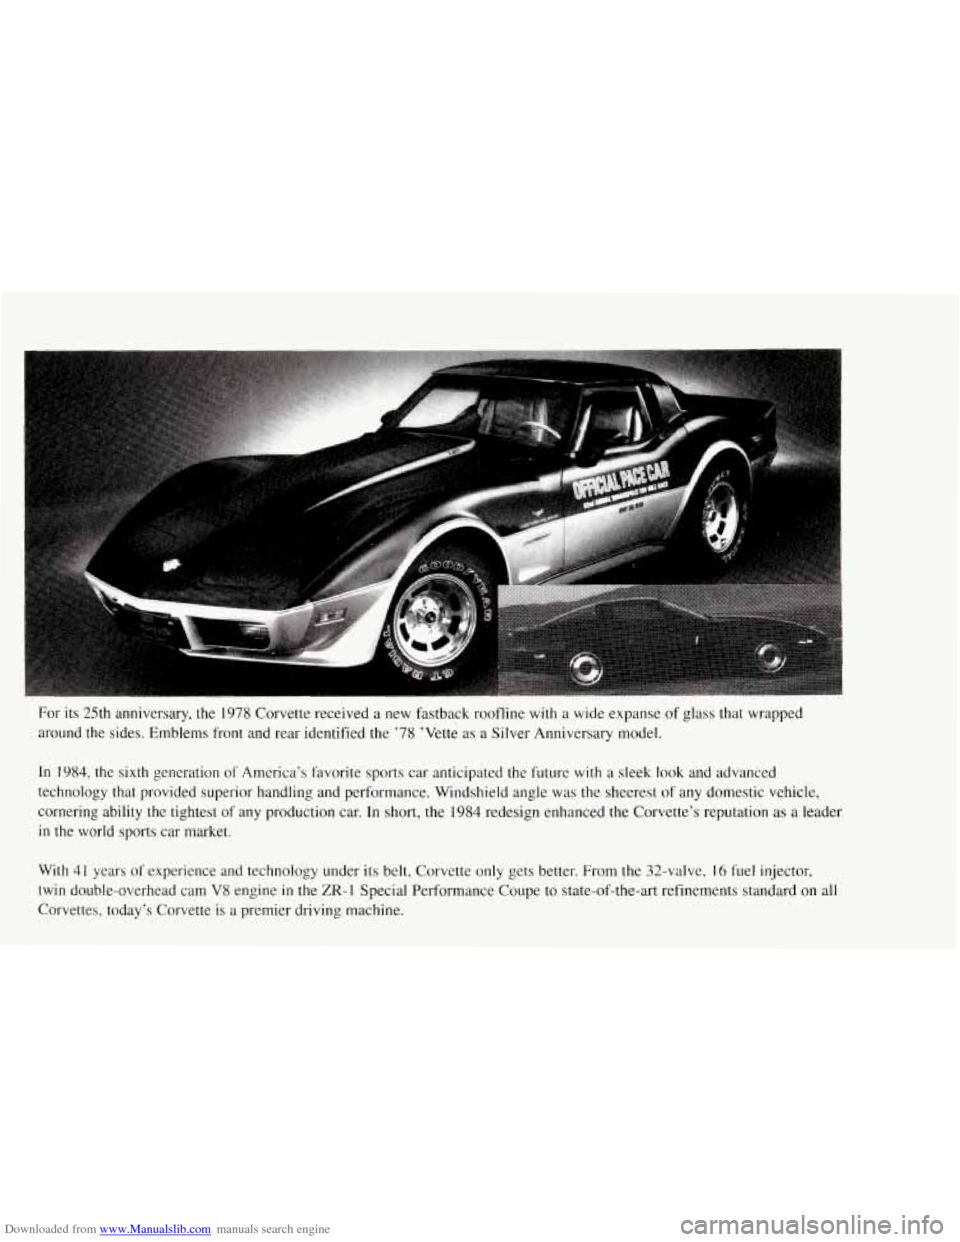
Downloaded from www.Manualslib.com manuals search engine For its 25th anniversary, the 1978 Corvette received a new fas\
tback roofline with a wide expanse of glass that wrapped
around the sides. Emblems front and rear identified the ’78 ’Vette as a Silver Anniversary model.
In 1984, the sixth generation
of America’s favorite sports car anticipated the future with a \
sleek look and advanced
technology that provided superior handling and performance. Winds\
hield angle was the sheerest of any domestic vehicle,
cornering ability the tightest of any production car. In short, the 1984 redesign enhanced the Corvette’s reputation as a leader
in the world sports car market.
With 41 years of experience and technology under its belt, Cor\
vette only gets better. From the 32-valve,
16 fuel injector,
twin double-overhead cam V8 engine
in the ZR-1 Special Performance Coupe to state-of-the-art refinements standard on all
Corvettes, today’s Corvette is a premier driving machine.
Page 36 of 274
Downloaded from www.Manualslib.com manuals search engine A
Part 2
Features & Controls
Keys ........................................................... 36
DoorLocks
...................................................... 37
Theft and Theft Deterrents
.......................................... 43
New Vehicle “Break-In”
........................................... 46
IIgnitionSwitch
................................................... 46
Starting Your Engine
.............................................. 47
Automatic Transmission
........................................... 51
Manual Transmission
.............................................. 53
many standard and optional Limited-Slip Rear Axle ............................................ 56
Parking 56
Here You can learn d3out the Selective Ride Control ............................................. 56
features on your Corvette. and .........................................................
information on starting. shifting Engine Exhaust .................................................. 59
and braking . Also explained are Windows ....................................................... 60
........................................................... the instrument panel and the Horn 60
warning systems that tell you if Tiltwheel 61
everything is working properly The Turn SignaVHeadlight Beam Lever 61
- and what to do if you have a OperationofLights 66
Mirrors
......................................................... 69 problem . RoofPanel ...................................................... 70
Sunvisors
...................................................... 74
.......................................................
...............................
...............................................
Storage and Compartments ......................................... 72
Ashtray and Lighter
............................................... 75
Accessory Plug
................................................... 76
Instrument Panel and Cluster
........................................ 78
ConvertibleTop
.................................................. 96
35 ...
Page 71 of 274
Downloaded from www.Manualslib.com manuals search engine Features and Controls
Roof Panel (COUPE)
Until you are sure you can remove the
panel alone, have someone help you.
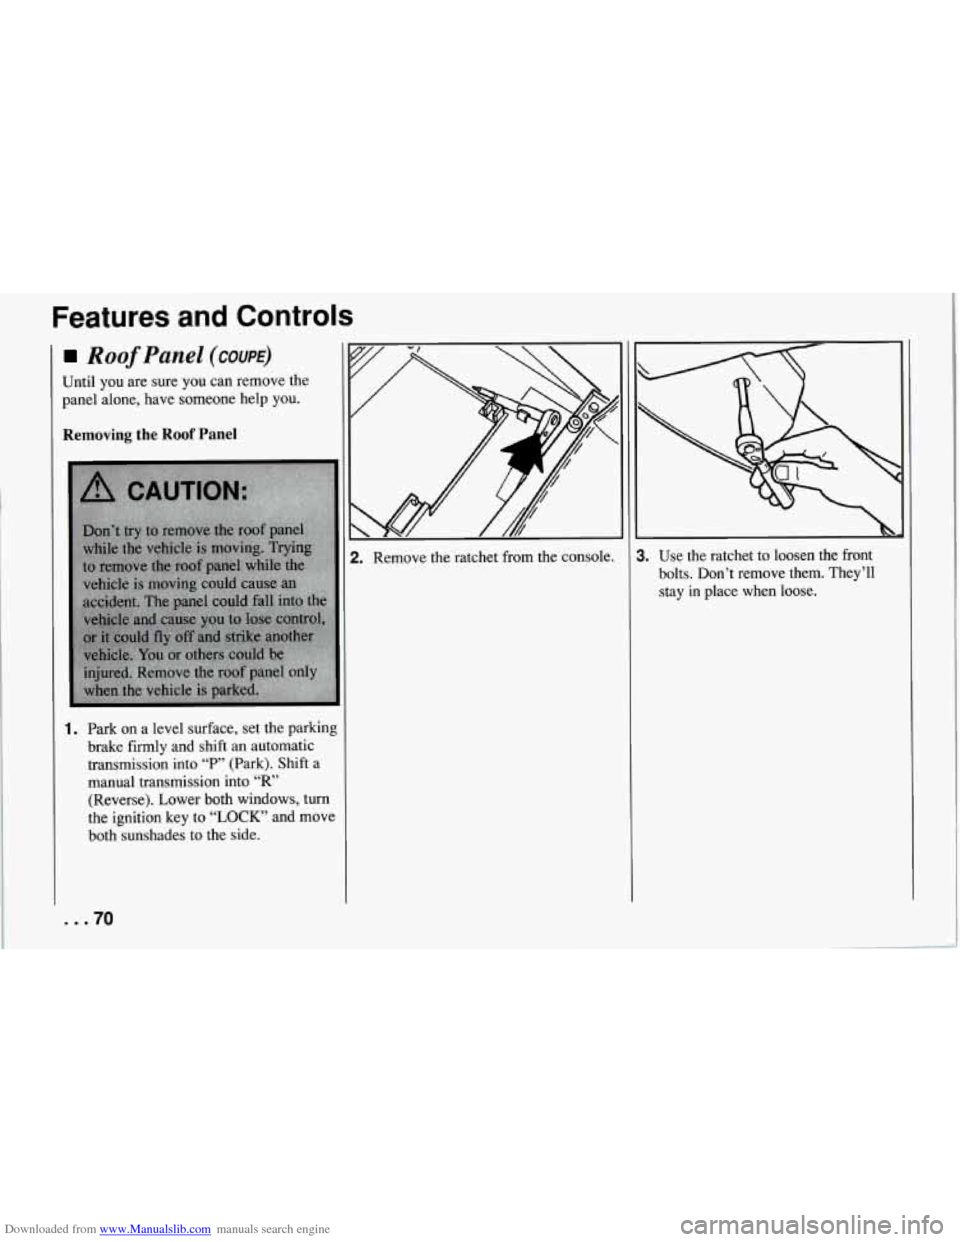
Removing the Roof Panel
1. Park on a level surface, set the parking
brake firmly and shift an automatic
transmission into
“P” (Park). Shift a
manual transmission into
“R’
(Reverse). Lower both windows, turn
the ignition key to
“LOCK” and move
both sunshades to the side.
... 70
2. Remove the ratchet from the console. 1. Use the ratchet to loosen the front
bolts. Don’t remove them. They’ll
stay
in place when loose.
Page 72 of 274
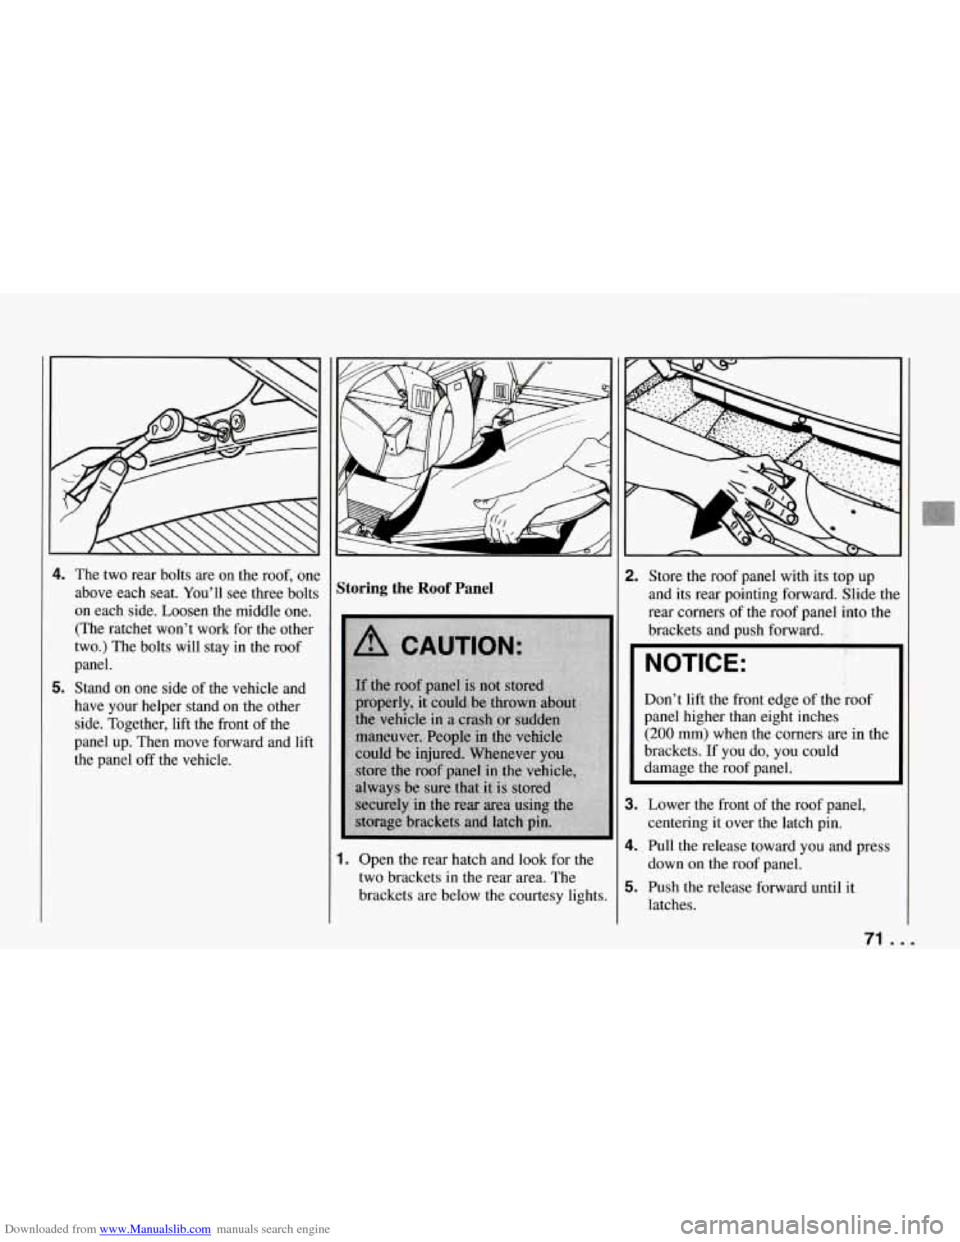
Downloaded from www.Manualslib.com manuals search engine 4. The two rear bolts are on the roof, one
above each seat. You’ll see three bolts
on each side. Loosen the middle one. (The ratchet won’t work for the other
two.) The bolts will stay in the roof
panel.
5. Stand on one side of the vehicle and
have your helper stand on the other
side. Together, lift the front of the
panel up. Then move forward and lift
the panel
off the vehicle.
Storing the Roof Panel
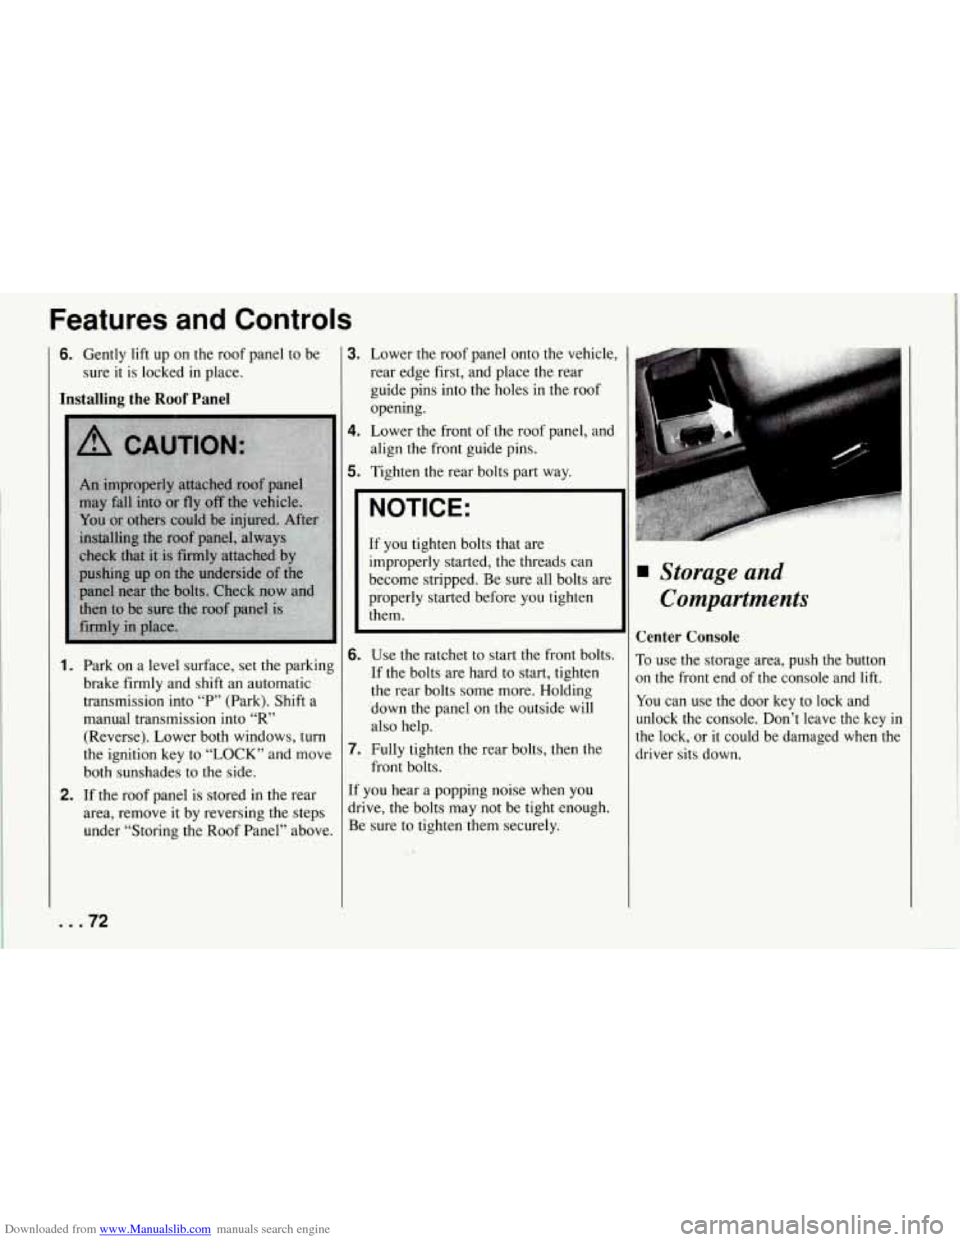
1. Open the rear hatch and look for the
two brackets in the rear area. The
brackets are below the courtesy lights.
2. Store the roof panel with its top up
and its rear pointing forward. Slide tht
rear corners of the roof panel into the
brackets and push forward.
NOTICE:
Don’t lift the front edge of the roof
panel higher than eight inches
(200 mm) when the corners are in the
brackets. If you do, you could
damage the roof panel.
3. Lower the front of the roof panel,
centering it over the latch pin.
4. Pull the release toward you and press
down on the roof panel.
5. Push the release forward until it
latches.
71 ...
Page 73 of 274
Downloaded from www.Manualslib.com manuals search engine Features and Controls
6. Gently lift up on the roof panel to be
sure
it is locked in place.
Installing the Roof Panel
1.
2.
Park on a level surface, set the parking
brake firmly and shift an automatic
transmission into “P” (Park). Shift a
manual transmission into
“R’
(Reverse).. Lower both windows, turn
the ignition key to “LOCK” and move
both sunshades to the side.
If the roof panel is stored in the rear
area, remove
it by reversing the steps
under “Storing the Roof Panel” above.
... 72
3. Lower the roof panel onto the vehicle,
rear edge first, and place the rear
guide pins into the holes in the roof
opening.
4. Lower the front of the roof panel, and
align the front guide pins.
5. Tighten the rear bolts part way.
NOTICE:
If you tighten bolts that are
improperly started,
the threads can
become stripped. Be sure all bolts are
properly started before you tighten
them.
6. Use the ratchet to start the front bolts.
If the bolts are hard to start, tighten
the rear bolts some more. Holding
down the panel on the outside will
also help.
front bolts.
7. Fully tighten the rear bolts, then the
If you hear a popping noise when you
drive,
the bolts may not be tight enough.
Be sure to tighten’them securely.
Storage and
Compartments
Center Console
To use the storage area, push the button
on the front end of the console and lift.
You can use the door key to lock and
unlock the console. Don’t leave the key
in
the lock, or it could be damaged when the
driver sits down.
Page 74 of 274
Downloaded from www.Manualslib.com manuals search engine i
-l
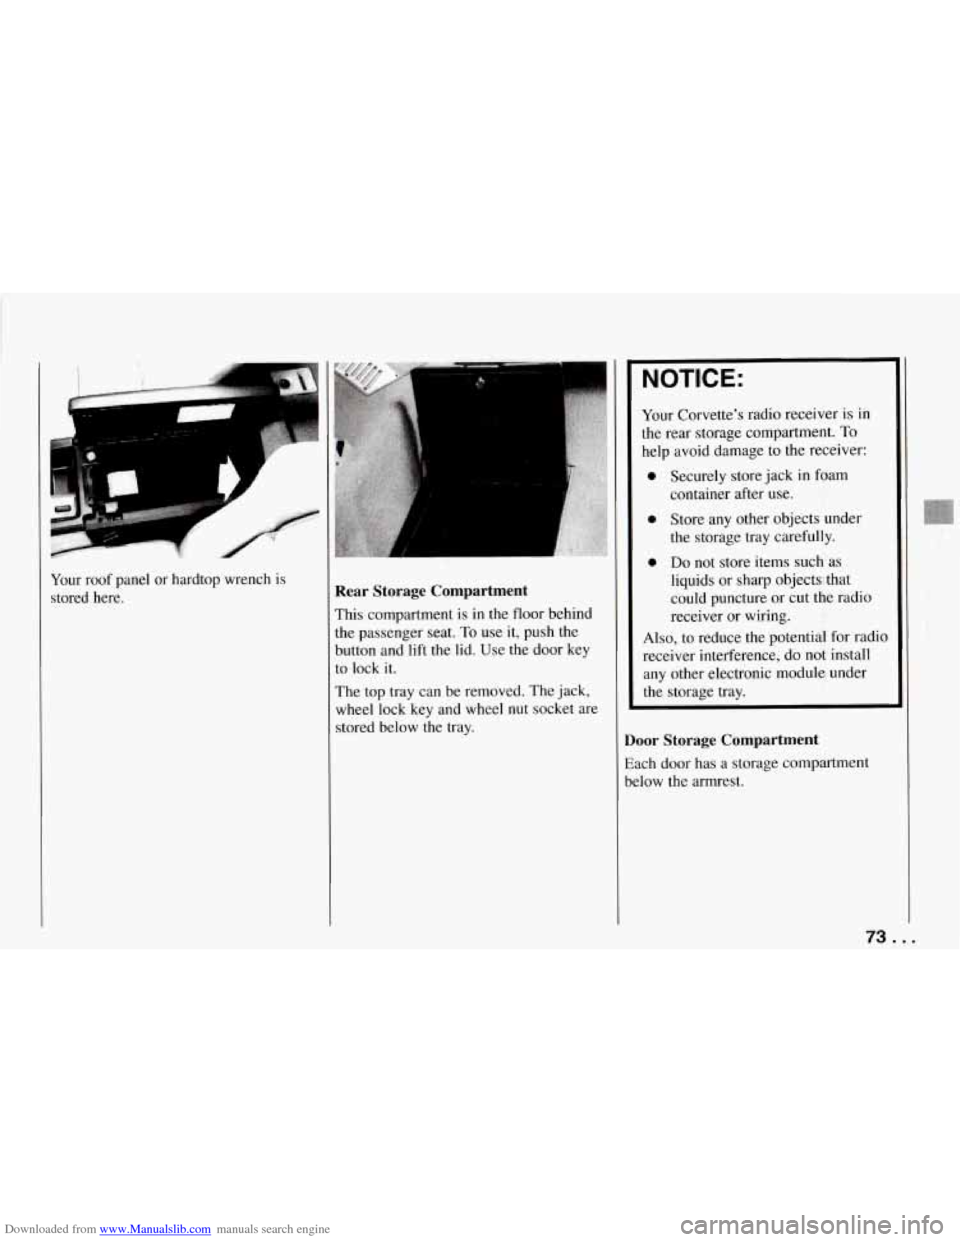
Your roof panel or hardtop wrench is
stored here. Rear Storage Compartment
This compartment is in the floor behind
the passenger seat.
To use it, push the
button and lift the lid. Use the door key
to lock it.
The top tray can be removed. The jack,
wheel lock key and wheel
nut socket are
stored below the tray.
NOTICE:
Your Corvette’s radio receiver is in
the rear storage compartment.
To
help avoid damage to the receiver:
0 Securely store jack in foam
0 Store any other objects under
the storage tray carefully.
0 Do not store items such as
liquids or sharp objects that
could puncture or cut the radio
receiver or wiring.
container
after use.
Also, to reduce the potential for radio
receiver interference, do not install
any other electronic module under
the storage tray.
Door Storage Compartment
Each door has a storage compartment
below the armrest.
73 ...
Page 116 of 274

Downloaded from www.Manualslib.com manuals search engine I I PROG RCL 0 0 0 0 I
0 0 0 0 0 I
IL
1 I
Delco/Bose AWFM Stereo
with Cassette Tape
and
Compacf Disc Player
To Play the Radio
Turn the upper knob to turn the system
on or
off.
~ Volume: Turn the upper knob to adjust
~ the volume. Your system also has a
’ feature called speed-compensated
volume (SCV). With SCV, your audio
system makes up for road noise by
getting louder as you drive faster. The
control behind the upper knob has three
SCV positions.
“H” has a higher
maximum volume and gets louder
faster than
“L.” Use “H” when you
are driving with the roof panel
off,
the convertible top down or the
windows open. If you don’t want to
use SCV,
turn the control to “OFF.”
Recall: Press the upper knob to recall the
station being played or the clock display.
Finding a Station
Band:
Press the “AM-FM” button to
get AM or
FM. The lighted display
shows your selection.
fine: Press “TUNE A or V” to choose
radio stations. For fast tuning, press and
hold one side of the button, then press
the other side.
Seek: Press “AUTO” then “TUNE V
or A’’ and the radio will tune to the
next lower or higher station and stay
there.
Pushbuttons: The six pushbuttons let
you return to your favorite stations.
To
set up to 12 stations (6 AM and 6 FM),
just:
1. Tune in the station.
2. Press “SET.”
3. Within five seconds, press one of
the six pushbuttons. Whenever you
press that button, the preset station
will return.
Setting the Tone
Bass:
Turn the “BASS” knob to the
right to hear more bass.
Treble: Turn the “TREB” control
behind the “BASS” knob to the right
to hear more treble.
Adjusting the Speakers
Balance:
With the DelcoBose system,
your speakers are electronically
balanced.
115 ...