Page 52 of 274

Downloaded from www.Manualslib.com manuals search engine How long should you keep the coolant
heater plugged in? The answer depends
on the weather, the kind of
oil you have,
and some other things. Instead of trying
to list everything here, we ask that you
contact your Chevrolet dealer in the area
where you’ll be parking your vehicle. The
dealer can give you the best advice for
that particular area.
. i:,
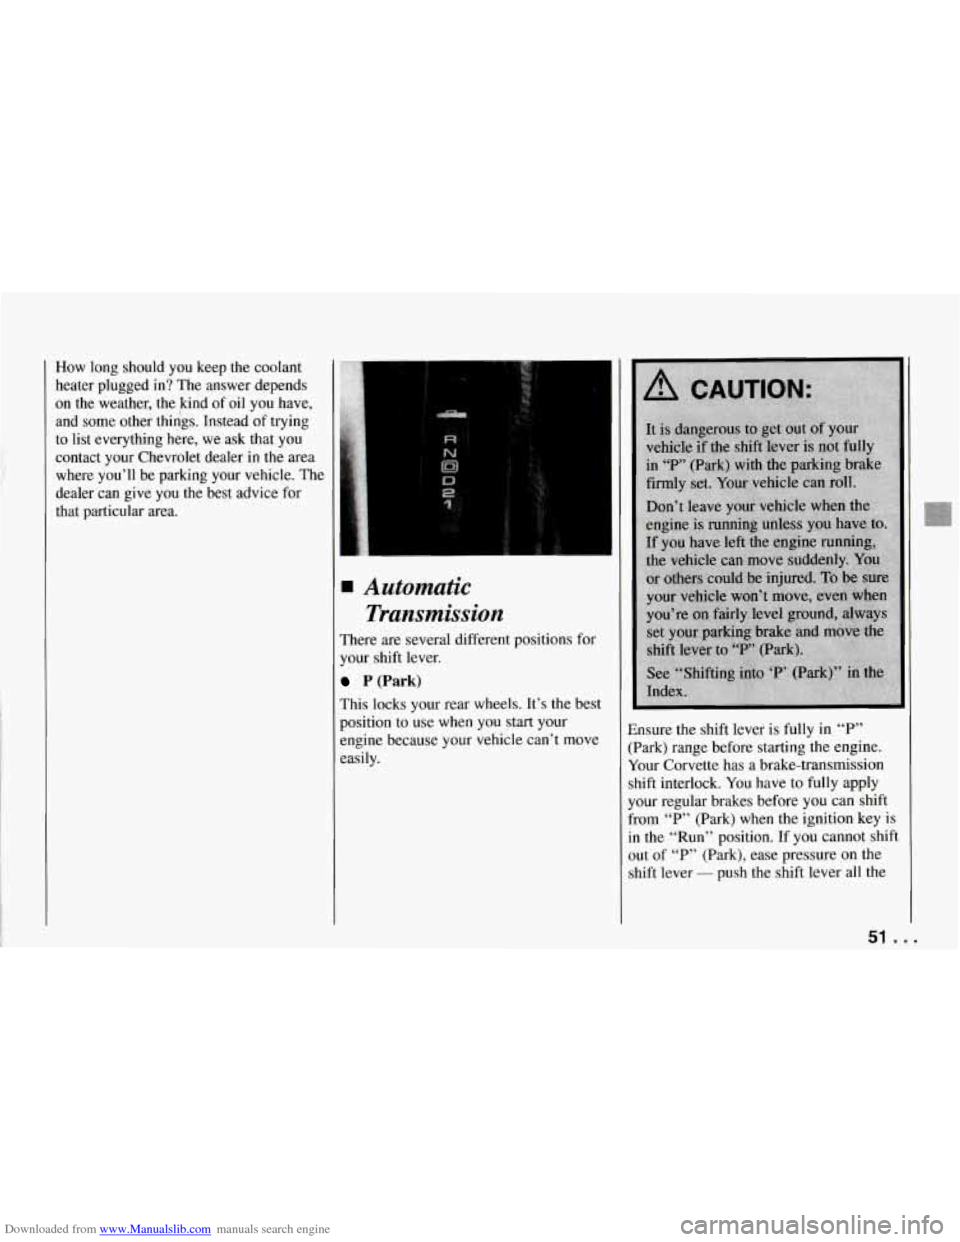
Automatic Transmission
There are several different positions for
your shift lever.
P (Park)
This locks your rear wheels. It’s the best
position to use when you start your
engine because your vehicle can’t move
easily. Ensure the shift
lever is fully in
“P”
(Park) range before starting the engine.
Your Corvette has a brake-transmission
shift interlock. You have to fully apply
your regular brakes before you can shift
from “P” (Park) when the ignition key is
in the “Run” position. If you cannot shift
out of
“P” (Park), ease pressure on the
shift lever
- push the shift lever all the
51 ...
Page 53 of 274

Downloaded from www.Manualslib.com manuals search engine Features and Controls
way into “P” (Park) and release the shift
lever button as you maintain brake
application. Then press the shift lever
button and move the shift lever into the
gear
you wish. See “Shifting out of ‘P’
(Park)” in the Index.
R (Reverse)
Use this gear to back up.
NOTICE:
dangerous. Unless your foot is
on the brake pedal, your
could move very rapidly.
lose control and hit
Don’t shift
out of
Shifting to “R’ (Reverse) while your
vehicle is moving forward could
damage your transmission. Shift to
“R’ only after your vehicle is
stopped.
To rock your vehicle back and forth to
get out of snow, ice or sand without
damaging your transmission, see “Stuck:
In Sand, Mud, Ice or Snow” in the Index.
N (Neutral)
In this position, your engine doesn’t
connect with the wheels. To restart when
you’re already moving, use
“N’ (Neutral:
only. Also, use
“N’ when your vehicle is
being towed.
... 52
NOTICE:
I
Damage to your transmission caused
by shifting out of “P” IPark) or
“N’
(Neutral) with the engine racing isn’t
covered by your warranty.
0 Automatic Overdrive
This position is for normal driving. If you
need more power for passing, and you’re:
- Going less than about 35 mph
(56 kmh), push your accelerator
pedal about halfway down.
- Going about 35 mph (56 km/h) or
more, push the accelerator all the way
down.
You’ll shift down to the next gear and
have more power.
D (Third Gear)
This is like 0 , but you never go into
Overdrive.
Here are some times
you might choose
“D’ instead of 0 :
- When driving on hilly, winding roads
- When going down a steep hill
2 (Second Gear)
This position gives you more power but
lower
fuel economy. You can use “2” on
hills. It can help control your speed as
you
go down steep mountain roads, but
then you would also want to use your
brakes
off and on.
Page 54 of 274

Downloaded from www.Manualslib.com manuals search engine NOTICE:
Don’t drive in “2” (Second Gear) for
more than
5 miles (8 km), or at
speeds over
55 mph (88 km/h), or
you can damage your transmission.
Use or “D” as much as possible.
Don’t shift into
“2” unless you are
going slower than
65 mph (1 05
km/h), or you can damage your
engine.
0 1 (First Gear)
This position gives you even more power
(but lower fuel economy) than
“2.” You
can use it on very steep hills, or in deep
snow or mud. If the selector lever is put
ir
“1,” the transmission won’t shift into first
gear until the vehicle is going slowly
enough.
NOTICE:
If your rear wheels can’t rotate, don’t
try to drive. This might happen if you
were stuck in very deep sand or mud
or were up against a solid object. You
could damage your transmission.
Also, if you stop when going uphill,
don’t hold your vehicle there with
only the accelerator pedal. This
could overheat and damage the
transmission. Use your brakes or
shift into
“P” (Park) to hold your
vehicle in position on a hill.
Maximum engine speed is limited to
protect driveline components from
improper operation.
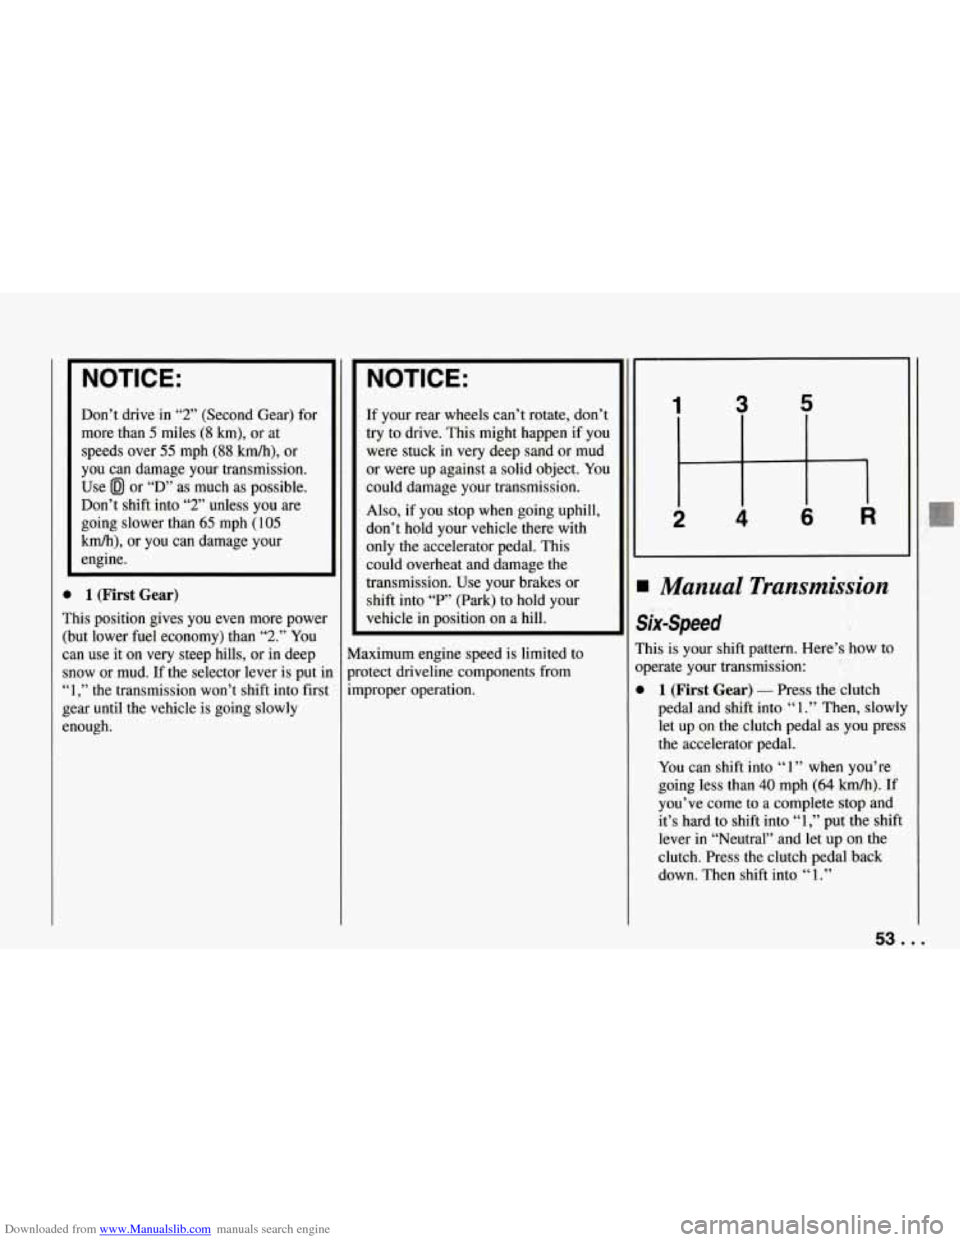
1 3 5
I Manual Transmission
six-Speed
?his is your shift pattern. Here’s how to
bperate your transmission:
1 (First Gear) - Press the clutch
pedal and shift into
“ 1 .” Then, slowly
let up on the clutch pedal as
you press
the accelerator pedal.
You can shift into
‘‘ 1 ” when you’re
going less than
40 mph (64 km/h). If
you’ve come to a complete stop and
it’s hard to shift into
“1,” put the shift
lever in “Neutral” and let up on the
clutch. Press the clutch pedal back
down. Then shift into
“1.”
53 ...
Page 57 of 274

Downloaded from www.Manualslib.com manuals search engine Features and Controls
RIDE CONTROL
SPORT
To@F
fl
-
PS c
Selective Ride Control
(OPTION)
This knob is on the center console. Turn i
to select the ride control of your choice:
TOUR: Use for city and highway driving
Provides a smooth, soft ride.
SPORT: Use where road conditions or
personal preference demand more control
Provides more “feel,” or response to the
road conditions.
PERF: Use for performance driving.
Provides tight, firm ride and precise
response to road conditions. ‘TOUR” and “SPORT” will
provide a
imilar ride at low speeds around town,
md both settings will increase control
tnd firmness at higher speeds. “SPORT,”
lowever, will adjust more at ‘higher
;peeds than “TOUR” will.
,‘PERF” will provide much more
Zontrol and a firmer ride at all speeds.
You can select a setting at any time.
Based on your speed,
the system
wtomatically adjusts to provide the best
aide and handling. Select a new setting
whenever driving conditions change.
The “SERVICE
RIDE CONTROL” light
monitors the system. Refer to “Service
Ride Control Light” in the Index.
Limited-Slip Rear Axle
Your rear axle can give you additional
traction on snow, mud, ice, sand or gravel.
It works like a standard axle most
of the
time, but when one of the rear wheels
has no traction and the other does,
the
limited-slip feature will allow the wheel
with traction to move the vehicle.
Parking
Parking Brake
To set the parking brake: Hold the brak
pedal down. Pull the parking brake lever
up, then move it back down. This sets
your parking brake, even though the leve
is down. If the ignition is on, the parking
brake indicator light will come on.
... 56
Page 61 of 274
Downloaded from www.Manualslib.com manuals search engine Features and Controls
Follow the proper steps to be sure your
vehicle won’t move. See “Shifting into
‘P’ (Park)” in the Index.
... 60
Windows
Power Windows
With power windows, switches on the
door control each window when the
ignition is on or when DAB is present.
(See “Delayed Accessory Bus”
in the
Index.)
The switch for the driver’s window has ai
Express Down feature. Press the switch
for at least one third
of a second, and the
window will lower completely.
To stop
Express Down, press the switch again.
You can also open this window any
amount by quickly pressing and releasint
the switch.
I Horn
:o sound the horn, press either horn
ymbol
on your steering wheel.
Page 62 of 274

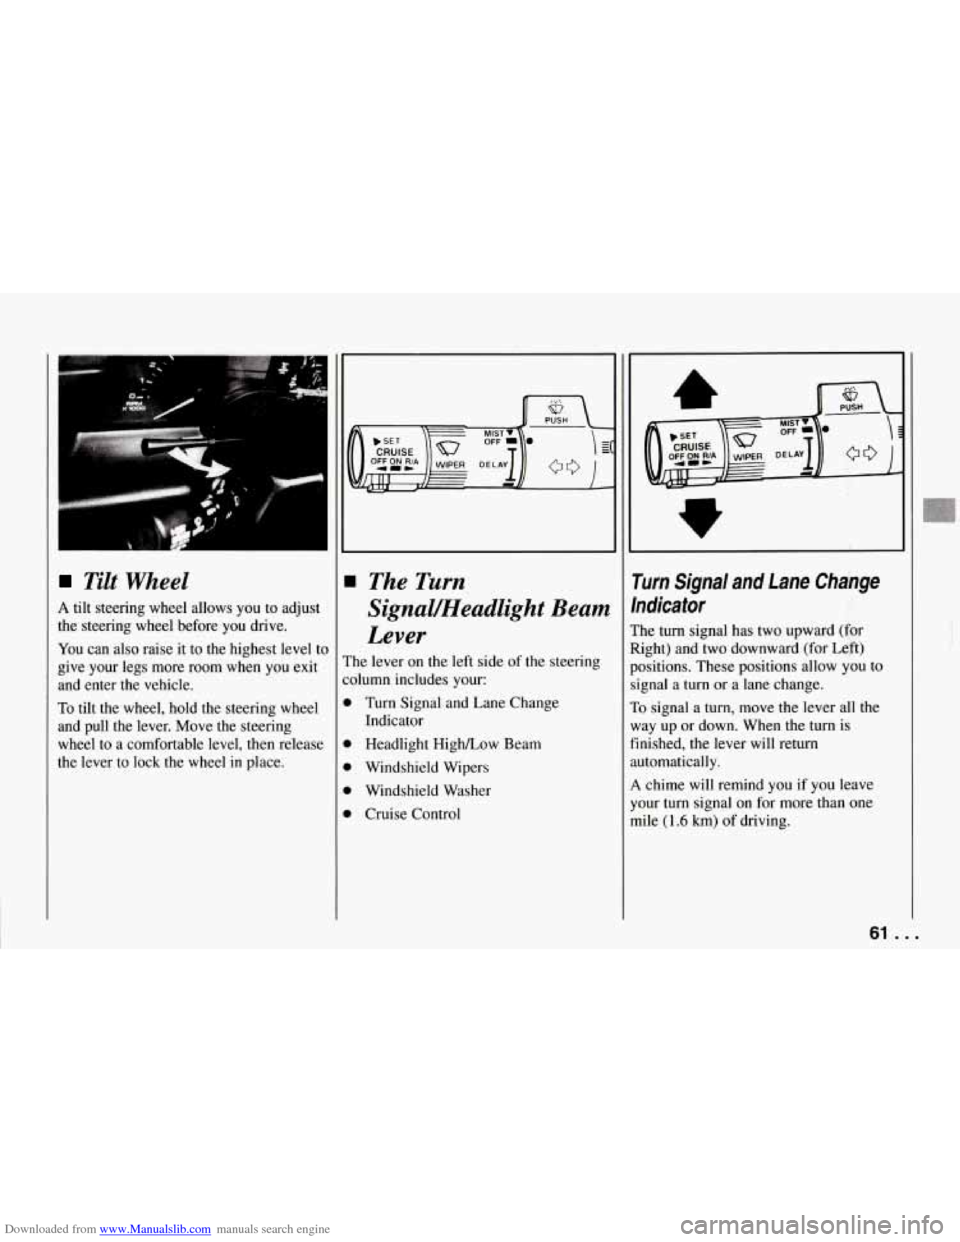
Downloaded from www.Manualslib.com manuals search engine Tilt Wheel
A tilt steering wheel allows you to adjust
the steering wheel before you drive.
You can also raise it to the highest level to
give your legs more room
when you exit
and enter
the vehicle.
To tilt the wheel, hold the steering wheel
and pull the lever. Move the steering
wheel to a comfortable level, then release
the lever to lock the wheel
in place.
The Turn
Signal/Headlight Beam
Lever
The lever on the left side of the steering
:olumn includes your:
D Turn Signal and Lane Change
D Headlight High/Low Beam
D Windshield Wipers
D Windshield Washer
D Cruise Control Indicator
rurn Signal and Lane Change
ndicator
:he
turn signal has two upward (for
tight) and two downward (for Left)
kositions. These positions allow you to
ignal a
turn or a lane change.
10 signal a turn, move the lever all the
vay up or down. When the turn
is
inished, the lever will return
.utomatically.
4 chime will remind you if you leave
'our turn signal on for more than one
nile
(1.6 km) of driving.
61 . .
r
Page 74 of 274
Downloaded from www.Manualslib.com manuals search engine i
-l
Your roof panel or hardtop wrench is
stored here. Rear Storage Compartment
This compartment is in the floor behind
the passenger seat.
To use it, push the
button and lift the lid. Use the door key
to lock it.
The top tray can be removed. The jack,
wheel lock key and wheel
nut socket are
stored below the tray.
NOTICE:
Your Corvette’s radio receiver is in
the rear storage compartment.
To
help avoid damage to the receiver:
0 Securely store jack in foam
0 Store any other objects under
the storage tray carefully.
0 Do not store items such as
liquids or sharp objects that
could puncture or cut the radio
receiver or wiring.
container
after use.
Also, to reduce the potential for radio
receiver interference, do not install
any other electronic module under
the storage tray.
Door Storage Compartment
Each door has a storage compartment
below the armrest.
73 ...
Page 87 of 274

Downloaded from www.Manualslib.com manuals search engine Features and Controls
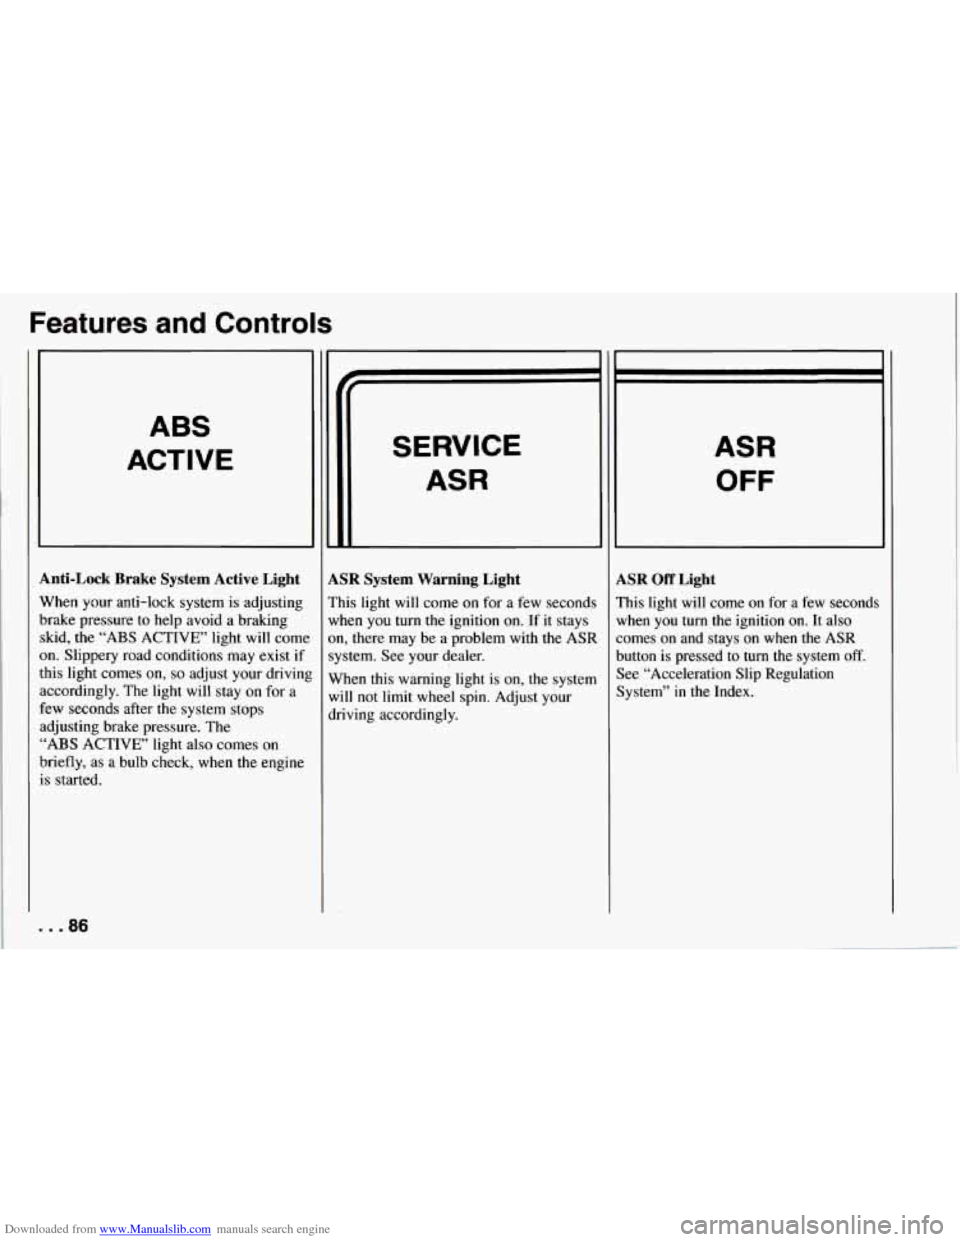
ABS
ACTIVE
Anti-Lock Brake System Active Light
When your anti-lock system is adjusting
brake pressure to help avoid a braking skid, the
“ABS ACTIVE’ light will come
on. Slippery road conditions may exist if
this light comes
on, so adjust your drivinl
accordingly. The light will stay on for a
few seconds after the system stops
adjusting brake pressure. The
“ABS ACTIVE’ light also comes on
briefly, as a bulb check, when the engine
is started.
. . .86
SERVICE
ASR
LSR System Warning Light
’his light will come on for a few seconds
vhen you turn the ignition on. If it stays
m, there may be a problem with
the ASR
ystem. See your dealer.
Vhen this warning light is on, the system
vi11 not limit
wheel spin. Adjust your
lriving accordingly.
ASR
OFF
LSR Off Light
’his light will come on for a few seconds
lrhen you turn the ignition
on. It also
omes on and stays on when the ASR
lutton is pressed to turn the system
off.
lee “Acceleration Slip Regulation
lystem” in the Index.