Page 71 of 274
Downloaded from www.Manualslib.com manuals search engine Features and Controls
Roof Panel (COUPE)
Until you are sure you can remove the
panel alone, have someone help you.
Removing the Roof Panel
1. Park on a level surface, set the parking
brake firmly and shift an automatic
transmission into
“P” (Park). Shift a
manual transmission into
“R’
(Reverse). Lower both windows, turn
the ignition key to
“LOCK” and move
both sunshades to the side.
... 70
2. Remove the ratchet from the console. 1. Use the ratchet to loosen the front
bolts. Don’t remove them. They’ll
stay
in place when loose.
Page 73 of 274

Downloaded from www.Manualslib.com manuals search engine Features and Controls
6. Gently lift up on the roof panel to be
sure
it is locked in place.
Installing the Roof Panel
1.
2.
Park on a level surface, set the parking
brake firmly and shift an automatic
transmission into “P” (Park). Shift a
manual transmission into
“R’
(Reverse).. Lower both windows, turn
the ignition key to “LOCK” and move
both sunshades to the side.
If the roof panel is stored in the rear
area, remove
it by reversing the steps
under “Storing the Roof Panel” above.
... 72
3. Lower the roof panel onto the vehicle,
rear edge first, and place the rear
guide pins into the holes in the roof
opening.
4. Lower the front of the roof panel, and
align the front guide pins.
5. Tighten the rear bolts part way.
NOTICE:
If you tighten bolts that are
improperly started,
the threads can
become stripped. Be sure all bolts are
properly started before you tighten
them.
6. Use the ratchet to start the front bolts.
If the bolts are hard to start, tighten
the rear bolts some more. Holding
down the panel on the outside will
also help.
front bolts.
7. Fully tighten the rear bolts, then the
If you hear a popping noise when you
drive,
the bolts may not be tight enough.
Be sure to tighten’them securely.
Storage and
Compartments
Center Console
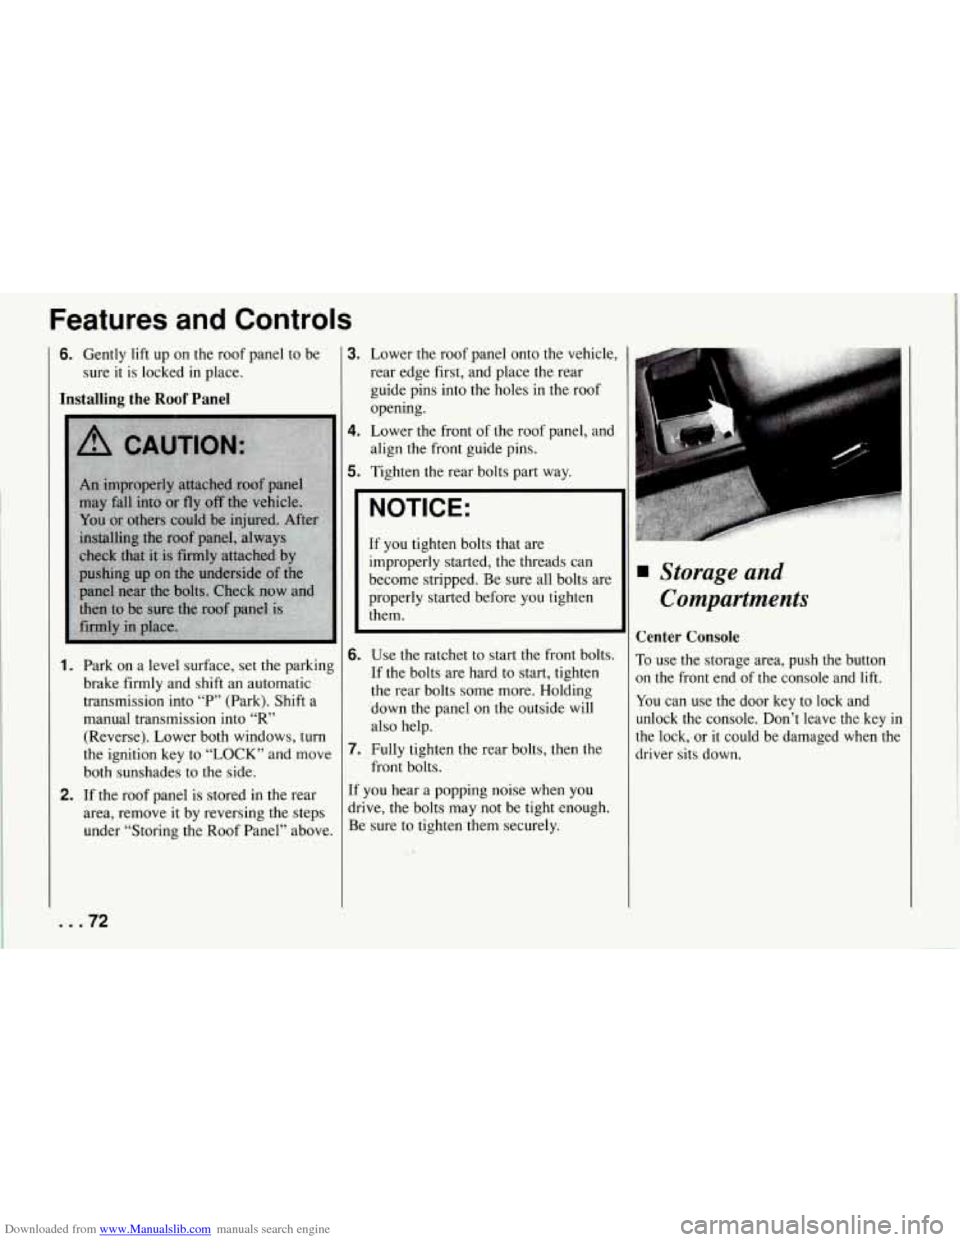
To use the storage area, push the button
on the front end of the console and lift.
You can use the door key to lock and
unlock the console. Don’t leave the key
in
the lock, or it could be damaged when the
driver sits down.
Page 86 of 274

Downloaded from www.Manualslib.com manuals search engine I
1
E
E
1
S
t
r
r
’arking Brake Indicator Light
rhis light will come on when you set your
mking brake, and it will stay on if your
)arking brake doesn’t release fully.
rhis light should also come on as you
tart the.vehicle. If it doesn’t come on
hen, have it fixed
so it will be ready to
cmind you if the parking brake hasn’t
&eleased fully.
SERVICE
Anti-Lock Brake System Warning
Light
With anti-lock, this light will come on
when you start your engine and may stay
on for about two seconds. That’s normal.
If the light doesn’t come on, have it fixed
so it will be ready to warn you if there is i
problem.
If the light stays on, turn the ignition off.
Or, if the light comes on when you’re
driving, stop as soon as possible and turn
the ignition
off. Then start the engine
again to reset the system. If the light still
stays on, or comes on again while you’re
driving, your Corvette needs service. If
the regular brake system warning light
isn’t on, you still have brakes, but you
don’t have anti-lock brakes.
If the regular
brake system warning light is also on, you
don’t have anti-lock brakes and there’s a
problem with your regular brakes. See
“Brake System Warning Light” earlier in
this part.
85 ...
Page 100 of 274
Downloaded from www.Manualslib.com manuals search engine To Raise Your Convertible Top
1. Park on a level surface, set the parking
brake firmly and shift an automatic
transmission into
“P” (Park). Shift a
manual transmission into
“R’
(Reverse). Lower both windows and
sunshades and turn the ignition key to
“LOCK.”
2. Press either the storage compartment lid release button behind the driver’s
seat or in the center console.
3. Turn the latch handles outward. Pull
the top up and forward until it lines
UI
with the windshield.
4. Latch the top by turning the handles
toward the center of the vehicle.
If
needed, push down on the outside
corners.
5. Lift the rear of the top and close the
compartment lid firmly.
I I
6. Lower the rear of the top so the latch
pins align with the holes in the lid.
To
secure the rear of the top, push down
firmly on both corners.
99 ...
Page 101 of 274
Downloaded from www.Manualslib.com manuals search engine Fe’atures and Controls
1
pm;.
I
7. Fasten the strips for the, headliner at
the rear of each window opening.
I
1 [
t
8. Then fasten the lower front corner of
the top.
NOTICE:
Certain automatic vehicle washes
may cause damage to your vehicle.
The top fabric can be damaged by top
cleaning brushes.
?or care and cleaning
of your convertible
:op, see “Cleaning Your Convertible Top”
in the Index.
Convertible Hardtop
(OPTION)
The convertible hardtop is designed for
extended use in both warm and cold
weather. The installation and removal
of
this top requires two people and takes about
30 minutes. You will need the
wrench and ratchet stored in the center
console.
To Remove Your Convertible Hardtop
1. Park on a level surface, set the parking
brake firmly and shift an automatic transmission into
“P” (Park). Shift
a manual transmission into “R”
(Reverse). Lower both windows and
sunshades and turn the ignition key
Off.
Page 134 of 274

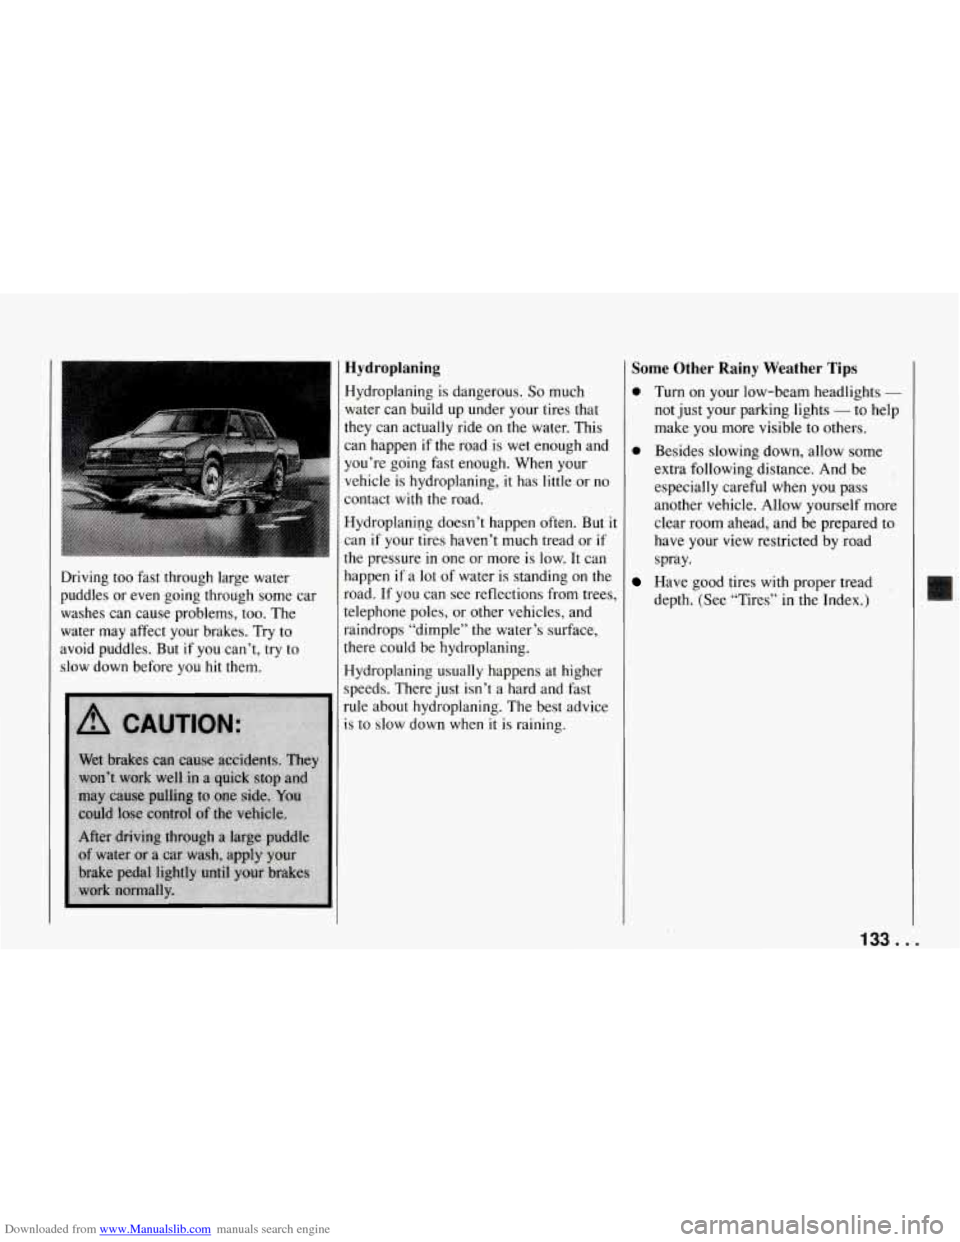
Downloaded from www.Manualslib.com manuals search engine Driving too fast through large water
puddles or even going through some car washes can cause problems, too. The
water may affect your brakes. Try to
avoid puddles.
But if you can’t, try to
slow down before you
hit them.
Hydroplaning
Hydroplaning is dangerous. So much
water can build up under your tires that
they can actually ride
on the water. This
can happen if the road is wet enough and
you’re going fast enough. When your
vehicle is hydroplaning, it has little or
no
contact with the road.
Hydroplaning doesn’t happen often. But it
can
if your tires haven’t much tread or if
the pressure in one or more is low. It can
happen if a lot of water is standing on the
road.
If you can see reflections from trees,
telephone poles, or other vehicles, and
raindrops “dimple” the water’s surface,
there could be hydroplaning.
Hydroplaning usually happens at higher
speeds. There just isn’t a hard and fast
rule about hydroplaning. The best advice
IS to slow down when it is raining.
Some Other Rainy Weather Tips
0 Turn on your low-beam headlights -
not just your parking lights - to help
make you more visible to others.
0 Besides slowing down, allow some
extra following distance. And be
especially careful when you pass
another vehicle. Allow yourself more
clear room ahead, and be prepared to
have your view restricted by road
spray.
Have good tires with proper tread
depth. (See “Tires” in the Index.)
133 ...
Page 137 of 274

Downloaded from www.Manualslib.com manuals search engine Your Driving and the Road
What can you do about highway
hypnosis? First, be aware that
it can
happen.
Then here are some tips:
0 Make sure your vehicle is well
ventilated, with a comfortably cool
interior.
0 Keep your eyes moving. Scan the road
ahead and to the sides. Check your
rearview mirrors and your instruments
frequently.
0 If you get sleepy, pull off the road into
a rest, service, or parking area and
take a nap, get some exercise, or both.
For safety, treat drowsiness on
the
highway as an emergency.
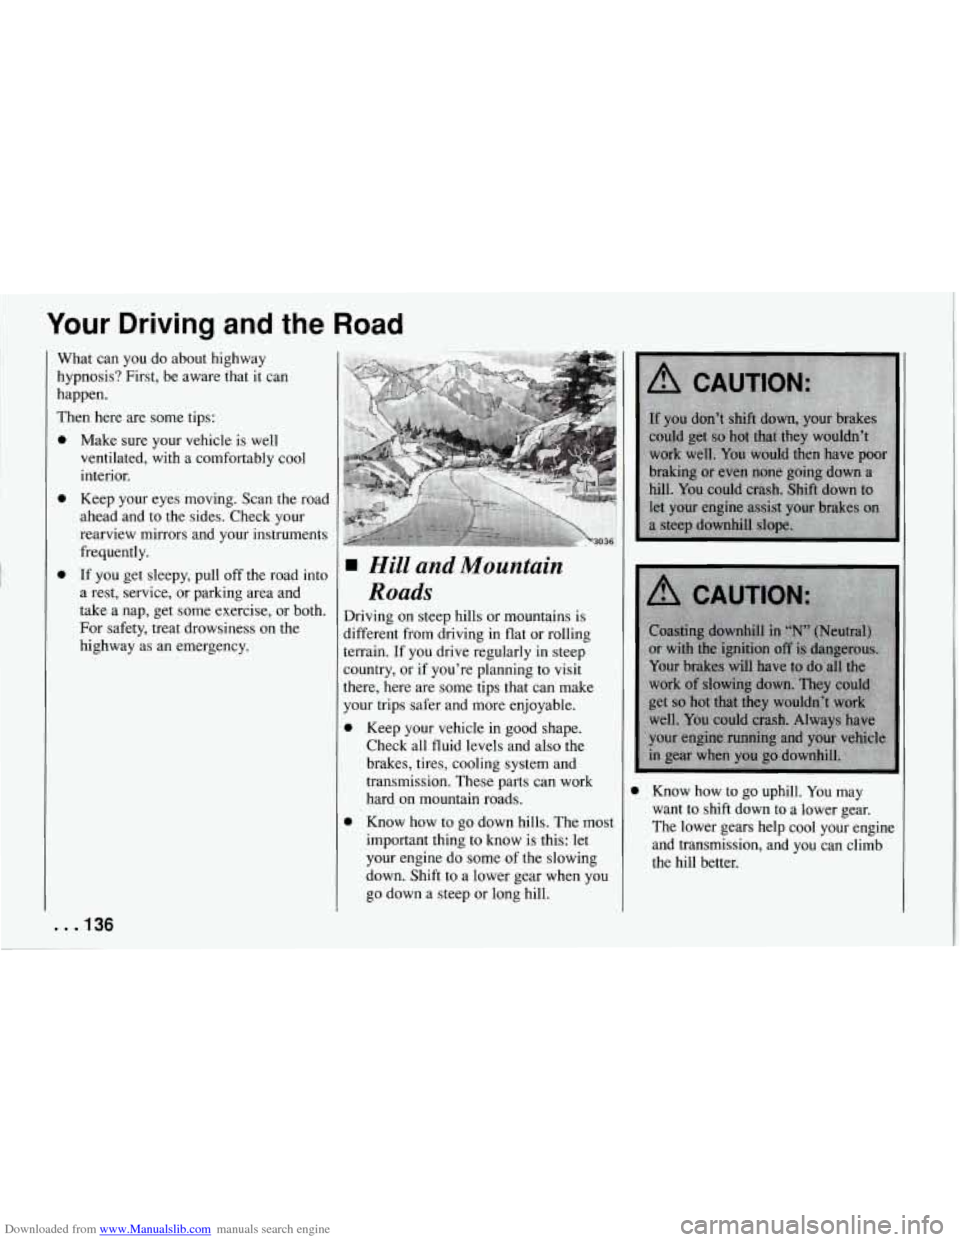
Hill and Mountain
Roads
Driving on steep hills or mountains is
jifferent from driving in flat or rolling
terrain. If you drive regularly in steep
zountry, or if you’re planning to visit there, here are some tips that can make
your trips safer and more enjoyable.
Keep your vehicle in good shape.
Check all fluid levels and also the
brakes, tires, cooling system and
transmission. These parts can work
hard on mountain roads.
Know how to go down hills. The most
important thing to know is this: let
your engine do some
of the slowing
down. Shift to a lower gear when you
go down a steep or long hill.
0 Know how to go uphill. You may
want to shift down to a lower gear.
The lower gears help cool your engine and transmission, and you can climb
the hill better.
. . .136
Page 148 of 274
Downloaded from www.Manualslib.com manuals search engine IC
When your vehicle is being towed, have
he ignition key
off. The steering wheel
should be clamped in a straight-ahead
position, with a clamping device designed
For towing service.
Do not use the
vehicle’s steering column lock for this.
The transmission should be in “Neutral”
and the parking brake released.
Don’t have your vehicle towed
on the
rear wheels unless you must. If the
vehicle must be towed on the rear wheels,
don’t go more than
35 mph (55 kmh) or
farther than
50 miles (80 km) or your
transmission will be damaged.
Go slow
mer rough ground, and position one
wheel at a time (angled
45”) if you have
to go over curbs and rises. Wheels at the
lifted end should be at least four inches
(1 00 mm) above the ground. If these
limits must be exceeded, then the rear
wheels have to be supported
on a dolly.
14f ...