1994 CHEVROLET CORVETTE door lock
[x] Cancel search: door lockPage 45 of 274

Downloaded from www.Manualslib.com manuals search engine Features and Controls
I Universal Theft
Deterrent
‘our Corvette has a theft deterrent
larm system. With this system, the
SECURITY” light will flash as you
pen the door (if your ignition is
off).
‘his light reminds you to arm the theft
eterrent system. Here’s how to do it:
. Open the door.
. Lock the door with the power door
lock switch or the Passive Keyless
Entry system. The “SECURITY” lieht
will come on.
. Close all the doors. The “SECURITY’
light should go
off.
... 44
Now, if a door or the hatch is opened
without the key or Passive Keyless Entry
system, the alarm will go
off. Your horn
will sound for three minutes, then it will
go
off to save battery power.
The theft deterrent system won’t
arm if
you lock the doors with a key or manual
door lock, or if you lock the vehicle after
the doors are closed.
If your passenger stays in the vehicle
when you leave with the keys, have the
passenger lock the vehicle after the doors
are closed. This way the alarm won’t
arm,
and your passenger won’t set it off.
Always use your key or the Passive
Keyless Entry system to unlock a door.
Unlocking a door any other way will set
off the alarm.
If you do set off the alarm
accidentally, there are three ways to stop
it:
Unlock any door with your key.
Put the ignition key in the ignition.
Use the Passive Keyless Entry system.
How to Test the Alarm
1. Make sure the rear hatch is latched.
2. Lower a window.
3. Arm the system.
4. Close the doors and wait five seconds.
5. Reach through the open window and
unlock the door from inside. The
alarm should sound.
6. Turn off the alarm.
If the alarm doesn’t go
off, check to see
if the horn works. If not, check the horn
fuse. See “Fuses and Circuit Breakers” in
the Index. If the horn does work, but the
alarm doesn’t go
off, see your dealer.
Page 47 of 274

Downloaded from www.Manualslib.com manuals search engine Features and Controls
NOTICE:
Your modern Corvette doesn’t need
an elaborate “break-in.” But it will
perform better in the long run if you
follow these guidelines:
0 Keep your speed at 55 mph
(88 km/h) or less for the first
500 miles (804 km).
Don’t drive at any one speed
- fast or slow - for the
fist
500 miles (804 km).
Don’t make full-throttle
starts.
Avoid malung hard stops for
the first
200 miles (322 km)
or so. During this time your
new brake linings
aren’t yet
broken in.
Hard stops with
new linings can mean
premature wear and earlier
replacement. Follow this
“breaking-in” guideline
every time you get new
brake linings.
I
Ignition Switch
With the ignition key in the ignition
switch, you can turn the switch to five
positions:
Acc (A): Position in which you can
operate your electrical power accessories.
Press in the ignition switch as you turn
the top of it toward you.
Lock (B): The only position in which
you can remove the key. This locks your
steering wheel, ignition and automatic
transmission.
If you have an automatic transmission, tht
ignition switch can’t be turned to “Lock”
unless the shift lever
is in the “P” (Park)
position.
... 46
Off (C): Unlocks the steering wheel,
ignition and automatic transmission, but
does not send electrical power to any
accessories. Use
this position if your
vehicle must be pushed
or towed.
Run (D): Position to which the switch
returns after you start your engine and
release the switch. The switch stays in
the “Run” position when the engine is
running. But even when the engine is not
running, you can use “Run” to operate
your electrical power accessories and to
display some instrument panel warning
and indicator lights.
Start (E): Starts the engine. When the
engine
starts, release the key. The ignition
switch will return to “Run” for normal
driving.
When the engine is not running, “Acc”
and “Run” allow you to operate your
slectrical accessories, such as the radio.
A warning tone will sound if you open
the driver’s door when the ignition is in
“Off,’’ “Lock” or “Acc” and the key is in
the ignition.
Page 48 of 274

Downloaded from www.Manualslib.com manuals search engine Ke
ma
ha! the
ou1
!y Release Button: If you have a
lnual transmission, your ignition lock
; a key release button. You must press
: button before you can take your key
t of the ignition lock.
NOTICE:
If your key seems stuck in “Lock”
and you can’t turn it, be sure it is all
the way in. If it is, then turn the steer-
ing wheel left and right while you
turn the key hard. But turn the key
only with your hand. Using a tool to
force it could break the key or the
ignition switch. If none of this works,
then your vehicle needs service.
Delayed Accessory Bus (DAB)
With DAB your power windows and the
audio system will continue to work up to
15 minutes after the ignition key is turnec
to “Off’ and neither door is opened.
If a
door is opened, the audio system and
power windows will shut
off.
Starting Your Engine
Automatic Transmission: Move your
shift lever to
“P’ (Park) or “N” (Neutral).
Your engine won’t start in any other
position
- that’s a safety feature. To
restart when you’re already moving,
use
“N” (Neutral) only.
NOTICE:
Don’t try to shift to “P” (Park) if your
Corvette is moving. If you do, you
could damage the transmission. Shift
to
“P” (Park) only when your vehicle
is stopped.
ManuaI Transmission: The gear selector
should be
in neutral. Hold the clutch
pedal to the
floor and start the engine.
Your vehicle won’t start if the clutch
pedal is not all the way down
- that’s a
safety feature.
To start your 5.7 Liter LTl engine:
1. Without pushing the accelerator pedal
turn the ignition key to “Start.” When
the engine starts, let go of the key. Thl
idle speed will go down as your
engine gets warm.
NOTICE:
Holding your key in “Start” for
longer than 15 seconds at a time will
cause your battery to be drained
much sooner. And the excessive heat
can damage your starter motor.
47 ...
Page 68 of 274

Downloaded from www.Manualslib.com manuals search engine Ieadlights
?he headlight knob controls these lights:
b Headlights
1 Taillights
1 Parking lights
1 Sidemarker lights
hm the knob to $R to turn on your
leadlights and other operating lights.
rurn the knob to:OO:to turn on your
mking and other operating lights without
‘our headlights.
rurn the knob to “OFF’ to turn off the
ights.
(our digital display will dim at dusk to
emind you to turn on your headlights. To
read your odometer and fuel level with
the ignition
off, turn on your parking
lights.
Lights On Reminder
If you turn the ignition “Off” and leave
the lights on, you will hear a chime.
Brightness Control
The “DIMMER’ switch controls the
brightness of your instrument panel lights
when your headlights or parking lights are
on. Move the switch up or down to
brighten or dim the lights. If you turn the
switch all the way up, your courtesy,
reading, map and cargo area lights will
some on. Be sure to turn off the lights
when you leave your vehicle.
Headlight Doors
The headlight doors are designed to open
when you
turn the headlights on and close
when you turn the headlights and parking
lights
off. If you turn the headlights on,
then turn
the headlight switch back to the
parking lights setting, the headlight doors
will stay open.
You can open the doors manually using
the knob next to the headlight assembly.
Turn the knob counterclockwise until the
doors are open.
The headlight doors should be open when
driving in icy or snowy conditions to
prevent the doors from freezing closed
and when washing the vehicle to help
clean the headlights.
67. .
Page 69 of 274

Downloaded from www.Manualslib.com manuals search engine Features and Controls
Daytime Running Lights (Canada)
The Canadian Federal Government has
decided that “Daytime Running Lights”
(DE) are a useful feature, in that DIU
can make your vehicle more visible to
pedestrians and other drivers during
daylight hours. DIU are required on new
vehicles sold
in Canada.
Your
DRL, work with a light sensor on top
of the instrument panel. Don’t cover it up.
The front turn signal lights will come on
in daylight when:
0 The ignition is on
0 The headlight switch is off, and
0 The parking brake is released.
At dusk, the exterior lights will come on
automatically and the front turn signal
lights will go out. At dawn, the exterior
lights will go out and the front turn signal
lights will come on (if the headlight
switch is
off).
Of course, you may still turn on the
headlights any time
you need to.
To idle your vehicle with the DRL off, set
the parking brake while the ignition is
in
the “Off” or “LOCK” position. Then start
the vehicle. The DRL will stay
off until
you release the parking brake.
... 68
$.
Fog Lights
Use your fog lights for better vision in
Foggy or misty conditions. Your parking
lights or low beam headlights must be
on
or your fog lights won’t work.
To turn the fog lights on, push the button.
Push the button again to turn the fog
lights
off. A light above the button will
come on when the fog lights are on.
Interior Lights
Courtesy Lights
When any door is opened, the interior
lights will go on (unless it’s bright
outside). The lights will stay on for about
30 seconds or until you turn on the
ignition.
Front Map Lights
Your inside rearview mirror includes two
map lights. The lights will go on when a
door is opened. When the doors are
closed and the ignition is on, press the
switch to turn on the lights.
Page 73 of 274

Downloaded from www.Manualslib.com manuals search engine Features and Controls
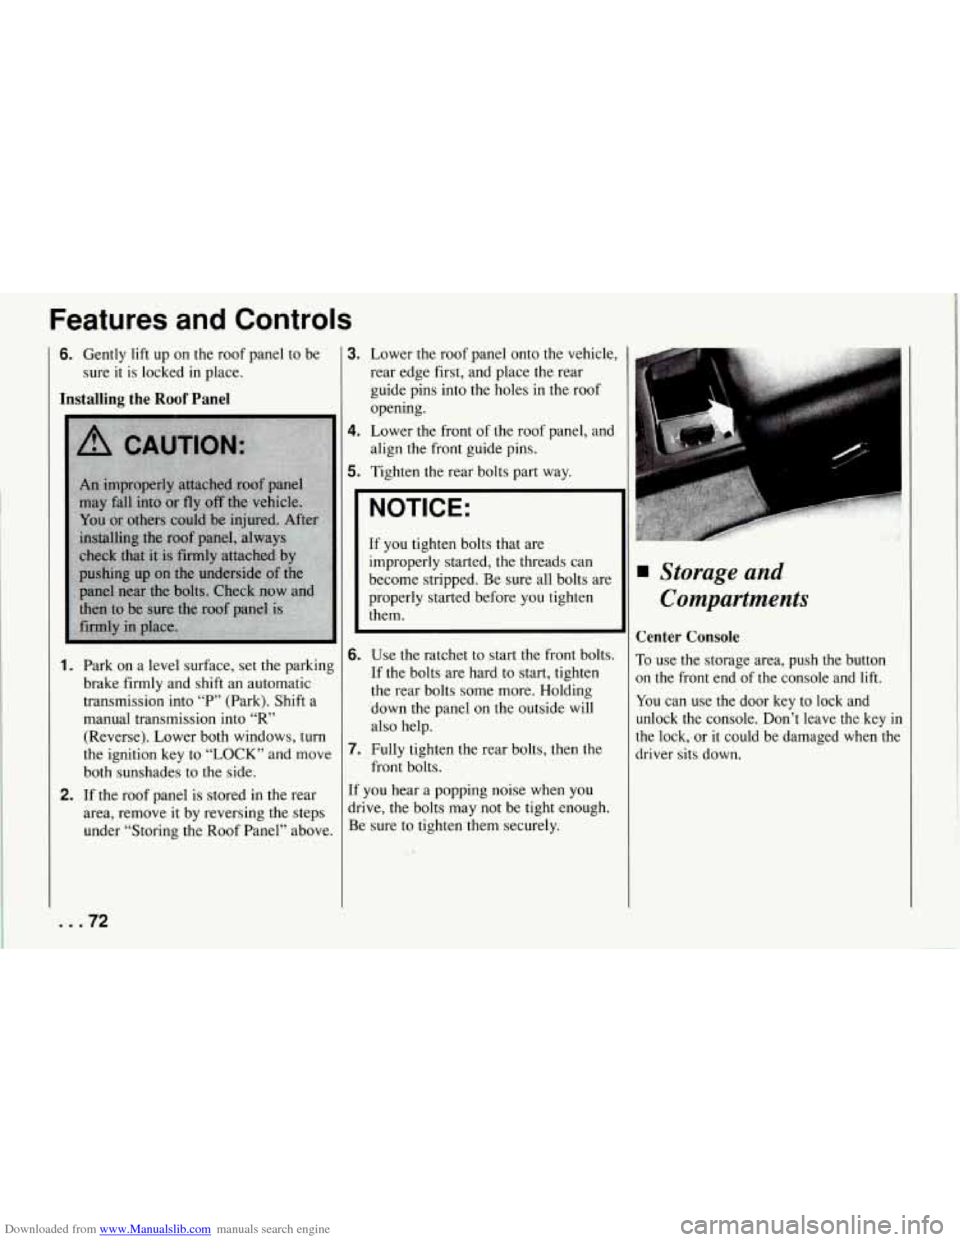
6. Gently lift up on the roof panel to be
sure
it is locked in place.
Installing the Roof Panel
1.
2.
Park on a level surface, set the parking
brake firmly and shift an automatic
transmission into “P” (Park). Shift a
manual transmission into
“R’
(Reverse).. Lower both windows, turn
the ignition key to “LOCK” and move
both sunshades to the side.
If the roof panel is stored in the rear
area, remove
it by reversing the steps
under “Storing the Roof Panel” above.
... 72
3. Lower the roof panel onto the vehicle,
rear edge first, and place the rear
guide pins into the holes in the roof
opening.
4. Lower the front of the roof panel, and
align the front guide pins.
5. Tighten the rear bolts part way.
NOTICE:
If you tighten bolts that are
improperly started,
the threads can
become stripped. Be sure all bolts are
properly started before you tighten
them.
6. Use the ratchet to start the front bolts.
If the bolts are hard to start, tighten
the rear bolts some more. Holding
down the panel on the outside will
also help.
front bolts.
7. Fully tighten the rear bolts, then the
If you hear a popping noise when you
drive,
the bolts may not be tight enough.
Be sure to tighten’them securely.
Storage and
Compartments
Center Console
To use the storage area, push the button
on the front end of the console and lift.
You can use the door key to lock and
unlock the console. Don’t leave the key
in
the lock, or it could be damaged when the
driver sits down.
Page 74 of 274

Downloaded from www.Manualslib.com manuals search engine i
-l
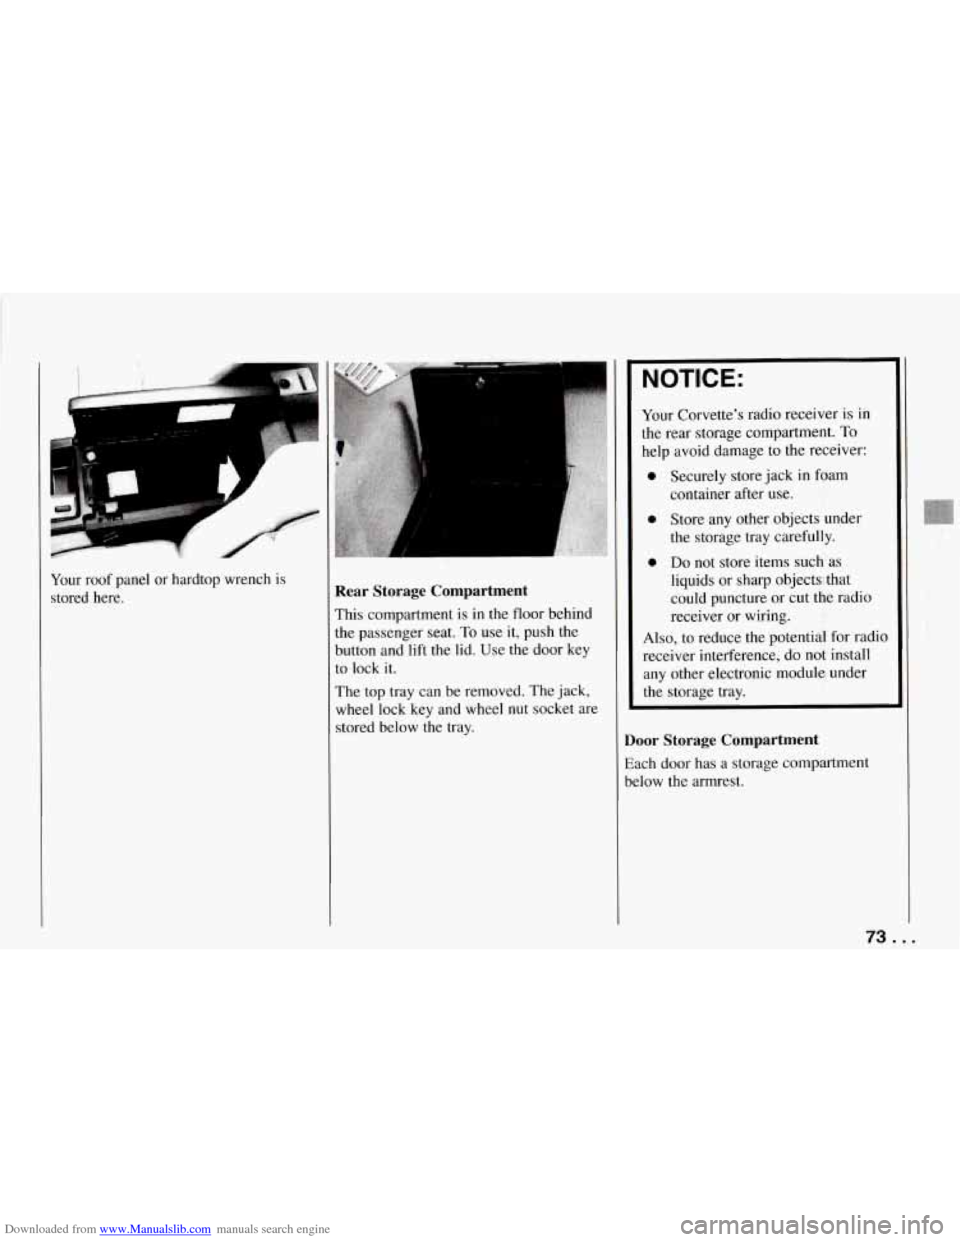
Your roof panel or hardtop wrench is
stored here. Rear Storage Compartment
This compartment is in the floor behind
the passenger seat.
To use it, push the
button and lift the lid. Use the door key
to lock it.
The top tray can be removed. The jack,
wheel lock key and wheel
nut socket are
stored below the tray.
NOTICE:
Your Corvette’s radio receiver is in
the rear storage compartment.
To
help avoid damage to the receiver:
0 Securely store jack in foam
0 Store any other objects under
the storage tray carefully.
0 Do not store items such as
liquids or sharp objects that
could puncture or cut the radio
receiver or wiring.
container
after use.
Also, to reduce the potential for radio
receiver interference, do not install
any other electronic module under
the storage tray.
Door Storage Compartment
Each door has a storage compartment
below the armrest.
73 ...
Page 77 of 274

Downloaded from www.Manualslib.com manuals search engine Features and Controls
Cigarette Lighter
To use the lighter, push it in all the way
and let go. When it’s ready, it will pop
back by itself.
NOTICE:
Don’t hold a cigarette lighter in with
your hand while it is heating. If you
do, it won’t be able to back away
from the heating element when it’s
ready. That can make it overheat,
damaging the lighter and the heating
element.
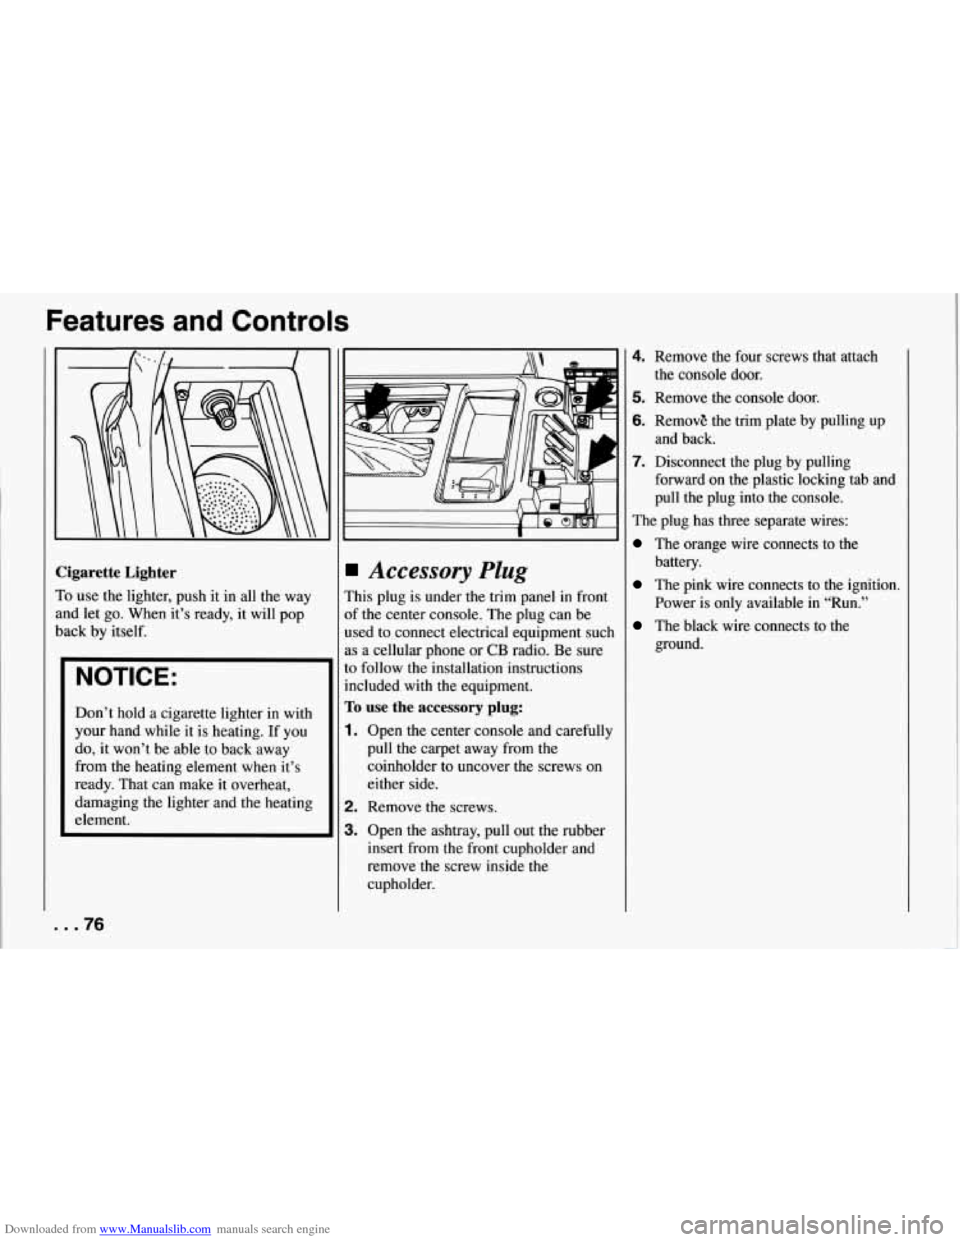
Accessory Plug
This plug is under the trim panel in front
of the center console. The plug can be
used to connect electrical equipment such
as a cellular phone
or CB radio. Be sure
to follow the installation instructions
included with
the equipment.
To use the accessory plug:
1. Open the center console and carefully
pull the carpet away from the
coinholder to uncover the screws on
either side.
2. Remove the screws.
3. Open the ashtray, pull out the rubber
insert from the front cupholder and
remove the screw inside the
cupholder.
4. Remove the four screws that attach
5. Remove the console door.
6. RemovE the trim plate by pulling up
7. Disconnect the plug by pulling
the console door.
and back.
forward on the plastic locking tab and
pull the plug into the console.
The plug has three separate wires:
The orange wire connects to the
battery.
The pink wire connects to the ignition.
Power is only available in “Run.”
The black wire connects to the
ground.
... 76