1994 CHEVROLET CAVALIER heater
[x] Cancel search: heaterPage 42 of 243
Downloaded from www.Manualslib.com manuals search engine Here you can learn about the
many standard and' optional
features on your Chevrolet. and information on starting. shifiing and
braking;
Also explained are the
instrument panel and the :warning
systems that tell you
if everything is
working properly-and what to do
if you have a problem .
........ ;\?
Keys ........................................................................\
.................................................... 42
Locks
........................................................................\
.................................................. 43
Glove
Box ........................................................................\
.......................................... 47
Ignition
50 .. ........................................................................\
...............................................
Starting Your Engine ........................................................................\
......................... 51
Engine Coolant Heater ........................................................................\
...................... 52
Automatic Transaxle
........................................................................\
......................... 53
Manual Transaxle ................................... i ................................................................. 56
Parking Brake .......................................................... 1 .................................................. 58
Shfiing into
Park ........................................................................\
............ ................. 58
Windows ..... ........................................................................\
...................................... 62
Turn Signal/Multifunction Lever ........................................................................\
...... 63
Headlights
............................................. ..I.. ................................................. .: ............ -65
Interior Lights ........................................................................\
.................................... 67
Windshield Wipers
........................................................................\
............................. 68
Windshield Washer
........................................................................\
......... .l ................. 69
Cruise Control ........................................................................\
................................... 70
Mirrors
........................................................................\
............................................... 72
Ashtrays and Lighter
........................................................................\
......................... 75
Sunroof ........................................................................\
.............................................. 75
Instrument Panel
........................................................................\
............................... 80
Warning Lights, Gages and Indicators ..................................................................... 84
Page 53 of 243
Downloaded from www.Manualslib.com manuals search engine Features & Controls
NOTICE:
Your engine is designed to work
with the electronics in your vehicle.
If you add electrical parts or
accessories, you could change the
way the fuel injection system
operates. Before adding electrical
equipment, check with your dealer.
If you don’t, your engine might not
perform properly. If you ever have to
have your vehicle towed, see the part
of this manual that tells how to do
it without damaging your vehicle. See
Towing Your Vehicle in the Index.
Driving Through Deep
Standing Water
NOTICE:
If you drive too quickly through
deep puddles or standing water,
water can come in through your
engine’s air intake and badly damage
your engine. If you can’t avoid deep
puddles or standing water, drive
through them very slowly.
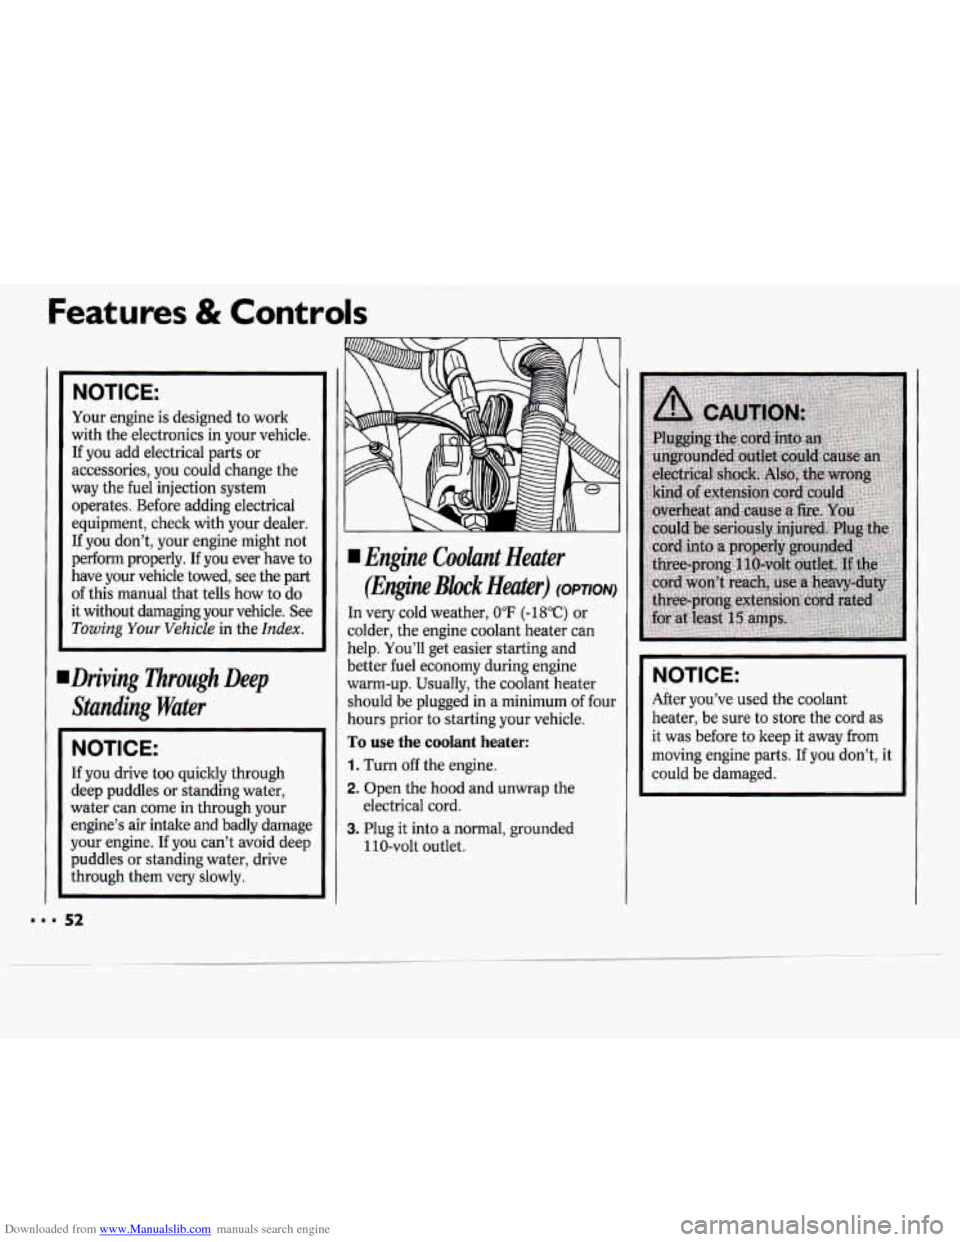
I Engine Coolant Heater
(Engine Block Heater) (OPTION)
In very cold weather, 0°F (-18°C) or
colder, the engine coolant heater can
help. You’ll get easier starting and
better fuel economy during engine
warm-up. Usually, the coolant heater
should be plugged in a minimum
of four
hours prior to starting your vehicle.
To use the coolant heater:
1. Turn off the engine.
2. Open the hood and unwrap the
3. Plug it into a normal, grounded
electrical cord.
110-volt outlet.
NOTICE:
After you’ve used the coolant
heater, be sure to store the cord as
it was before to keep it away from
moving engine parts. If you don’t, it
could be damaged.
Page 54 of 243
Downloaded from www.Manualslib.com manuals search engine How long should you keep the coolant
heater plugged in? The answer depends
on the weather, the kind of oil you
have, and some other things. Instead of
trying
to list everything here, we ask
that you contact a Chevrolet dealer in
the area where you’ll be parking your
vehicle. The dealer can give you the best
advice for that particular area.
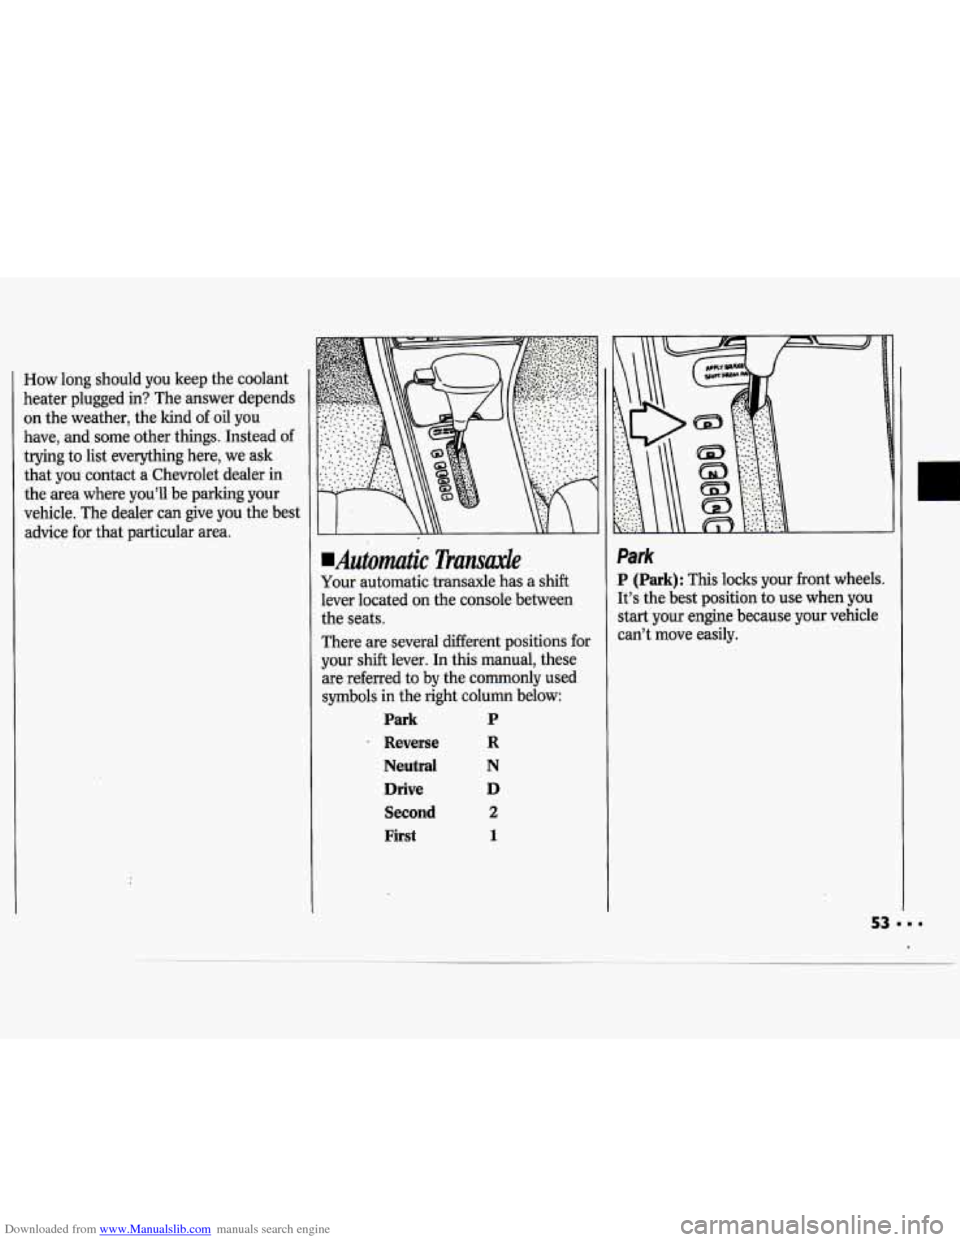
.Automatic Transaxle
Your automatic transaxle has a shift
lever located on the console between
the seats.
There are several different positions for
your shift lever. In this manual, these
are referred to by the commonly used
symbols in the right column below:
Park P
. Reverse R
Neutral N
Drive D
Second 2
First 1
Park
P (Park): This locks your front wheels.
It’s the best position to use when you
start your engine because your vehicle
can’t move easily.
.
Page 93 of 243
Downloaded from www.Manualslib.com manuals search engine Comfort Controls & Audio Systems
I Climate Control System
Nith this system, you can control the
rentilation and heating in your vehicle.
four vehicle also has the flow-through
Jentilation system described later in this
rection.
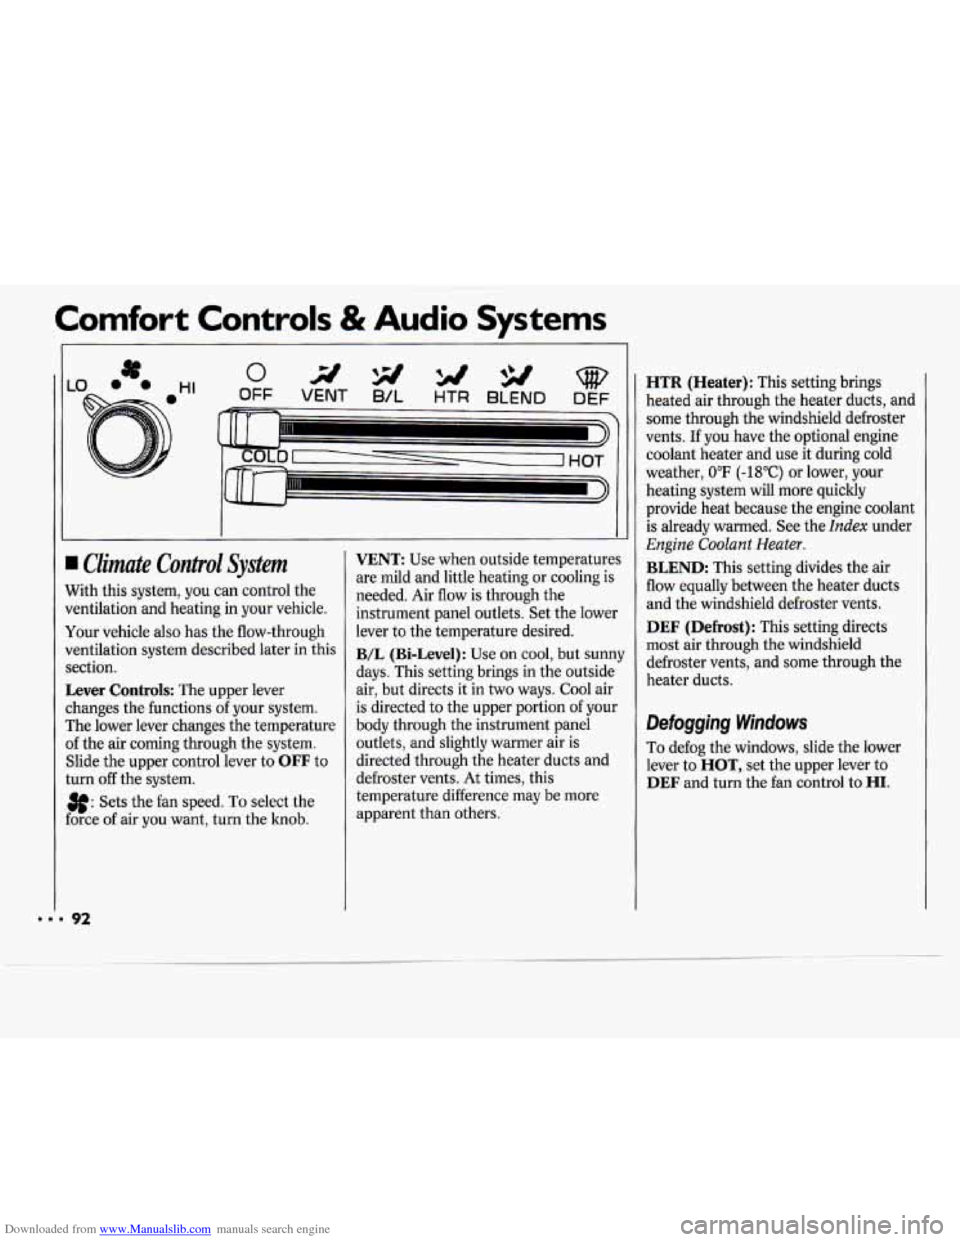
Lever Controls: The upper lever
:hanges the functions
of your system.
rhe lower lever changes the temperature
If the air coming through the system.
Slide the upper control lever to
OFF to
:urn
off the system.
3f: Sets the fan speed. To select the
:orce of air you want, turn the knob.
VENT: Use when outside temperatures
are mild and little heating or cooling is
needed. Air flow is through the
instrument panel outlets. Set the lower
lever to the temperature desired.
B/L (Bi-Level): Use on cool, but sunny
days. This setting brings in the outside
air, but directs it in two ways. Cool air
is directed to the upper portion of your
body through the instrument panel
outlets, and slightly warmer air is
directed through the heater ducts and
defroster vents.
At times, this
temperature difference may be more
apparent than others.
HTR (Heater): This setting brings
heated air through the heater ducts, and
some through the windshield defroster
vents.
If you have the optional engine
coolant heater and use it during cold
weather,
0°F (-18°C) or lower, your
heating system will more quickly
provide heat because the engine coolant
is already warmed. See the
Index under
Engine Coolant Heater.
BLEND: This setting divides the air
flow equally between the heater duets
and the windshield defroster vents.
DEF (Defrost): This setting directs
most air through the windshield
defroster vents, and some through the
heater ducts.
Defogging Windows
To defog the windows, slide the lower
lever to
HOT, set the upper lever to
DEF and turn the fan control to HI.
Page 94 of 243
Downloaded from www.Manualslib.com manuals search engine Air Conditioning System
(OPTION)
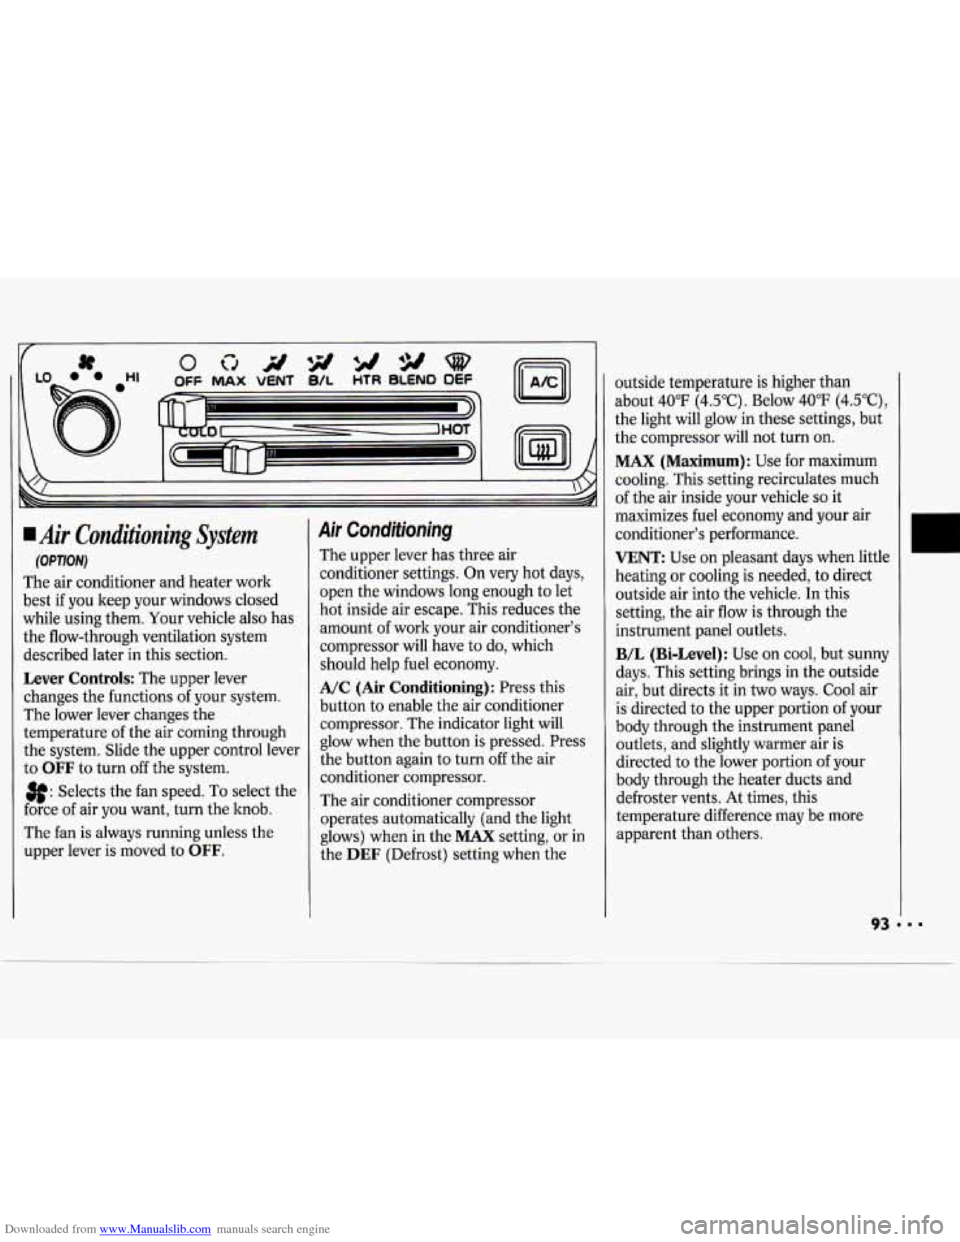
The air conditioner and heater work
best if you keep your windows closed
while using them. Your vehicle also has
the flow-through ventilation system
described later in this section.
Lever Controls: The upper lever
changes the functions
of your system.
The lower lever changes the
temperature of the air coming through
the system. Slide the upper control lever
to
OFF to turn off the system.
3f: Selects the fan speed. To select the
force of air you want, turn the hob.
The fan is always running unless the
upper lever is moved to
OFF.
Air Conditioning
The upper lever has three air
conditioner settings. On very hot days,
open the windows long enough to let
hot inside air escape. This reduces the
amount of work your air conditioner's
compressor will have to do, which
should help fuel economy.
A/C (Air Conditioning): Press this
button
to enable the air conditioner
compressor. The indicator light will
glow when the button is pressed. Press
the button again to turn
off the air
conditioner compressor.
The air conditioner compressor
operates automatically (and the light
glows) when in the
MAX setting, or in
the
DEF (Defrost) setting when the outside temperature
is higher than
about 40°F (4.5"C). Below 40°F (4.5"C),
the light will glow in these settings, but
the compressor will not turn on.
MAX (Maximum): Use for maximum
cooling. This setting recirculates much
of the air inside your vehicle
so it
maximizes fuel economy and your air
conditioner's performance.
VENT: Use on pleasant days when little
heating or cooling is needed, to direct
outside air into the vehicle.
In this
setting, the air flow is through the
instrument panel outlets.
B/L (Bi-Level): Use on cool, but sunny
days. This setting brings in the outside
air, but directs it in two ways. Cool air
is directed to the upper portion of your
body through the instrument panel
outlets, and slightly warmer air is
directed to the lower portion of your
body through the heater ducts and
defroster vents. At times, this
temperature difference may be more
apparent than others.
Page 95 of 243
Downloaded from www.Manualslib.com manuals search engine Comfort Controls & Audio Systems
HTR (Heater): Use this setting to
direct most of the air flow through the
heater ducts, and some through the
windshield defroster vents.
If you have the optional engine coolant
heater and use it during cold weather,
0°F (-18°C) or lower, your heating
system will more quickly provide heat
because the engine coolant is already
warmed. See the
Index under Engine
Coolant Heater.
BLEND: This setting divides the air
flow equally between the heater ducts
and the windshield defroster vents.
DEF (Defrost): This setting directs
most air through the windshield
defroster vents, and some through the
heater ducts.
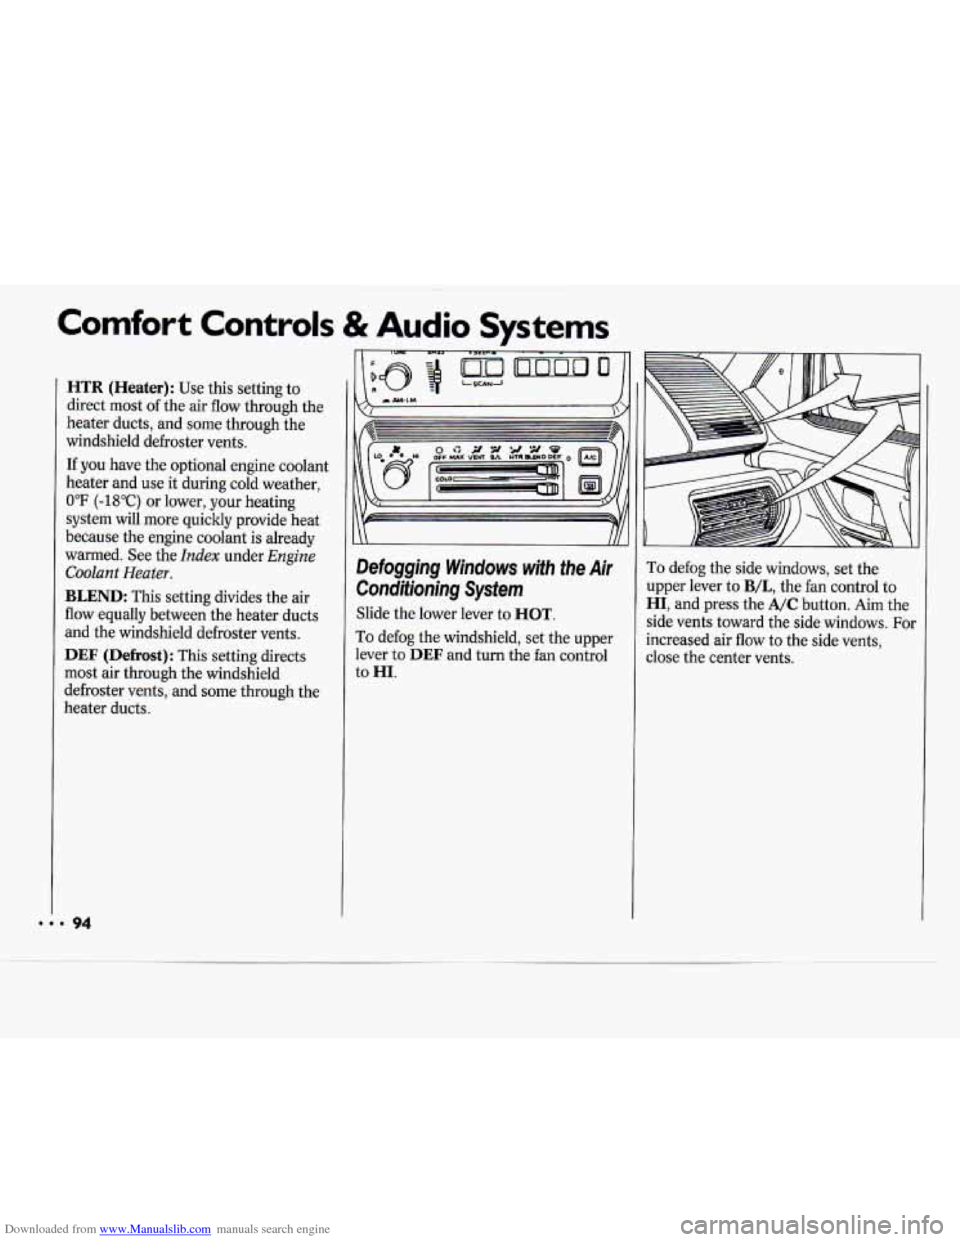
Defogging Windows with the Air
Conditioning System
Slide the lower lever to HOT.
To defog the windshield, set the upper
lever
to DEF and turn the fan control
to
HI.
To defog the side windows, set the
upper lever to
B/L, the fan control to
HI, and press the A/C button. Aim the
side vents toward the side windows. For
increased air flow to the side vents,
close the center vents.
... 94
Page 96 of 243
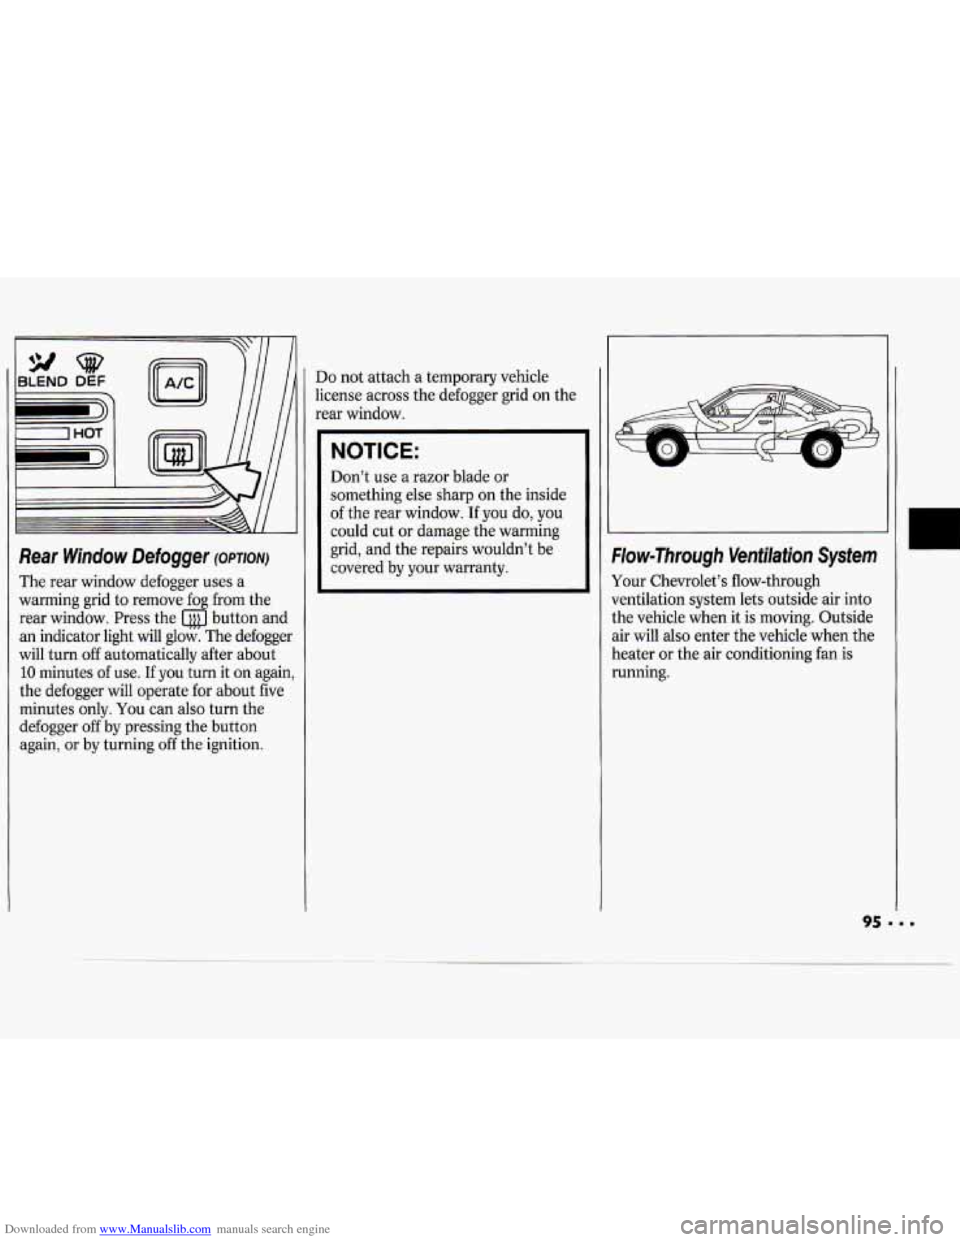
Downloaded from www.Manualslib.com manuals search engine Rear Window Defogger (owlonr)
The rear window defogger uses a
warming grid to remove fog from the
rear window. Press the button and
an indicator light
will glow. The defogger
will turn
off automatically after about
10 minutes of use. If you turn it on again,
the defogger will operate for about five
minutes only.
You can also turn the
defogger
off by pressing the button
again,
or by turning off the ignition.
Do not attach a temporary vehicle
license across the defogger grid
on the
rear window.
NOTICE:
Don’t use a razor blade or
something else sharp on the inside
of the rear window. If you do, you
could cut or damage the warming
grid, and the repairs wouldn’t be
covered by your warranty.
W
Flow-Through Ventilation System
Your Chevrolet’s flow-through
ventilation system lets outside air into
the vehicle when it is moving. Outside
air will also enter the vehicle when the
heater
or the air conditioning fan is
running.
95 ‘ I.
U
.
Page 97 of 243
Downloaded from www.Manualslib.com manuals search engine Comfort Controls & Audio Systems
Ventilation Tips
Keep the hood and front air inlet free
of ice, snow, or any other obstruction
(such as leaves). The heater and
defroster will work far better,
reducing the chance
of fogging the
inside of your windows.
In cold weather, turn the blower fan
to
HI for a few moments before
driving off. This helps clear the intake
ducts of snow and moisture, and
reduces the chance of fogging the
inside of your windows.
Keep the air path under the front
seats clear of objects. This helps air to
circulate throughout your vehicle.
Audio Systems
The following pages describe the audio
systems available for your Chevrolet,
and how to get the best performance
from them. Please read about the
system in your vehicle.
Hearing damage from loud noise is
almost undetectable until it is too late.
Your hearing can adapt to higher
volumes
of sound. Sound that seems
normal can be loud and harmful to your
hearing. Take precautions by adjusting
the volume control on your radio to a
safe sound level before your hearing
adapts to it.
To help avoid hearing loss
or damage:
Adjust the volume control to the
Increase volume slowly until you hear
lowest
setting.
comfortably and clearly.
NOTICE:
Before you add any sound
equipment to your vehicle
- like a
tape player,
CB radio, mobile
telephone or two-way radio
- be
sure you
can add what you want. If
you can, it’s very important to do it
properly. Added sound equipment
may interfere with the operation of
your vehicle’s engine, DelcoB radio or other systems, and even damage
them. And, your vehicle’s systems
may interfere with the operation of
sound equipment that has been
added improperly.
So, before
adding sound equipment, check
with your dealer and be sure to
check Federal rules covering mobile
radio and telephone units.