Page 172 of 243
Downloaded from www.Manualslib.com manuals search engine NOTICE:
If you use an improper coolant mix,
your engine could overheat and be
badly damaged. The repair cost
wouldn't be covered by your
warranty. Too much water in the
mix can freeze and crack the
engine, radiator, heater core and
other parts.
Adding Coolant-2.2L 14 Engine
To Check Coolant
When your engine is cold, the coolant
level should be at
FULL COLD, or a
little higher. When your engine is warm,
the level should be at
FULL COLD or
higher.
To Add Coolant
If you need more coolant, add the
proper mix
at the coolant recovery
tank.
Page 173 of 243
Downloaded from www.Manualslib.com manuals search engine Dl
~ ~~ ~~ ~
Service & Appearance Care
ID
Adding Coolant -3. IL V6 Engine
To Check Coolant
When your engine is cold, the coolant
level should be at
FULL COLD, or a
little
higher.
To Add Coolant
If you need more coolant, add the
proper
mix at the surge tank.
I72
Radiator Pressure Cap
NOTICE:
Your radiator cap is a 15 psi (105
kPa) pressure-type cap and must be
tightly installed to prevent coolant
loss and possible engine damage
from overheating. Be sure the arrows
on the cap line up with the overflow
tube on the radiator filler neck.
When
you replace your radiator
pressure cap, a
GM cap is recommended.
Thermostat
Engine coolant temperature is
controlled by a thermostat in the engine
coolant system. The thermostat stops
the flow of coolant through the radiator
until the coolant reaches a preset
temperature.
When
you replace your thermostat, an
AC@ thermostat is recommended.
Page 174 of 243
Downloaded from www.Manualslib.com manuals search engine I Power Steering Fluid
How To Check Power Steering
Fluid
Unscrew the cap and wipe the dipstick
with a clean rag. Replace the cap and
completely tighten it. Then remove the
cap again and look at the fluid level on
the dipstick.
When the engine compartment is hot,
the level should be near the
H mark.
When the engine compartment is
cool, the level should be near the
C
mark.
What to Add
Refer to the Maintenance Schedule to
determine what kind of fluid to use. See
Recommended Fluids and Lubricants
in the Index.
NOTICE:
When adding power steering fluid
or malting
a complete fluid change,
always use the proper fluid. Failure
to use the proper fluid can cause
leaks and damage hoses and seals. I Windshield Washer Fluid
ro AM
Open the cap labeled WASHER
FLUID
ONLY. Add washer fluid until
the bottle is full.
Page 184 of 243
Downloaded from www.Manualslib.com manuals search engine When to Check
Check your tires once a month or more.
Don't forget your compact spare tire. It
should be at
60 psi (420 1tPa).
How to Check
Use a good quality pocket-type gage to
check tire pressure. Simply looking at
the tires
will not tell you the pressure,
especially if you have radial tires
-
which may look properly inflated even if
they're underinflated.
If your tires have valve caps, be sure to
put them back on. They help prevent
leaks by keeping out dirt and moisture.
x
Tire lnspection and Rotation
To make your tires last longer, have
them inspected and rotated at the
mileages recommended in the
Maintenance Schedule. See
Scheduled
Maintenance Services
in the Index.
Use this rotation pattern.
After the tires have been rotated, adjust
the front and rear inflation pressure as
shown on the Tire-Loading Information
label. Make certain that all wheel nuts
are properly tightened. See
Wheel Nut
Torque in the Index.
Page 185 of 243

Downloaded from www.Manualslib.com manuals search engine Service & Appearance Care
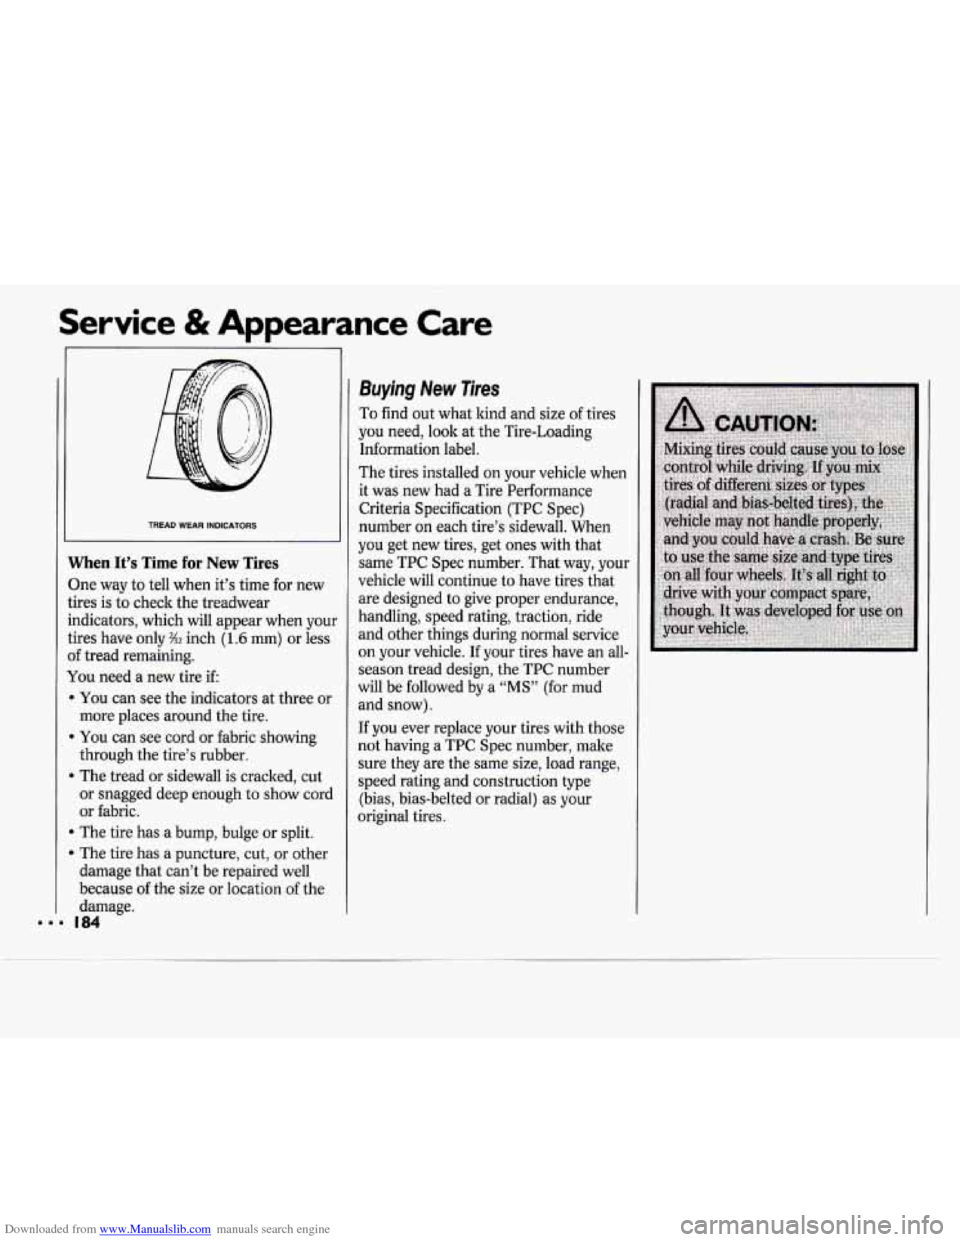
TREAD WEAR INDICATORS
When It’s Time for New Tires
3ne way to tell when it’s time for new
;ires is to check the treadwear
ndicators, which will appear when your
;ires have only
%Z inch (1.6 mm) or less
If tread remaining.
llou need a new tire if:
m You can see the indicators at three or
m You can see cord or fabric showing
B The tread or sidewall is cracked, cut
more places
around the tire.
through the tire’s rubber.
or snagged deep enough
to show cord
or fabric.
B The tire has a bump, bulge or split.
The tire has a puncture, cut, or other
damage that can’t be repaired well
because of the size or location of the
damaEe.
Buying New Tires
To find out what kind and size of tires
you need,
look at the Tire-Loading
Information label.
The tires installed on your vehicle when
it was new had a Tire Performance
Criteria Specification (TPC Spec)
number on each tire’s sidewall. When
you get new tires, get ones with that
same TPC Spec number. That way, your
vehicle will continue to have tires that
are designed to give proper endurance,
handling, speed rating, traction, ride
and other things during normal service
on your vehicle. If your tires have an all-
season tread design, the TPC number
will be followed by a
“MS” (for mud
and snow).
If you ever replace your tires with those
not having a TPC Spec number, make
sure they are the same size, load range,
speed rating and construction type
(bias, bias-belted or radial) as your
original tires.
Page 192 of 243

Downloaded from www.Manualslib.com manuals search engine Clean the outside of the windshield
with GM Windshield Cleaner, Bon-Ami
Powder@ (GM Part
No. 1050011). The
windshield is clean
if beads do not form
when you rinse it with water.
Clean the blade by wiping vigorously
with a cloth soaked in full strength
windshield washer solvent. Then rinse
the blade with water.
Wiper blades should be checked on a
regular basis and replaced when worn.
Cleuning tbe Outside of Your
Chevrolet
The paint finish on your vehicle
provides beauty, depth of color, gloss
retention and durability.
Washing Your Vehicle
The best way to preserve your vehicle’s
finish is to keep it clean by washing it
often with lukewarm or cold water.
Don’t wash your vehicle in the direct
rays
of the sun. Don’t use strong soaps
or chemical detergents. Use liquid hand,
dish or car washing (mild detergent) soaps. Don’t
usecleaning
8 @o&-that
contain acid
or abrasives. 31 cleaning
agents should be flushed promptly and
not allowed to dry on the surface, or
they could stain.
Dry the finish with a
soft, clean chamois or a 100% cotton
towel to avoid surface scratches and
water spotting.
High pressure car washes may cause
water to enter your vehicle.
Finish Care
Occasional waxing or mild polishing of
your Chevrolet may be necessary to
remove residue from the paint finish.
You can get GM approved cleaning
products from your dealer.
Your Chevrolet has a ‘Lbasecoat/clearcoat”
paint finish. The clearcoat gives more
depth and gloss to the colored basecoat.
Always use waxes and polishes that are
non-abrasive and made for a
basecoat/clearcoat paint finish.
NOTICE:
Machine compounding or
aggressive polishing on a
basecoat/clearcoat. paint finish may
dull the finish or leave swirl marks.
Rxtured-Surjace Bumper
Covers
WL AND RS MODELS)
Cleaning with a brush, a soft terry cloth
or a commercial car wash is
recommended for normal dirt. Never
use a wire brush or abrasives.
Avoid applying wax or polish to the
textured-surface bumper covers.
To
remove wax, a commercially available
wax solvent should be used. Tar and Oil
Remover (GM Part
No.1050172) is also
recommended. It’s also recommended
for cleaning difficult
soils like road tar
and oil.
Also recommended are solvent-
type fabric cleaners such as GM
Part
No. 1050214.
191 ...
Page 196 of 243
Downloaded from www.Manualslib.com manuals search engine NOTICE:
Don’t add anything electrical to
your Chevrolet unless you check
with your dealer first. Some electrical
equipment can damage your vehicle
and the damage wouldn’t be
covered by your warranty. Some
add-on electrical equipment can
keep other components from
working as they should.
Fuses & Circuit Breakers
The wiring circuits in your vehicle are
protected from short circuits by a
combination of fuses, circuit breakers,
and fusible thermal links
in the wiring
itself. This greatly reduces the chance
of
damage caused by electrical problems. The fuse panel
is located under the
lower left side of the instrument panel.
To identify and check fuses, refer to the
Fuse Usage chart.
Look at the silver-colored band inside
the fuse. If the band is broken
or
melted, replace the fuse. Be sure you
replace a bad fuse with a new one of the
identical size and rating.
I95
Page 197 of 243

Downloaded from www.Manualslib.com manuals search engine Service & Appearance Care
Vse Usage 1
196
Fuse
INST LPS
ECM
DR UNLK
CIG LTR
RDO 2
GAUGES
PIUTURN
HTR-A/C
WIPER
F/P
RDO
1
CTSY
WDO CRUISE
TURN-B/U S/LP
FTP
ACC HDLP
Rating
(AMP.)
5
10
10
15
10
10
15
25
25
10
10
15
30
10
15
20
20
30
20
Circuitry
Instrument Panel Lamps
Electronic Control Module, Fuel Injectors
Automatic Door Unlock (Remove to Disable)
Cigarette Lighter, Glove Box Light
Radio Power
Gages, Audio Warning System, Cluster Telltales, TCC,
Rear Defogger Relay, Brake Transaxle Shift Interlock,
Multiport Fuel Injection
Park and Turn Lamps
Heater and A/C Power, Daytime Running Lights
(Canada), Anti-Lock Brakes
Windshield Wipers
Fuel Pump Radio Memory, Digital Clock
Interior Lights, Horn, Power Locks, Audible Warning
System, Remote Liftgate Release, Check Oil Light
Power Window (Circuit Breaker)
Cruise Control
Turn Signal, Back-Up Lamps
Stop Lamps, Hazard Flashers
Flash-To-Pass
Power Locks, Rear Window Defogger (Circuit Breaker)
Headlamp (Circuit Breaker)