1994 CHEVROLET CAVALIER check engine
[x] Cancel search: check enginePage 16 of 243
Downloaded from www.Manualslib.com manuals search engine Easy-Enfry Seaf
(RS 2-DOOR AND 2-24 MODELS)
The right front seat of your vehicle
makes it easy to get in and out of the
rear seat.
When you push down on the rear
latch and tilt the right front seatback
fully forward, the whole seat will slide
forward.
After someone gets into the rear seat
area, move the right front seatback to
its original position. Then move the
seat rearward until it locks.
To get out, again tilt the seatback fully
forward.
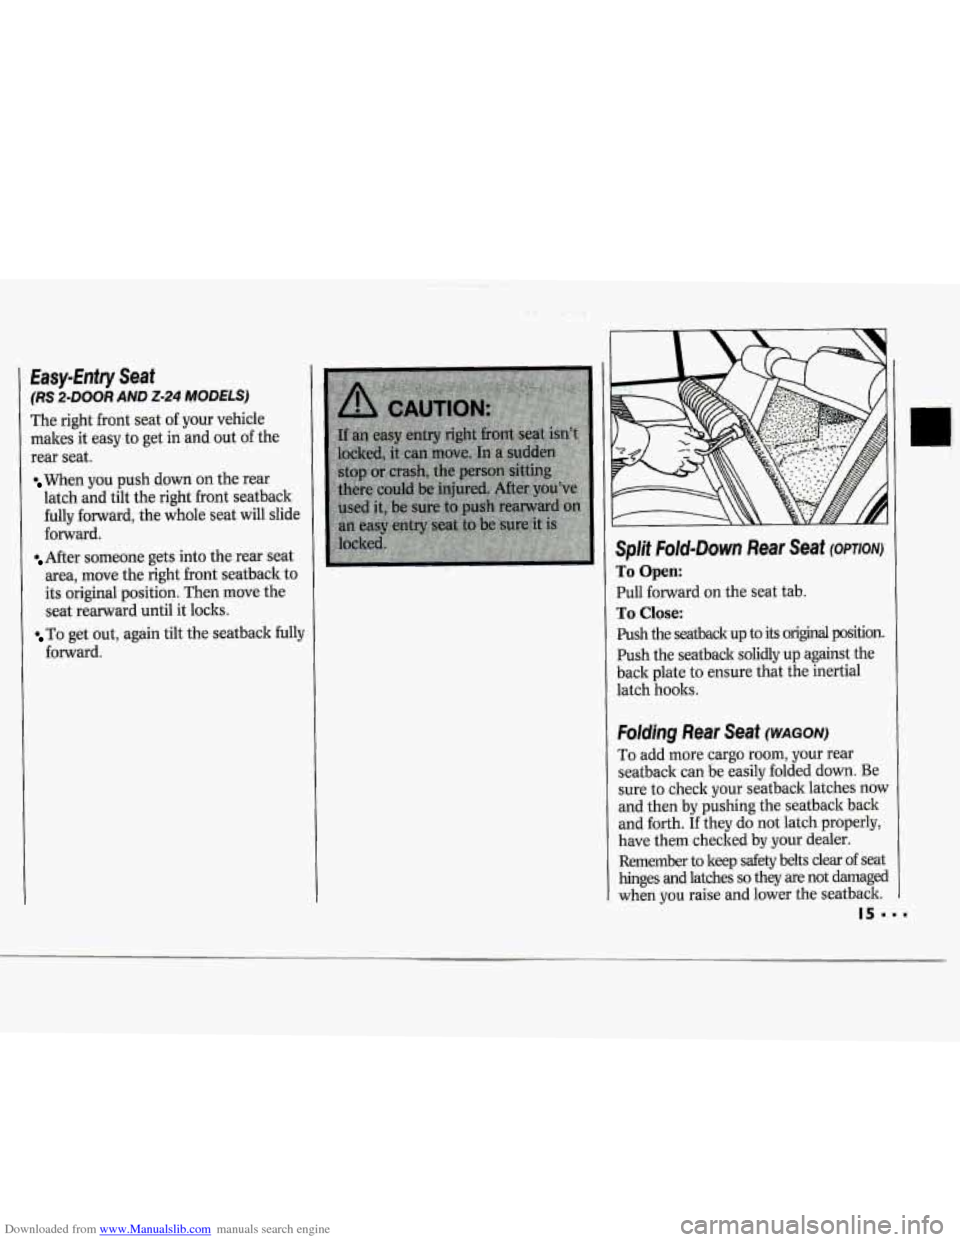
Splif Fold-Down Rear Seaf (OPTION)
To Open:
Pull forward on the seat tab.
To Close:
Push the seatback up to its original position.
Push the seatback solidly up against the
back plate to ensure that the inertial
latch hooks.
Folding Rear Seaf (WAGON)
To add more cargo room, your rear
seatback can be easily folded down. Be
sure to check your seatback latches now
and then by pushing the seatback back
and forth.
If they do not latch properly,
have them checked by your dealer.
Remember to keep safety belts clear
of seat
hinges and latches
so they are not damaged
when you raise and lower the seatback.
Page 41 of 243
Downloaded from www.Manualslib.com manuals search engine Seats & Restraint Systems
4 Safety Belt Eaeder
If the vehicle’s safety belt will fasten
around you, you should use it. The
automatic lap-shoulder belt has plenty
of extra length built in, so it will fasten
around almost all people.
But if a safety belt isn’t long enough to
fasten, your dealer will order you
an
extender. It’s free. When you go in to
order it, take the heaviest coat you will
wear,
so the extender will be long
enough for you. The extender will be
just for you, and just for the seat in your
vehicle that you choose. Don’t let
someone else use it, and use it only for
the seat
it is made to fit. To wear it, just
attach it to the regular safety belt.
Checking Your Restraint
Systems
Now and then, make sure all your belts,
buckles, latch plates, retractors,
anchorages and reminder systems are
working properly.
Look for any loose
parts
or damage. If you see anything
that might keep a restraint system from
doing its job, have it repaired.
Replacing Safety Belts AjFer
a Crash
If you’ve had a crash, do you need new
belts?
After
a very minor collision, nothing
may be necessary. But
if the belts were
stretched, as they would be
if worn
during a more severe crash, then you
need new belts.
If belts are cut or damaged, replace
them. Collision damage
also may mean
you will need to have safety belt or seat
parts repaired or replaced. New parts
and repairs may be necessary even
if the
belt wasn’t being used at the time of the
collision.
S
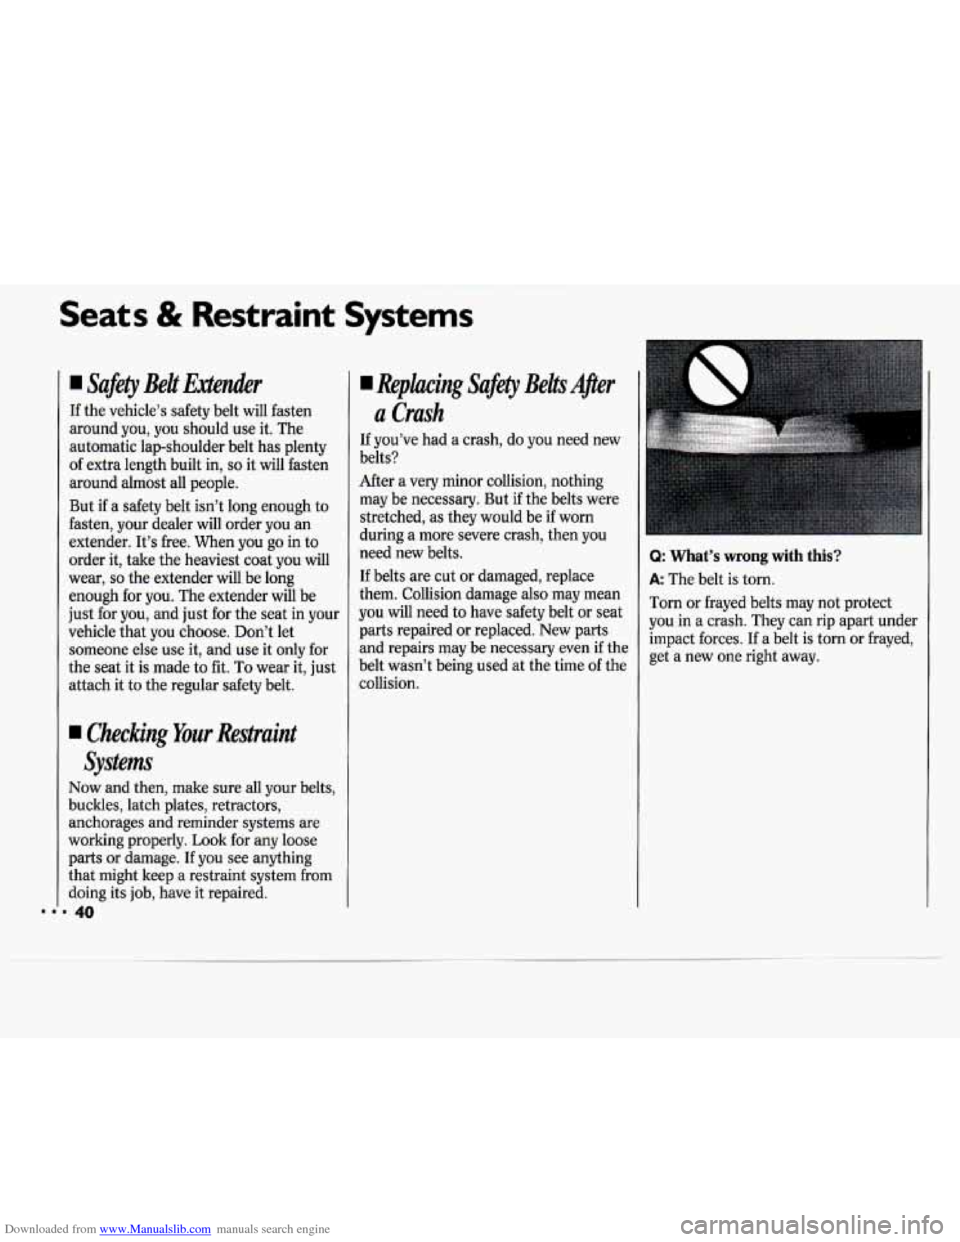
Q: What’s wrong with this?
A: The belt is torn.
Torn or frayed belts may not protect
you in a crash. They can rip apart under
impact forces. If a belt is torn or frayed,
get a new one right away.
Page 53 of 243
Downloaded from www.Manualslib.com manuals search engine Features & Controls
NOTICE:
Your engine is designed to work
with the electronics in your vehicle.
If you add electrical parts or
accessories, you could change the
way the fuel injection system
operates. Before adding electrical
equipment, check with your dealer.
If you don’t, your engine might not
perform properly. If you ever have to
have your vehicle towed, see the part
of this manual that tells how to do
it without damaging your vehicle. See
Towing Your Vehicle in the Index.
Driving Through Deep
Standing Water
NOTICE:
If you drive too quickly through
deep puddles or standing water,
water can come in through your
engine’s air intake and badly damage
your engine. If you can’t avoid deep
puddles or standing water, drive
through them very slowly.
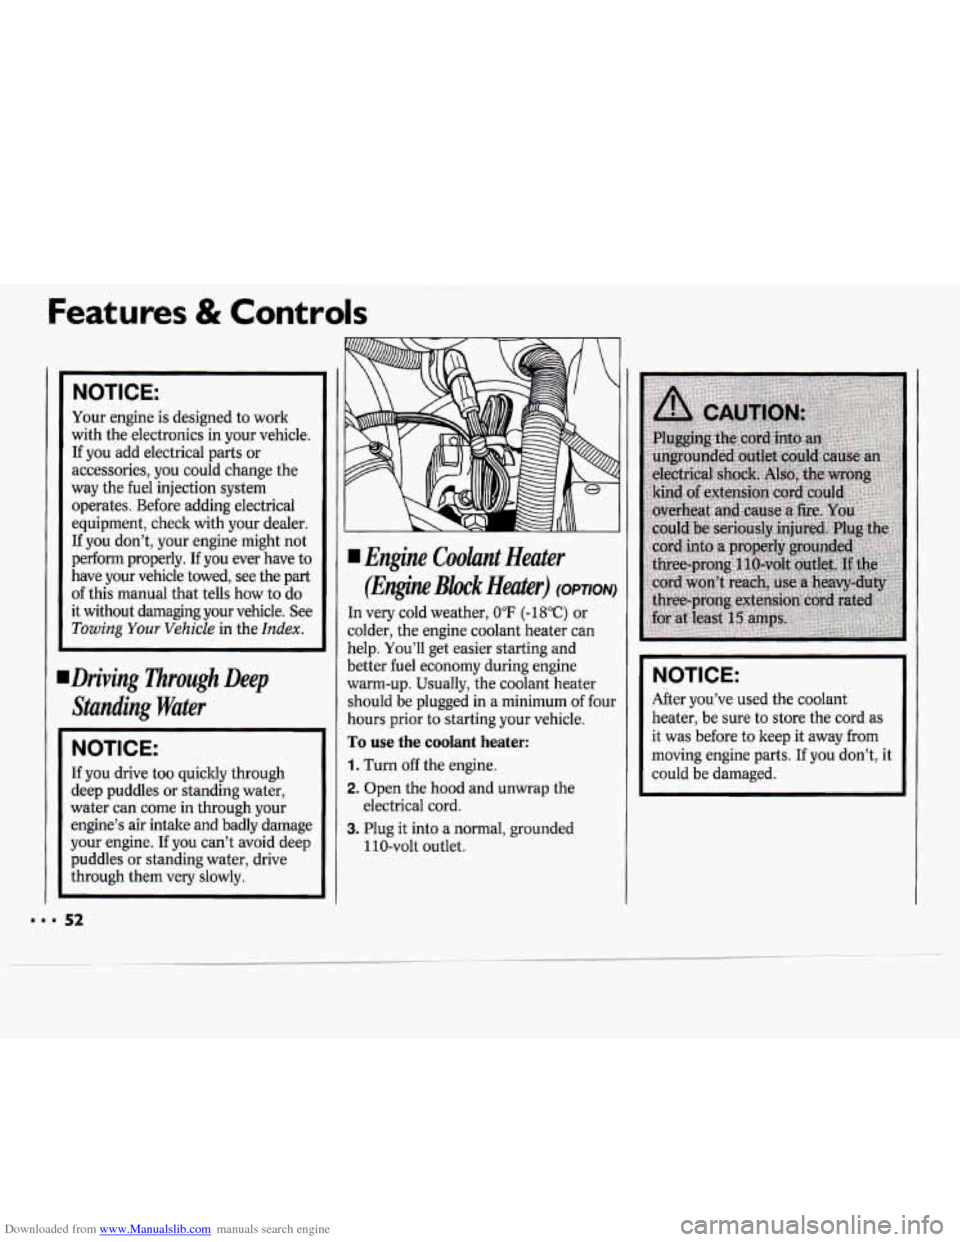
I Engine Coolant Heater
(Engine Block Heater) (OPTION)
In very cold weather, 0°F (-18°C) or
colder, the engine coolant heater can
help. You’ll get easier starting and
better fuel economy during engine
warm-up. Usually, the coolant heater
should be plugged in a minimum
of four
hours prior to starting your vehicle.
To use the coolant heater:
1. Turn off the engine.
2. Open the hood and unwrap the
3. Plug it into a normal, grounded
electrical cord.
110-volt outlet.
NOTICE:
After you’ve used the coolant
heater, be sure to store the cord as
it was before to keep it away from
moving engine parts. If you don’t, it
could be damaged.
Page 65 of 243

Downloaded from www.Manualslib.com manuals search engine Features & Controls
Operation of Lights
Although your vehicle’s lighting system
(headlights, parking lights, fog lamps,
side marker lights and taillights) meets
all applicable federal lighting
requirements, certain states and
provinces may apply their own lighting
regulations that may require special
attention before you operate these lights,
For example, some jurisdictions may
require that you operate your lower
beam lights with fog lamps at all times,
or that headlights be turned on
whenever you must use your windshield
wipers. In addition, most jurisdictions
prohibit driving solely with parking
lights, especially at dawn or dusk.
It is
recommended that you check with your
own state or provincial highway
authority for applicable lighting
regulations.
LLJ’ n
-
Turn Signal and Lane Change
Indicator
The turn signal has two upward (for
Right) and two downward (for Left)
positions. These positions allow you to
signal a turn or
a lane change.
To signal a turn, move the lever all the
way up or down. When the turn is
finished, the lever will return
automatically.
A green arrow on the instrument panel
will flash in the direction of the turn or
lane change.
I)
To signal a lane change, just raise or
lower the lever until the green arrow
starts to flash. Hold it there until you
complete your lane change. The lever
will return by itself when you release it.
As you signal a turn or a lane change, if
the arrows don’t flash but just stay on, a
signal bulb may be burned out and
other drivers won’t see your turn signal.
If a bulb is burned out, have your dealer
replace
it to help avoid an accident. If
the green arrows don’t go on at all
when
you signal a turn, check the fuse
(see the
Index under Fuses G Circuit
Breakers) and for burned-out bulbs.
Page 70 of 243

Downloaded from www.Manualslib.com manuals search engine c
II
Intermittent Windshield Wipers
(OPTION)
If your vehicle has intermittent
windshield wipers, you can set the
wiper speed for
a long or short delay
between wipes. This can be very useful
in light rain or snow.
Move the stalk to
DEL, then rotate the
band marked
DELAY to choose the
delay you want. Rotate the band up for
shorter delay times between wiper
cycles. Rotate the band down for longel
delay times between wiper cycles.
For a single wiper cycle, push the stalk
to
MIST, then let go.
1
1
t I
1
4
1
1
1
1
r
Windshield Washer
Standard Wipers:
To spray washer fluid on the
windshield, pull the stalk with the wipe]
symbol
on it toward you one time.
When you release the stalk the washers
will stop, but the wipers will keep going
in low until you move the wiper control
to OFF.
Intermittent Windshield Wipers:
If you have intermittent windshield
wipers, after each wash cycle ends the
wipers will resume the delay speed you
were using before.
If you had no speed
selected, the wipers will stop. Driving
without washer fluid can be
dangerous.
A bad mud splash can block
your vision.
You could hit another
vehicle or go
off the road. Check your
washer fluid level often.
Page 80 of 243
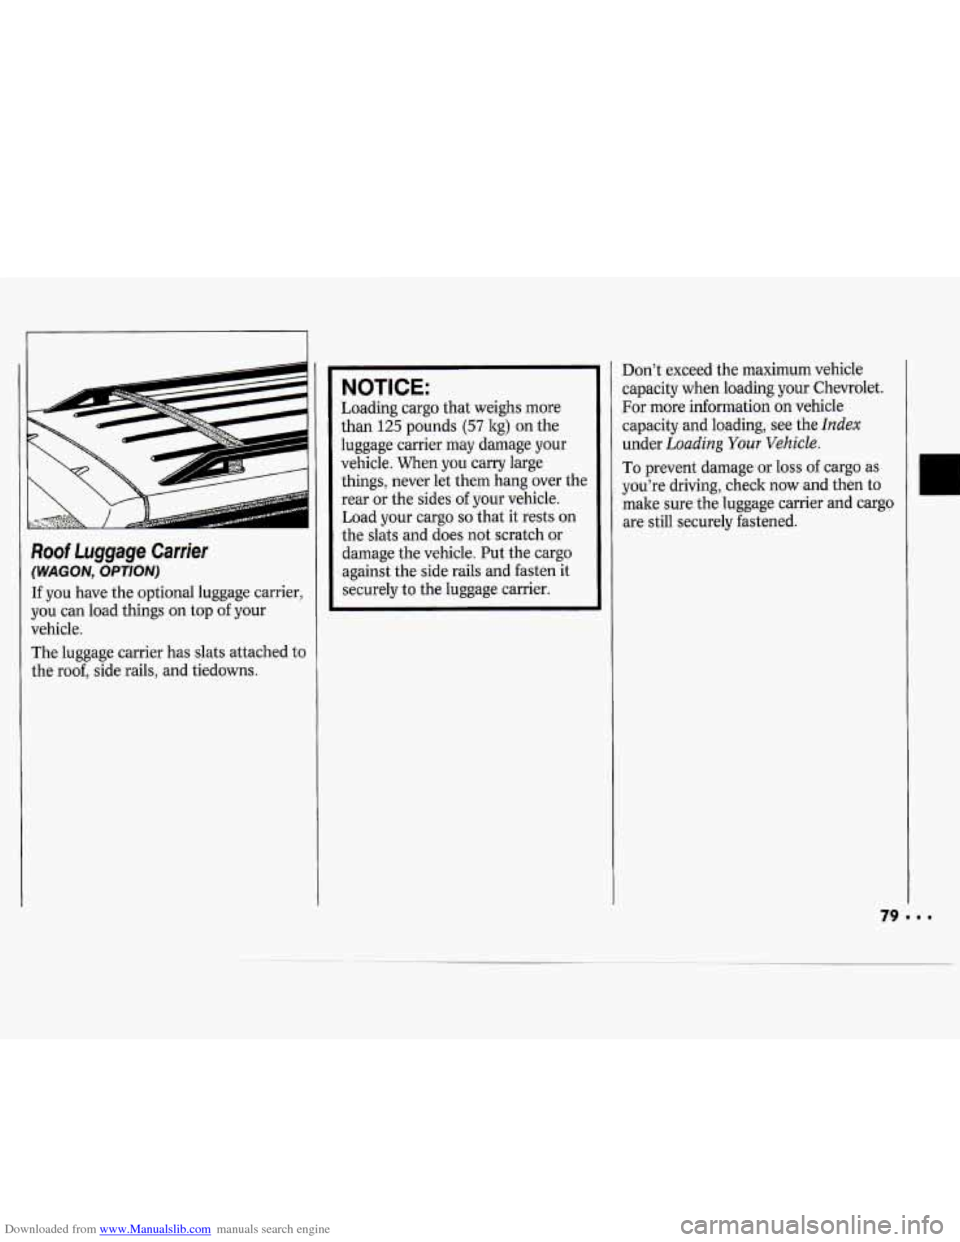
Downloaded from www.Manualslib.com manuals search engine Roof Luggage Carrier
(WAGON, OPTION)
If you have the optional luggage carrier,
you can load things on top of your
vehicle.
The luggage carrier has slats attached
to
the roof, side rails, and tiedowns.
NOTICE:
Loading cargo that weighs more
than
125 pounds (57 kg) on the
luggage carrier may damage your
vehicle. When you carry large things, never let them hang over the
rear or the sides
of your vehicle.
Load your cargo
so that it rests on
the slats and does not scratch or
damage the vehicle. Put the cargo
against the side rails and fasten it
securely to the luggage carrier. Don’t
exceed the maximum vehicle
capacity when loading your Chevrolet.
For more information on vehicle
capacity and loading, see the
Index
under Loading Your Vehicle.
To prevent damage or loss of cargo as
you’re driving, check now and then
to
make sure the luggage carrier and cargo
are still securely fastened.
Page 83 of 243
Downloaded from www.Manualslib.com manuals search engine Features & Controls
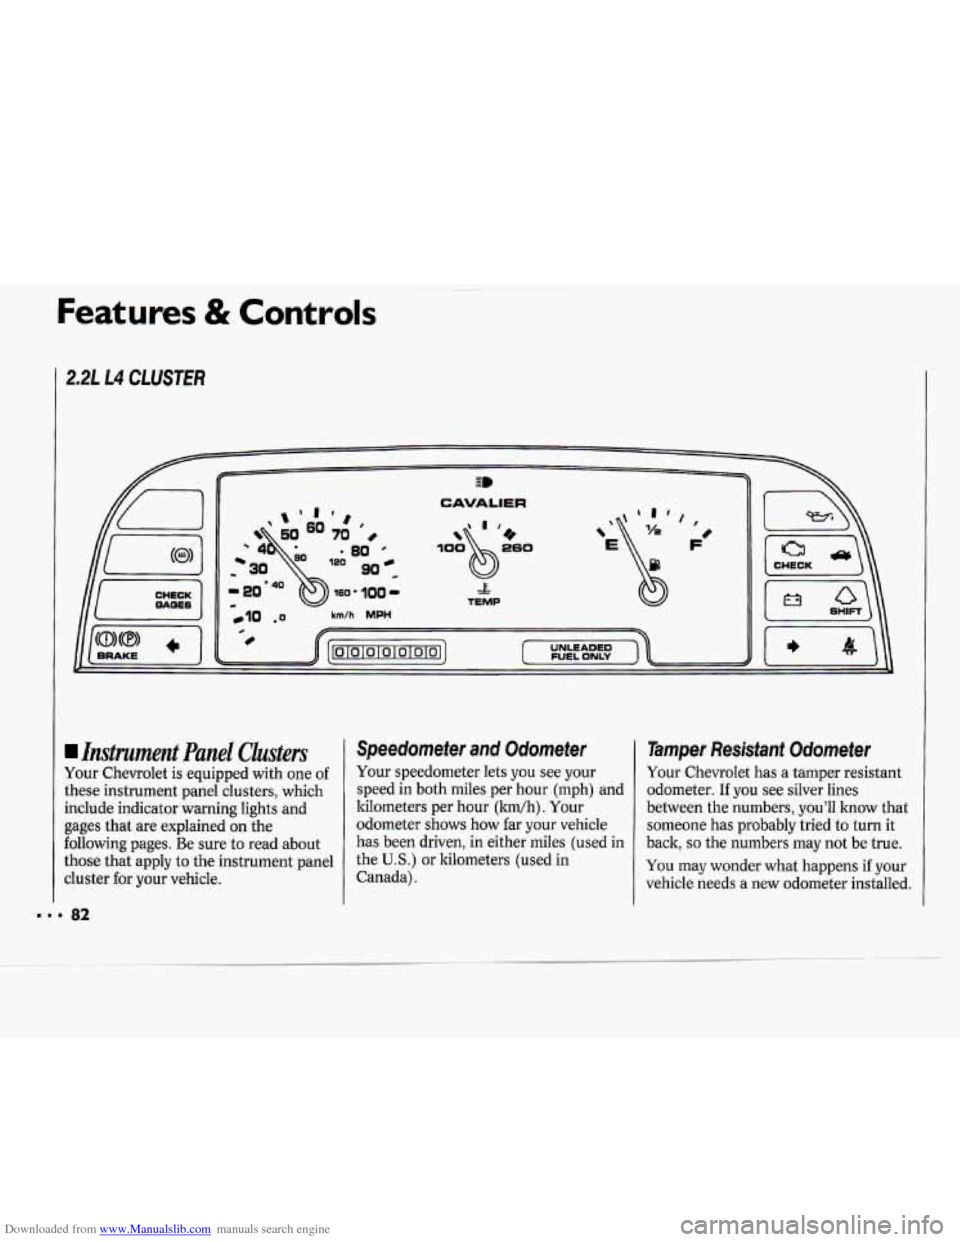
2.2L L4 CLUSTER
CHECK
CAVALIER
& TEMP
,E$ ', F'
Instrument Panel Clusters
Your Chevrolet is equipped with one of
these instrument panel clusters, which
include indicator warning lights and
gages that are explained
on the
following pages. Be sure to read about
those that apply to the instrument panel
cluster for your vehicle.
Speedometer and Odometer
Your speedometer lets you see your
speed in both miles per hour (mph) and
kilometers per hour (ltm/h). Your
odometer shows how far your vehicle
has been driven, in either miles (used in
the
U.S.) or kilometers (used in
Canada).
1 Tamper Resistant Odometer
Your Chevrolet has a tamper resistant
odometer.
If you see silver lines
between the numbers, you'll know that
someone has probably tried to turn it
back,
so the numbers may not be true.
You may wonder what happens if your
vehicle needs a new odometer installed.
Page 85 of 243
Downloaded from www.Manualslib.com manuals search engine Features & Controls
Warning Lights, Gages and
Indicators
This section describes the warning
lights and gages that may be on your
vehicle. The pictures will help you
locate them.
Warning lights and gages can signal that
something is wrong before it becomes
serious enough to cause an expensive
repair
or replacement. Paying attention
to your warning lights and gages could
also save you or others from injury.
Warning lights go on when there may
be or is a problem with one of your
vehicle’s functions.
As you will see in
the details
on the next few pages, some
warning lights come on briefly when
you turn the ignition key just to let you
lmow they’re working.
If you are familiar
with this section, you should
not be alarmed when this happens.
Gages can indicate when there may be
or is a problem with one of your
vehicle’s functions. Often gages and
warning lights work together to let
you
know when there’s a problem with your
vehicle.
When one of the warning lights comes
on and stays on when you are driving,
or when one of the gages shows there
may be a problem, check the section
that tells you what to do about it. Please
follow the manual’s advice. Waiting to
do repairs can be costly
- and even
dangerous.
So please get to know your
warning lights and gages. They’re a big
help.
260 0
E
93 ’&
fi
FUEL ONLY
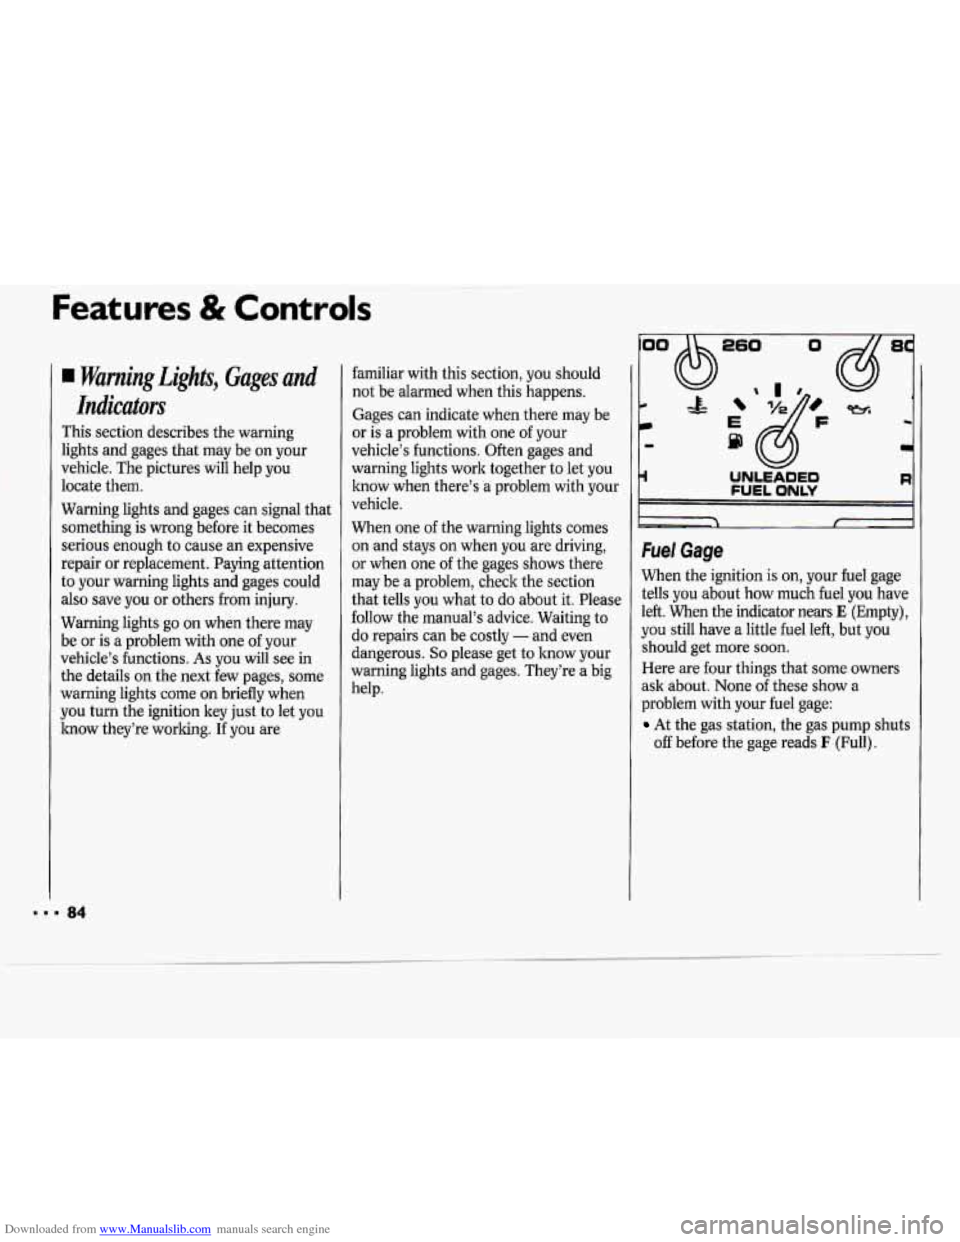
Fuel Gage
When the ignition is on, your fuel gage
tells you about how much fuel you have
left. When the indicator nears
E (Empty),
you still have a little fuel left, but you
should get more soon.
Here are four things that some owners
ask about. None of these show a
problem with your fuel gage:
At the gas station, the gas pump shuts
off before the gage reads I: (Full).
8
-4