1994 CHEVROLET CAVALIER change time
[x] Cancel search: change timePage 113 of 243
Downloaded from www.Manualslib.com manuals search engine Your Driving and the Road
And you may even notice that your
brake pedal moves a little while this is
going on. This is the ABS system
testing itself.
If there’s a problem with
the anti-lock brake system, the anti-lock
brake system warning light will stay on
or flash.
See
Anti-lock Brake System Warning
Light
in the Index.
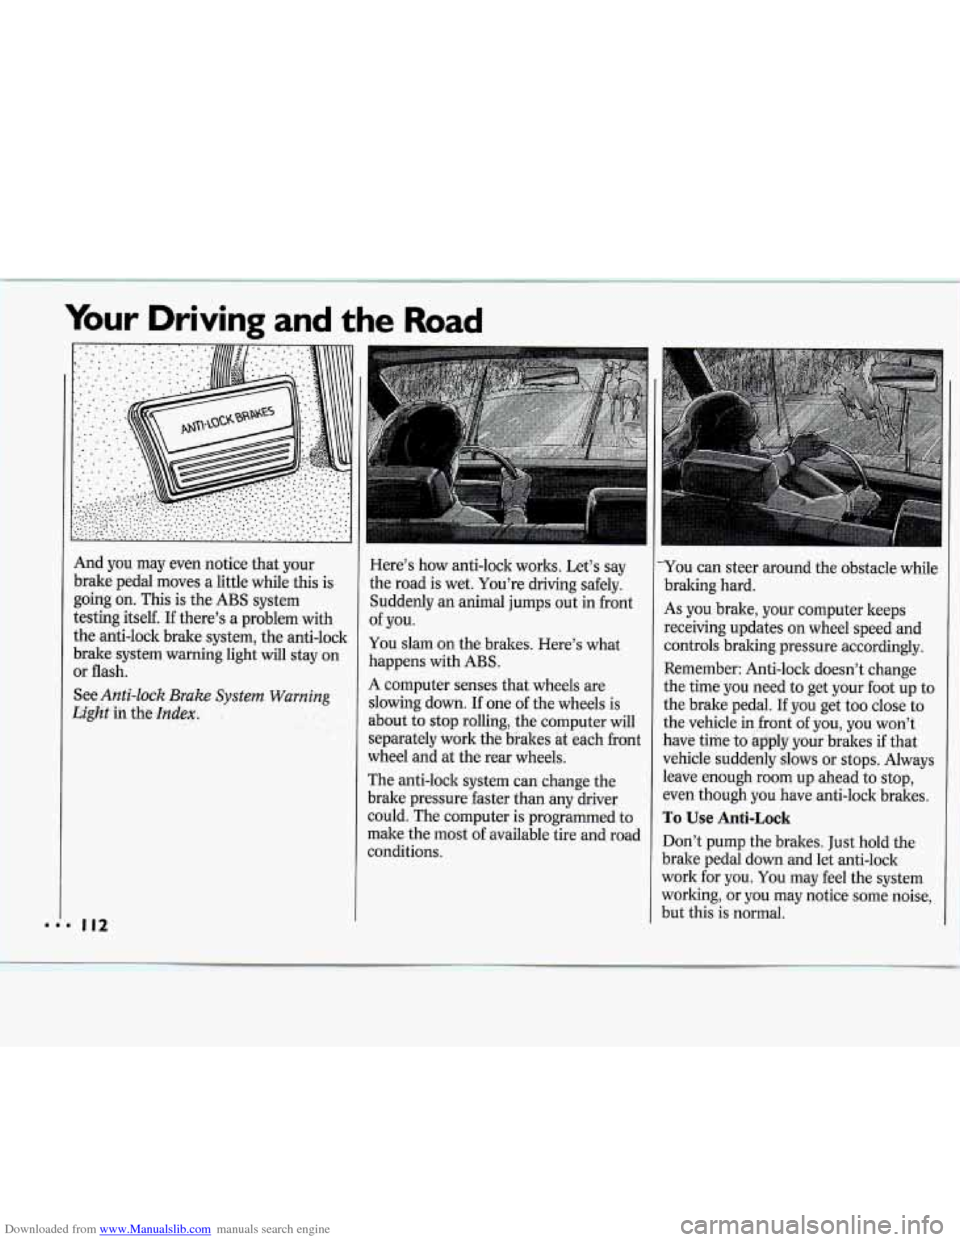
Here’s how anti-lock works. Let’s say
the road is wet. You’re driving safely.
Suddenly
an animal jumps out in front
of you.
You slam on the brakes. Here’s what
happens with ABS.
A computer senses that wheels are
slowing down.
If one of the wheels is
about to stop rolling, the computer wil
separately work the brakes at each fro]
wheel and at the rear wheels.
The anti-lock system can change the
brake pressure faster than any driver
1
nt
could.*The computer is programmed to
make the most of available tire and road
conditions.
L-
You can steer around the obstacle while
braking hard.
As you brake, your computer keeps
receiving updates on wheel speed and
controls braking pressure accordingly.
Remember: Anti-lock doesn’t change
the time you need to get your foot up to
the brake pedal. If you get too close to
the vehicle in front of you, you won’t
have time to apply your brakes if that
vehicle suddenly slows or stops. Always
leave enough room up ahead to stop,
even though you have anti-lock brakes.
To Use Anti-Lock
Don’t pump the brakes. Just hold the
brake pedal down and let anti-lock
work for you. You may feel the system
working, or you may notice some noise,
but this is normal.
Page 114 of 243
Downloaded from www.Manualslib.com manuals search engine Braking in Emergencies
Use your anti-lock braking system when
you need to. With anti-lock, you can
steer and brake at the same time. In
many emergencies, steering can help
you more than even the very best
braking.
Power Steering
If you lose power steering assist
because the engine stops or the system
is not functioning, you can steer but it
will take much more effort.
Steering Tips
Driving on Curves
It’s important to take curves at a
reasonable speed.
A lot of the “driver lost control”
accidents mentioned
on the news
happen
on curves. Here’s why:
Experienced driver or beginner, each
of
us is subject to the same laws of physics
when driving on curves. The traction of
the tires against the road surface makes
it possible for the vehicle to change its
path when you turn the front wheels.
If
there’s no traction, inertia will keep the
vehicle going in the same direction.
If
you’ve ever tried to steer a vehicle on
wet ice, you’ll understand this.
The traction you can get in a curve
depends on the condition of your tires
and the road surface, the angle at which
the curve
is banked, and your speed.
While you’re in a curve, speed is the one
factor you can control.
Suppose you’re steering through a
sharp curve. Then you suddenly accelerate.
Both control systems
-
steering and acceleration - have to do
their work where the tires meet the
road. Adding the sudden acceleration
can demand too much
of those places.
You can lose control.
What should you do if this ever
happens? Ease up on the accelerator
pedal, steer the vehicle the way you
want it to go, and slow down.
Speed limit signs near curves warn that
you should adjust your speed. Of
course, the posted speeds are based on
good weather and road conditions.
Under less favorable conditions you’ll
want to go slower.
If you need to reduce your speed as you
approach
a curve, do it before you enter
the curve, while your front wheels are
straight ahead.
Try to adjust your speed
so you can
“drive” through the curve. Maintain a
reasonable, steady speed. Wait to
accelerate until you are out of the curve,
and then accelerate gently into the
straightaway.
Page 116 of 243
Downloaded from www.Manualslib.com manuals search engine Passing
The driver of a vehicle about to pass
another on a two-lane highway waits for
just the right moment, accelerates,
moves around the vehicle ahead, then
goes back into the right lane again. A
simple maneuver?
Not necessarily! Passing another vehicle
on a two-lane highway is a potentially
dangerous move, since the passing
vehicle occupies the same lane as
oncoming traffic for several seconds.
A
miscalculation, an error in judgment, or
a brief surrender to frustration or anger
can suddenly
put the passing driver face
to face with the worst of all traffic
accidents
- the head-on collision.
So here are some tips for passing:
“Drive ahead.” Look down the road,
to the sides, and
to crossroads for
situations that might affect your
passing patterns. If you have any
doubt whatsoever about making a
successful pass, wait for a better time.
Watch for traffic signs, pavement
markings, and lines. If you can see a
sign up ahead that might indicate a
turn or an intersection, delay your pass.
A broken
center line usually
indicates it’s
all right to pass (providing
the road ahead is clear). Never cross a
solid line on your side of the lane or
a
double solid line, even if the road
seems empty of approaching traffic.
Do not get too close to the vehicle
you want to pass while you’re
awaiting an opportunity. For one
thing, following too closely reduces
your area of vision, especially if you’re
following a larger vehicle. Also, you
won’t have adequate space if the
vehicle ahead suddenly slows or stops.
Keep back a reasonable distance.
When it looks like a chance to pass is
coming up, start to accelerate but stay
in the right lane and don’t get too
close. Time your move
so you will be
increasing speed as the time comes to
move into the other lane.
If the way is
clear to pass,
you will have a “running
start” that more than makes up for
the distance you would lose by
dropping back. And if something
happens to cause you to cancel your
pass, you need only slow down and
drop back again and wait for another
opportunity.
If other cars are lined up to pass a
slow vehicle, wait your turn. But take
care that someone isn’t trying to pass
you as you pull out to pass the slow
vehicle. Remember to glance over
your shoulder and check the blind
spot.
Check your mirrors, glance over your
shoulder, and start your left lane
change signal before moving out of
the right lane to pass. When you are
far enough ahead of the passed
vehicle to see its front in your inside
mirror, activate your right lane change signal and move back into the right
lane. (Remember that your right
outside mirror is convex. The vehicle
you just passed may seem to be farther
away from you than
it really is.)
Try not to pass more than one vehicle
at a time on two-lane roads.
Reconsider before passing the next
vehicle.
vehicle too rapidly. Even though the
brake lights are not flashing, it may be
slowing down or starting to turn.
Don’t overtake a slowly moving
Page 165 of 243
Downloaded from www.Manualslib.com manuals search engine I.
Service & Appearance Care
use SAE 1OW-30 if it’s going to be 0°F
(-18°C) or above. These numbers on an
oil container show its viscosity, or
thickness. Do not use other viscosity oils,
such as SAE 1OW-40 or SAE 20W-50.
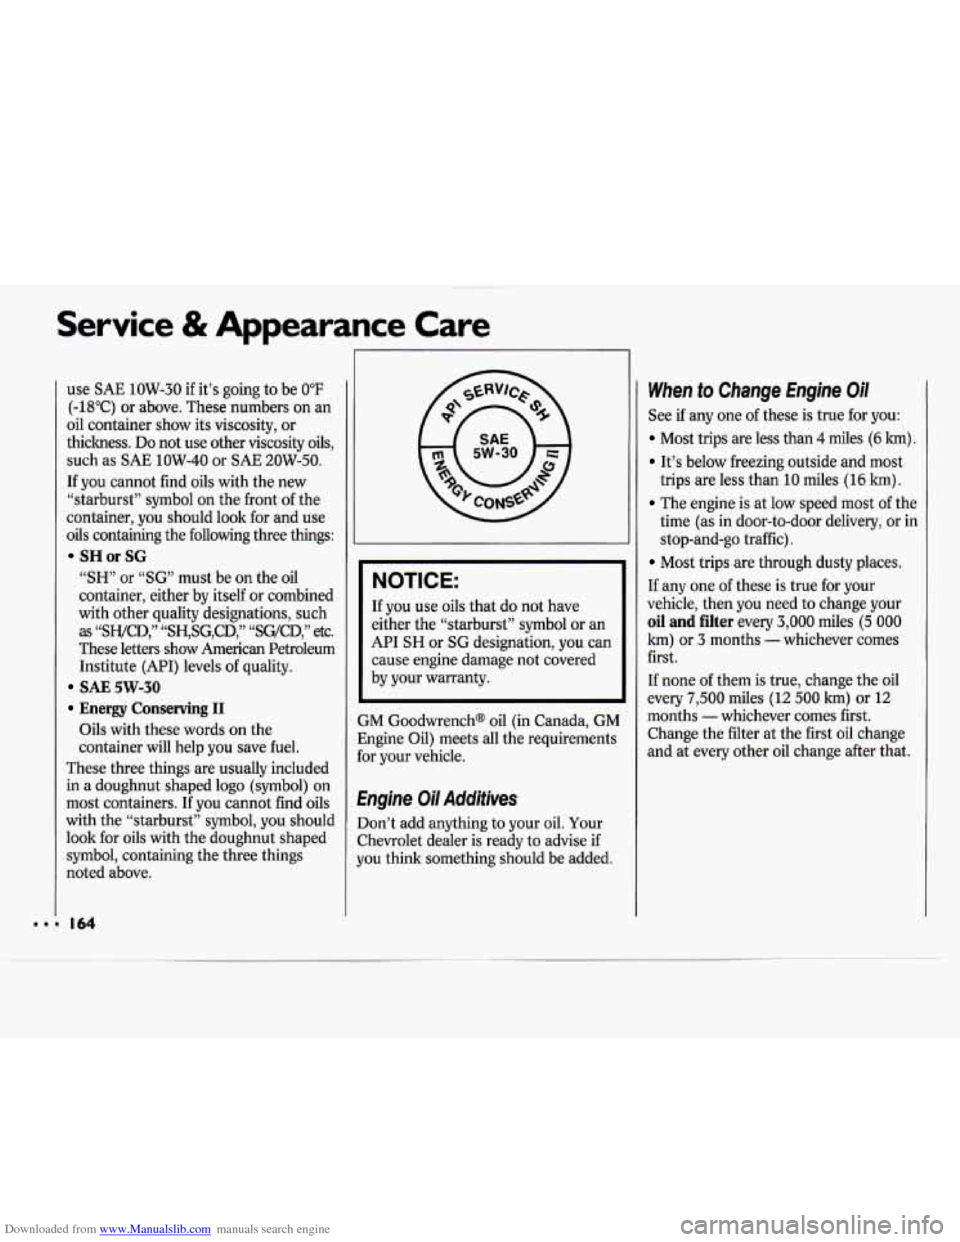
If you cannot find oils with the new
“starburst” symbol on the front of the
container, you should look for and use
oils containing the following three things:
SH or SG
“SH” or “SG” must be on the oil
container, either by itself or combined
with other quality designations, such
as “SWCD,” “SH,SG,CD,” “SG/CD,” etc.
These letters show American Petroleum Institute (API) levels of quality.
SAE 5W-30
Energy Conserving I1
Oils with these words on the
container will help you save fuel.
These three things are usually included
in a doughnut shaped logo (symbol) on
most containers.
If you cannot find oils
with the “starburst” symbol, you should
look for oils with the doughnut shaped
symbol, containing the three things
noted above.
I64
NOTICE:
’ If you use oils that do not have
either the “starburst” symbol or an
API
SH or SG designation, you can
cause engine damage not covered
by your warranty.
GM Goodwrench@ oil (in Canada, GM
Engine Oil) meets all the requirements
for your vehicle.
€ngine Oil Additives
Don’t add anything to your oil. Your
Chevrolet dealer is ready to advise
if
you think something should be added.
When to Change Engine Oi/
See if any one of these is true for you:
Most trips are less than 4 miles (6 km).
It’s below freezing outside and most
trips are less than 10 miles (16
km) .
The engine is at low speed most of the
time (as in door-to-door delivery, or in
stop-and-go traffic).
Most trips are through dusty places.
If any one of these is true for your
vehicle, then you need to change your
oil and filter every 3,000 miles (5 000
km) or 3 months - whichever comes
first.
If none of them is true, change the oil
every
7,500 miles (12 500 km) or 12
months
- whichever comes first.
Change the filter at the first oil change
and at every other oil change after that.
Page 168 of 243
Downloaded from www.Manualslib.com manuals search engine I Automatic Transaxle Fluid
1 When to Check and Change
A good time to check your automatic
transaxle fluid level is when the engine
oil is changed. Refer to the Maintenance
Schedule to determine when to change
your fluid. See
Scheduled Maintenance
Services
in the Index.
How to Check
Because this operation can be a little
difficult, you may choose to have this
done at your Chevrolet dealership
Service Department.
If you do it yourself, be sure to follow
all the instructions here, or
you could
get a false reading on the dipstick.
NOTICE:
~. , ,'
Too much or too little fluid can
damage your transaxle.
Too much can
mean that some of the fluid could
come out and fall on hot engine parts
or exhaust system, starting a fire.
Be sure to get an accurate reading
if
you check your transaxle fluid.
Wait at least
30 minutes before
checking the transaxle fluid level
if you
have been driving:
When outside temperatures are above
At high speed for quite a while.
In heavy traffic - especially in hot
To get the right reading, the fluid
should be at normal operating
temperature, which is 180°F to 200°F
(82°C to 93°C).
Get the vehicle warmed up by driving
about 15 miles (24 lun) when outside
temperatures are above
50°F (10.C). If
it's colder than 50°F (lOOC), you may
have to drive longer.
90°F
(32°C).
weather.
To check the fluid level
Park your vehicle on a level place.
With the parking brake applied, place
With your foot on the brake pedal,
the
shift lever in
P (Park).
move the shift lever through each gear
range, pausing for about three
seconds in each range. Then, position
the shift lever in
P (Park).
Let the engine run at idle for three to
five minutes.
Then, without shutting off the engine,
follow these steps:
1. Pull out the dipstick and wipe it with
2. Push it back in all the way, wait three
a clean rag or
paper towel.
seconds and then pull it back out
again.
3. Check both sides of the dipstick, and
read the lower level. The fluid level
must be in the cross-hatched area.
4. If the fluid level is in the acceptable
range, push the dipstick back in all
the way.
Page 170 of 243
Downloaded from www.Manualslib.com manuals search engine Manual Transaxle Fluid
When to Check
A good time to have it checked is when
the engine oil is changed. However, the
fluid in your manual transaxle doesn't
require changing.
How to Check
Because this operation can be a little
difficult, you may choose to have this
done at a Chevrolet dealership Service
Department.
If you do it yourself, be sure to follow
all the instructions here, or you could
get a false reading on the dipstick.
NOTICE:
Too much or too little fluid can
damage your transaxle.
Too much
can mean that some of the fluid
could come out and fall on hot'
engine parts or exhaust system,
starting a fire. Be sure to get an
accurate reading if you check your
transaxle fluid. Check
the fluid level only when your
engine is off, the vehicle is parked on a
level place and the transaxle is cool
enough for you to rest your fingers on
the transaxle case.
Then, follow these steps:
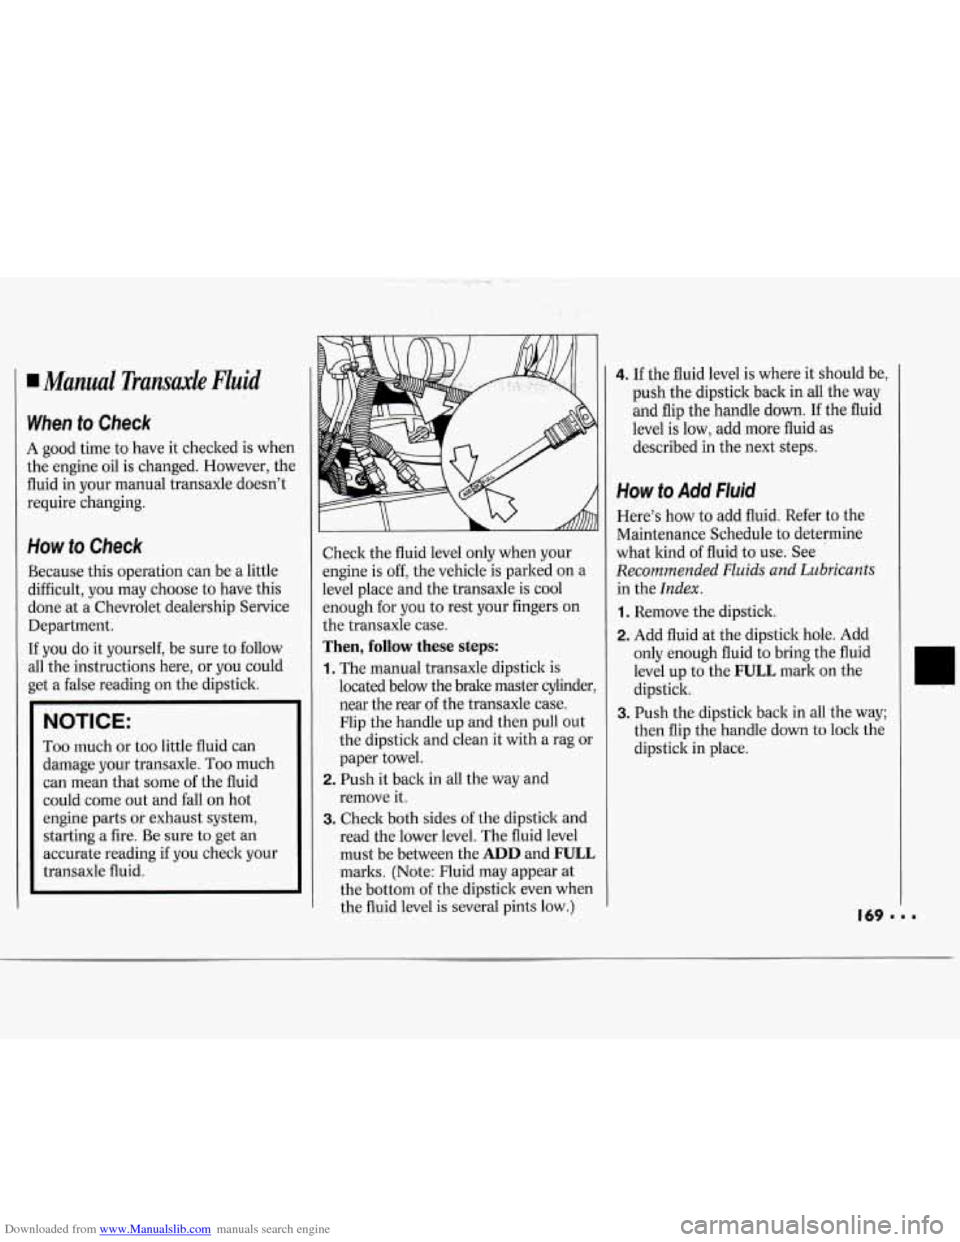
1. The manual transaxle dipstick is
located below the brake master cylinder
near the rear of the transaxle case.
Flip the handle up and then pull out
the dipstick and clean it with a rag or
paper towel.
2. Push it back in all the way and
remove it.
3. Check both sides of the dipstick and
read the lower level. The fluid level
must be between the
ADD and FULL
marks. (Note: Fluid may appear at
the bottom of the dipstick even when
the fluid level is several pints low.)
4. If the fluid level is where it should be,
push the dipstick back in all the way
and flip the handle down.
If the fluid
level is low, add more fluid as
described in the next steps.
How to Add Fluid
Here's how to add fluid. Refer to the
Maintenance Schedule to determine
what kind of fluid to use. See
Recommended Fluids and Lubricants
in the Index.
1. Remove the dipstick.
2. Add fluid at the dipstick hole. Add
only enough fluid to bring the fluid
level up to the
FULL mark on the
dipstick.
3. Push the dipstick back in all the way;
then flip the handle down
to lock the
dipstick in place.
Page 177 of 243
Downloaded from www.Manualslib.com manuals search engine Service & Appearance Care
If your brake pedal goes down farther
than normal, your rear drum brakes
may need adjustment. Adjust them by
backing up and firmly applying the
brakes a few times.
Replacing Brake System Pa&
The braking system on a modern
vehicle is complex. Its many parts ha
to be
of top quality and work well we
together
if the vehicle is to have really
good braking. Vehicles we design and
test have top-quality GM brake parts in
them, as your Chevrolet does when it is
new. When you replace parts
of your
braking system
- for example, when
your brake linings wear down and you
have to have new ones put in
- be sure
you get new genuine
GM replacement
parts. If
you don’t, your brakes may no
longer work properly. For example, if
someone puts in brake linings th,at are
wrong for your vehicle, the balance
between your front and rear brakes can
change, for the worse. The braking
performance you’ve come to expect can
change in many other ways
if someone
puts in the wrong replacement brake
parts.
Battery
Every new Chevrolet has a Delco
Freedom* battery.
You never have to
add water to one of these. When it’s
time for a new battery, we recommend a
Delco Freedom* battery. Get one that
has the catalog number shown on the
original battery’s label.
Vehicle Storage
If you’re not going to drive your vehicle
for
25 days or more, take off the black,
negative
(-) cable from the battery. This
will help keep your battery
from
running down. Contact
your dealer to learn how to
prepare your vehicle for longer storage
periods.
Halogen Bulbs
Page 225 of 243
Downloaded from www.Manualslib.com manuals search engine Customer Assistance Information
"This program may not be available in all states,
depending
on state law. Canadian owners refer
to your Warranty and Owner Assistance
information booklet. General Motors reserves
the right
to change eligibility limitations and/or
to discontinue its participation
in this program.
unsuccessful, an informal hearing will
be scheduled where eligible customers
may present their case
to an impartial
third-party arbitrator.
The arbitrator will make a decision
which
you may accept or reject. If you
accept the decision, GM will be bound
by that decision. The entire dispute
resolution procedure should ordinarily
take about forty days from the time you
file a claim until a decision is made.
Some state laws may require you to use
this program before filing a claim with a
state-run arbitration program or in the
courts. For further information, contact
the
BBB at 1-800-955-5100 or the
Chevrolet Customer Assistance Center
at 1-800-222-1020.
REPORTING SAFETY
DEFECTS TO THE UNITED
STATES GOVEI"ENT
If you believe that your vehicle has a
defect which could cause a crash or
could cause injury or death, you should
immediately inform the National
Highway Traffic Safety Administration
(NHTSA)
, in addition to notifying
General Motors.
If NHTSA receives similar complaints,
it may open an investigation, and if it
finds that a safety defect exists in a
group
of vehicles, it may order a recall
and remedy campaign. However,
NHTSA cannot become involved in
individual problems between you, your
dealer, or General Motors.
To contact NHTSA, you may either call
the Auto Safety Hotline toll-free at
1-800-424-9393 (or 366-0123 in the
Washington,
D.C. area) or write to: NHTSA
U.S. Department of Transportation
Washington, D.C. 20590
You can also obtain other information
about motor vehicle safety from the
Hotline.
REPORTlRTG SAFETY
DEFECTS
TO THE
CMDWG0W-M
If you live in Canada, and you believe
that your vehicle has a safety defect,
you should immediately notify
Transport Canada, in addition to
notifying General Motors of Canada
Limited.
You may write to:
Transport Canada
Box 8880
Ottawa, Ontario K1G 3J2