1994 CHEVROLET BLAZER parking brake
[x] Cancel search: parking brakePage 86 of 348
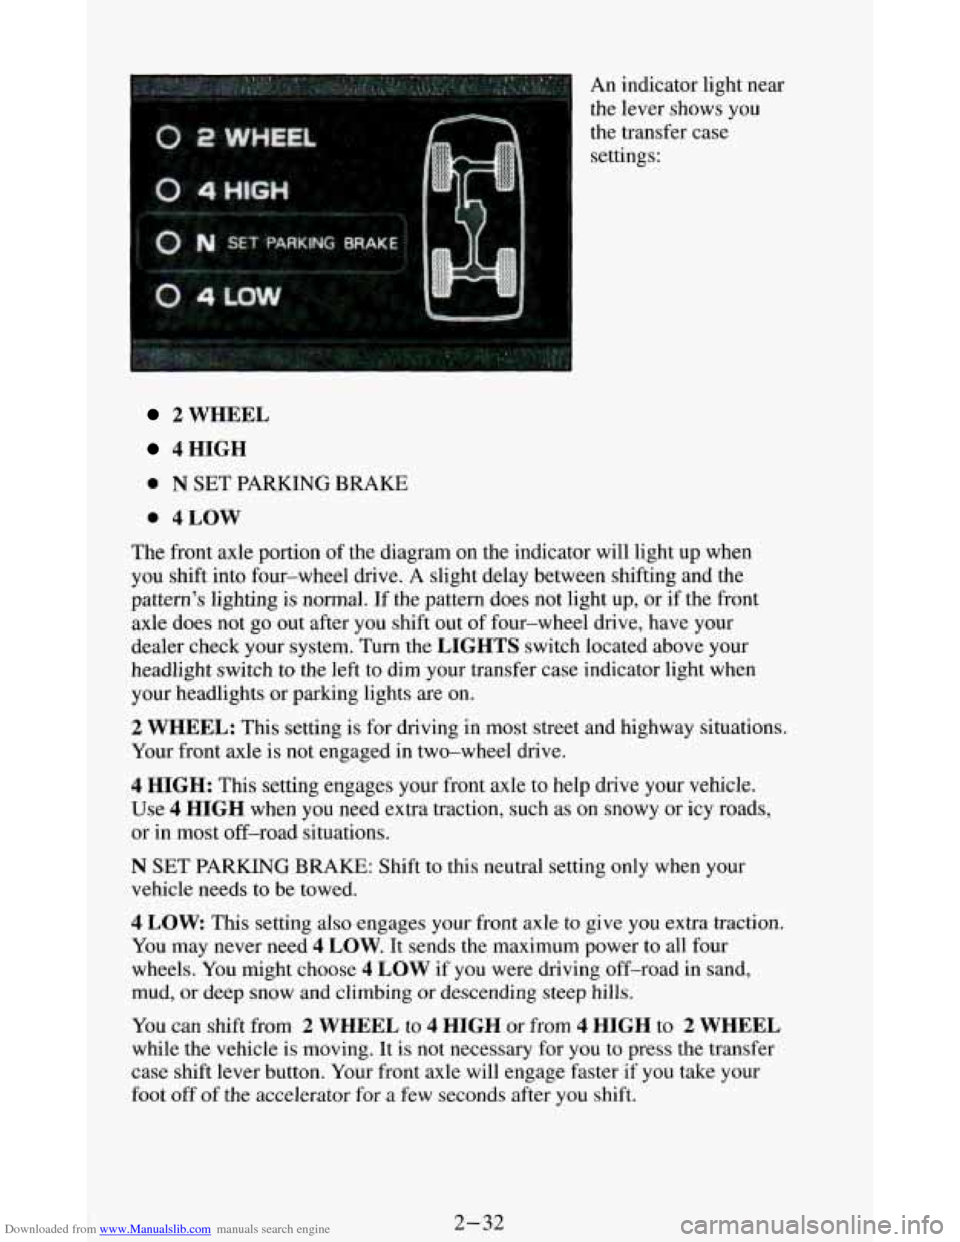
Downloaded from www.Manualslib.com manuals search engine An indicator light near
the lever shows you
the transfer case
settings:
2 WHEEL
4HIGH
0 N SET PARKING BRAKE
0 4LOW
The front axle portion of the diagram on the indicator will light up when
you shift into four-wheel drive.
A slight delay between shifting and the
pattern's lighting
is normal. If the pattern does not light up, or if the front
axle does not go out after you shift out of four-wheel drive, have your
dealer check your system. Turn the
LIGHTS switch located above your
headlight switch
to the left to dim your transfer case indicator light when
your headlights or parking lights are on.
2 WHEEL: This setting is for driving in most street and highway situations.
Your front axle
is not engaged in two-wheel drive.
4 HIGH: This setting engages your front axle to help drive your vehicle.
Use 4 HIGH when you need extra traction, such as on snowy or icy roads,
or
in most off-road situations.
N SET PARKING BRAKE: Shift to this neutral setting only when your
vehicle needs to be towed.
4 LOW This setting also engages your front axle to give you extra traction.
You may never need
4 LOW. It sends the maximum power to all four
wheels. You might choose
4 LOW if you were driving off-road in sand,
mud, or deep snow and climbing or descending steep hills.
You can shift from 2 WHEEL to 4 HIGH or from 4 HIGH to 2 WHEEL
while the vehicle is moving. It is not necessary for you to press the transfer
case shift lever button. Your front axle will engage faster if you take your
foot off of the accelerator for a few seconds after you shift.
2-32
Page 87 of 348
Downloaded from www.Manualslib.com manuals search engine To shift your transfer case into N SET PARKING BRAKE:
1. Stop the vehicle and shift your transmission into “N” (Neutral).
2. Set the parking brake. Your vehicle can roll unless the brakes are
applied.
To shift into or out of 4 LOW :
1. Allow your vehicle to roll at one-to-two mph or stop your vehicle and
shift your transmission into
“N” (Neutral).
2. Press the transfer case shift button and shift in one continuous motion.
Don’t pause in
N SET PARKING BRAKE as you shift into or out of 4
LOW, or your gears could clash.
Kemember that driving in
4 HIGH or 4 LOW may reduce fuel economy.
Also, driving in four-wheel drive on dry pavement could cause your tires to
wear faster and make
your transfer case harder to shift.
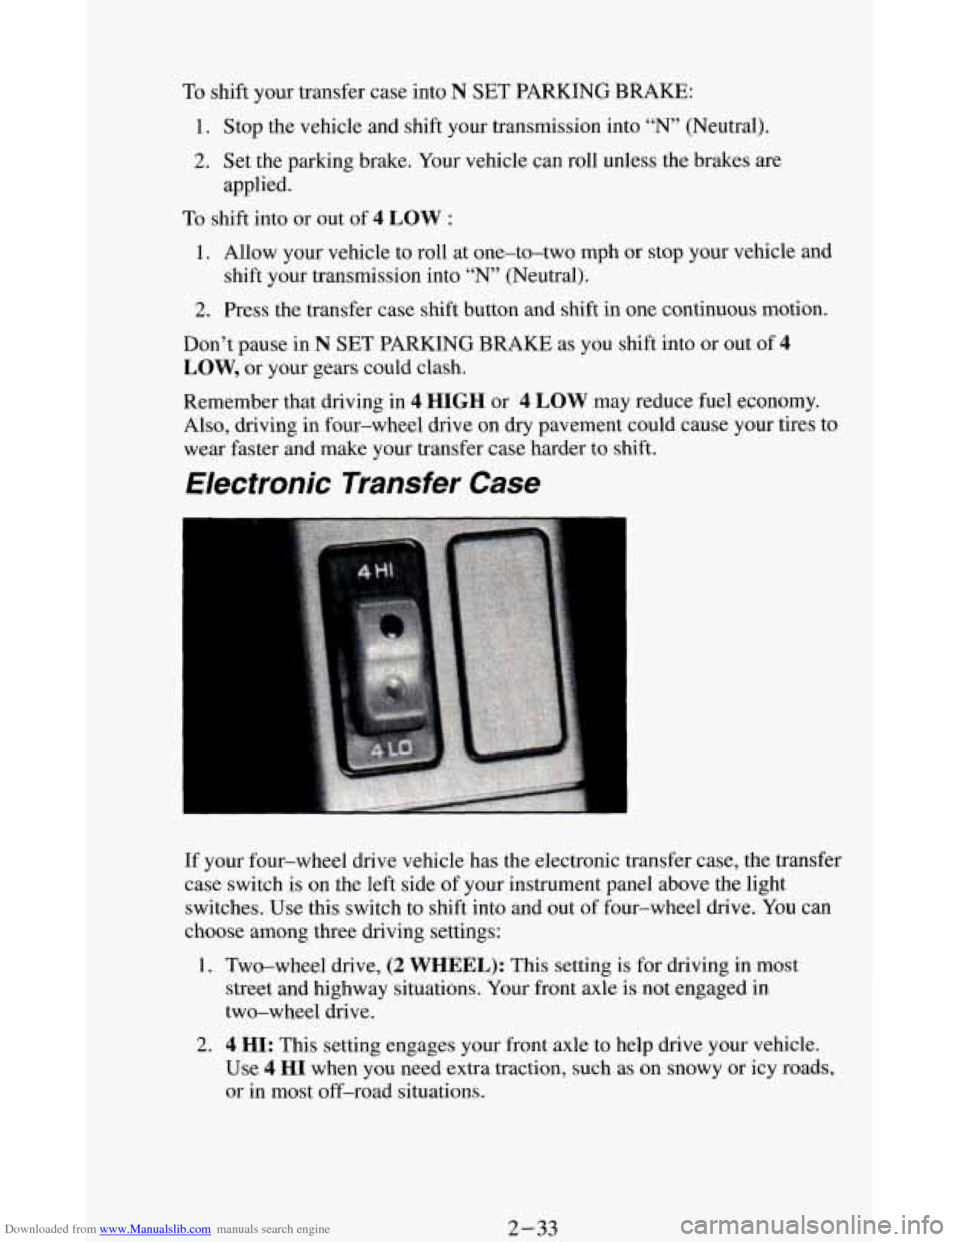
Electronic Transfer Case
If your four-wheel drive vehicle has the electronic transfer case, the transfer
case switch is on the left side of your instrument panel above the light
switches. Use this switch to shift into and out
of four-wheel drive. You can
choose among three driving settings:
1. Two-wheel drive, (2 WHEEL): This setting is for driving in most
street and highway situations. Your front axle is not engaged in
two-wheel drive.
2. 4 HI: This setting engages your front axle to help drive your vehicle.
Use
4 HI when you need extra traction, such as on snowy or icy roads,
or in most off-road situations.
2-33
Page 105 of 348
Downloaded from www.Manualslib.com manuals search engine Daytime Running Lights (DRL) Indicator Light
(Canada
Only)
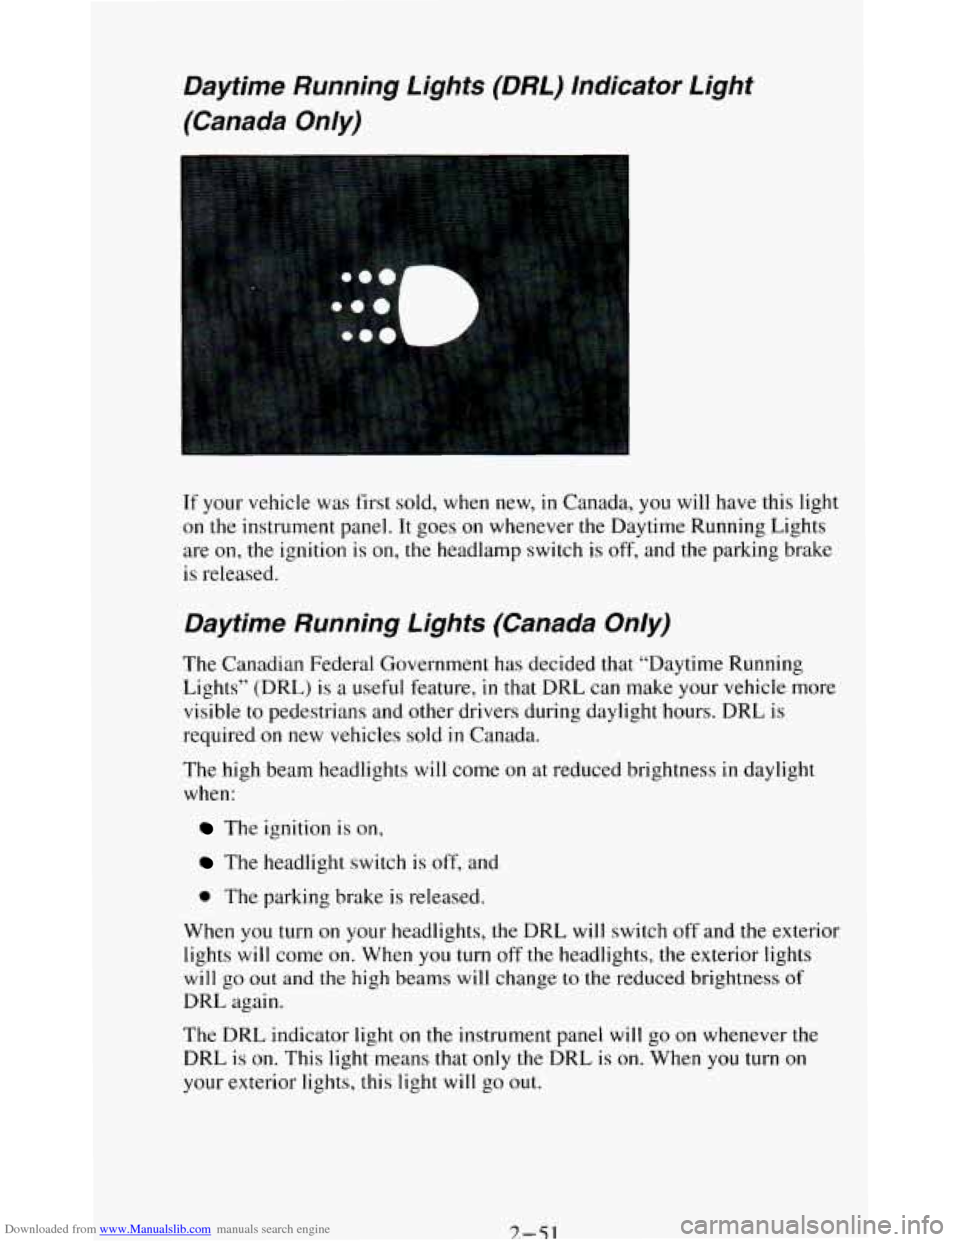
If your vehicle was first sold, when new, in Canada, you will have this light
on
the instrument panel. It goes on whenever the Daytime Running Lights
are
on, the ignition is on, the headlamp switch is off, and the parking brake
is released.
Daytime Running Lights (Canada Only)
The Canadian Federal Government has decided that “Daytime Running
Lights” (DRL)
is a useful feature, in that DRL can make your vehicle more
visible to pedestrians and other drivers during daylight hours. DRL is
required
on new vehicles sold in Canada.
The high beam headlights will come on at reduced brightness
in daylight
when:
The ignition is on,
The headlight switch is off, and
0 The parking brake is released.
When you turn
on your headlights, the DRL will switch off and the exterior
lights
will come on. When you turn off the headlights, the exterior lights
will go out and the high beams will change to the reduced brightness of
DRL again.
The DRL indicator light
on the instrument panel will go on whenever the
DRL
is on. This light means that only the DRL is on. When you turn on
your exterior lights, this light
will go out.
7.-51
Page 106 of 348
Downloaded from www.Manualslib.com manuals search engine If the DRL indicator light is on at dawn or dusk, it is a reminder to turn on
your headlights.
Of course, you may still turn on the headlights any time you need to.
To idle your vehicle with the DRL off, set the parking brake. The DRL will
stay
off until you release the parking brake.
Headlights-On Reminder
A reminder tone will sound when your headlights or parking lights are
turned on and your ignition is in
OFF, LOCK or ACC. To turn the tone off,
turn the dimmer switch all the way to the left.
Dome Lights
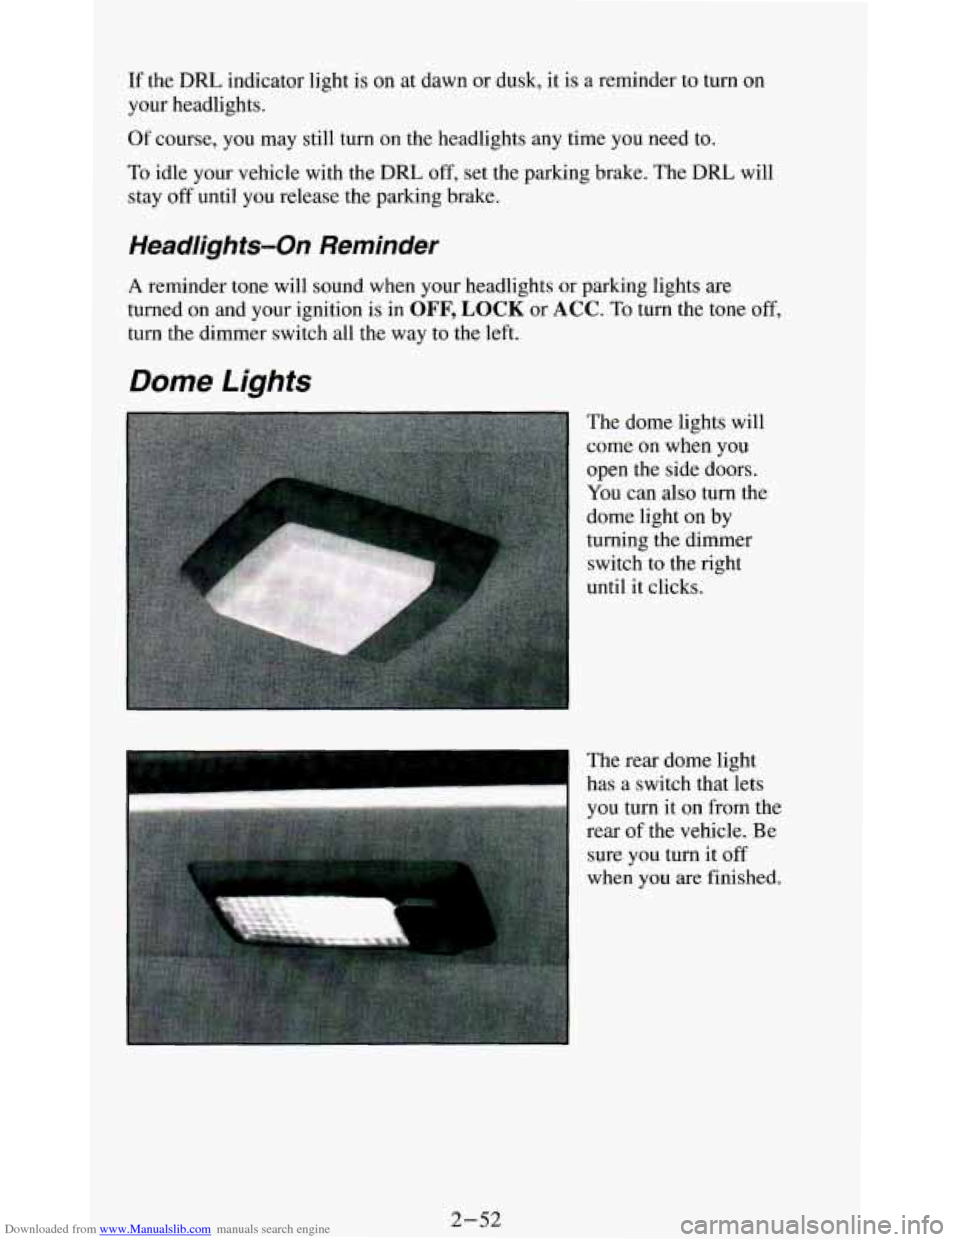
The dome lights will
come on when you
open the side doors.
You can also turn the
dome light on by
turning the dimmer
switch
to the right
until it clicks.
I
The rear dome light
has a switch that lets
you turn it on from the
rear
of the vehicle. Be
sure you turn it
off
when you are finished.
2-52
Page 123 of 348
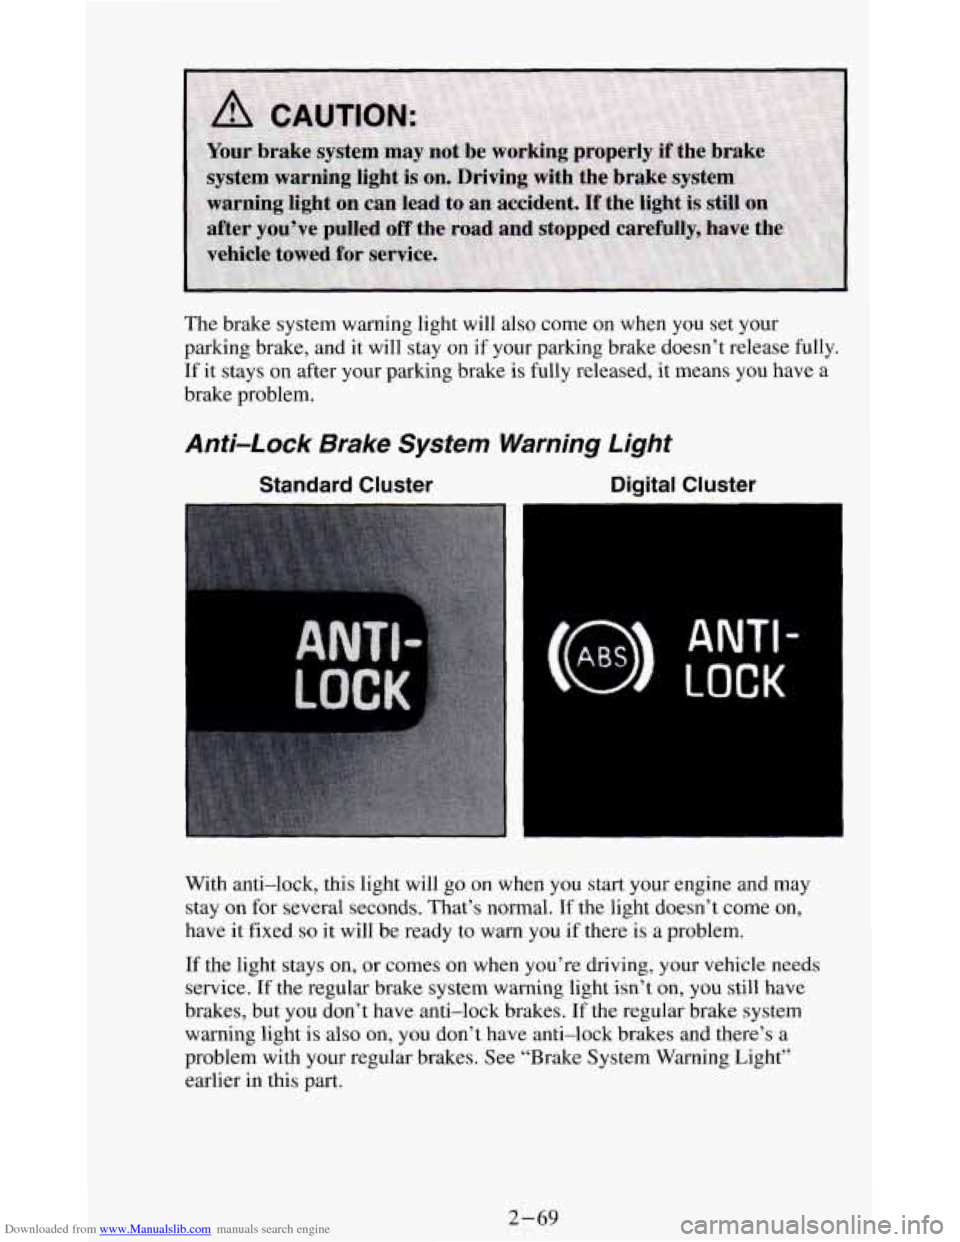
Downloaded from www.Manualslib.com manuals search engine The brake system warning light will also come on when you set your
parking brake, and it will stay on if your parking brake doesn’t release fully.
If it stays on after your parking brake
is fully released, it means you have a
brake problem.
Anti-Lock Brake System Warning Light
Standard Cluster Digital Cluster
ANTI -
LOCK
With anti-lock, this light will go on when you start your engine and may
stay on for several seconds. That’s normal.
If the light doesn’t come on,
have
it fixed so it will be ready to warn you if there is a problem.
If the light stays on, or comes
on when you’re driving, your vehicle needs
service.
If the regular brake system warning light isn’t on, you still have
brakes, but you don’t have anti-lock brakes. If the regular brake system
warning light
is also on, you don’t have anti-lock brakes and there’s a
problem with your regular brakes. See “Brake System Warning Light’’
earlier in this
part.
2-69
Page 128 of 348
Downloaded from www.Manualslib.com manuals search engine Daytime Running Lights (DRL) Indicator Light
(Canada OnIy)
SHIFT Indicator Light
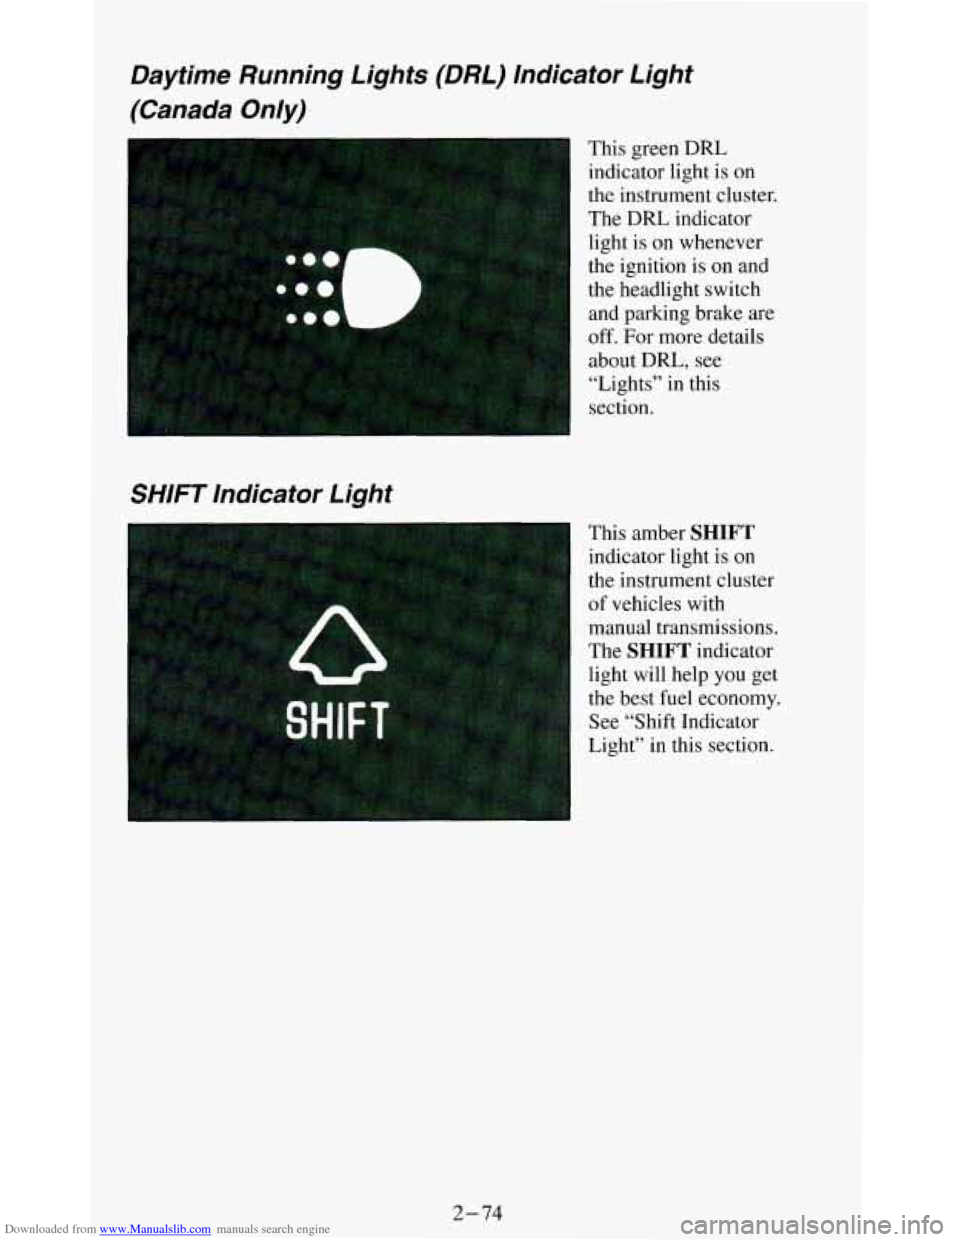
This green DRL
indicator light is
on
the instrument cluster.
The DRL indicator
light is on whenever
the ignition is on and
the headlight switch
and parking brake. are
off. For more details
about
DRL, see
“Lights” in this
section.
This amber
SHIFT
indicator light is on
the instrument cluster
of vehicles with manual transmissions.
The
SHIFT indicator
light will help you get
the best fuel economy.
See “Shift Indicator
Light” in this section.
2-74
Page 176 of 348
Downloaded from www.Manualslib.com manuals search engine -
1’
Q: What should I do if my vehicle stalls, or is about to stall, and I
A: If this happens, there are some things you should do, and there are
some things
you must not do. First, here’s what you should do:
can’t make it up the hill?
Push the brake pedal to stop the vehicle and keep it from rolling
backwards.
Also, apply the parking brake.
If your engine is still running, shift the transmission into reverse,
release the parking brake, and slowly back down
the hill in reverse.
If your engine has stopped running, you’ll need to restart it. With the
brake pedal depressed and
the parking brake still applied, shift the
transmission
to “P” (Park) (or, shift to “N” (Neutral) if your vehicle has
a manual transmission) and restart the engine. Then, shift to reverse,
release the parking brake, and slowly back down the
hill as straight as
possible in reverse.
wheel at the 12 o’clock position. This way, you’ll be able to tell if your
wheels are straight and maneuver as you back down. It’s best that
you
back down the hill with your wheels straight rather than in the left or
right direction. Turning the wheel too far
to the left or right will
increase the possibility of a rollover.
Here
are some things you must not do if you stall, or are about to stall,
when going up a
hill.
Never attempt to prevent a stall by shifting into “N” (Neutral) (or
depressing the clutch, if
you have a manual transmission) to “rev-up”
the engine and regain forward momentum. This won’t work. Your
vehicle will roll backwards very quickly and
you could go out of
control
.
e As you are backing down the hill, put your left hand on the steering
Instead, apply the regular brake
to stop the vehicle. Then apply the parking
brake. Shift into reverse, release
the parking brake, and slowly back straight
down.
4-18
Page 177 of 348
Downloaded from www.Manualslib.com manuals search engine 0 Never attempt to turn around if you are about to stall when going up a
hill. If the hill is steep enough to stall your vehicle, it’s steep enough to
cause
you to roll over if you turn around. If you can’t make it up the
hill, you must back straight down the hill.
Q: Suppose, after stalling, I try to back down the hill and decide I just
can’t do it.
What should I do?
A: Set the parking brake, put your transmission in ‘4P’ (Park) (or the
manual transmission
in first gear) , and turn off the engine. Leave the
vehicle and go get some help. Exit on the uphill side and stay clear of
the path the vehicle would take if it rolled downhill. Do not shift the
transfer case to
“N” (Neutral) when you leave the vehicle. Leave it in
some gear.
Driving Downhill
When off-roading takes you downhill, you’ll want to consider a number of
things:
0 How steep is the downhill? Will I be able to maintain vehicle control?
0 What’s the surface like? Smooth? Rough? Slippery? Hard-packed dirt?
Gravel?
0 Are there hidden surface obstacles? Ruts? Logs? Boulders?
0 What’s at the bottom of the hill? Is there a hidden creek bank or even a
river bottom with large rocks?
If you decide
you can go down a hill safely, then try to keep your vehicle
headed straight down, and use a low gear. This way, engine drag can help
your brakes and they won’t have
to do all the work. Descend slowly,
keeping your vehicle under control at all times.
4- 19