1994 CHEVROLET BLAZER air condition
[x] Cancel search: air conditionPage 118 of 348
Downloaded from www.Manualslib.com manuals search engine instrument Panel
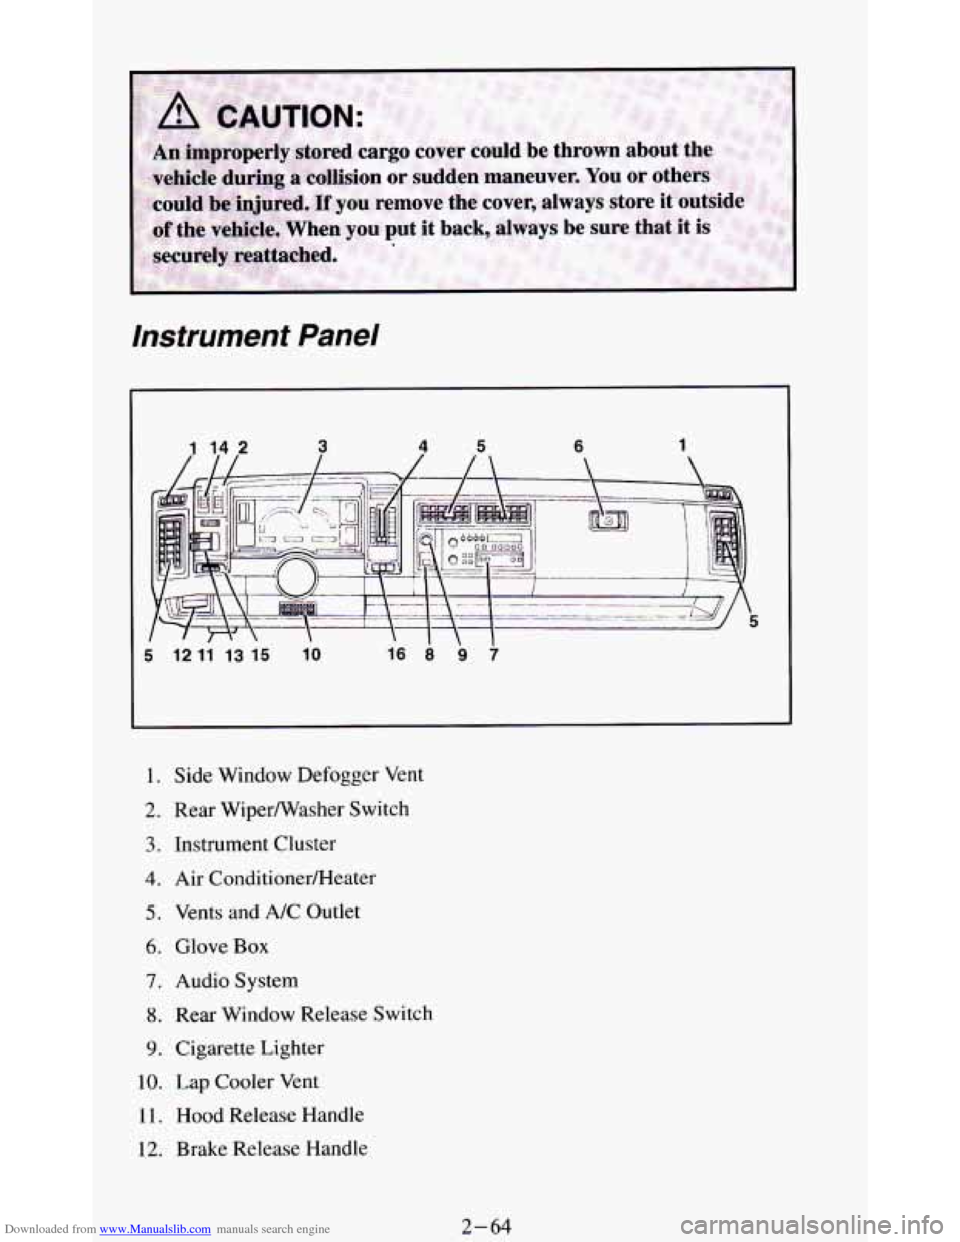
I l2 l1 l3 l5 lo
I. Side Window Defogger Vent
2. Rear Wiperwasher Switch
3. Instrument Cluster
4. Air ConditionerRIeater
5. Vents and A/C Outlet
6. Glove Box
7. Audio System
8. Rear Window Release Switch
9. Cigarette Lighter
10. Lap Cooler Vent
11. Hood Release Handle
12. Brake Release Handle
2-64
Page 127 of 348
Downloaded from www.Manualslib.com manuals search engine Indicator Lights
Indicator lights go on when you use your turn signals, change from low
beam headlights to high beams, or when you use
your hazard flashers. The
next few pages will also
tell you about the indicator lights on your vehicle
and help you locate them.
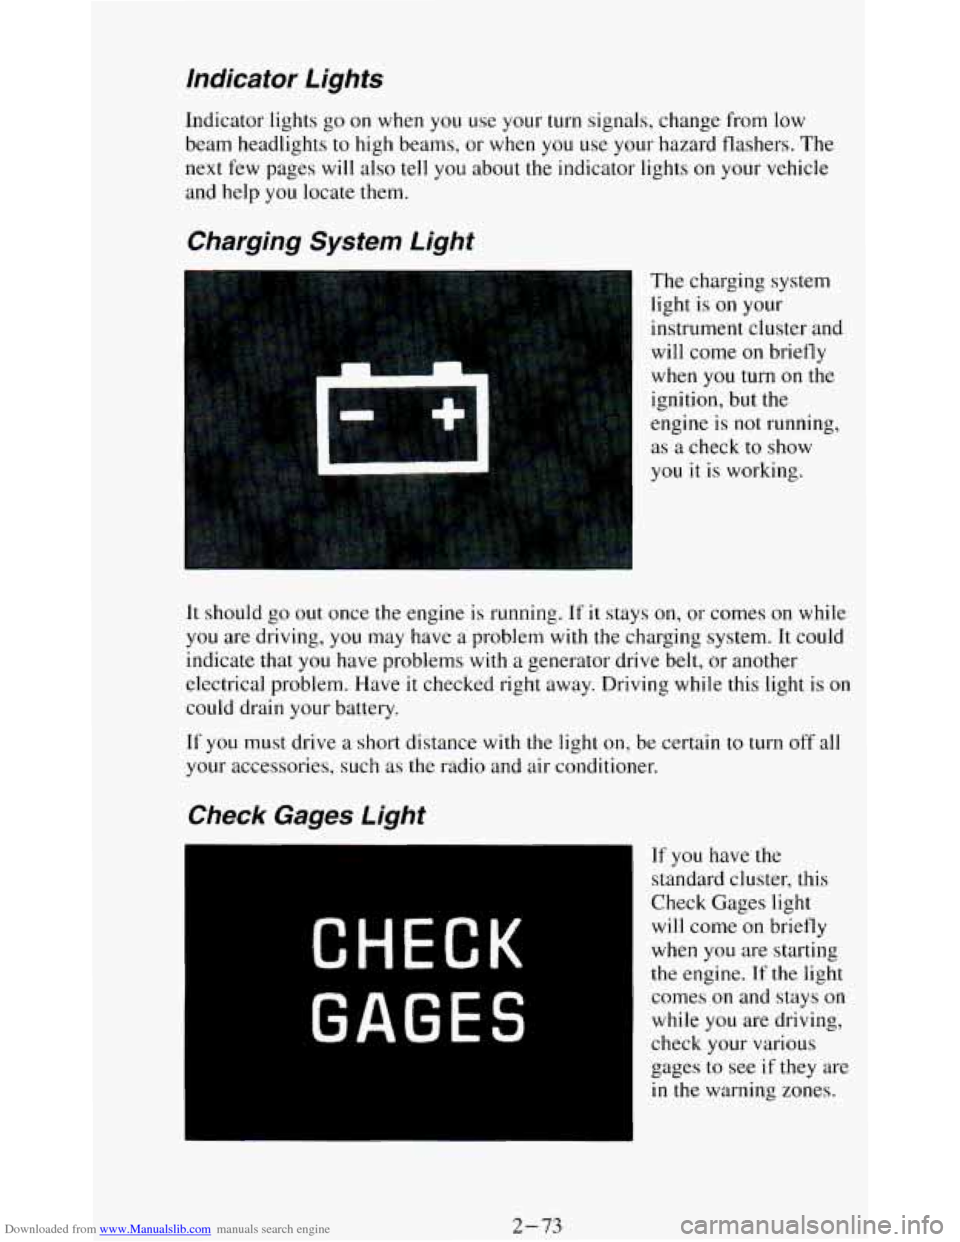
Charging System Light
The charging system
light is
on your
instrument cluster and
will come
on briefly
when
you turn on the
ignition, but the
engine is
not running,
as a check to show
you it
is working.
It should go out once the engine is running. If it stays on, or comes on while
you are driving, you may have a problem with the charging system. It could
indicate that you have problems with
a generator drive belt, or another
electrical problem. Have
it checked right away. Driving while this light is on
could drain your battery.
If
you must drive a short distance with the light on, be certain to turn off all
your accessories, such as the radio and air conditioner.
If you have the
standard cluster, this
Check Gages light
will come on briefly
when you are starting
the engine. If the light
comes
on and stays on
while you are driving,
check your various
gages to see
if they are
in the warning zones.
2-73
Page 135 of 348
Downloaded from www.Manualslib.com manuals search engine Comrort Controls & Audio Systems
Section
In this part you’ll find out how to operate the comfort control systems and
audio systems offered with your vehicle
. Be sure to read about the particular
system supplied with your vehicle
.
For explanation of vehicle symbols, refer to “Vehicle Symbols” in the
Introduction
.
Comfort Controls
Flow-Through Ventilation System
........................... 3-2
Heater Controls
.......................................... 3-3
Heater/Air Conditioning Controls ........................... 3-4
Engine Coolant Heater (Engine Block Heater) .................... 3-5
Rear Window Defogger
...................................... 3-5
Audiosystems ............................................. 3-6
FMStereo
.............................................. 3-7
AM
................................................... 3-7
AMStereo
.............................................. 3-7
How to Operate Your ETR@ AM Radio
....................... 3-8
How to Operate Your ETR@ AM-FM Stereo Audio System ..... 3-10
How to Operate Your ETR@ AM-FM Stereo Audio Cassette
System
............................................. 3-12
How to Operate Your ETR’ AM-FM Stereo Audio Cassette System
With Equalizer
....................................... 3-15
Care
of Your Cassette Tape Player .......................... 3-18
How to Operate Your ETR’ AM-FM Stereo Audio Compact Disc
(CD)System
........................................ 3-19
Care of Your Compact Discs ...................... **t!%*BB 3-24
Fixed Mast Antenna ..................................... 3-24
3-1
Page 136 of 348
Downloaded from www.Manualslib.com manuals search engine Comfort Controls
Flow-Through Ventilation System
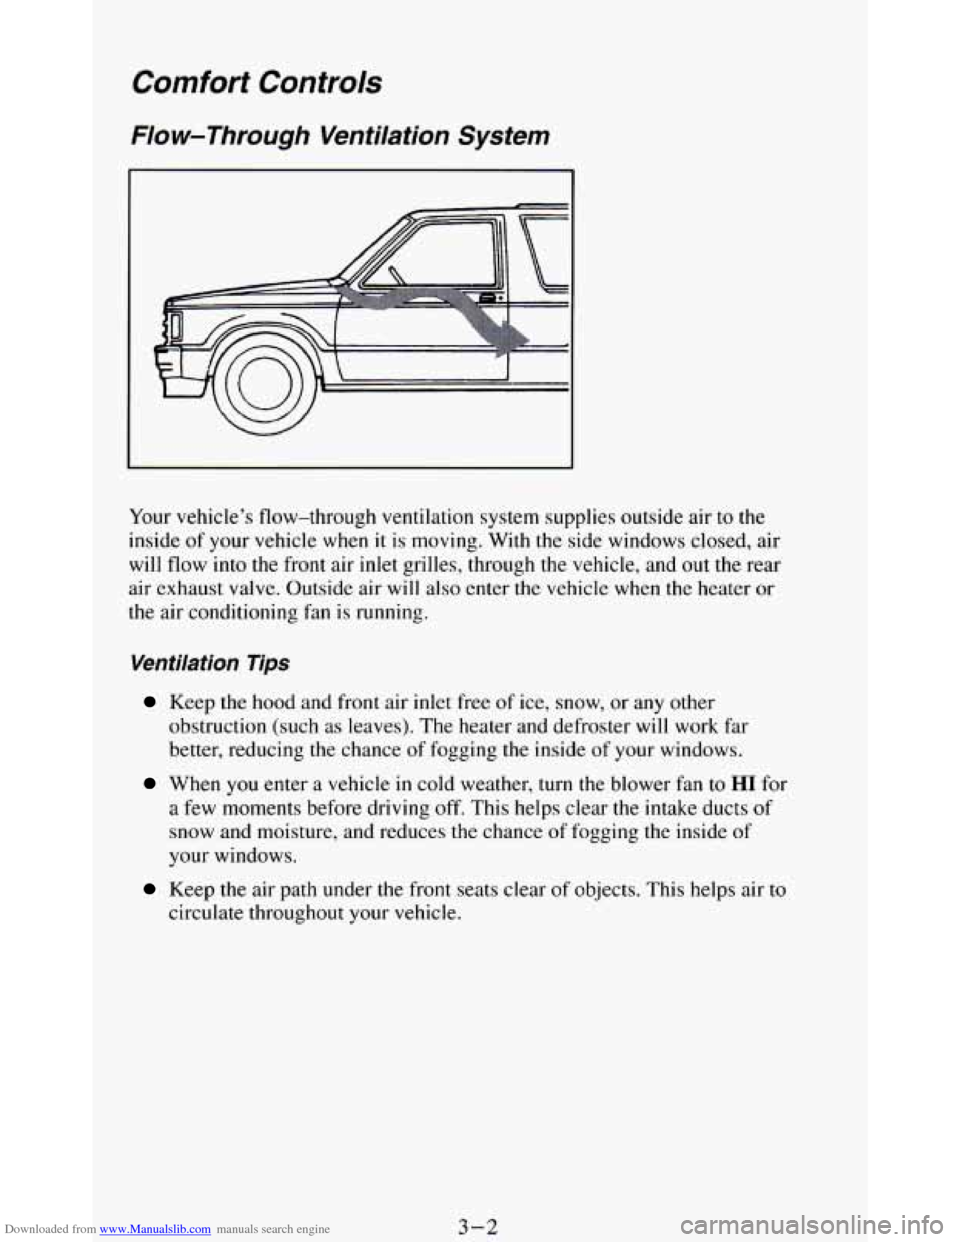
Your vehicle’s flow-through ventilation system supplies outside air to the
inside of your vehicle when it is moving. With the side windows closed, air
will flow into the front air
inlet grilles, through the vehicle, and out the rear
air exhaust valve. Outside air will also enter the vehicle when the heater
or
the air conditioning fan is running.
Ventilation Tips
Keep the hood and front air inlet free of ice, snow, or any other
obstruction (such
as leaves). The heater and defroster will work far
better, reducing the chance of fogging the inside
of your windows.
When you enter a vehicle in cold weather, turn the blower fan to HI for
a few moments before driving
off. This helps clear the intake ducts of
snow and moisture, and reduces the chance of fogging the inside of
your windows.
Keep the air path under the front seats clear of objects. This helps air to
circulate throughout your vehicle.
3-2
Page 137 of 348
Downloaded from www.Manualslib.com manuals search engine Air Vents
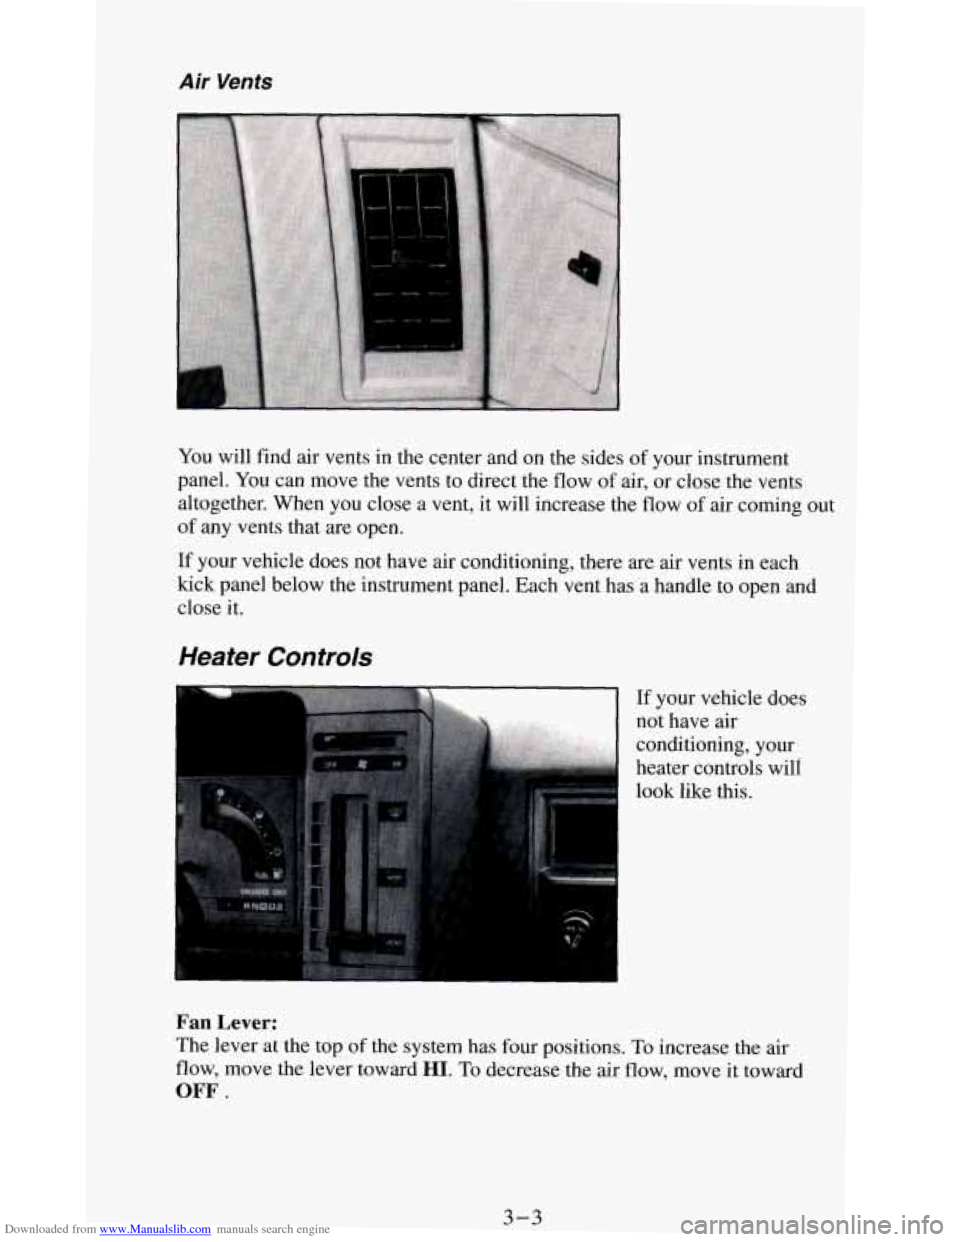
You will find air vents in the center and on the sides of your instrument
panel.
You can move the vents to direct the flow of air, or close the vents
altogether. When you close a vent, it will increase the flow
of air coming out
of any vents that are open.
If your vehicle does not have air conditioning, there are air vents in each
kick panel below the instrument panel. Each vent has a handle to open and
close it.
Heater Controls
If your vehicle does
not have air
conditioning, your
heater controls will
look like this.
Fan Lever:
The lever at the top of the system has four positions. To increase the air
flow, move the lever toward HI. To decrease the air flow, move it toward
OFF.
3-3
Page 138 of 348
Downloaded from www.Manualslib.com manuals search engine Temperature Lever:
The lever on the left of the system lets you select the temperature of the air
flowing into your vehicle. Move the lever up for warmer air. Move the lever
down for cooler air.
Mode Function Lever:
The lever on the right of the system can be moved to three different heating
functions.
DEFROST: This setting operates the defroster. Most of the air comes out
near the windshield,
with some going to the floor vents and side window
defrost vents. Use this when you get fog or ice on the windshield.
HTR (Heater): Most of the air comes out near the floor. The rest comes out
from the defroster vents under the windshield and at the front side windows.
This
is best for cold weather.
VENT: The air comes out at the vents on your instrument panel and at your
front side windows.
Heating/Air Conditioning Controls
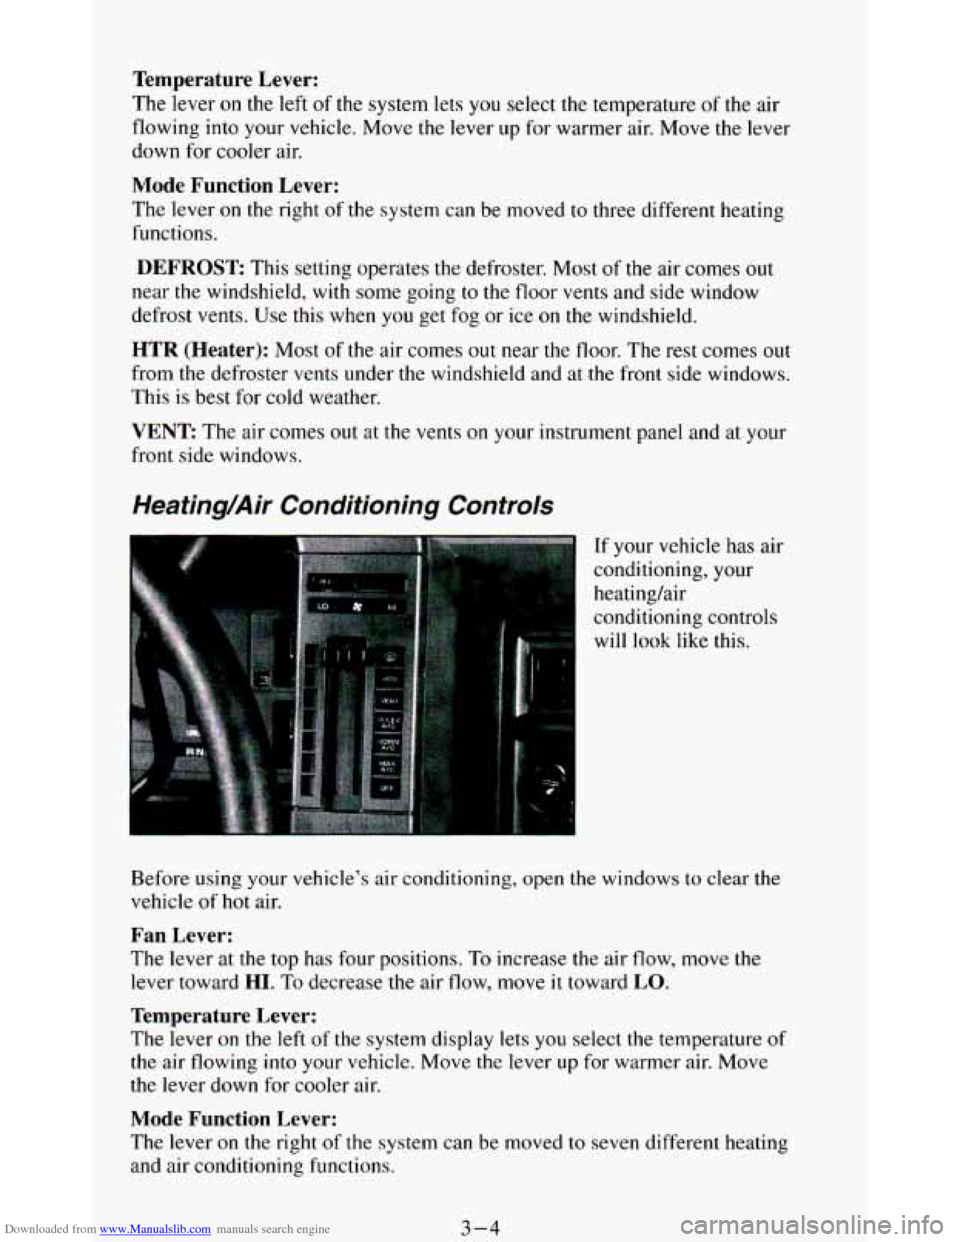
If your vehicle has air
conditioning, your
heating/air
conditioning controls
will look like this.
Before using
your vehicle’s air conditioning, open the windows to clear me
vehicle of hot air.
Fan Lever:
The lever at the top has four positions. To increase the air flow, move the
lever toward
HI. To decrease the air flow, move it toward LO.
Temperature Lever:
The lever on the left of the system display lets you select the temperature of
the air flowing into your vehicle. Move the lever up for warmer air. Move
the lever down for cooler
air.
Mode Function Lever:
The lever on the right of the system can be moved to seven different heating
and air conditioning functions.
3-4
Page 214 of 348
Downloaded from www.Manualslib.com manuals search engine If No Steam Is Coming From Your Engine
If you get the overheat warning but see or hear no steam, the problem may
not be too serious. Sometimes the engine can get a little too hot when you:
Climb a long hill on a hot day.
Stop after high speed driving.
Idle for long periods in traffic.
Tow a trailer.
If
you get the overheat warning with no sign of steam, try this for a minute
or so:
1. If you have an air conditioner, turn it off.
2. Turn on your heater to full hot at the highest fan speed and open the
3. If you’re in a traffic jam, shift to “N” (Neutral).
window as
necessary.
If
you no longer have the overheat warning, you can drive. Just to be safe,
drive slower for about
ten minutes. If the warning doesn’t come back on,
you can drive normally.
If
the warning continues, pull over, stop, and park your vehicle right away.
If there’s still no sign of steam, push
the accelerator until the engine speed is
about twice as fast as normal idle speed. Bring the engine speed back to
normal idle speed after two
or three minutes. Now see if the warning stops.
But then, if you still have the warning, TURN OFF THE ENGINE AND
GET EVERYONE OUT OF THE VEHICLE until it cools down.
You may decide not to
lift the hood but to get service help right away.
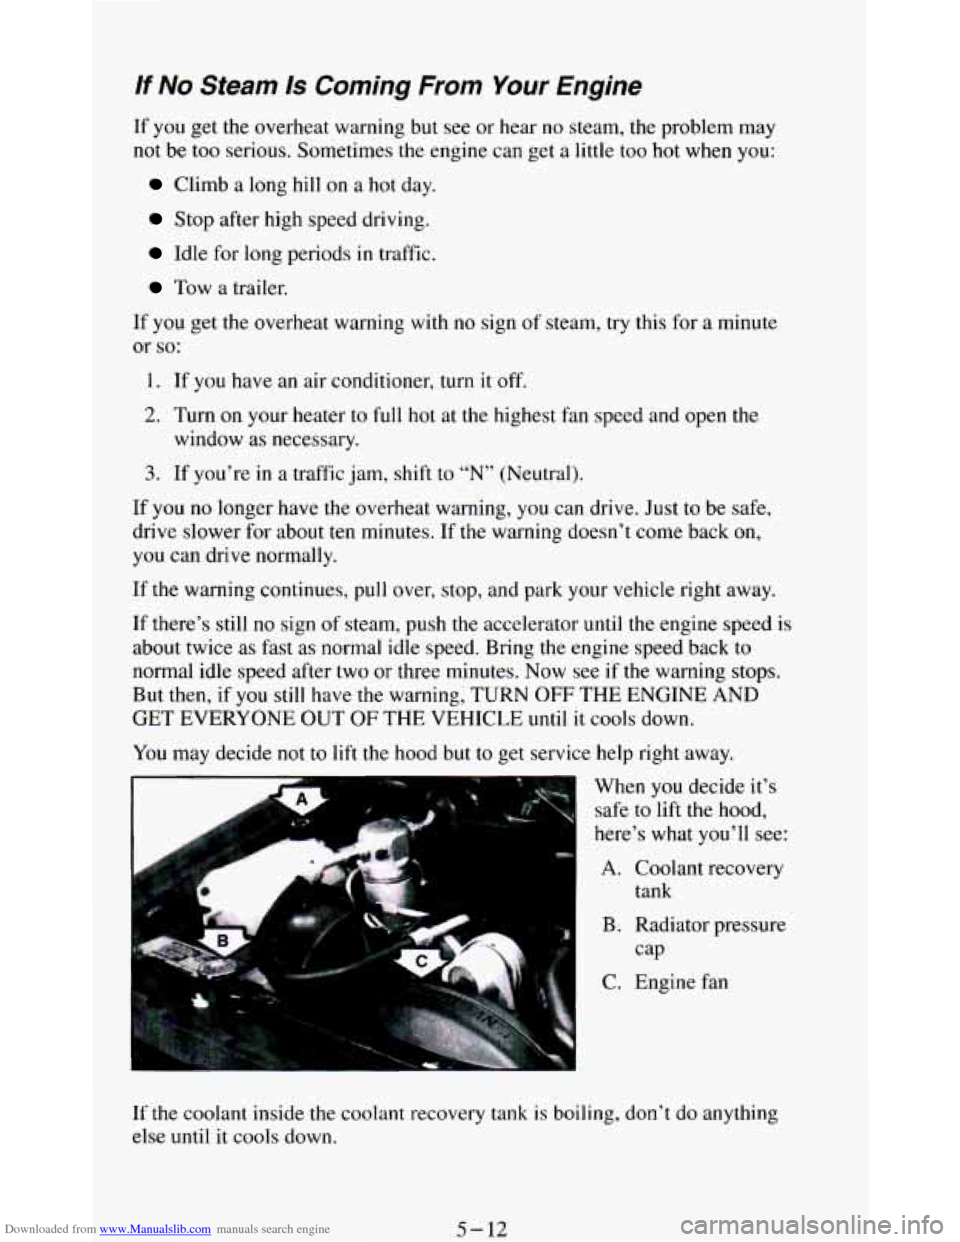
When
you decide it’s
safe to
lift the hood,
here’s what you’ll see:
A. Coolant recovery
B. Radiator pressure
C. Engine fan tank
cap
If the
coolant inside the coolant recovery tank is boiling, don’t do anything
else until
it cools down.
5-12
Page 220 of 348
Downloaded from www.Manualslib.com manuals search engine Engine Fan Noise
This vehicle has a clutched engine cooling fan. When the clutch is engaged,
the fan spins faster to provide more air
to cool the engine. In most every day
driving conditions the clutch is
not engaged. This improves fuel economy
and reduces fan noise. Under heavy vehicle loading, trailer towing and/or
high outside temperatures, the fan speed increases when the clutch engages.
So you may hear an increase in fan noise. This is normal and should not be
mistaken as
the transmission slipping or making extra shifts. It is merely the
cooling system functioning properly. The fan will slow down when
additional cooling
is not required and the clutch disengages.
You may also hear this fan noise when you start the engine. It will go away
as the fan clutch disengages.
If a Tire Goes Flat
It’s unusual for a tire to “blow out” while you’re driving, especially if you
maintain your tires properly. If air goes out of a tire, it’s much more likely
to
leak out slowly. But if you should ever have a “blowout,” here are a few tips
about what to expect and what
to do:
If a front tire fails,
the flat tire will create a drag that pulls the vehicle
toward
that side. Take your foot off the accelerator pedal and grip the
steering wheel firmly. Steer to maintain lane position, then gently brake to a
stop well
out of the traffic lane.
A rear blowout, particularly on a curve, acts much like a skid and may
require the same correction you’d
use in a skid. In any rear blowout, remove
your foot from the accelerator pedal. Get the vehicle under control
by
steering the way you want the vehicle to go. It may be very bumpy and
noisy, but
you can still steer. Gently brake to a stop, well off the road if
possible.
If a tire goes flat, the next section shows how to use your jacking equipment
to change a flat tire safely.
5-18