1994 CADILLAC SEVILLE brake
[x] Cancel search: brakePage 213 of 399
Downloaded from www.Manualslib.com manuals search engine Most of the time, those places where your tires meet the road probably
have good traction.
However, if there is snow or ice between your tires and the road, you can
have a very slippery situation. You’ll have
a lot less traction or “grip” and
will need to be very careful.
What’s the worst time for this? “Wet ice.” Very cold snow or ice can be
slick and hard to drive on. But wet
ice can be even more trouble because
it may offer the least traction
of all. You can get “wet ice” when it’s about
freezing
(32’F; O°C) and freezing rain begins to fall. Try to avoid driving
on wet
ice until salt and sand crews can get there.
Whatever the condition
-- smooth ice, packed, blowing or loose snow --
drive with caution.
If you have the traction control system, it will improve your ability to
accelerate when driving on a slippery road. Even though your vehicle has
a traction control system, you’ll want to slow down and adjust your
driving to the road conditions. See “Traction Control System” in the
Index.
Your anti-lock brakes improve your ability to make a hard stop on a
slippery road. Even though you have the anti-lock braking system, you’ll
want
to begin stopping sooner than you would on dry pavement. See
“Anti-lock” in the Index.
e Allow greater following distance on any slippery road.
Watch for slippery spots. The road might be fine until you hit a spot
that’s covered with ice. On an otherwise clear road, ice patches may
appear in shaded areas where the sun can’t reach: around clumps of
trees, behind buildings, or under bridges. Sometimes the surface
of a
curve or an overpass may remain icy when the surrounding roads are
clear. If you see a patch of ice ahead
of you, brake before you are on
it. Try not to brake while you’re actually on the ice, and avoid sudden
steering maneuvers.
200
Page 219 of 399
Downloaded from www.Manualslib.com manuals search engine when you remove the hitch. If you don’t seal them, deadly carbon
monoxide (CO) from your exhaust can get into your vehicle (see
Index under “Carbon Monoxide”). Dirt and water can, too.
NOTICE:
-
The bumpers on your vehicle are not intended for hitches. Do
not attach rental hitches or other bumper-type hitches to them. I-
Safety Chains
You should always attach chains between your vehicle and your trailer.
Cross the safety chains under the tongue-of the trailer so that the tongue
will not drop to the road if it becomes separated from the hitch. Follow
the manufacturer’s recommendation for attaching safety chains. Always
leave just enough slack
so you can turn with your rig. And, never allow
safety chains
to drag on the ground.
Trailer Brakes
Be sure to read and follow the instructions for the trailer brakes so you’ll
be able to install, adjust and maintain them properly.
Driving with a Trailer
Towing a trailer requires a certain amount of experience. Before setting
out for the open road, you’ll want to get to know your rig. Acquaint
yourself with the feel
of handling and braking with the added weight of
the trailer. And always keep in mind that the vehicle you are driving is
now a good deal longer and not nearly
so responsive as your vehicle is by
itself.
Before you start, check the trailer hitch and platform, safety chains,
electrical connector, lights, tires and mirror adjustment. If the trailer has
electric brakes, start your vehicle and trailer moving and then apply the
trailer brake controller
by hand to be sure the brakes are working. This
lets you check your electrical connection at the same time.
206
Page 220 of 399
Downloaded from www.Manualslib.com manuals search engine During your trip, check occasionally to be sure that the load is secure,
and that the lights and any trailer brakes are still working.
Following Distance
Stay at least twice as far behind the vehicle ahead as you would when
driving your vehicle without a trailer. This can help you avoid situations
that require heavy braking,and sudden turns.
Passing
You’ll need more passing distance up ahead when you’re towing a trailer.
And, because you’re a good deal longer, you’ll need to go much farther
beyond the passed vehicle before you can return to your lane.
Backing Up
Hold the bottom of the steering wheel with one hand. Then, to move the
trailer to the left, just move that hand to the left. To move the trailer to
the right, move your hand
to the right. Always back up slowly and, if
possible, have someone guide you.
Making Turns
When you’re turning with a trailer, make wider turns than normal. Do
this so your trailer won’t strike soft shoulders, curbs, road signs, trees, or
other objects. Avoid jerky or sudden maneuvers. Signal well in advance.
Turn Signals When Towing a Trailer
When you tow a trailer, your vehicle has to have a different turn signal
flasher and extra wiring. The green arrows on your instrument panel will
flash whenever you signal a turn or lane change. Properly hooked up, the
trailer lights will also flash, telling
other drivers you’re about to turn,
change lanes or stop.
When towing
a trailer, the green arrows on your instrument panel will
flash for turns even if the bulbs on the trailer are burned out. Thus, you
may think drivers behind you are seeing your signal when they are not.
It’s important to check occasionally to be sure the trailer bulbs are still
working.
207
Page 221 of 399
Downloaded from www.Manualslib.com manuals search engine Driving On Grades
Reduce speed and shift to a lower gear before you start down a long or
steep downgrade.
If you don’t shift down, you might have to use your
brakes
so much that they would get hot and no longer work well.
On a long uphill grade, shift down and reduce your speed to around 45 mph
(70 km/h) or less to reduce the possibility of engine and transaxle overheating.
If your trailer weighs more than 1,000 pounds (450 Kg) and you have an
automatic transaxle with Overdrive, you may want to drive in
66 3 ¶? instead
of Overdrive
Parking on Hills
You really should not park your vehicle, with a trailer attached, on a hill.
If something goes wrong, your rig could start to move. People can be
injured, and both your vehicle and the trailer can be damaged.
But
if you ever have to park your rig on a hill, here’s how to do it:
Apply your regular brakes, but do not shift into “P” (Park).
Have someone place chocks under the trailer wheels.
When the wheel chocks are in place, release the regular brakes until
0 Reapply the regular brakes. Then shift into “P” (Park) firmly and
the
chocks absorb the load.
apply your parking brakes.
Release the regular brakes.
when You Are Ready to Leave A@er Parking on a Hill
1. Apply your regular brakes and hold the pedal down while you:
Start your engine;
Shift into a gear; and
0 Be sure the parking brake has released.
2. Let up on the brake pedal.
3. Drive slowly until the trailer is clear of the chocks.
4. Stop and have someone pick up and store the chocks.
208
Page 222 of 399
Downloaded from www.Manualslib.com manuals search engine Engine Cooling When Trailering
Your cooling system may temporarily overheat during severe operating
conditions such as;
Climbing grades steeper than 4% at ambient temperatures above
90 Fahrenheit (32O Celsius) with a loaded vehicle and trailer.
I_ Stopping after high-speed driving.
0 Idling for long periods in stop and go traffic.
If “ENGINE HOT A/C COMPRESSOR
OFF” message appears on the
Driver Information Center, do not be alarmed. This is a normal function
designed to reduce the load
on the engine and cooling system. You can
continue to drive your vehicle.
If “ENGINE COOLANT HOT IDLE ENGINE’’ message appears on
the Driver Information Center, pull off to the side of the road as soon as
it is safe to do
so. When the vehicle is at a complete stop, shift the
the engine or increase engine speed above a normal idle. Within
two or
three minutes the system should cool sufficiently to allow A/C operation
normal driving after
10 minutes if the “ENGINE COOLANT HOT
IDLE ENGINE” message is not displayed.
-
-
transaxle selector to P (Park) and allow the engine to idle. Do not turn off
__ to resume. At that time resume driving at a reduced speed. Return to
__
Maintenance When Trailer Towing
Your vehicle will need service more often when you’re pulling a trailer.
especially important
in trailer operation are automatic transaxle fluid
(don’t overfill), engine oil, belts, cooling system, and brake wear Each of
.- these is covered in this manual, and the Index will help you find them
quickly.
If you’re trailering, it’s a good idea to review these sections
before
you start your trip.
~ See the Maintenance Schedule for more on this. Things that are
- Check periodically to see that all hitch nuts and bolts are tight.
209
Page 233 of 399
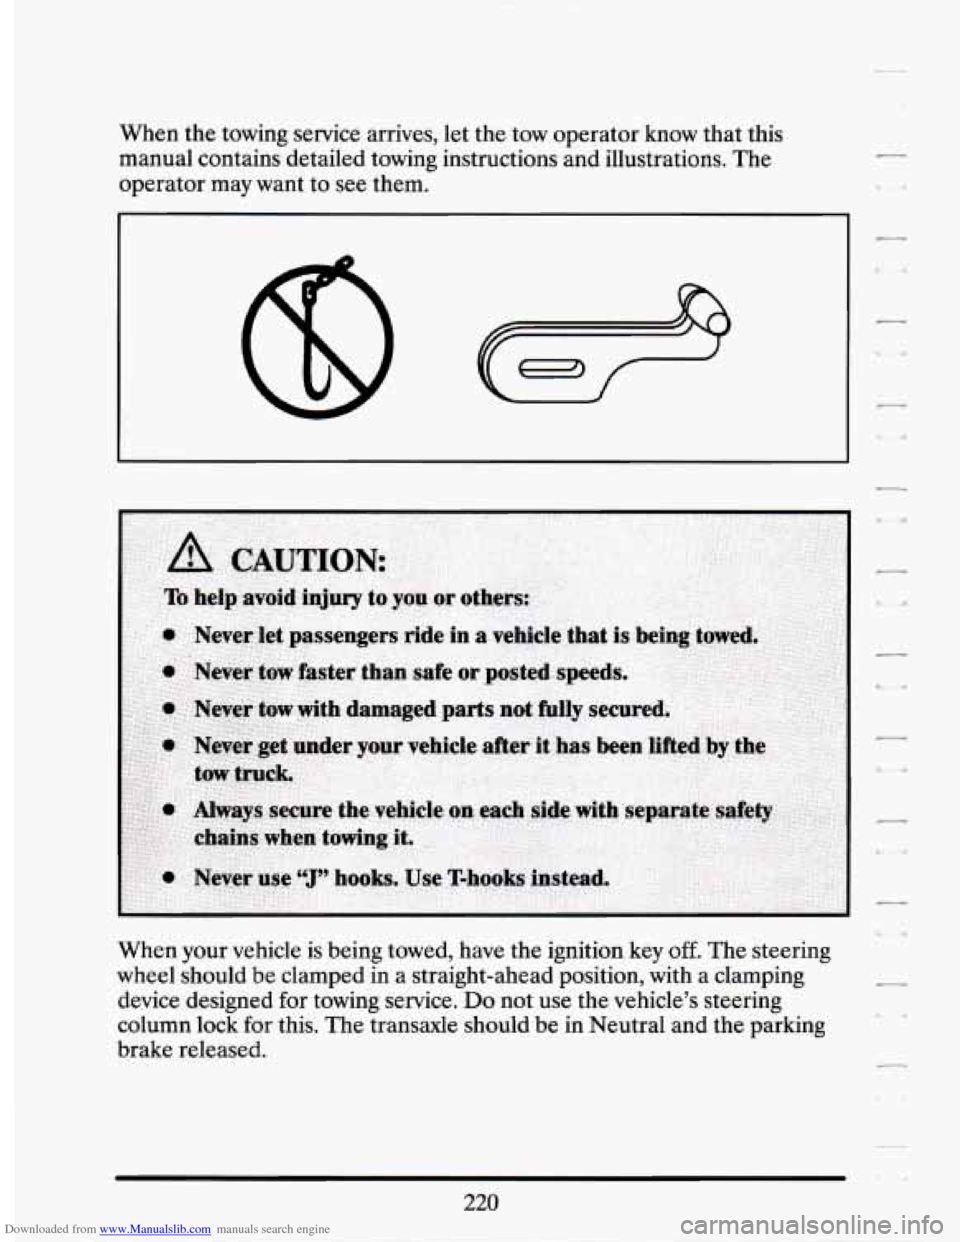
Downloaded from www.Manualslib.com manuals search engine When the towing service arrives, let the tow operator know that this
manual contains detailed towing instructions and illustrations. The
operator may want
to see them.
When your vehicle is being towed, have the ignition key
off. The steering
wheel should be clamped in a straight-ahead position, with a clamping
device designed for towing service.
Do not use the vehicle’s steering
column lock for this. The transaxle should be in Neutral and the parking
brake released.
220
Page 244 of 399
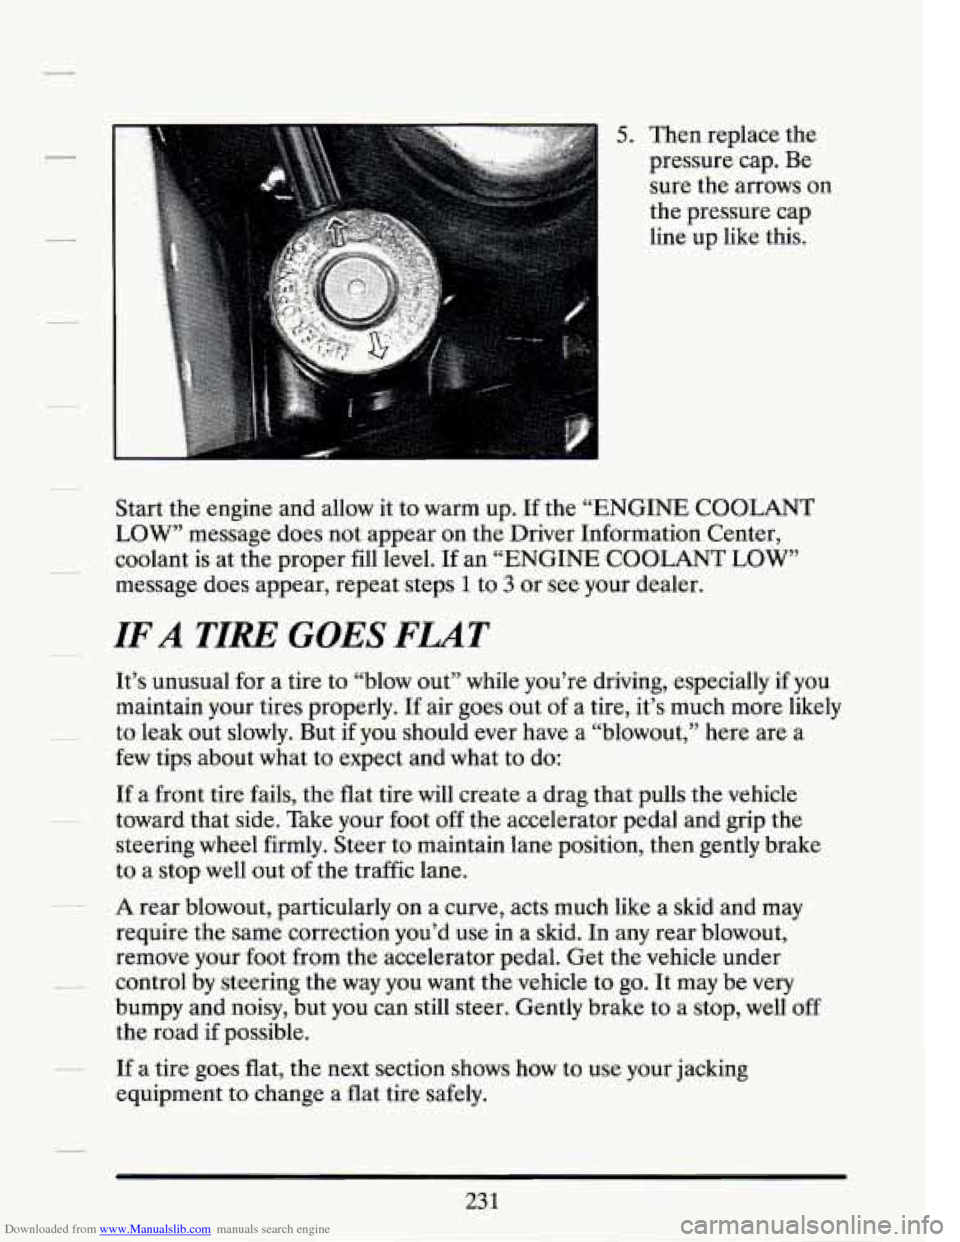
Downloaded from www.Manualslib.com manuals search engine 5. Then replace the
pressure cap. Be
sure the arrows on
the pressure cap
line up
like this.
Start the engine and allow it to warm up. If the “ENGINE COOLANT
LOW” message does not appear on the Driver Information Center,
coolant is at the proper fill level. If an “ENGINE COOLANT
LOW”
message does appear, repeat steps 1 to 3 or see your dealer.
IF A TIRE GOES FLAT
It’s unusual for a tire to “blow out” while you’re driving, especially if you
maintain your tires properly. If air goes out of a tire, it’s much more likely
to leak out slowly. But
if you should ever have a “blowout,” here are a
few tips about what to expect and what to do:
If a front tire fails, the flat tire will create a drag that pulls the vehicle
toward that side. Take your foot
off the accelerator pedal and grip the
steering wheel firmly. Steer
to maintain lane position, then gently brake
to a stop well out of the traffic lane.
A rear blowout, particularly on a curve, acts much like a skid and may
require the same correction you’d use in a skid. In any rear blowout,
remove your foot from the accelerator pedal. Get the vehicle under
control by steering the way you want the vehicle to go. It may be
very
bumpy and noisy, but you can still steer. Gently brake to a stop, well off
the road if possible.
If a tire goes flat, the next section shows how to use your jacking
equipment to change a flat tire safely.
Page 253 of 399
Downloaded from www.Manualslib.com manuals search engine COMPACT SPARE TIRE
Although the compact spare was fully inflated when your vehicle was
new, it can lose air after a time. Check the inflation pressure regularly. It
should be
60 psi (420 Wa). After installing the compact spare on your
vehicle, you should stop as soon as possible and make sure your spare tire
is correctly inflated. The compact spare is made to perform well at posted
speed limits for distances up to
3,000 miles (5 000 km). The compact
spare is made to go up to
3,000 miles (5 000 km), so you can finish your
trip and have your full-size tire repaired or replaced where you want. Of
course, it’s best to replace your spare with a full-size tire as soon as you
can. Your spare will last longer and be
in good shape in case you need it
again.
Your anti-lock brake system warning light may come on when you are
driving with a compact spare. See “Anti-Lock Brake System Warning
Light”
in the Index.
NOTICE:
Don’t take your compact spare through an automatic car wash \
with guide rails. The compact spare can get caught on the rails.
That can damage the tire and wheel, and maybe other parts
of
your vehicle.
Don’t use your compact spare on some other vehicle.
And don’t
mix your compact spare or wheel with other wheels or tires.
They won’t fit. Keep your spare and its wheel together.
7
240