1994 CADILLAC FLEETWOOD wiring
[x] Cancel search: wiringPage 119 of 398

A green arrow on the
instrument panel will
flash in the direction
of
the turn or lane
change.
To signal a lane change, just raise or lower the lever until the green arrow
starts to flash. Hold it there until you complete your lane change. The
lever will return by itself when you release it.
As you signal a turn or a lane change, if the arrows don’t flash but just
stay on, a signal bulb may be burned out and other drivers won’t see your
turn signal.
If a bulb is burned out, replace it to help avoid an accident. If the green
arrows don’t go on at all when you signal a turn, check the fuse (see
“Fuses” in the Index) and for burned-out bulbs.
If you have
a trailer towing option with added wiring for the trailer lights,
a different turn signal flasher is used. With this flasher installed, the
signal indicator will flash even if a turn signal bulb is burned out. Check
the front and rear turn signal lights regularly to make sure they are
working.
Operation of Lights
Although your vehicle’s lighting system (headlights, parking lights, fog
lamps, side marker lights and taillights) meets all applicable federal
lighting requirements, certain states and provinces may apply their own
lighting regulations that may require special attention before you operate
these lights.
For example, some jurisdictions may require that you operate your lower
beam lights with fog lamps at all times, or that headlights be turned on
whenever you must use your windshield wipers. In addition, most
106
-1 I
E,
3’
ii
i
-I
J
Page 221 of 398

I
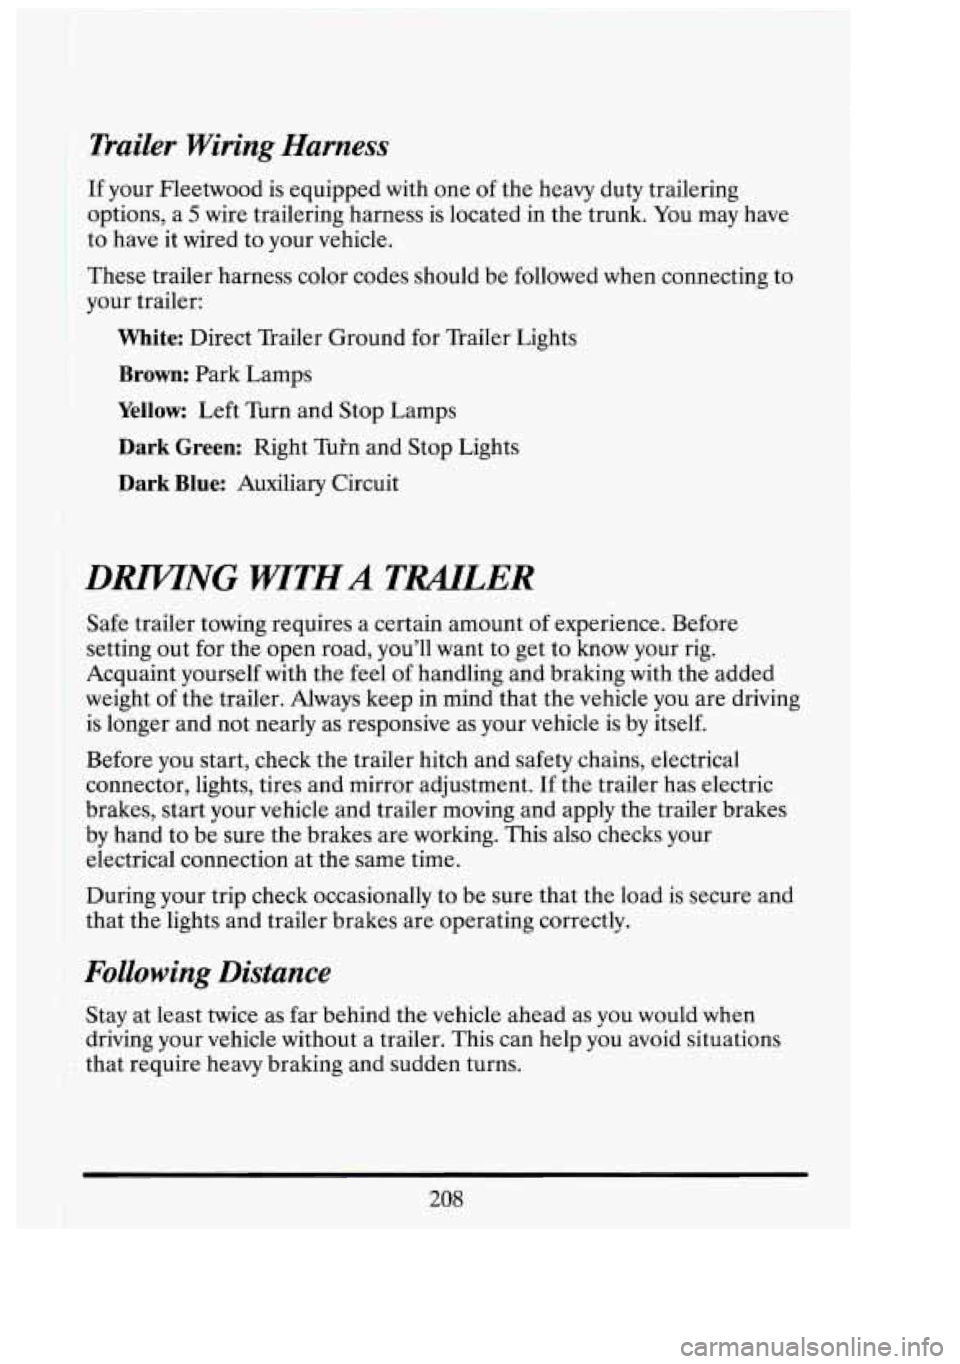
Trailer Wiring Harness
I
If your Fleetwood is equipped with one of the heavy duty trailering
options, a
5 wire trailering harness is located in the trunk. You may have
to have it wired to your vehicle.
These trailer harness color codes should be followed when connecting to
your trailer:
White: Direct Trailer Ground for Trailer Lights
Brown: Park Lamps
Yellow: Left Turn and Stop Lamps
Dark Green: Right Tuh and Stop Lights
Dark Blue: Auxiliary Circuit
DRIFTNG WTHA TWLER
Safe trailer towing requires a certain amount of experience. Before
setting out
for the open road, you'll want to get to know your rig.
Acquaint-yourself with the feel
of handling and braking with the added
weight of the trailer. Always keep in mind that the vehicle you are driving
is longer and not nearly as responsive as your vehicle is by itself.
Before you start, check the trailer hitch and safety chains, electrical
connector, lights, tires and mirror adjustment.
If the trailer has electric
brakes, start your vehicle and trailer moving and apply the trailer brakes
by hand to be sure the brakes are working. This also checks your
electrical connection at the same time.
During your trip check occasionally to be sure that the load is secure and
that the lights and trailer brakes are operating correctly.
Following Distance
Stay at least twice as far behind the vehicle ahead as you would when
driving your vehicle without a trailer. This can help you avoid situations
that require heavy braking and sudden turns.
208
I
I
Page 222 of 398

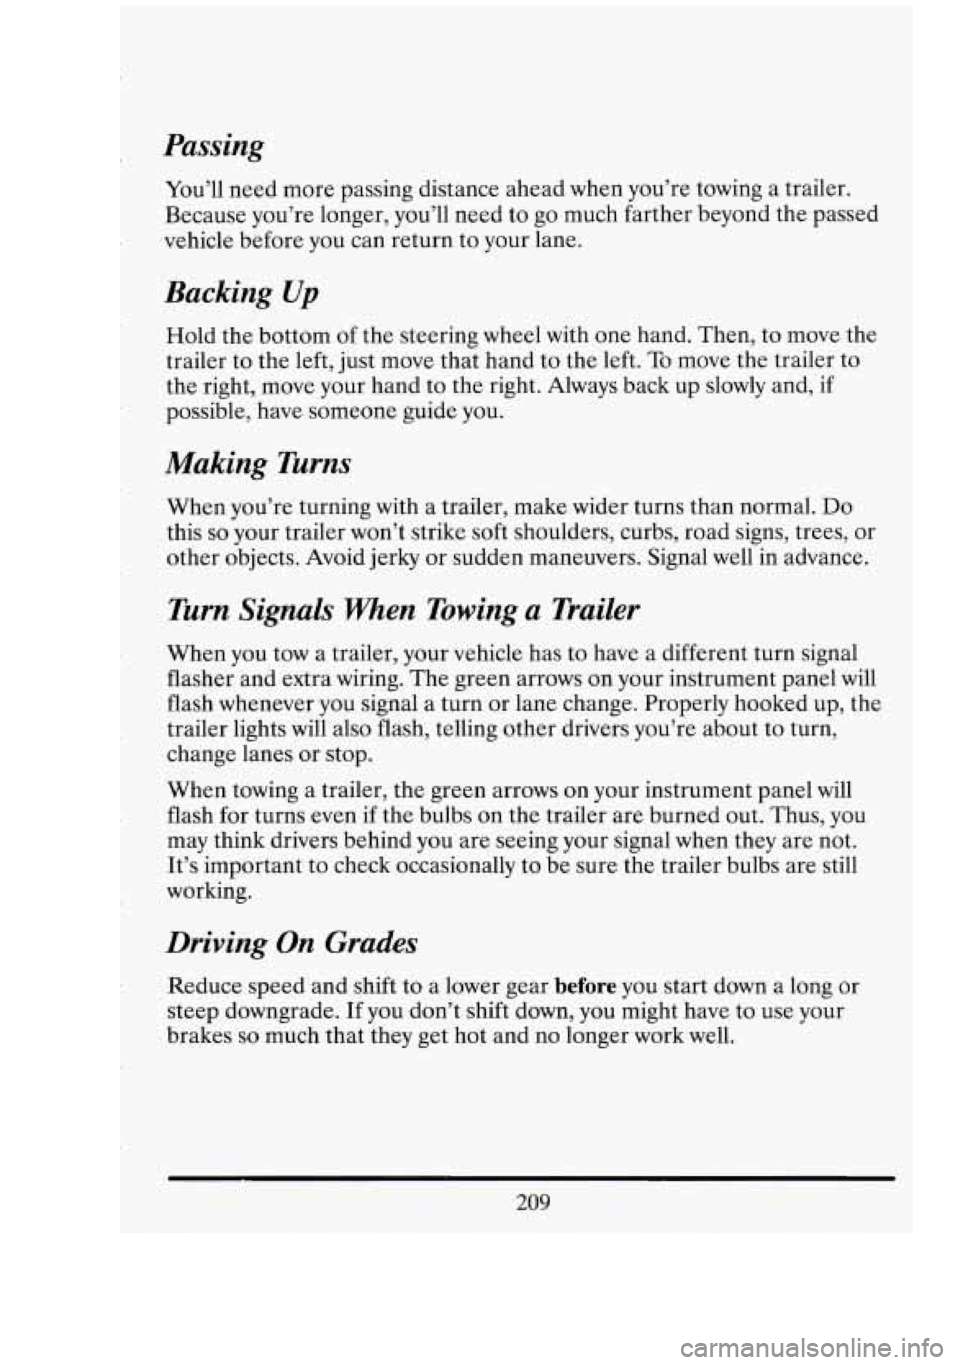
Passing
You’ll need more passing distance ahead when you’re towing a trailer.
Because you’re longer, you’ll need to go much farther beyond the passed
vehicle before you can return to your lane.
Backing Up
Hold the bottom of the steering wheel with one hand. Then, to move the
trailer to the left, just move that hand to the left.
To move the trailer to
the right, move your hand to the right. Always back up slowly and, if
possible, have someone guide you.
Making Turns
When you’re turning with a trailer, make wider turns than normal. Do
this so your trailer won’t strike soft shoulders, curbs, road signs, trees, or
other objects. Avoid jerky or sudden maneuvers. Signal well in advance.
Turn Signals When Towing a Trailer
When you tow a trailer, your vehicle has to have a different turn signal
flasher and extra wiring. The green arrows on your instrument panel will
flash whenever you signal a turn or lane change. Properly hooked up, the
trailer lights will also flash, telling other drivers you’re about to turn,
change lanes or stop.
When towing a trailer, the green arrows on your instrument panel will
flash for turns even if the bulbs on the trailer are burned out. Thus, you
may think drivers behind you are seeing your signal when they are not.
It’s important to check occasionally to be sure the trailer bulbs are still
working.
Driving On Grades
Reduce speed and shift to a lower gear before you start down a long or
steep downgrade.
If you don’t shift down, you might have to use your
brakes
so much that they get hot and no longer work well.
209
Page 294 of 398

0 Install new bulb
and socket and
connect the wiring
harness. Make sure
that harness
is
locked to bulb
socket.
NOTICE:
Do not touch glass portion of the new halogen bulb! The oil
from you fingers
will shorten the life of your new halogen bulb.
Install the headlight housing socket into the headlamp assembly.
TMLLIGHT BULB REPLACEMENT
Remove the upper
screw from the
bezel.
281
Page 325 of 398

FUSES AND CIRCUIT BREAKERS
The wiring circuits in your vehicle are protected from short circuits by a
combination of Mini Fuses, Circuit Breakers, and
Maxi Fuses. This
greatly reduces the chance of fires caused. by electrical problems..
If you ever have a problem on the road and don’t have a spare fuse, you
can “borrow” one,of the correct value. Select a feature that you can get
along without tha.t is the same value you need
-- like the radio or cigarette
lighter
-- and use its fuse. Be sure to use a fuse with the same amperage
rating number on it (ie.
lOA, 20A, etc.). Replace it as soon as you can.
Instrument Panel Fuse Block
To gain access to the fuse block.
Remove the
instrument panel side
cover.
312
611
E
r-‘
I
LJI!
I
Page 326 of 398

1 - MIR DEFG (10 AMP) - SIDEVIEW MIRROR DEFOGGERS 2-5 - NOT USED
6 - T/SIG (15 AMP) - PARWNEUTRALAND BACKUP
- TURN FLASHER SWITCH ASSEMBLY 7 - EBTCMlTPS (10 AMP) - ELECTRONIC BRAKE AND TRACTION
CNTRL. MOD. (EBTCM)
- THROlTLE POSITION SENSOR
(TIPS) INTERFACE MODULE
8 - RAP WPR (25 AMP) - RETAINED ACCESSORY PWR. (RAP)
9 - RADIO (10 AMP)
10
- WIPER (25 AMP) - RADIO RECEIVER
11 - II/P INDC (10 AMP) - WINDSHIELD WIPEWASHER
WIPER RELAY
- INFLATABLE RESTRAINT
DIAGNOSTIC ENERGY RESERVE
(WITH SENSOR) MODULE
INDICATORS
- INSTRUMENT PANEL CLUSTER
12 - ELC IGN 1 (10 AMP) - AUTOMATIC LEVEL CNTRL. SENSOR 13 - CHIME (10 AMP) - WARNING ALARM CRUISE CNTRL.
RELEASE SWITCH
- REAR WINDOW DEFOG. RELAY - INSULE REAR VIM MIRROR (DDB) - CATALYTIC CONVERTER TEMP
. . - - - . . . . - . .
14 - CCM ION 1 (10 AMP)
15
- AIR BAG (15 AMP)
ALARM (JAPAN ONLY)
- CENTRAL CNTRL. MOD. (CCM)
- INFLATABLE RESTRAINT
DIAGNOSTIC ENERGY RESERVE (WITH SENSOR) MOD.
16 - GEN (10 AMP) - ENGINE ELECTRICAL GENERATOR - SECONDARY ELECTRICAL ENGINE
17 - MEM SEAT (10 AMP) COOLING FAN RELAY
- DRIVER'S SEAT MEMORY MOD. - DRIVER SEAT ADJUSTER CNTRL.
- HEATED PASSENGER SEAT
MOD.
CNTRL MOD.
18 - -
19 - -
20 - -
-
- 21 - -
22-
23 - -
-
24 - -
25 - -
CCM IGN 3 10 AMP)
RECEIVER AND THEFT
DETERRENT MOD.
RAP PWR (30 AMP) RETAINED ACCESSORY PWR. (RAP)
AIC COMP (10 AMP) PWR. RELAY
NC COMPRESSOR RELAY
PRIMARY ELECTRICAL ENGINE
COOLING FAN RELAY
RAP BATT (25 AMP) RETAINED ACCESSORY PWR. (RAP)
WIPER RELAY
HVAC MOD. 25 AMP)
TRK REL (10 AMP)
REAR COMPARTMENT LID
RELEASE SW.
STARTER 10 AMP
RESTRAINT DIAGNOSTIC ENERGY
RESERVE (WITH SENSOR) MOD.
HVAC ION (10 AMP)
CLUSTER INSTRUMENT PANEL GAGE
REMOTE
CARL. DOOR LOCK
Nc ELECTRILL CNTRL. MOD.
THEFT DELREN? RELAY INFLAT.
26 - ELC SENS (20 AMP - HVAC.FOWER MOD.
- AUTOMATIC LwEL ANTRL. SENSOR - REAR COMPARTMENT COURTESY
LAMP
27 - &NT LTS (1 5 AMP) - DELAYED INTERIOR LIGHTS (DIL)
RELAY
28 -
29 -
30 - -
- -
31 -
32- 33 -
-
-
-
FRY CIG (1 0 AMP) FRONT CIGAR LIGHTERS RR CIG
(20 AMP)
EBTCM 25 AMP) REAR CIGAR LIGHTERS
CNTRL. MOD. (EBTCM)
PARK LTS (20 AMP
HORN
(25 AMP)
WARNING ALARM HVAC BAT (10 AMP)
INSTRUMENT CLUSTER
HEADLAMP SWITCH
RADIO RECEIVER ALARM
HEATER AND NC CNTRL.
ENGINE
OIL LEVEL INDICATOR
ELECTR6NIC BRAKE &TRACTION
FORWARD LAMP WIRING RELAY
CNTRL~ MOD.
34 - CCM BAT (10 AMP)
35 - PWR MIR 110 AMP) - CENTRAL CNTRL. MOD. (CCM)
- DOOR LOCKS ' - OUTSIDE REMOTE CNTRL.
- PWR. SEAT BACK LUMBAR CNTRLS. REARVIEW MIRRORS SWITCHES
36 - TRK PDWN 115 AMPI __ ...... ~ ~~~~ - TRUNK LID PULL-DOWN UNIT 37 - HAZARD LTS (20 AMP)
39 - PWR LUMB (20 AMP) - HAZARD LAMP FLASHER
- PWR. SEAT BACK PNEUMATIC
- RADIO POWER ANTENNA RELAY
- DRIVERS HEATED SEAT
CNTRL. MOD. 40 - HTD SEAT
(20 AMP)
CNTRL. MOD.
CNTRL. MOD. - PASSENGER HEATED SEAT
41 - CORNR LTS (10 AMP) - INSTRUMENT CLUSTER: - RADIO CNTRL. -I - 42 - -
TURN SIGNAL SWlTCt
HEADLIGHT SWITCH I/P DIM LTS (10 AMP)
INTERIOR LIGHTS
TAIL LTS (10 AMP) DIMMING CNTRL.
REAR TAIL LIGHTS REAR SIDE MARKER L LICENSE LAMP STOP LTS (20 AMP) STOP LAMP SWITCH PWR LK (20 AMP) DOOR LOCK RELAY .IGHTS CIB 1 - NOT USED
C/B 2 - RAP RELAY (30 AMP) - RETAINED ACCESSORY PWR. (RAP)
RELAY
C/B 3 - PWR ST (30 AMP)
- PASSENGER PWR. SEAT SW. - DRIVERS PWR. SEAT SW.
- MEMORY SEAT MOD.
- REAR DEFOGGER RELAY C/0 4 - RR DEFG (30 AMP)
C/B
5 - HD LTS (30 AMP) - HEADLIGHT RELAY - DAYTIME RUNNING UGHTS (DRL)
313
Page 329 of 398

Headlights
The headlight wiring is protected by a circuit breaker in the light switch.
An electrical overload will cause the lights to go on and off, or in some
cases to remain
off. If this happens, have your headlight wiring checked
right away.
Windshield Wipers
The windshield wiper motor is protected by a circuit breaker and a fuse.
If the motor overheats due to heavy snow, etc., the wiper will stop until
the motor cools. If the overload is caused by some electrical problem and
not snow, etc., be sure to get it fixed.
Power Windows and Other Power Options
Circuit breakers in the fuse panel protect the power windows and other
power accessories. When the current load is too heavy, the circuit breaker
opens and closes, protecting the circuit until the problem is fixed or goes
away.
316
fll