1994 CADILLAC FLEETWOOD ABS
[x] Cancel search: ABSPage 186 of 398

Anti-Lock Brakes (ABS)
Your Cadillac has an advanced electronic braking system that will help
prevent skidding.
This light on the
instrument panel will
go on when you start
your vehicle.
When you start your vehicle and begin to drive away, you may hear a
momentary motor or clicking noise. And you may even notice that your
brake pedal moves a little while this
is going on. This is the ABS system
testing itself.
If there’s a problem with the anti-lock brake system, the
anti-lock brake system warning light will stay on.
See “Anti-lock Brake System Warning Light’’ in the Index.
Here’s how anti-lock works. Let’s say the road is wet. You’re driving
safely. Suddenly an animal jumps out in front
of you.
173
Page 187 of 398
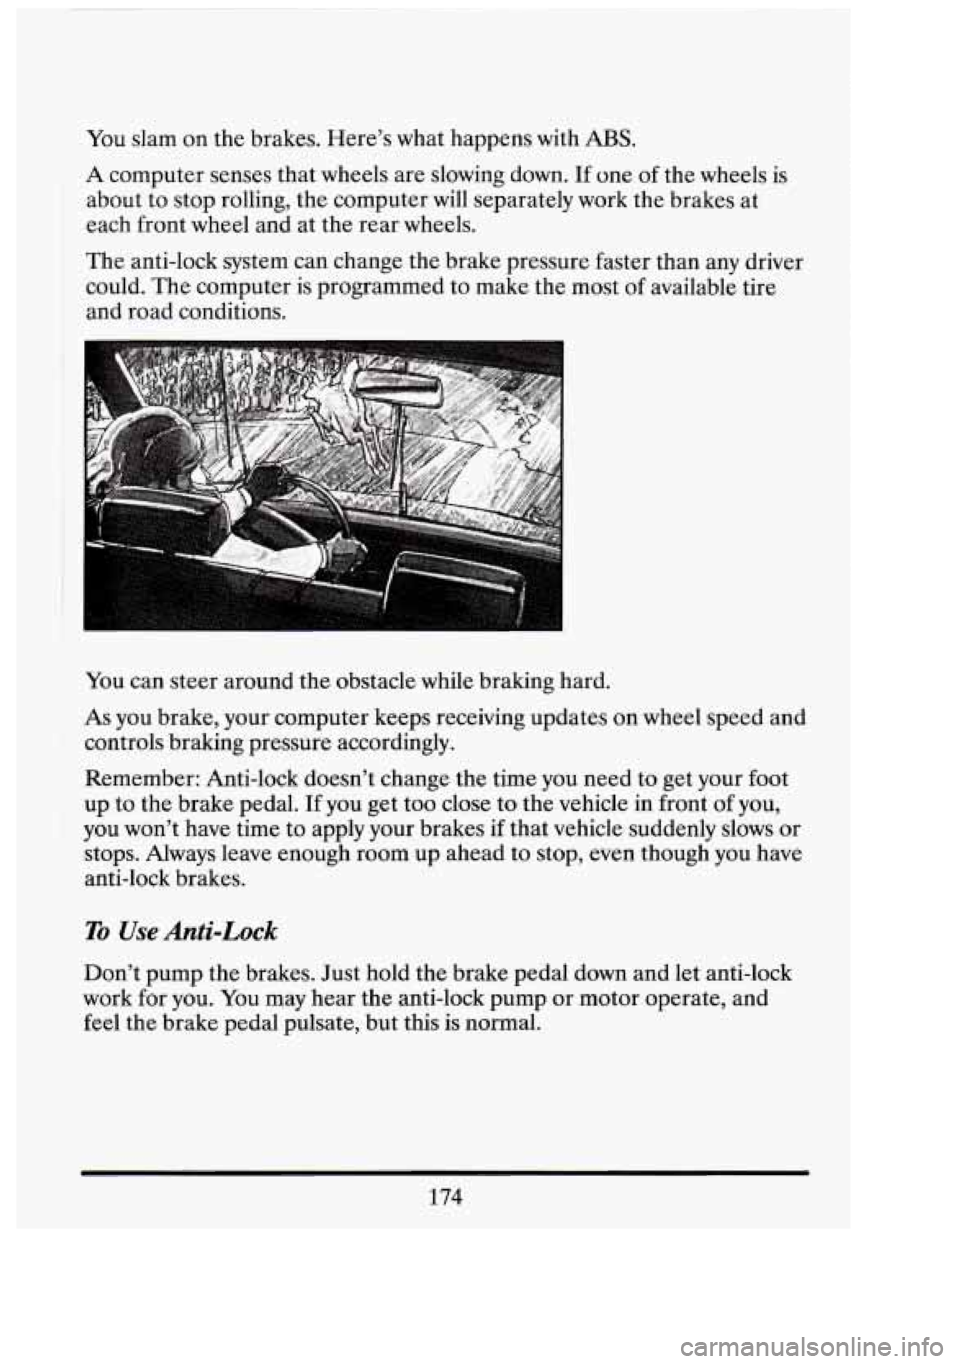
You slam on the brakes. Here's what happens with ABS.
A computer senses that wheels are slowing down. If one of the wheels is
about to stop rolling, the computer will separately work the brakes at
each front wheel and at the rear wheels.
The anti-lock system can change the brake pressure faster than any driver
could. The computer is programmed to make the most of available tire
and road conditions.
You can steer around the obstacle while braking hard.
As you brake, your computer keeps receiving updates on wheel speed and
controls braking pressure accordingly.
Remember: Anti-lock doesn't change the time you need to get your foot
up to the brake pedal. If you get too close to the vehicle in front of you,
you won't have time to apply your brakes if that vehicle suddenly slows or
stops. Always leave enough room up ahead to stop, even though you have
anti-lock brakes.
To Use Anti-Lock
Don't pump the brakes. Just hold the brake pedal down and let anti-lock
work for
you. You may hear the anti-lock pump or motor operate, and
feel the brake pedal pulsate, but this
is normal.
174
i
n!
Page 198 of 398
slide. You may not realize the surface is slippery until your vehicle is
skidding. Learn to recognize warning clues
-- such as enough water, ice or
packed snow on the road to make a “mirrored surface”
-- and slow down
when you have any doubt.
Remember: Any anti-lock braking system
(ABS) helps avoid only the
braking skid.
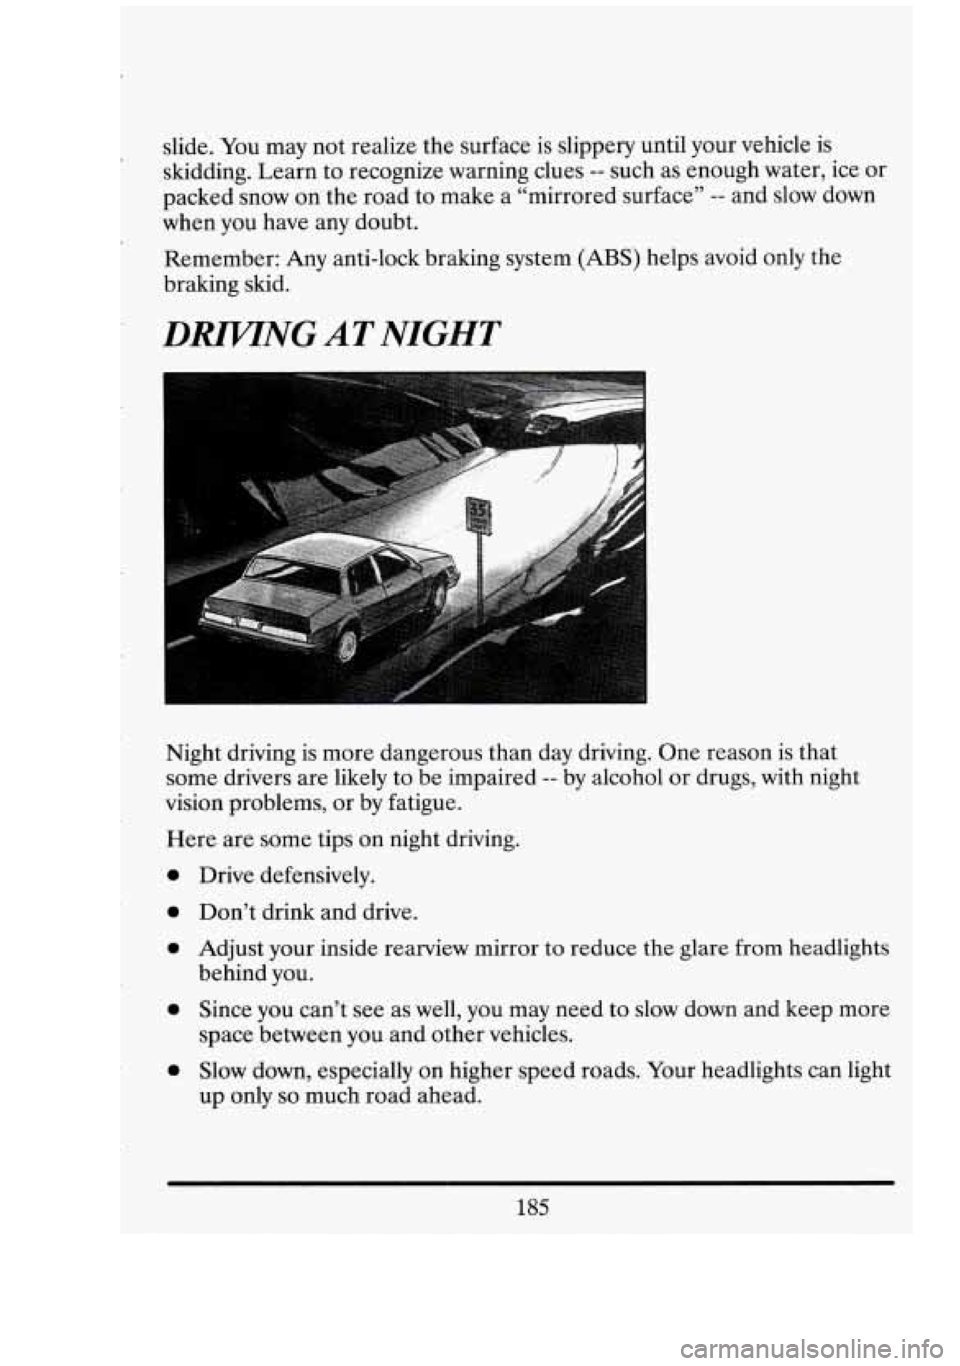
DRZWNG AT NIGHT
Night driving is more dangerous than day driving. One reason is that
some drivers are likely to be impaired
-- by alcohol or drugs, with night
vision problems, or by fatigue.
Here are some tips on night driving.
0
0
0
0
0
Drive defensively.
Don’t drink and drive.
Adjust your inside rearview mirror to reduce the glare from headlights
behind you.
Since you can’t see as well, you may need to slow down and keep more
space between you and other vehicles.
Slow down, especially on higher speed roads. Your headlights can light
up only
so much road ahead.
185
Page 223 of 398
On a long uphill grade, shift down to a lower gear and reduce your speed
and reduce your speed to around
45 mph (70 km/h) to reduce the
possibility of engine and transmission overheating.
If your trailer weighs more than
2,000 pounds (908 kg), you should drive
in “D or 3” instead of Overdrive. This allows the torque convertor clutch
to engage and allowing the transmission to run cooler.
Parking on Hills
You really should not park your vehicle, and trailer on a hill. If something
goes wrong your rig could start to move. People can be injured and both
I your vehicle and the trailer can be damaged.
If you eve1 have to park your rig on a hill, here’s how to do it:
Apply your regular brakes, but don’t shift into “P7, (Park) yet.
I Have someone place chocks (tapered triangular blocks) under the
downhill side the trailer wheels.
When the wheel chocks are in place, release the regular brakes until
Reapply the regular brakes. Then shift into “P” (Park) and apply the
Release the regular brakes.
the
chocks absorb the load.
parking brake.
When You Are Ready to Leave Afier Parking on a Hill
1. Apply your regular brakes and hold the pedal down while you:
Start your engine;
Shift into a gear; and
Be sure the parking brake has released.
2. Release the brake pedal.
3. Drive slowly until the trailer is clear of the chocks.
iI;
n
Gi
I B
h I1
-1
l
U1
a‘ I
210
4. Stop and have someone pick up and store the chocks.
Page 301 of 398
To install the wiper blade align the wiper arm pin with the hole on the
wiper blade assembly and snap it into place.
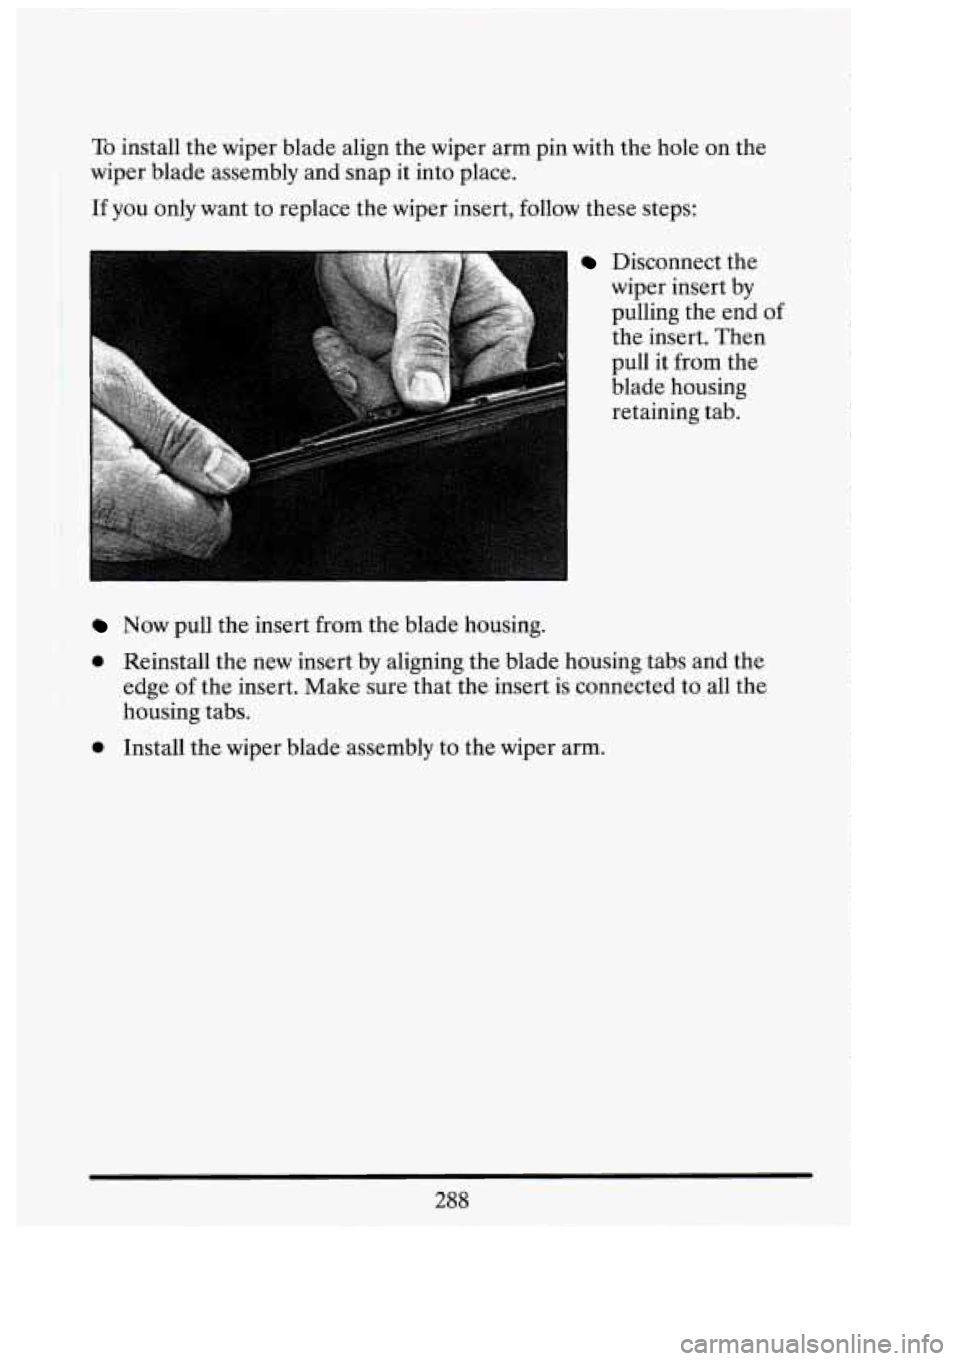
If you only want to replace the wiper insert, follow these steps:
I
Disconnect the
wiper insert by
pulling the end of
the insert. Then
pull it from the
blade housing
retaining tab.
Now pull the insert from the blade housing.
0 Reinstall the new insert by aligning the blade housing tabs and the
edge of the insert. Make sure that the insert is connected to all the
housing tabs.
0 Install the wiper blade assembly to the wiper arm.
288
UI
-1 I
n
Page 328 of 398

FUSE USAGE CHART
0
FOR MORE INFORMATION, SEE OWNER’S MANUAL
UNDERHOOD (U/H) ELECTRICAL CENTER BODY 1 (SO AMP)
I/P FUSE BLOCK
#3 PWR. SEAT CIRCUIT
BREAKER (30 AMP)
#36 TRUNK PULL-DOWN
#37 HAZARD LTS. (20 AMP)
(15 AMP)
#39 PWR. LUMBAR (20 AMP)
#40 HEATED SEAT (20 AMP)
#44 STOP LTS. (20 AMP)
#45 PWR. LOCK (20 AMP)
BODY 2 (50 AMP)
I/P FUSE BLOCK
- #21 RAP BAT (25 AMP)
- #22 HVAC MDL. (25 AMP) - #26 ELC. SENS. (20 AMP) - #27 D/INT LTS. (1 5 AMP) - #28 FRT CIG. (1 0 AMP) - #29 RR. CIG. (20 AMP) - #30 EBTCM (25 AMP) - #33 HVAC BAT (10 AMP) - #34 CCM BAT (10 AMP) - #35 PWR. MIR. (10 AMP) - #2 CIRCUIT BREAKER - RAP RLY (30 AMP) 3 - ION 1 (50 AMP) - I/P CONCEALED FUSE - RKE/UTD SA - I/P FUSE BLOCK - #6 T/SIS-ICA - #7 EBTCMDPS (1 0 AMP) - #8 RAP WPR. (25 AMP)
- #10 WIPER (25 AMP) - #9 RADIO (10 AMP)
- #li I/P IiDC (10 AMP) - #12 ELC. IGN. 1 (10 AMP) - #13 CHIME (10 AMP) - #14 CCM IGN 1 (10 AMP) - #15 AIR BAG (1 5 AMP) - #24 STARTER, U/H ELC. CNTR. - #15 PCM/IGN (10AMP) - #16 INJ 1 (10AMP) - #17 EMISSIONS (1 0 AMP) - #18 INJ 2 (10 AMP) 4 - ION 3 (40 AMP)
I/P FUSE BLOCK
- #16 GEN. (10 AMP) - #17 MEM. SEAT (10 AMP) - #18 CCM IGN 3 (10 AMP) - #19 RAP PWR. (30 AMP) - #20 A/C COMF! (10 AMP) - #25 HVAC IGN (10 AMP)
- BRAKE PRESSURE 5 - ABSRC (60 AMP)
MODULATOR VALVE (BPMV) 6 - NOT USED 7 - SCNDRY CLG FAN (40 AMP) - SECONDARY COOLING FAN
CNTRL. RELAY
8 - PRIMRY CLG FAN (40 AMP) - PRIMARY COOLING FAN
9 - LEVEL CNTRL. (30 AMP) CNTRL. REIAY
- AUTOMATIC LEVEL CNTRL.
10 - ENGINE (30 AMP) AIR COMR
- #13 PCM/FUEL PUMP (15 AMP) - #14 AIR PUMP (20 AMP)
11 - I/P FUSE BLOCK CIRCUIT
BREAKER
- #5 HDLTS (20 AMP) - #31 PARK LTS. (20 AMP) - #32 HORN (25 AMP) 12 - EMPTY 13 - PCM FUEL PUMP 115 AMP) - FUEL PUMP RELA? - FUEL PUMP AND ENGINE OIL PRESSURE INDICATOR SWITCH
MDL (PCM) - POWER TRAIN CONTRL.
14 - AIR PUMP (20 AMP) - SECONDARY AIR IN (AIR)
PUMP RELAY
15 - PCM IGN (10 AMP) - IGN COIL - ELECTRONIC TRANS. - (PCM) POWER TRAIN
CNTRL. MDL.
16- INJ 1 110AMP) ~ - FUEL I‘NJ 1,4,6,7 17 - EMISSIONS (10 AMP) - (A.I.R.) PUMP‘RELAY . - MASS AIR FLOW (MAF)
- HEATED OXYGEN SENSOR’S - EVAPORATIVE EMISSIONS
SENSOR
CANNISTER PURGE
SOLONOID VALVE
18- INJ 2 (10 AMP) - FUEL INJ 2,3,5,8
315
Page 376 of 398
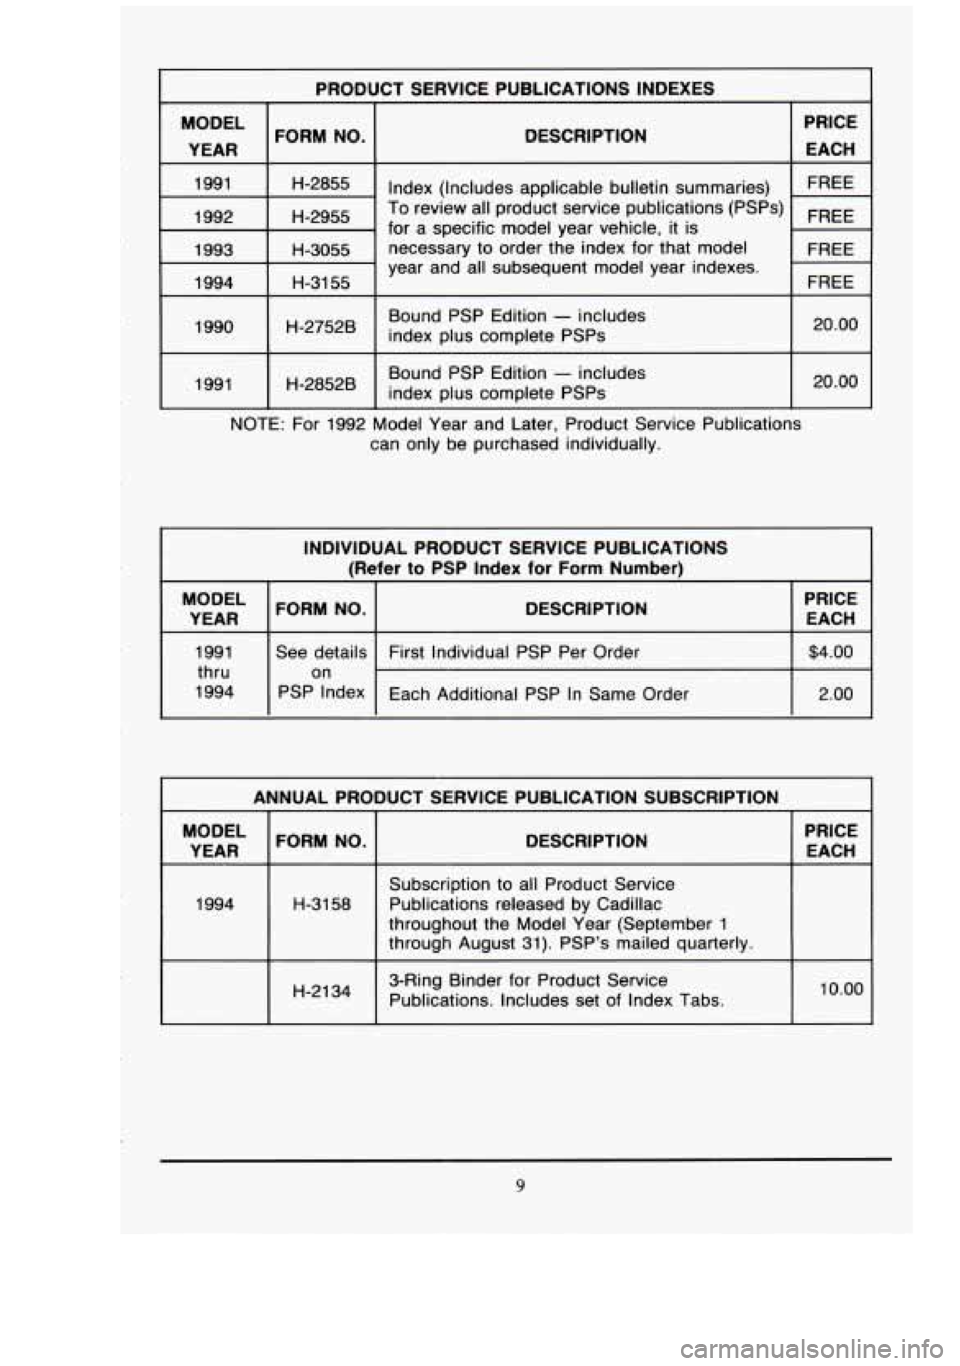
PRODUCT SERVICE PUBLICATIONS INDEXES
I YEAR 1 I FORM NO. DESCRIPTION
H-2855 Index
(Includes applicable bulletin summaries)
H-2955 To review all product service publications (PSPs)
for a specific model year vehicle, it is
1993 1-1-3055 necessary to order the index for that model
1994 I H-3155 IFREE year and all subsequent model year indexes.
I 1990 1 H-27528 I Bound PSP Edition - includes
index plus complete PSPs I 20.00
1 I I 1 I
I 1991 I H-2852B I Bound PSP Edition - includes
index plus complete PSPs I 20.00
~~
NOTE: For 1992 Model Year and Later, Product Service Publications
can only be purchased individually.
INDIVIDUAL PRODUCT SERVICE PUBLICATIONS
(Refer
to PSP Index for Form Number)
YEAR
1
FORM NO.
1991 See details
thru on
1994 PSP Index
DESCRIPTION
I I PRICE
1 EACH I I
First Individual PSP Per Order $4.00 ___~~ ~ ~~ ~~~~ ~~~~
Each Additional PSP In Same Order
I
I ANNUAL PRODUCT SERVICE PUBLICATION SUBSCRIPTION
DESCRIPTION
I PRICE EACH
1994 H-3158
H-2134
Subscription to all Product Service
Publications released by Cadillac
throughout the Model Year (September
1
through August 31). PSP’s mailed quarterly.
3-Ring Binder for Product Service
Publications. Includes set of Index Tabs.
10.00
9