1994 BUICK REGAL reset
[x] Cancel search: resetPage 102 of 308
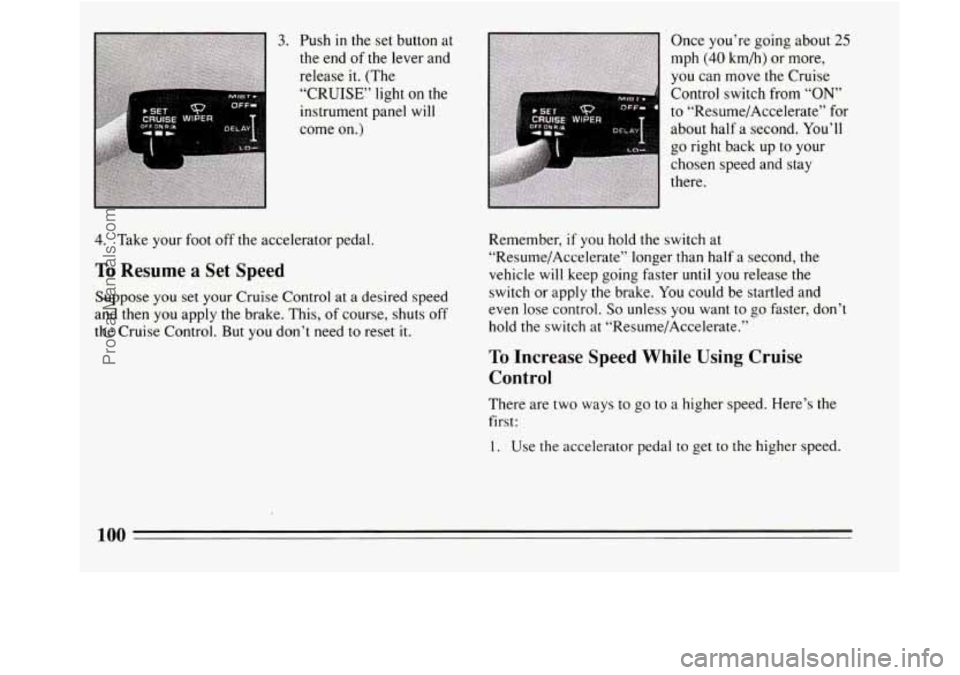
3. Push in the set button at
the end of the lever and
release it. (The
“CRUISE” light
on the
instrument panel will
come
on.)
4. Take your foot off the accelerator pedal.
To Resume a Set Speed
Suppose you set your Cruise Control at a desired speed
and then
you apply the brake. This, of course, shuts off
the Cruise Control. But
you don’t need to reset it. Once
you’re
going about 25
mph (40 km/h) or more,
you can move the Cruise
Control switch from
“ON’
to “Resume/Accelerate” for
about half a second. You’ll
go right back up to your
chosen speed and stay
there.
Remember,
if you hold the switch at
“Resume/Accelerate” longer than half a second, the
vehicle
will keep going faster until you release the
switch or apply the brake.
You could be startled and
even lose control.
So unless you want to go faster, don’t
hold
the switch at “Resume/Accelerate.”
To Increase Speed While Using Cruise
Control
There are two ways to go to a higher speed. Here’s the
first:
1. Use the accelerator pedal to get to the higher speed.
100
ProCarManuals.com
Page 114 of 308
Your Buick has a “tamper-resistant odometer.” If you
can see very noticeable bright silver lines between the
numbers, probably someone has tried to turn
it back.
The numbers may not be true.
You may wonder what happens
if a car has to have a
new odometer installed. If possible, the new one has to
be set to
the same reading as the old one. If it can’t be,
then it’s set at zero, and a label on the driver’s door must
show the old reading and when the new one
was
installed.
Trip Odometer
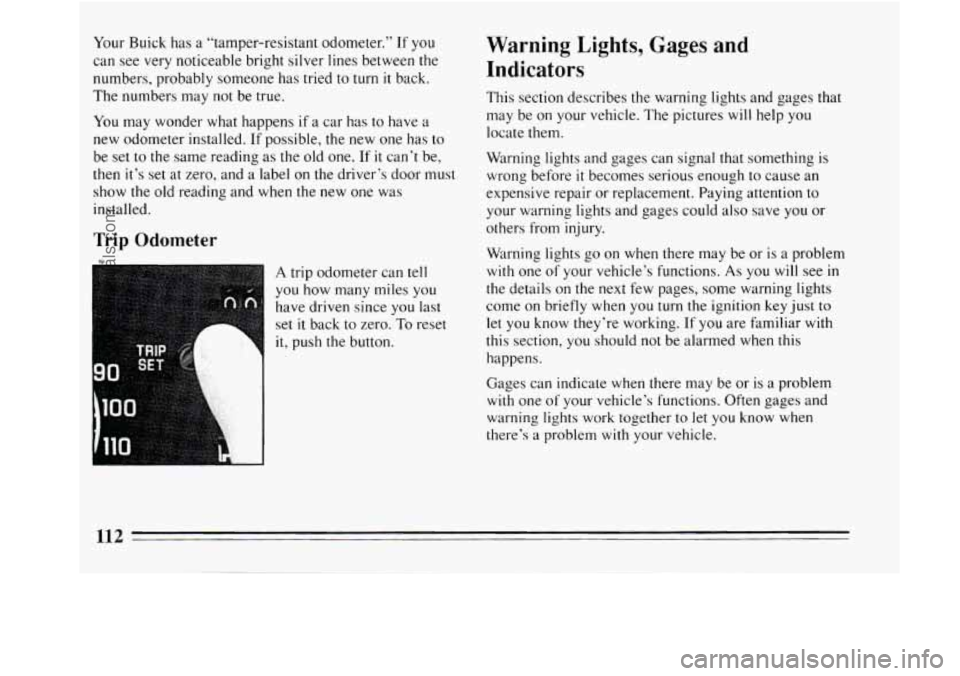
A trip odometer can tell
you how many miles you
have driven since
you last
set
it back to zero. To reset
it, push the button.
Warning Lights, Gages and
Indicators
This section describes the warning lights and gages that
may be on your vehicle. The pictures will help you
locate them.
Warning lights and gages can signal that something is
wrong before
it becomes serious enough to cause an
expensive repair or replacement. Paying attention to
your warning lights and gages could
also save you or
others from injury.
Warning lights
go on when there may be or is a problem
with one of your vehicle’s functions. As you will see in
the details on the next few pages, some warning lights
come on briefly when you turn the ignition key
just to
let you know they’re working.
If you are familiar with
this section, you should not be alarmed
when this
happens.
Gages can indicate when there may be or is a problem
with one of your vehicle’s functions. Often gages and
warning lights work together to let
you know when
there’s a problem
with your vehicle.
112
ProCarManuals.com
Page 118 of 308
go closer to the floor. It may take longer to stop. Have
the vehicle towed for service. (See “Towing Your Car”
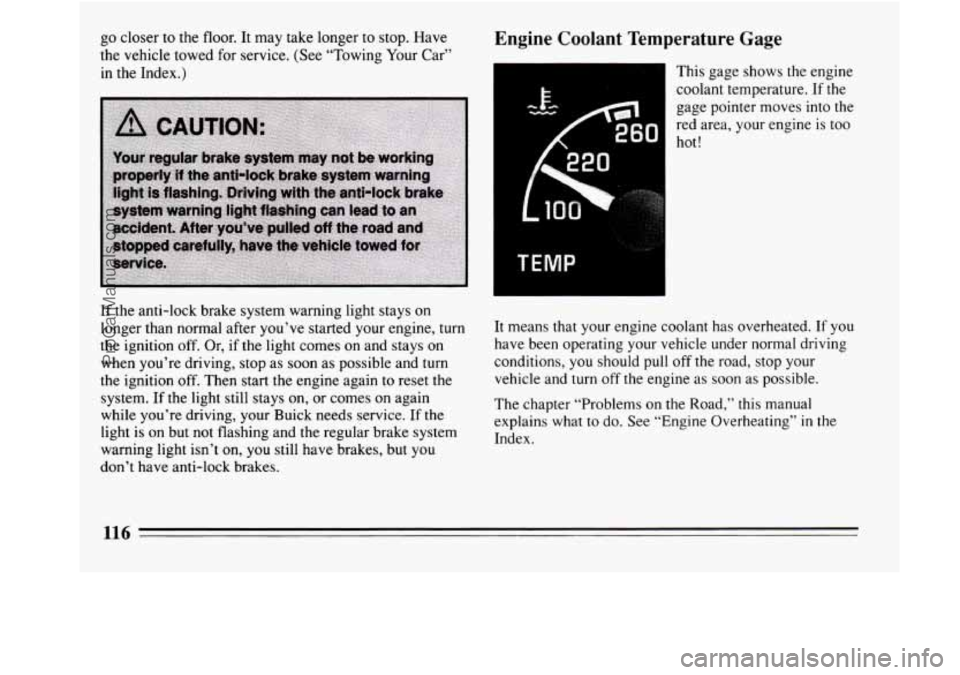
in the Index.) Engine Coolant Temperature Gage
This gage shows the engine
coolant temperature. If the
gage pointer moves into the
red area, your engine
is too
hot!
If the anti-lock brake system warning light stays on
longer than normal after you’ve started your engine, turn
the ignition off. Or,
if the light comes on and stays on
when you’re driving, stop as soon as possible and turn
the ignition off. Then start the engine again to reset the
system. If the light still stays on, or comes on again
while you’re driving, your Buick needs service. If the
light is on but not flashing and the regular brake system
warning light isn’t on,
you still have brakes, but you
don’t have anti-lock brakes. It means
that your engine coolant has overheated. If you
have been operating your vehicle under normal driving
conditions,
you should pull off the road, stop your
vehicle and turn off the engine as soon as possible.
The chapter “Problems on the Road,” this manual
explains what to do. See “Engine Overheating”
in the
Index.
116
ProCarManuals.com
Page 130 of 308
Scan
Press the SCAN button to hear each station for a few
seconds. Push it again
to stop scanning,
Pushbuttons
The five pushbuttons let you return to favorite stations.
To set the pushbuttons for up to ten stations (5 AM and
5 FM).
0 Tune in the desired station.
Press SET.
Within 5 seconds, push one of the pushbuttons.
Whenever
you push that button again, the preset
station
will return.
Repeat these steps for each pushbutton.
Clock
To set the clock,
Press SET. SET must be lit in VF displa
adjusting the clock. lefore
Within 5 seconds,
push and hold the SCAN button
until the correct minute appears.
0 Push and hold the SEEK button until the correct
hour appears.
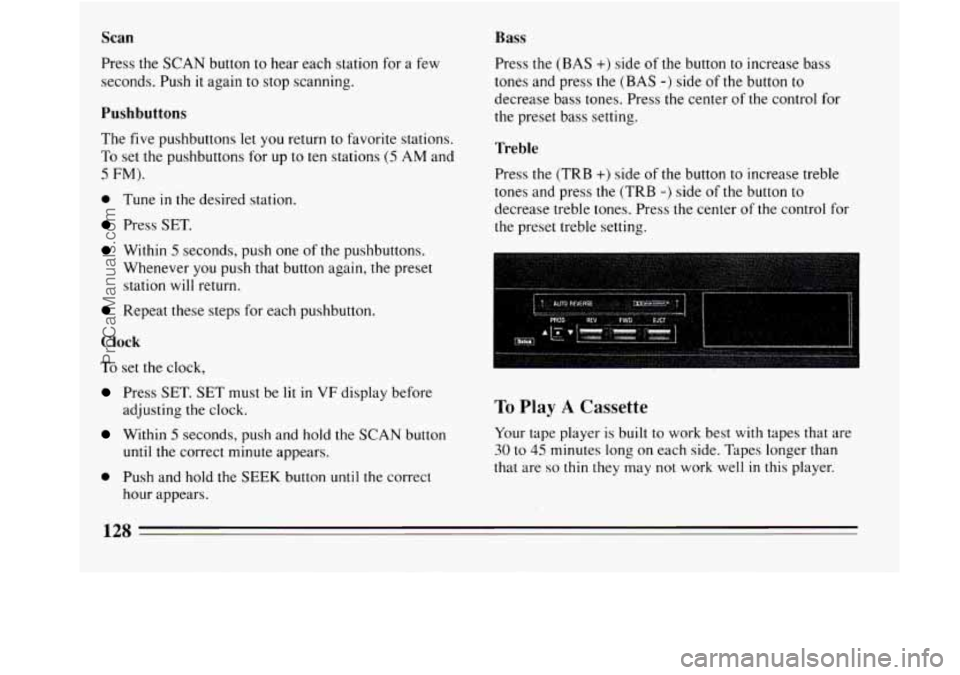
Bass
Press the (BAS +) side of the button to increase bass
tones and press the
(BAS -) side of the button to
decrease bass tones. Press the center of the control for
the preset bass setting.
Treble
Press the (TRB +) side of the button to increase treble
tones and press the (TRB
-) side of the button to
decrease treble tones. Press the center of the control for
the preset treble setting.
To Play A Cassette
Your tape player is built to work best with tapes that are
30 to 45 minutes long on each side. Tapes longer than
that are
so thin they may not work well in this player.
128
ProCarManuals.com
Page 134 of 308
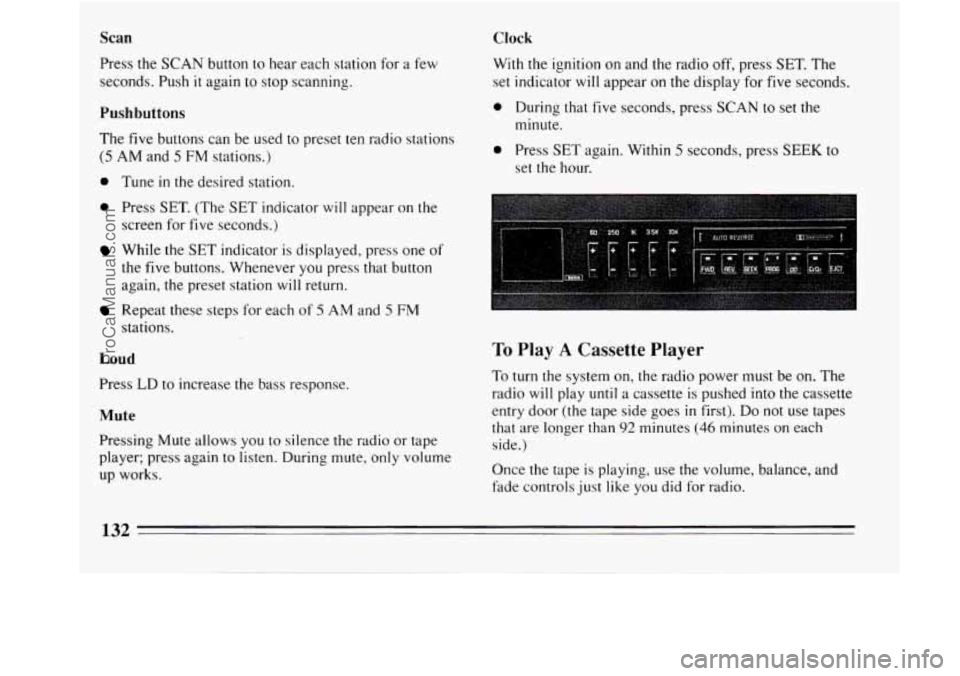
Scan
Press the SCAN button to hear each station for a few
seconds. Push
it again to stop scanning.
Pushbuttons
The five buttons can be used to preset ten radio stations
(5 AM and 5 FM stations.)
0 Tune in the desired station.
0 Press SET. (The SET indicator will appear on the
screen for five seconds.)
While the SET indicator is displayed, press one of
the five buttons. Whenever you press that button
again, the preset station
will return.
Repeat these steps for each of 5 AM and 5 FM
stations.
Loud
Press LD to increase the bass response.
Mute
Pressing Mute allows you to silence the radio or tape
player; press again to listen. During mute, only volume
up works.
Clock
With the ignition on and the radio off, press SET. The
set indicator
will appear on the display for five seconds.
0 During that five seconds, press SCAN to set the
minute.
0 Press SET again. Within 5 seconds, press SEEK to
set the hour.
To Play A Cassette Player
To turn the system on, the radio power must be on. The
radio
will play until a cassette is pushed into the cassette
entry door (the tape side goes
in first). Do not use tapes
that are longer than
92 minutes (46 minutes on each
side.)
Once the tape is playing, use the volume, balance, and
fade controls just like you did for radio.
132
ProCarManuals.com
Page 136 of 308
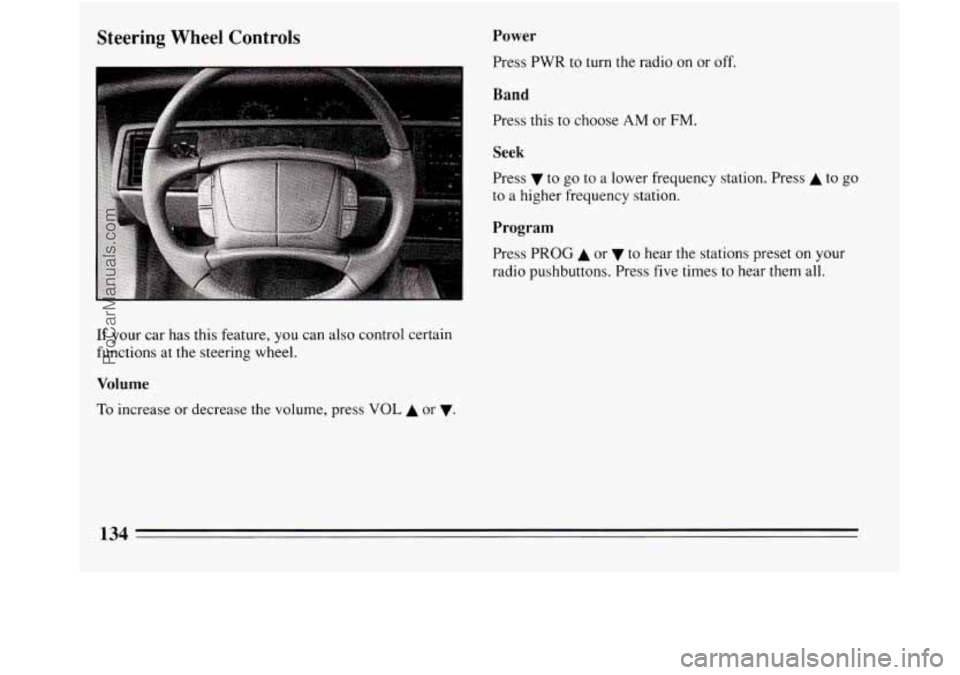
Steering Wheel Controls Power
Press PWR to turn the radio on or off.
Band
Press this to choose AM or FM.
I
Seek
Press v to go to a lower frequency station. Press A to go
to a higher frequency station.
Program
Press PROG A or to hear the stations preset on your
radio pushbuttons. Press five times
to hear them all.
If your car has this feature, you can also control certain
functions at the steering wheel.
Volume
To increase or decrease the volume, press VOL A or v.
134
ProCarManuals.com
Page 227 of 308
A CAUTION:
Turning the radiator pressure cap when the
engine
and radiator are hot can allow steam and
scalding liquids
to blow out and burn you badly.
With the coolant recovery tank, you will almost
never have
to add coolant at the radiator. Never
turn the radiator pressure cap -- even a little --
when the engine and radiator are hot.
Add coolant mix at the recovery tank, but be careful not
to spill it.
A CAUTION:
You can be burned if you spifl coolant on hot
engine parts. Coolant contains ethylene glycol,
and
it will burn if the engine parts are hot
enough. Don’t spill coolant on a hot engine.
Radiator Pressure Cap
NOTICE:
Your radiator cap is a 15 psi (1 05 kPa)
pressure-type cap and must be tightly installed
to prevent coolant
loss and possible engine
damage from overheating. Be sure the arrows on
the cap line up with the overflow tube on the
radiator filler neck.
When you replace your radiator pressure cap, an AC@
cap
is recommended.
Thermostat
Engine coolant temperature is controlled by a thermostat
in the engine coolant system. The thermostat stops the
flow of coolant through the radiator until the coolant
reaches a preset temperature.
When
you replace your thermostat, an AC@ thermostat
is recommended.
225
ProCarManuals.com
Page 243 of 308
Temperature - A, B, C
The temperature grades are A (the highest), B, and C,
representing the tire’s resistance to the generation of
heat and its ability
to dissipate heat when tested under
controlled conditions on a specified indoor laboratory
test wheel. Sustained high temperature can cause the
material of the tire
to degenerate and reduce tire life, and
excessive temperature can lead to sudden tire failure.
The grade
C corresponds to a level of performance
which all passenger car tires must meet under the
Federal Motor Vehicle Safety Standard
No. 109. Grades
B and A represent higher levels of performance on the
laboratory test
wheel than the minimum required by law.
Warning: The temperature grade for this tire is
established for a tire that is properly inflated and not
overloaded. Excessive speed, underinflation, or
excessive loading, either separately or
in combination,
can cause heat buildup and possible tire failure.
These grades are molded on
the sidewalls of passenger
car tires. While the tires
available as standard or optional
equipment
on General Motors vehicles may vary with
respect to these grades, all such tires meet General
Motors performance standards and have been approved
for use on General Motors vehicles. All passenger type
(P Metric) tires must conform to Federal safety
requirements
in addition to these grades.
Wheel Alignment and Tire Balance
The wheels on your vehicle were aligned and balanced
carefully at the factory to give you the longest tire life
and best overall performance.
In most cases, you will not need to have your wheels
aligned again. However,
if you notice unusual tire wear
or your vehicle pulling one way or the other, the
alignment may need to be reset. If you notice your
vehicle vibrating when driving on a smooth road, your
wheels may need to be rebalanced.
241
ProCarManuals.com