1994 BUICK REGAL inflation pressure
[x] Cancel search: inflation pressurePage 207 of 308
I NOTICE:
Compact Spare Tire
Although the compact spare was fully inflated when
your vehicle was new,
it can lose air after a time. Check
the inflation pressure regularly. It should be
60 psi (420
kPa). After installing the compact spare on your vehicle,
you should stop as soon as possible and make sure your
spare tire is correctly inflated. The compact spare
is
made to perform well at posted speed limits for
distances
up to 3,000 miles (5 000 km). The compact
spare is made to
go up to 3,000 miles (5 000 km), so you
can finish your trip and have
your full-size tire repaired
or replaced where you want. Of course, it’s best to
replace your spare with a full-size tire
as soon as you
can. Your spare will last longer and be
in good shape in
case you need it again.
Don’t take your compact spare through an
automatic car wash with guide rails. The
compact spare can get caught on the rails. That
can damage the tire and wheel, and maybe other
parts
of your vehicle.
Don’t use your compact spare on some other vehicle.
And don’t mix your compact spare or wheel with other
wheels or tires. They won’t fit. Keep your spare and its
wheel together.
NOTICE:
Tire chains won’t fit your compact spare. Using
them will damage your vehicle and destroy the
chains too. Don’t use tire chains on your
compact spare.
205
ProCarManuals.com
Page 236 of 308
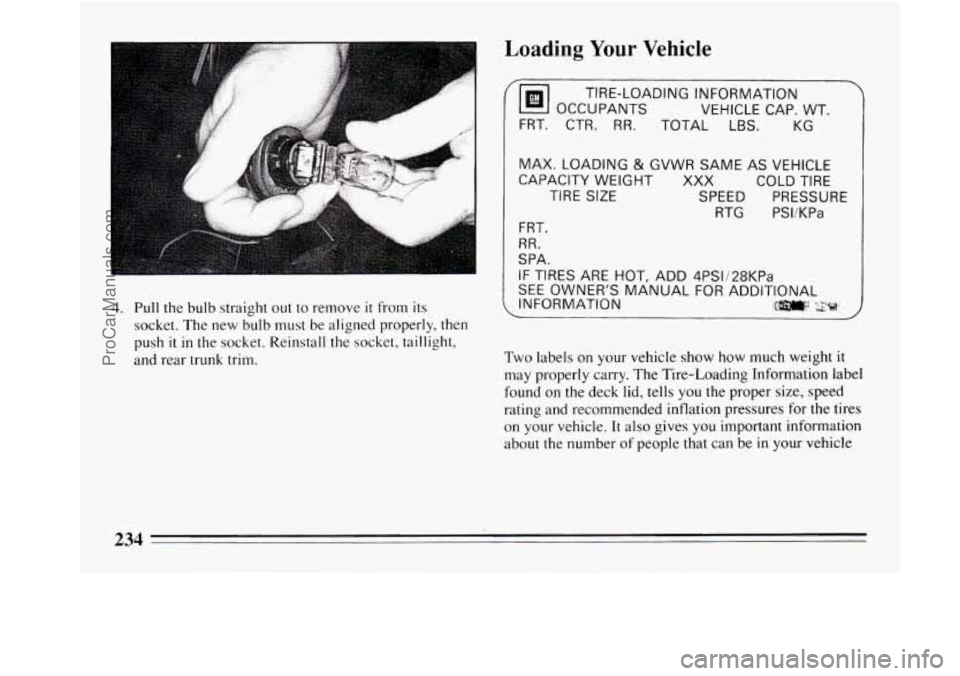
4. Pull the bulb straight out to remove it from its
socket. The new bulb
must be aligned properly, then
push
it in the socket. Reinstall the socket, taillight,
and rear
trunk trim.
Loading Your Vehicle
TIRE-LOADING INFORMATION
OCCUPANTS VEHICLE CAP. WT.
FRT. CTR.
RR. TOTAL LBS. KG
MAX. LOADING & GVWR SAME AS VEHICLE
CAPACITY WEIGHT XXX COLD TIRE
TIRE
SIZE SPEED PRESSURE
RTG
PSI/KPa
FRT.
RR.
SPA.
IF TIRES ARE HOT, ADD 4PS1/28KPa
SEE OWNER'S MANUAL FOR ADDITIONAL
, INFORMATION IlJ@#@i
Two labels on your vehicle show how much weight it
may properly carry. The Tire-Loading Information label
found on the deck lid, tells you the proper size, speed
rating and recommended inflation pressures for the tires
on your vehicle. It also gives you important information
about the number of people that can be in your vehicle
234
ProCarManuals.com
Page 239 of 308
Inflation - Tire Pressure
The Tire-Loading Information label which is on the deck lid
shows the correct inflation pressures for your tires, when
they’re cold. “Cold” means your vehicle has been sitting for
at least three hours or driven no more than a mile.
NOTICE:
Don’t let anyone tell you that underinflation or
overinflation is all right. It’s not. If your tires don’t
have enough air (underinflation) you can get:
0 Too much flexing
Too much heat
Tire overloading
Bad wear
0 Bad handling
Bad fuel economy.
If your tires have too much air (overinflation),
you can get:
Unusual wear
0 Bad handling
0 Rough ride
Needless damage from road hazards.
When to Check
Check your tires once a month or more.
Don’t forget your compact spare tire. It should be at
60
psi (420 kPa).
How to Check
Use a good quality pocket-type gage to check tire
pressure. Simply looking at the tires will not tell
you the
pressure, especially
if you have radial tires -- which
may look properly inflated even
if they’re underinflated.
If your tires have valve caps, be sure to put them back
on. They help prevent leaks by keeping out dirt and
moisture.
237
ProCarManuals.com
Page 240 of 308
Tire Inspection and Rotation
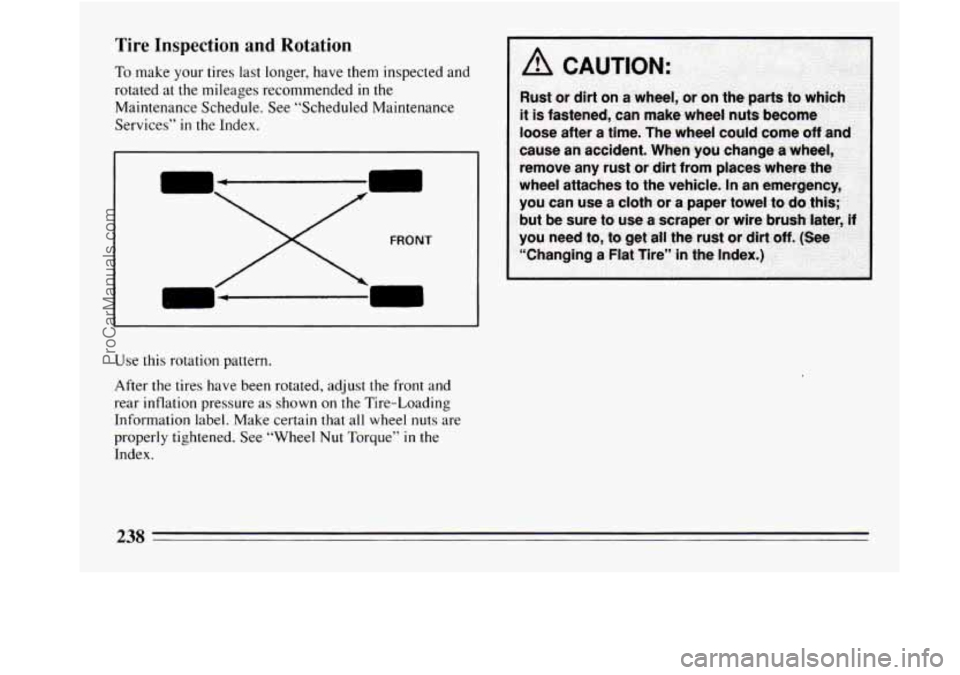
To make your tires last longer, have them inspected and
rotated at the mileages recommended
in the
Maintenance Schedule. See “Scheduled Maintenance
Services”
in the Index.
FRONT
Use this rotation pattern.
After the tires have been rotated, adjust the front and
rear inflation pressure as shown
on the Tire-Loading
Information label. Make certain that all wheel nuts are
properly tightened. See “Wheel Nut Torque”
in the
Index.
238
ProCarManuals.com
Page 277 of 308
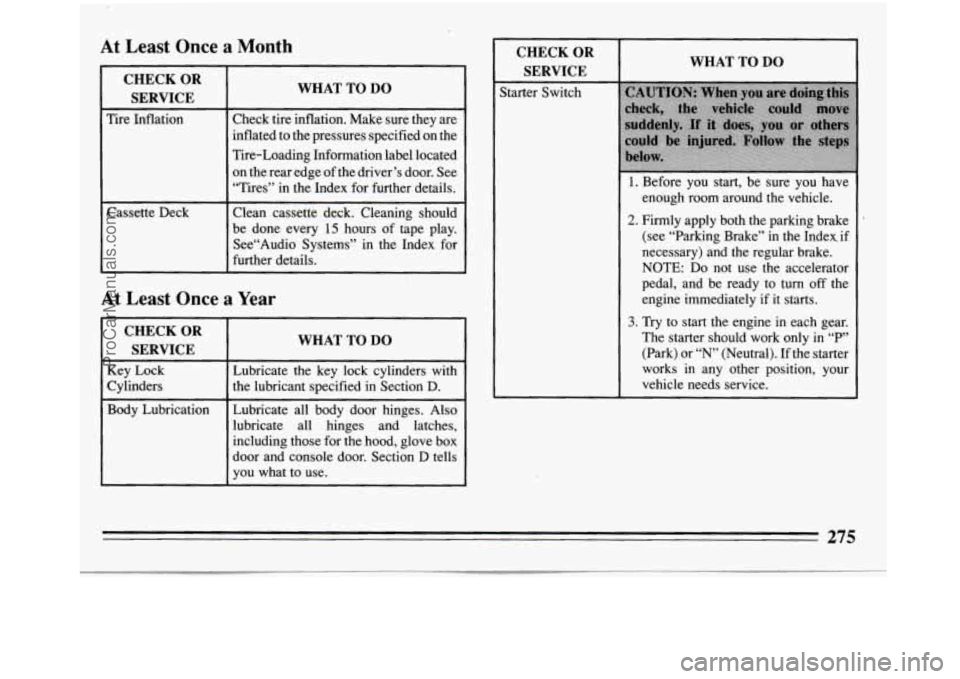
At Least Once a Month
CHECK OR
SERVICE
Tire Inflation
Cassette Deck
WHAT TO DO
Check tire inflation. Make sure they are
inflated to the pressures specified on the
Tire-Loading Information label located
on the rear edge of the driver’s door. See
“Tires” in the Index for further details.
Clean cassette deck. Cleaning should
be done every
15 hours of tape play.
See“Audio Systems” in the Index for
further details.
At Least Once a Year
CHECK OR
SERVICE
Key Lock
Cylinders
Body Lubrication
WHAT TO DO
Lubricate the key lock cylinders with
the lubricant specified in Section D.
Lubricate all body door hinges. Also
lubricate all hinges and latches,
including those for the hood, glove box
door and console door. Section
D tells
you what to use.
WHAT TO DO
1. Before you start, be sure you have
enough room around the vehicle.
2. Firmly apply both the parking brake
(see “Parking Brake” in the Index. if
necessary) and the regular brake.
NOTE: Do not use the accelerator
pedal, and be ready to turn
off the
engine immediately if
it starts.
3. Try to start the engine in each gear.
The starter should work only in
“P”
(Park) or “N’ (Neutral). If the starter
works in any other position, your
vehicle needs service.
275
ProCarManuals.com
Page 302 of 308
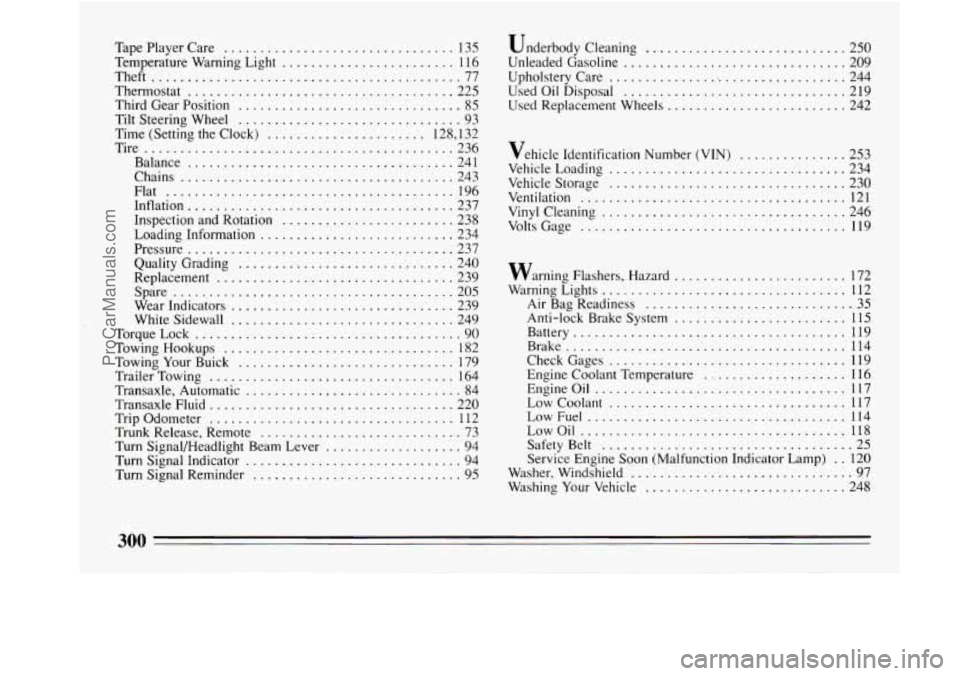
Tape Player Care ................................ 135
Temperature Warning Light
........................ 1 16
Theft
........................................... 77
Thermostat
..................................... 225
Third Gear Position
............................... 85
Tilt Steering Wheel
............................... 93
Time (Setting the Clock)
...................... 128. 132
Tire
........................................... 236
Balance
..................................... 241
Chains
...................................... 243
Flat
........................................ 196
Inflation
..................................... 237
Inspection and Rotation
........................ 238
Loading Information
........................... 234
Pressure
..................................... 237
Quality Grading
.............................. 240
Replacement
................................. 239
Spare
....................................... 205
Wear Indicators
............................... 239
White Sidewall
............................... 249
TorqueLock
..................................... 90
TowingHookups
................................ 182
Towing Your Buick
.............................. 179
Trailer Towing
.................................. 164
Transaxle. Automatic
.............................. 84
Transaxle Fluid
.................................. 220
Trip Odometer
.................................. 1 12
Trunk Release. Remote
............................ 73
Turn Signalmeadlight Beam Lever
................... 94
Turn Signal Indicator
.............................. 94
Turn Signal Reminder
............................. 95 Underbody
Cleaning
............................ 250
Unleaded Gasoline
............................... 209
Upholstery Care
.................................. 244
Used Oil Disposal
............................... 219
Used Replacement Wheels
......
Vehicle Identification Number (VI
Vehicle Loading ..............
Vehicle Storage ..............
.................. 242
N) ............... 253
.................. 234
.................. 230 . Ventilation ..................................... 121
Vinyl Cleaning .................................. 246
VoltsGage
..................................... 119
warning Flashers. Hazard
........................ 172
Warning Lights
.................................. 112
Air Bag Readiness ............................. 35
Anti-lock Brake System
........................ 115
Battery
...................................... 119
CheckGages
................................. 119
Brake
....................................... 114
Engine Coolant Temperature
.................... 116
Engineoil
................................... 117
LowCoolant
................................. 117
LowFuel
.................................... 114
LowOil
..................................... 118
Service Engine Soon (Malfunction Indicator Lamp)
. . 120
Washer. Windshield
............................... 97
Washing Your Vehicle
............................ 248
Safety Belt
................................... 25
300
ProCarManuals.com