Page 194 of 324
the trailer brakes so you’ll be able to install, adjust and
maintain them properly. Because you have anti-lock
brakes, do not try
to tap into you vehicle’s brake system.
If
you do, both brake systems won’t work well, or at all.
Driving with a Trailer
Towing a trailer requires a certain amount of experience.
Before setting out for the open road, you’ll want to get
to know your rig. Acquaint yourself with the feel of
handling and braking with the added weight of the
trailer. And always keep in mind that the vehicle you are
driving is now a good deal longer and not nearly
so
responsive as your vehicle is by itself.
Before you start, check the trailer hitch and platform,
safety chains, electrical connector, lights, tires and
mirror adjustment. If the trailer has electric brakes, start
your vehicle and trailer moving and then apply the
trailer brake controller by hand to be sure the brakes are
working. This lets you check your electrical connection
at the same time.
During your trip, check occasionally to be sure that the
load is secure, and that the lights and any trailer brakes
are still working.
Following Distance
Stay at least twice as far behind the vehicle ahead as you
would when driving your vehicle without a trailer. This
can help you avoid situations that require heavy braking
and sudden turns.
Passing
You’ll need more passing distance up ahead when
you’re towing a trailer. And, because you’re a good deal
longer, you’ll need
to go much farther beyond the
passed vehicle before you can return to your lane.
Backing Up
Hold the bottom of the steering wheel with one hand.
Then, to move the trailer to the
left, just move that hand
to the left.
To move the trailer to the right, move your
hand to the right. Always back up slowly and,
if
possible, have someone guide you.
Making Turns
When you’re turning with a trailer, make wider turns
than normal.
Do this so your trailer won’t strike soft
shoulders, curbs, road signs, trees, or other objects.
Avoid jerky or sudden maneuvers. Signal well in
advance.
192
ProCarManuals.com
Page 195 of 324
Turn Signals When Towing a Trailer
When you tow a trailer, your vehicle has to have a
different turn signal flasher and extra wiring. The green
arrows on your instrument panel
will flash whenever
you signal a turn or lane change. Properly hooked up,
the trailer lights
will also flash, telling other drivers
you’re about to turn, change lanes or stop.
When towing a trailer, the green arrows on your
instrument panel will flash for turns even
if the bulbs on
the trailer are burned out. Thus, you may
think drivers
behind you are seeing your signal when they are not. It’s
important to check occasionally to be sure the trailer
bulbs are still working.
Your vehicle has bulb warning lights. When you plug
trailer lights into your vehicle’s lighting system, its bulb
warning lights may not
let you know if one of your
lights goes out.
So, when you have trailer lights plugged
in, be sure to check your vehicle and trailer lights from
time to time to be sure they’re all working. Once you
disconnect the trailer lights, the bulb warning lights
again can tell you
if one of your vehicle lights is out.
Driving On Grades
Reduce speed and shift to a lower gear before you start
down a long or steep downgrade. If you don’t shift down,
you might have to use your brakes
so much that
they would get hot and no longer work well.
On a long uphill grade, shift down to “D or 3” (Drive)
and reduce your speed to around
45 mph (70 km/h) to
reduce the possibility of engine and transaxle
overheating.
Parking on Hills
You really should not park your vehicle, with a trailer
attached,
on a hill. If something goes wrong, your rig
could start to move. People can be injured, and both
your vehicle and the trailer can be damaged.
But
if you ever have to park your rig on a hill, here’s
how
to do it:
1. Apply your regular brakes, but don’t shift into “P”
(Park) yet.
2. Have someone place chocks under the trailer wheels.
3. When the wheel chocks are in place, release the
regular brakes until the chocks absorb the load.
4. Reapply the regular brakes. Then apply your parking
brake, and the shift to
“P” (Park).
5. Release the regular brakes.
193
ProCarManuals.com
Page 198 of 324
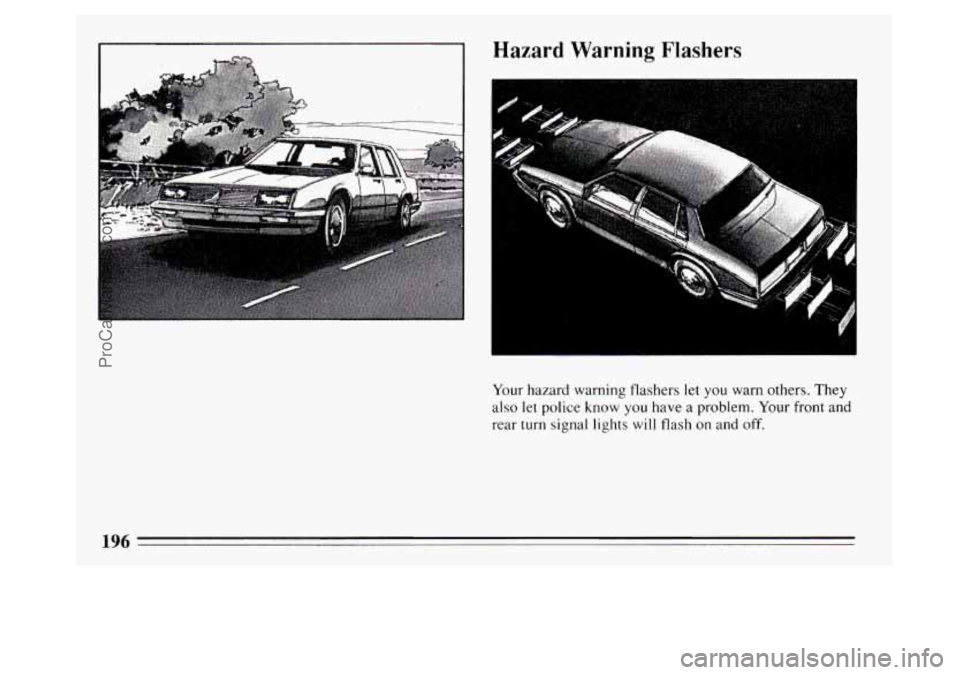
Hazard Warning Flashers
Your hazard warning flashers let you warn others. They
also let police
know you have a problem. Your front and
rear turn signal lights
will flash on and off.
196
ProCarManuals.com
Page 199 of 324
e I
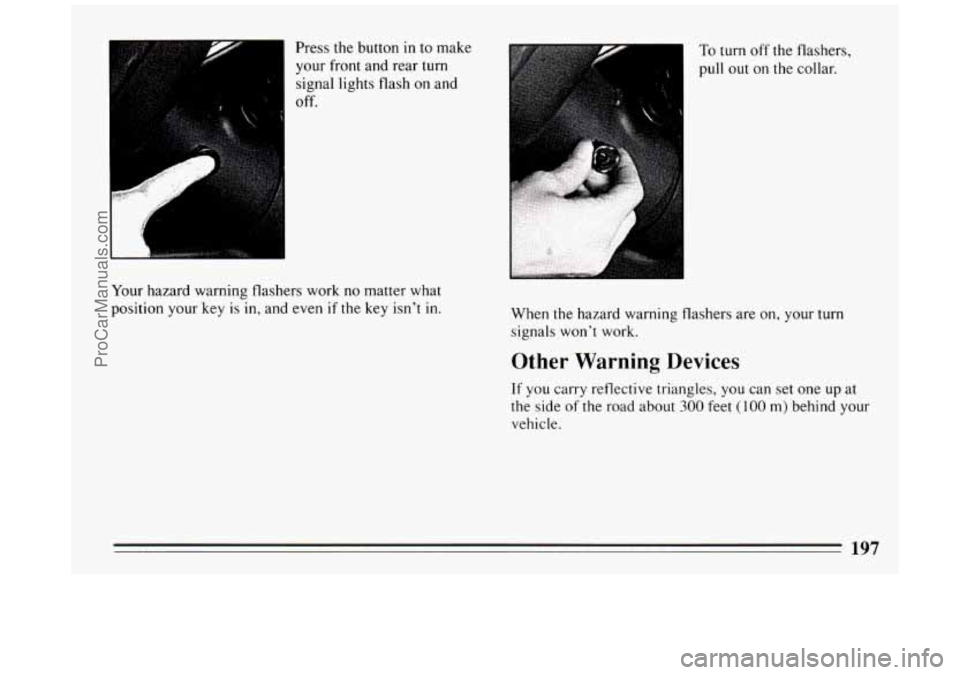
Press the button in to make
your front and rear turn
signal lights flash
on and
off.
I
Your hazard warning flashers work no matter what
position your key is in, and even
if the key isn’t in.
To turn off the flashers,
pull
out on the collar.
When
the hazard warning flashers are on, your turn
signals won’t work.
Other Warning Devices
If you carry reflective triangles, you can set one up at
the side of the road about
300 feet (100 m) behind your
vehicle.
197
ProCarManuals.com
Page 201 of 324
You could be injured if the vehicles roll. Set the
parking brake firmly
on each vehicle. Put an
automatic transaxle
in “P” (Park) or a manual
transaxle in “N” (Neutral).
3. Turn off the ignition on both vehicles. Turn off the
radios and all lights that aren’t needed. This
will
avoid sparks and help save both batteries. It could
save your radio!
NOTICE:
If you leave your radio on, it could be badly
damaged. The repairs wouldn’t be covered by
your warranty.
4. Open the hoods and locate the batteries. Find the positive
(+) and negative (-) terminals
on
each battery.
199
ProCarManuals.com
Page 249 of 324
Engine Coolant
The following explains your cooling system and how to
add coolant when
it is low. If you have a problem with
engine overheating, see “Engine Overheating” in the
Index.
The proper coolant for your Buick will:
0 Give freezing protection down to -34°F (-37 “C).
0 Give boiling protection up to 262°F (128 “C).
0 Protect against rust and corrosion.
0 Help keep the proper engine temperature,
Let the warning lights work as they should.
What to Use
Use a mixture of one-half clean water (preferably
distilled) and one-half antifreeze that meets “GM
Specification 1825-M,” which won’t damage aluminum
parts.
You can also use a recycled coolant conforming to
GM Specification 1825-M with a complete coolant flush
and refill. If you use this mixture,
you don’t need to add
anything else.
I NOTICE:
If you use an improper coolant mix, your engine
could overheat and be badly damaged. The
repair cost wouldn’t be covered by your
warranty. Too much water in the mix can freeze
and crack the engine, radiator, heater core and
other parts.
247
ProCarManuals.com
Page 259 of 324
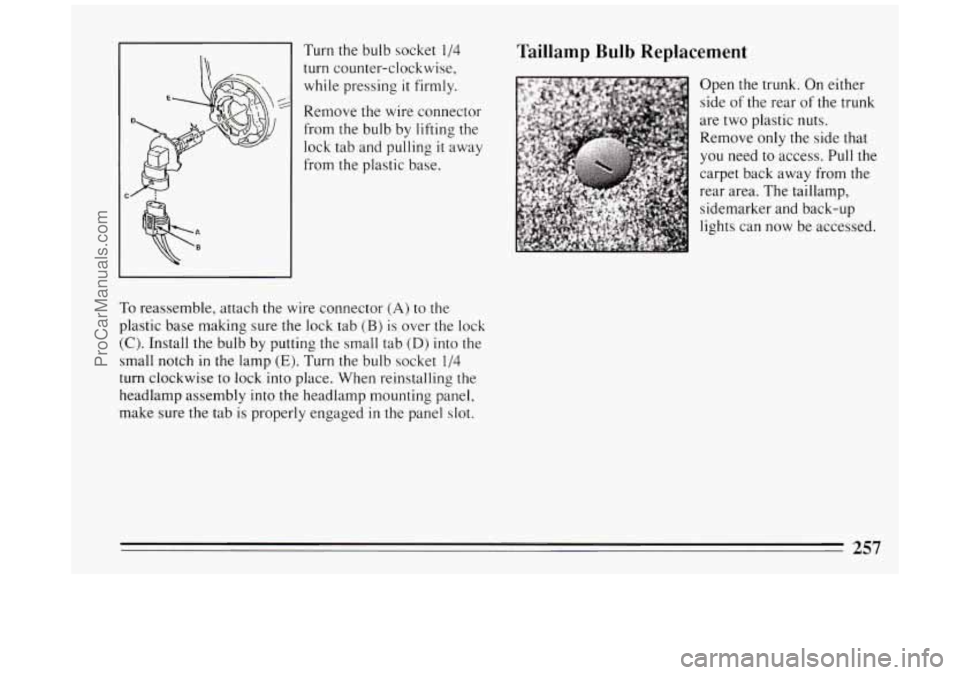
Turn the bulb socket 1/4
turn counter-clockwise,
while pressing
it firmly.
Remove
the wire connector
from the bulb by lifting
the
lock tab and pulling it away
from the plastic base.
To reassemble, attach the wire connector (A) to the
plastic base making sure the lock tab
(B) is over the lock
(C). Install the bulb by putting the small tab (D) into the
small notch
in the lamp (E). Turn the bulb socket 1/4
turn clockwise to lock into place. When reinstalling the
headlamp assembly
into the headlamp mounting panel,
make sure
the tab is properly engaged in the panel slot.
Taillamp Bulb Replacement
Open the trunk. On either
side
of the rear of the trunk
are two plastic nuts.
Remove only the side that
you need
to access. Pull the
carpet back away from the
rear area. The taillamp,
sidemarker and back-up
lights can now be accessed.
257
ProCarManuals.com
Page 280 of 324
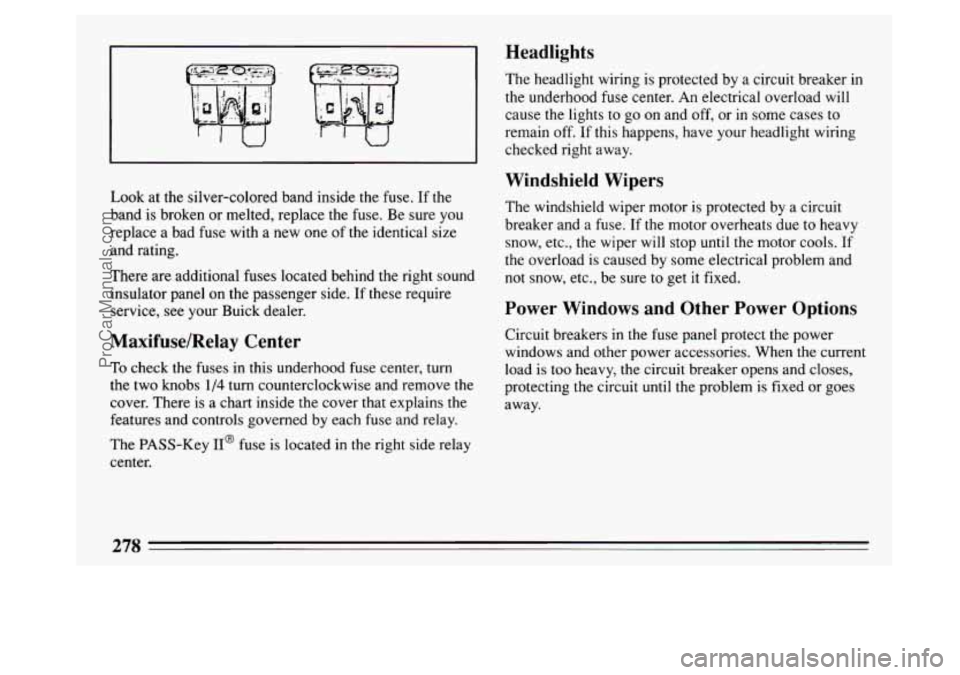
Look at the silver-colored band inside the fuse. If the
band is broken or melted, replace the fuse. Be sure
you
replace a bad fuse with a new one of the identical size
and rating.
There are additional fuses located behind the right sound
insulator panel on the passenger side. If these require
service, see your Buick dealer.
Maxifuse/Relay Center
To check the fuses in this underhood fuse center, turn
the two knobs
1/4 turn counterclockwise and remove the
cover. There is a chart inside the cover that explains the
features and controls governed by each fuse and relay.
The PASS-Key
II@ fuse is located in the right side relay
center.
Headlights
The headlight wiring is protected by a circuit breaker in
the underhood fuse center. An electrical overload will
cause the lights to go on and off, or in some cases to
remain off. If this happens, have your headlight wiring
checked right away.
Windshield Wipers
The windshield wiper motor is protected by a circuit
breaker and a fuse. If
the motor overheats due to heavy
snow, etc., the wiper will
stop until the motor cools. If
the overload is caused by some electrical problem and
not snow, etc., be sure to get it fixed.
Power Windows and Other Power Options
Circuit breakers in the fuse panel protect the power
windows and other power accessories. When the current
load is too heavy, the circuit breaker opens and closes,
protecting the circuit until the problem
is fixed or goes
away.
278
ProCarManuals.com