1993 PONTIAC GRAND-AM light
[x] Cancel search: lightPage 105 of 306

Comfort Controls & Audio Systems
Air Conditionina (CONI) -.
qg (Bi-Level): Use on cool, but
sunny days. This setting brings in the
outside air, but directs it in two ways.
The cool air is directed to the upper
portion of your body through the
instrument panel outlets, but slightly
warmer air is directed through the
heater ducts and defroster vents. At
times this temperature difference may be
more apparent than others.
The air conditioner compressor operates
in all three air conditioning positions. It
also operates in (Defrost) when
the outside temperature is higher than
about
40°F (4.5"C).
Ventilation
Use when outside temperatures are
mild, and little heating or cooling is
needed. Turn the right control knob to
2 (Vent). Air flow is directed
through the instrument panel outlets. Set
the center control knob to the
temperature desired.
Heating
Turning the right control knob to
72 (Heater) and the center control
knob clockwise will send heated air
through the heater ducts, and some
through the defroster vents.
3 (Vent) and (Heater) are
economical positions because the air
conditioner compressor doesn't run in
these two settings. This reduces engine
load, resulting in improved fuel
economy. If either setting fails to keep you
comfortable, or causes your windows
to fog up, turn the right control knob to
one of the air conditioning positions, or
to
(j@ (Defrost).
If you have the optional engine block
heater and use it during cold weather,
0°F (-18°C) or lower, your heating
system will more quickly provide heat
because the engine coolant is already
warmed. See the
Index under Engine
Block Heater.
flow equally between the heater ducts
and the windshield defroster vents.
vg (Blend): This setting divides air
Defrosting
The (@ (Defrost) setting directs most
air through the defroster vents, and
some through the heater ducts.
8.8 104
ProCarManuals.com
Page 106 of 306
I
Defogging Windows with
Air Conditioning System
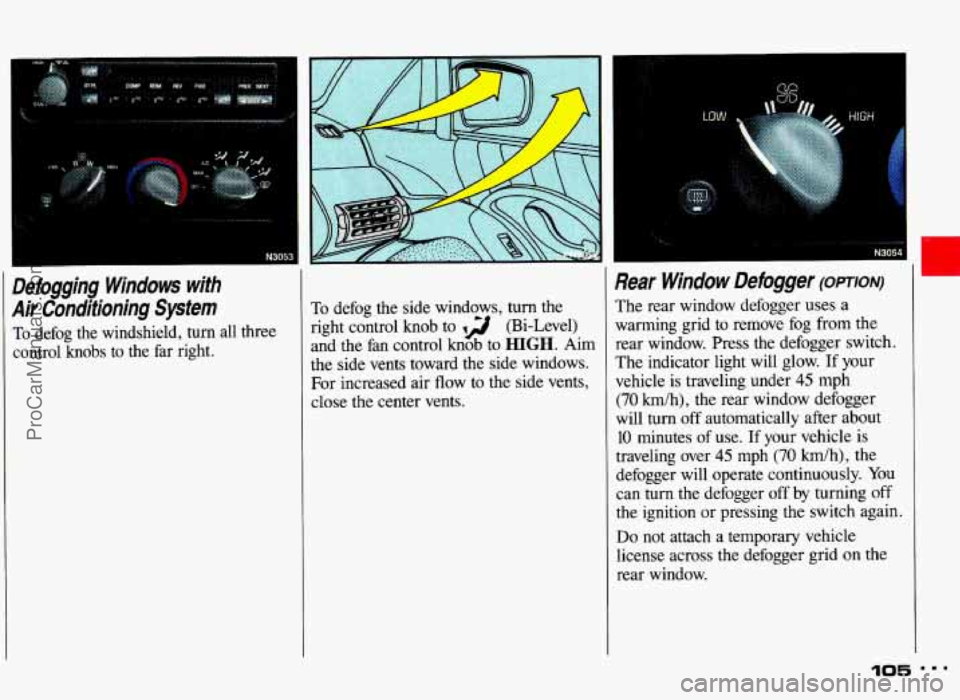
To defog the windshield, turn all three
control knobs to the far right. To defog
the side windows, turn the
right control knob to 12 (Bi-Level)
and the fan control knob to
HIGH. Aim
the side vents toward the side windows.
For increased air flow to the side vents,
close the center vents.
Rear Window Defogger (OPTION)
The rear window defogger uses a
warming grid to remove fog from the
rear window. Press
the defogger switch.
The indicator light will glow.
If your
vehicle is traveling under
45 mph
(70 kmlh), the rear window defogger
will turn off automatically after about
10 minutes of use. If your vehicle is
traveling over
45 mph (70 km/h), the
defogger will operate continuously. You
can
turn the defogger off by turning off
the ignition or pressing the switch again.
Do not attach a temporary vehicle
license across the defogger grid
on the
rear window.
105 ...
................. * N3054
ProCarManuals.com
Page 113 of 306

Comfort Controls & Audio Systems
AM/FM Stereo Radio with
Cassette Tape Player
and
Graphic Equalizer (CONT.)
To Preset Radio Stations:
The four pushbuttons below the digital
display can be used to preset up to
14
radio stations (seven AM and seven
FM).
1 . Tune in the desired station.
2. Press SET. The word SET will
appear on the digital screen for five
seconds.
3. While SET is displayed, press one of
the four pushbuttons. Whenever you
press this button again, the preset
station will be tuned in.
4. Repeat steps 1-3 for each of four AM
and four FM stations.
Up to three additional stations on each
band may be preset by “pairing”
pushbuttons:
1 . Tune in the desired station.
2. Press SET, and within five seconds
press any two adjacent pushbuttons at
the same time. Whenever you press
these two buttons again, the preset
station will be tuned in. Cassette Tape Player
With the power
on, insert a tape into the
cassette door.
Do not use tapes that are
longer than
45 minutes on each side.
When the indicator arrow pointing up is
lit, selections listed on the top side of
the cassette are playing. When the
indicator arrow pointing down is lit,
selections listed on the bottom side of
the cassette are playing. Press the upper
control knob to change sides
of a
cassette while it is playing. The tape
player automatically begins playing the other side when it reaches the end of a
tape.
FWD (Fast Forward): Press to advance
the tape rapidly. Press again to play the tape.
REV (Reverse): Press to reverse the
tape rapidly. Press again to play the
tape. SEARCH:’Move this switch to the
right
and the FWD and REV buttons will
function as a “music search:’ stopping
the cassette at the next selection on the tape. (There must be at least a three
second gap between selections on the
tape for this function to work.) The
ON
light will come on to indicate the music search is in progress.
EJECT To stop playing a tape, press
this button. The cassette will be
partially ejected, and the radio will
begin playing.
CrO,: This button sets tape bias. When
playing high bias bhrome or metal tapes,
press CrO, to
turn the button light on.
When playing standard tapes, press again to
turn the button light off.
ProCarManuals.com
Page 118 of 306
6. Press the lower knob (000 will
appear again on the display).
7. Press the SEEK, button until the
fourth digit of your code appears.
8. Rotate the lower knob right or left
until the fifth and sixth digits
of your
code appear.
9. Press the lower knob. If the display
shows
"---", the disabling sequence
was successful (the numbers matched
the user-selected code or
the factory
back-up code) and the audio system is in the
UNSECURED mode. If the
display shows
SEC, the disabling
sequence was unsuccessful and the
numbers did not match either
of the
codes. In this case, the audio system
will remain in the
SECURED mode.
To Unlock the System After a Power
Loss:
When battery power is reapplied to a
secured audio system after a loss of
power, the audio system will not turn on
and
LOC will appear on the digital
display. You will need to unlock the
Delco LOC
II@ system.
1 . Turn the ignition to the Accessory or
Run position, and turn the radio off.
2. Press SET, and 000 will appear on
the display.
3. Follow steps 4-8 for disabling your
anti-theft system.
4. Press the lower knob. The time will
appear on the digital display if you
are successful. If
SEC appears,
however, the numbers did not match
and your audio system is still locked.
Understanding Radio Reception
FM Stereo
FM stereo will give you the best sound,
but FM signals will reach only about
10 to 40 miles (16 to 65 km). Tall
buildings or hills can interfere with FM
signals, causing the sound to come and
go.
AM
The range for most AM stations is
greater than for FM, especially at night.
The longer range, however, can cause
stations to interfere with each other. AM
can also pick up noise from things like
storms and power lines.
To lower this
noise, try reducing the treble level.
AM Stereo
Your Delco@ system may be able to
receive C-Quam@ stereo broadcasts.
Many AM stations around the country
use C-Quam@ to produce stereo, though
some do not. C-Quam@ is a registered
trademark of Motorola, Inc. If your
Delco@ system can get C-Quam@
signals, your stereo indicator light will
come on when you are receiving it.
117 I..
ProCarManuals.com
Page 119 of 306
Comfort Controls & Audio Systems
Care of Your Cassette Tape
Player
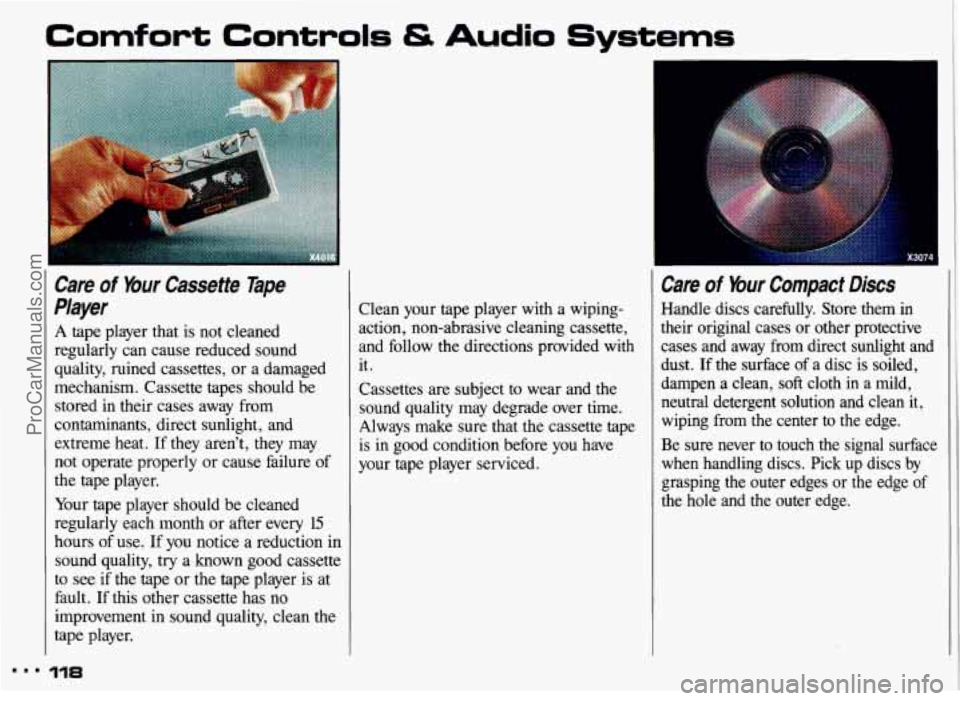
A tape player that is not cleaned
regularly can cause reduced sound
quality, ruined cassettes, or a damaged
mechanism. Cassette tapes should be stored in their cases away from
contaminants, direct sunlight, and
extreme heat. If they aren’t, they may
not operate properly
or cause failure of
the tape player.
Your tape player should be cleaned
regularly each month or after every 15
hours
of use. If you notice a reduction in
sound quality,
try a known good cassette
to see
if the tape or the tape player is at
fault. If this other cassette has no
improvement in sound quality, clean the
tape player.
118
Clean your tape player with a wiping-
action, non-abrasive cleaning cassette, and follow the directions provided with it.
Cassettes are subject to wear and the
sound quality may degrade over time.
Always make sure that the cassette tape
is in good condition before you have
your tape player serviced.
Care of Your Compact Discs
Handle discs carefully. Store them in
their original cases or other protective
cases and away from direct sunlight and
dust. If the surface
of a disc is soiled,
dampen a clean,
soft cloth in a mild,
neutral detergent solution and clean it,
wiping from the center to the edge.
Be sure never to touch the signal surface
when handling discs. Pick up discs by
grasping the outer edges or the edge
of
the hole and the outer edge.
ProCarManuals.com
Page 120 of 306
Fxed Mast Anfema
The fixed mast antenna can withstand
most vehicle washes without being
damaged. If
the mast should ever
become slightly bent, you can straighten
it out
by hand. If the mast is badly bent,
as it might be
by vandals, you shouId
replace it.
Check every once in a while to be sure
the mast is still tightened to the fender.
Powr Antenna Mast Care
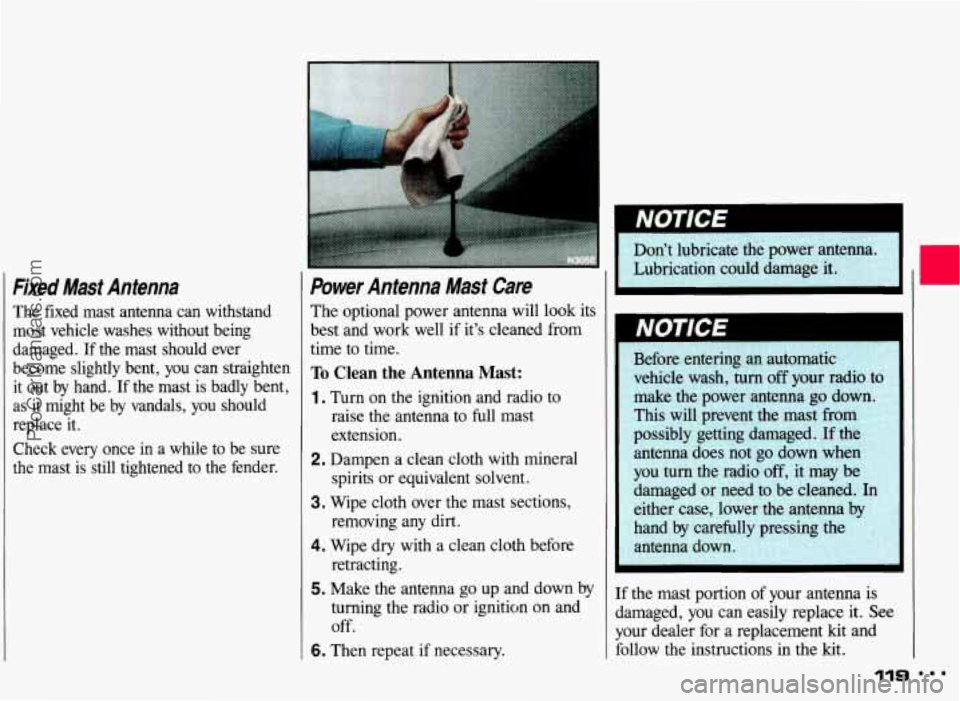
The optional power antenna will look its
best and work well
if it's cleaned from
time to time.
To Clean the Antenna Mast:
1. Turn on the ignition and radic
raise the antenna to full mast
extension.
2. Dampen a clean cloth with m
spirits or equivalent solvent.
3 to
ineral
3. Wipe cloth over the mast sections,
4. Wipe dry with a clean cloth before
removing any
dirt.
retracting.
5. Make the antenna go up and down by
turning the radio or ignition on and
off.
6. Then repeat if necessary.
If the mast portion of your antenna is
damaged,
YOU can easily replace it. See
your dealer for a replacement kit and
followf the instructions
in the kit.
ProCarManuals.com
Page 125 of 306
‘Your Driving and the Road
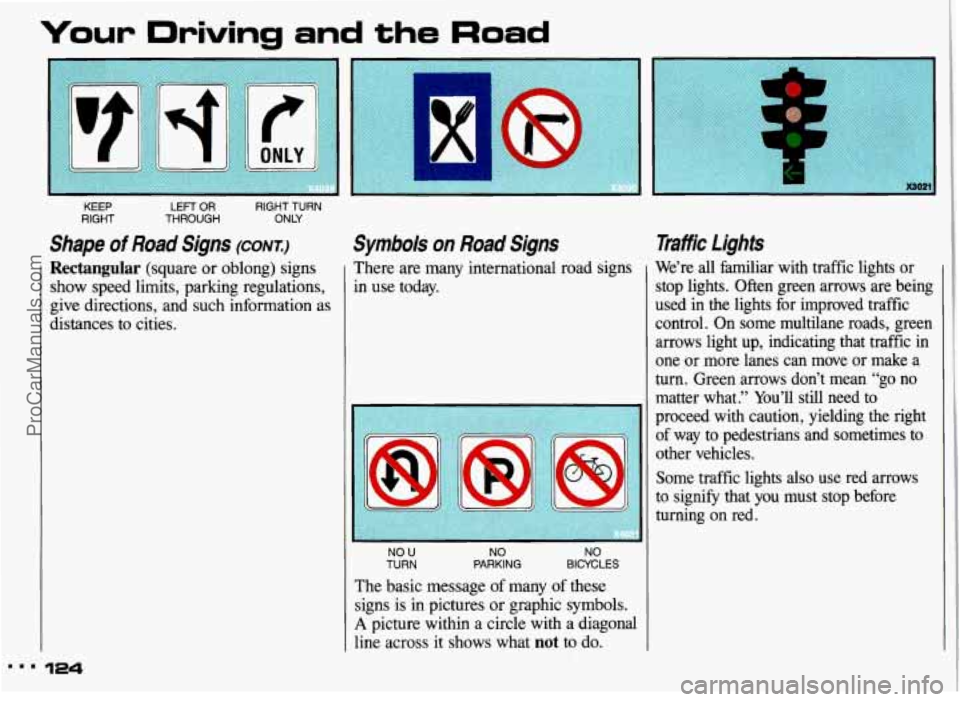
KEEP LEFT OR RIGHT TURN
RIGHT THROUGH ONLY
Shape of Road Signs (CONI)
Rectangular (square
or oblong) signs
show speed limits, parking regulations,
give directions, and such information as
distances to cities.
Symbols on Road Signs Traffic lights
There are many international road signs We’re
all familiar with traffic lights or I in use today.
NO U NO NO TURN PARKING BICYCLES
The basic message of many of these
signs is in pictures or graphic symbols.
A picture within a circle with a diagonal
line across it shows what
not to do. stop lights. Often green arrows are being
used in
the lights for improved traffic
control. On some multilane roads, green
arrows light up, indicating that traffic in
one or more lanes can move or make a
turn. Green arrows don’t mean “go no
matter what.” You’ll still need to
proceed with caution, yielding the right of way to pedestrians and sometimes to
other vehicles.
Some traffic
lights also use red arrows
to signify that you must stop before
turning on red.
ProCarManuals.com
Page 126 of 306
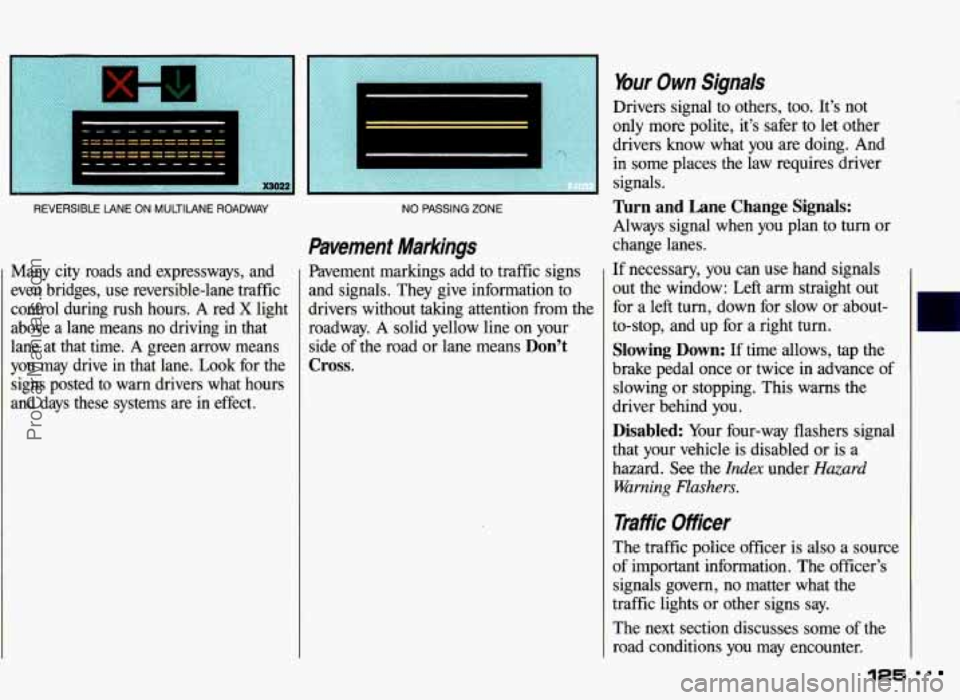
REVERSIBLE tANE ON MULTtlANE ROADWAY
Many city roads and expressways, and
even bridges, use reversible-lane traffic
control during rush hours.
A red X light
above a lane means no driving in that
lane at that time.
A green arrow means
you may drive in that lane. Look for the
signs posted to warn drivers what hours
and days these systems are in effect.
NO PASSING ZONE
Pavement Markings
Pavement markings add to traffic signs
and signals. They give information to
drivers without taking attention from the
roadway.
A solid yellow line on your
side of the road or lane means
Don’t
Cross.
bur Own Signals
Drivers signal to others, too. It’s not
only more polite, it’s safer to let other
drivers
know what you are doing. And
in some places the law requires driver
signals.
Turn and Lane Change Signals:
Always signal when you plan to turn or
change lanes.
If necessary,
you can use hand signals
out the window:
Left arm straight out
for
a left turn, down for slow or about-
to-stop, and up for a right turn.
Slowing Down: If time allows, tap the
brake pedal once or twice
in advance of
slowing
or stopping. This warns the
driver behind you.
Disabled: Your four-way flashers signal
that your vehicle is disabled
or is a
hazard. See the
Index under Hazard
Warning Flashers.
liffk Ofiiceer
The traffic police officer is also a source
of important information. The officer’s
signals govern, no matter what the
traffic lights or other signs
say.
The next section discusses some of the
road conditions you may encounter.
125
ProCarManuals.com