1993 PONTIAC BONNEVILLE ECO mode
[x] Cancel search: ECO modePage 27 of 322
Seats & Safety Belts
How the Air Bag System Works
(CON X)
Q: How does an air bag restrain?
A: In moderate to severe frontal or
near-frontal collisions, even belted
occilpants can contact the steering
wheel or the instrument panel. The
air bag supplements the protection
provided by safety belts. Air bags
distribute the force
of the impact
more evenly over the occupant’s
upper body, stopping the occupant
more gradually. But air bags would
not provide protection
in many types
of collisions, including rollovers and
rear and side impacts, primarily
because an occupant’s motion is not
toward the air bag. Air bags should
never be regarded as anything more
than a supplement
to safety belt
protection in moderate to severe frontal and near-frontal collisions.
Q: What will you see after an air bag
inflation?
A: After the air bag has inflated, it will
then quickly deflate. This occurs
so
quickly that some people may not
even realize that the air bag inflated.
The air bag will
not impede the
driver’s vision or ability to steer the
vehicle, nor will it hinder the
occupants from exiting the vehicle.
There will be small amounts of smoke
coming from vents in the deflated air
bag. Some components of the air bag
module in the steering wheel hub for
the driver’s air bag or the instrument
panel for the passenger’s bag may be
hot for a short time, but the portion
of the bag that comes into contact
with
you will not be hot to the touch.
The nitrogen gas used to inflate the air
bag will have vented into the
passenger compartment, and
the bag
will be deflated within seconds after the collision. Nitrogen makes
up
about 80% of the air we breathe and
is not hazardous.
As the nitrogen
vents from the bag, small particles
are also vented into
the passenger
compartment.
In many crashes severe enough to
inflate an air bag, windshields may
be broken by vehicle deformation.
Additional windshield breakage may
occur in vehicles with passenger air
bags because the windshield acts as a
reaction surface for the inflating air
bag.
mm. 26
L ProCarManuals.com
Page 67 of 322
Features & Controls
Forward Gears (CONT.)
1 (First Gear): This position gives you
even more power (but lower fuel
economy) than
2. You can use it on very
steep hills, or in deep snow or
mud. If
the selector lever is put in
1, the
transaxle won’t shift into first gear until
the vehicle is going slowly enough.
66
If your front wheels can’t rotate,
don’t try to drive. This might
happen if you were stuck
in very
deep sand or mud or were up
against a solid object. You could
damage your transaxle.
Also,
if you stop when going uphill,
don’t hold your vehicle there with
only the accelerator pedal. This
could overheat and damage the
transaxle.
Use your brakes or shift
into
P (Park) to hold your vehicle
in position
on a hill.
Performance Shifting (opTIoN)
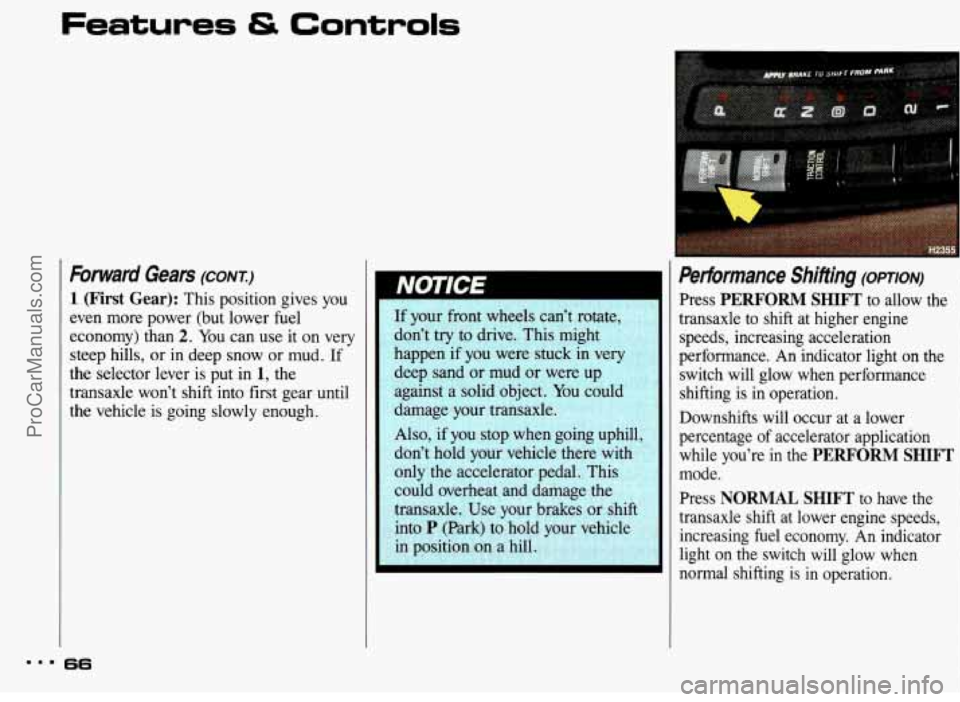
Press PERFORM SHIFT to allow the
transaxle to shift at higher engine
speeds, increasing acceleration
performance. An indicator light on the
switch will glow when performance
shifting is in operation.
Downshifts will occur at a lower
percentage
of accelerator application
while you’re in the
PERFORM SHIFT
mode.
Press
NORMAL SHIFT to have the
transaxle shift at lower engine speeds, increasing fuel economy. An indicator
light on the switch will glow when
normal shifting is in operation.
ProCarManuals.com
Page 77 of 322
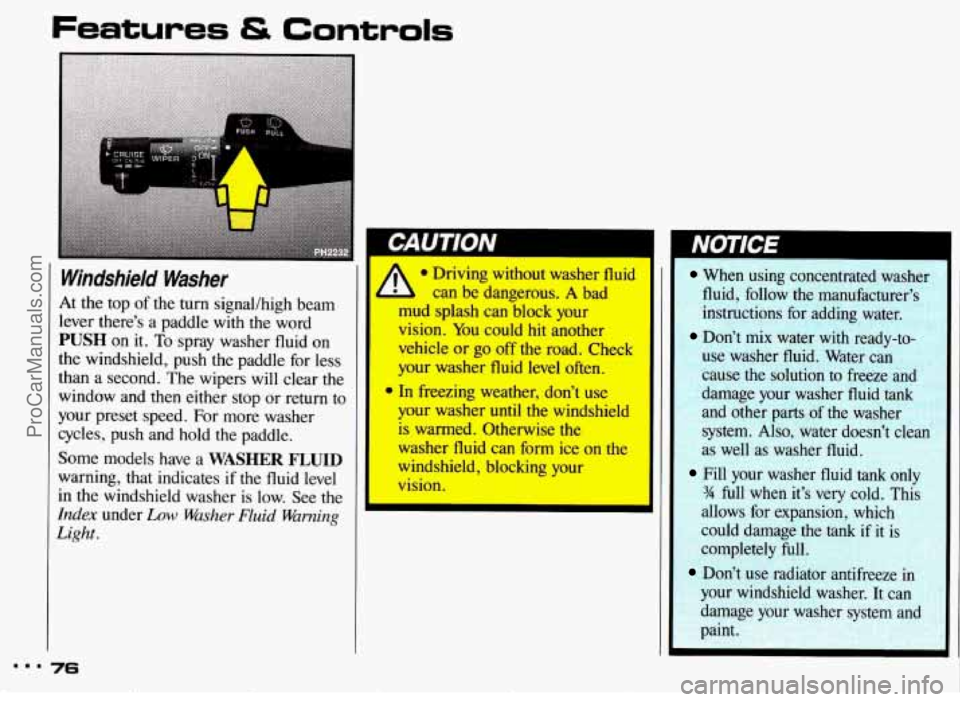
Windshield Washer
At the top of the turn signal/high beam
lever there’s a paddle with the word
PUSH on it. To spray washer fluid on
the windshield, push the paddle for less
than a second. The wipers will clear the
window and then either stop or return to
your preset speed. For more washer
cycles, push and hold the paddle.
Some models have a
WASHER FLUID
warning, that indicates if the fluid level
in the windshield washer is low. See the
Index under Low Washer Fluid Warning
Light.
When using concentrated washer
fluid, follow the manufacturer’s
instructions for adding water.
Don’t mix water with ready-to-
use washer fluid. Water can
cause the solution
to freeze an ’
damage your washer fluid tank
and other parts of the washer
system.
Also, water doesn’t clean
as well as washer fluid.
Fill your washer fluid tank only
% full when it’s very cold. This
allows for expansion, which
could damage the
tank if it is
completely full.
Don’t use radiator antifreeze in
your windshield washer. It can
damage your washer system and
paint.
Y ProCarManuals.com
Page 112 of 322
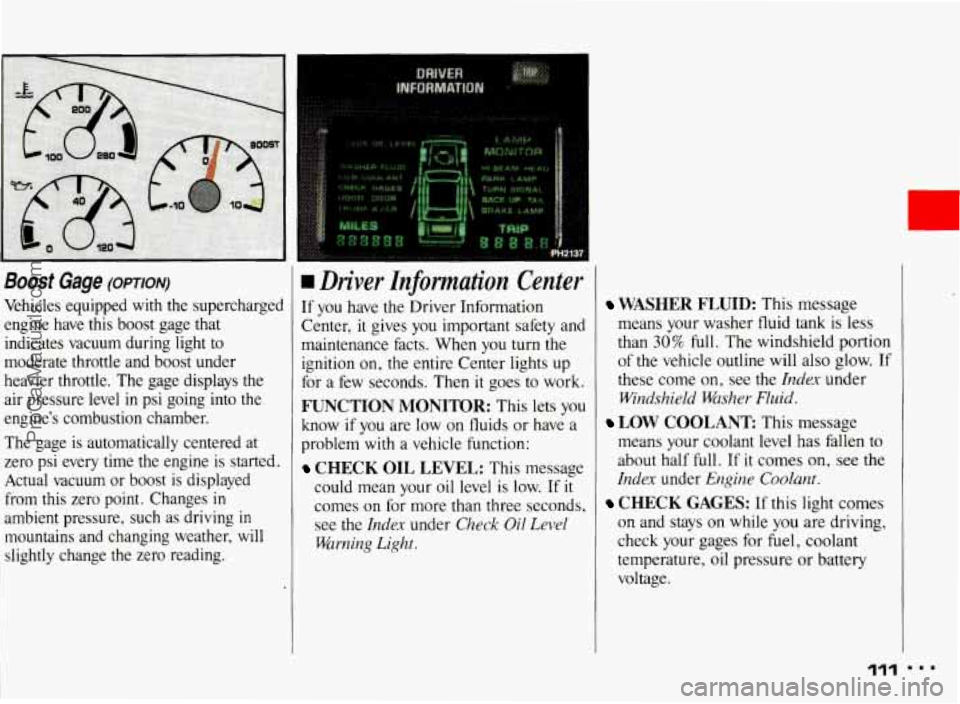
Boost Gage (OPTION)
Vehicles equipped with the supercharged
engine have this boost gage that indicates vacuum during light to
moderate throttle and boost under
heavier throttle. The gage displays the
air pressure level
in psi going into the
engine’s combustion chamber.
The gage is automatically centered at
zero psi
every time the engine is started.
Actual vacuum or boost
is displayed
from this zero point. Changes
in
ambient pressure, such as driving in
mountains and changing weather, will slightly change
the zero reading.
I
rn Driver Znformation Center
If you have the Driver Information
Center, it gives you important safety and
maintenance facts. When you turn the ignition on, the entire Center lights up
for a few seconds. Then it goes to work.
FUNCTION MONITOR: This lets you
know if you are low
on fluids or have a
problem with a vehicle function:
CHECK OIL LEVEL: This message
could mean your oil level is low. If
it
comes on for more than three seconds, see
the Index under Check Oil Level
Warning Light.
WASHER FLUID: This message
means your washer fluid tank is less
than
30% full. The windshield portion
of the vehicle outline will also glow. If
these come on, see the
Index under
Windshield Washer Fluid.
means your coolant level has fallen to
about half full. If it comes on,
see the
Index under Engine Coolant.
CHECK GAGES: If this light comes
on and stays on while
you are driving,
check your gages for fuel, coolant
temperature, oil pressure or battery
voltage.
LOW COOLANT This message
111
ProCarManuals.com
Page 114 of 322
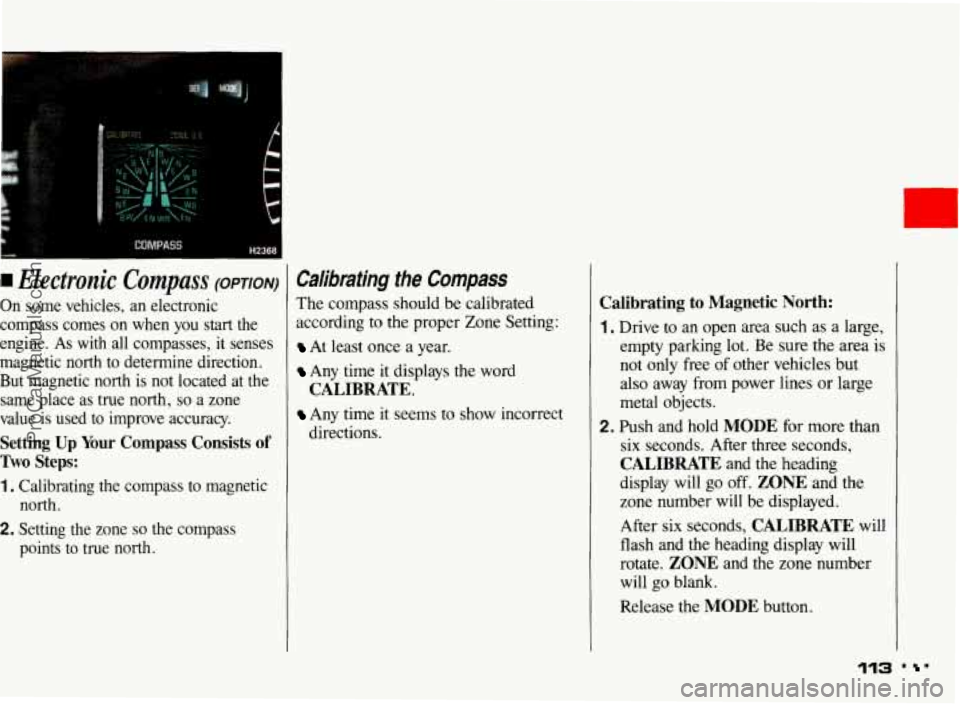
I Electronic Compass (OPTION)
On some vehicles, an electronic
compass comes on when you start the
engine. As
with all compasses, it senses
magnetic north to determine direction.
But magnetic north is not located at the same place as true north,
so a zone
value is used to improve accuracy.
Setting Up Your Compass Consists of
Two Steps:
1. Calibrating the compass to magnetic north.
2. Setting the zone so the compass
points to true north.
Calibrating the Compass
The compass should be calibrated
according to the proper Zone Setting:
At least once a year.
Any time it displays the word
Any time it seems to show incorrect
CALIBRATE.
directions.
Calibrating to Magnetic North:
1. Drive to an open area such as a large,
empty parking lot. Be sure the area is
not only free
of other vehicles but
also away from power lines or large
metal objects.
2. Push and hold MODE for more than
six seconds. After
three seconds,
CALIBRATE and the heading
display will
go off. ZONE and the
zone number will be displayed.
After six seconds,
CALIBRATE will
flash and the heading display will
rotate.
ZONE and the zone number
will go blank.
Release the
MODE button.
113 . '
ProCarManuals.com
Page 116 of 322
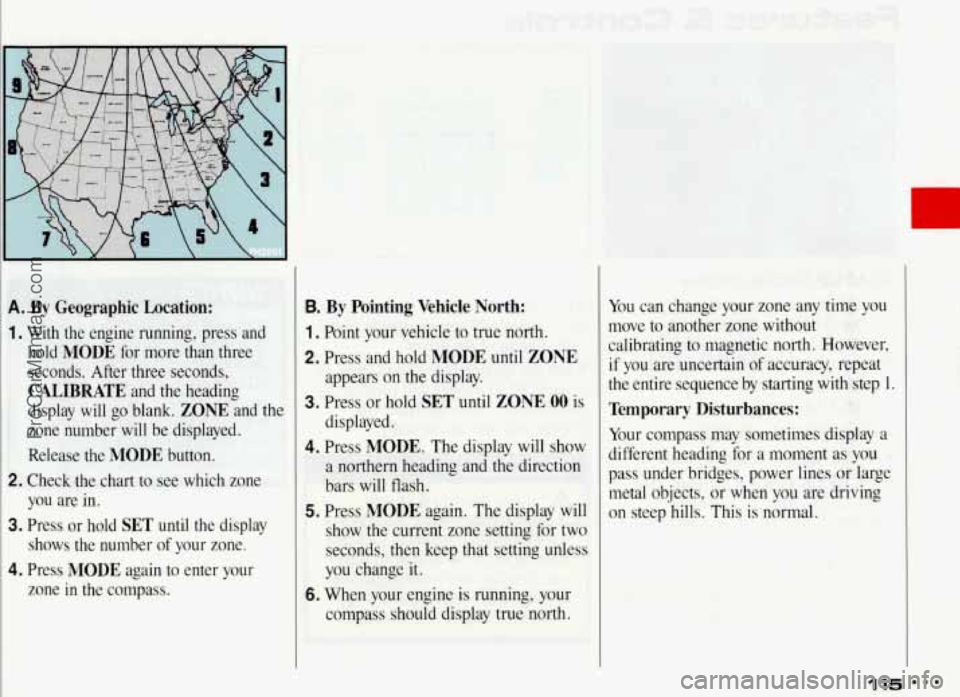
A. By Geographic Location:
1. With the engine running, press and hold
MODE for more than three
seconds. After three seconds,
CALIBRATE and the heading
display will go blank.
ZONE and the
zone number will be displayed.
Release the
MODE button.
2. Check,the chart to see which zone
you are in.
3. Press or hold SET until the display
shows the number
of your zone.
4. Press MODE again to enter your
zone in the compass.
B. By Pointing Vehicle North:
1 . Point your vehicle to true north.
2. Press and hold MODE until ZONE
appears on the display.
3. Press or hold SET until ZONE 00 is
displayed.
4. Press MODE. The display will show
a northern heading and the direction
bars will flash.
5. Press MODE again. The display will
show the current zone setting for two
seconds, then keep that setting unless
you change it.
6. When your engine is running, your
comoass should display true north. You
can change your zone any time you
move to another zone without
calibrating to magnetic north. However, if you are uncertain of accuracy, repeat
the entire sequence by starting with step 1.
Temporary Disturbances:
Your compass may sometimes display a
different heading for a moment
as you
pass under bridges, power lines
or large
metal objects,
or when you are driving
on steep hills. This is normal.
115 ProCarManuals.com
Page 121 of 322
Comfort Controls & Audio Systems ~ ~~
I
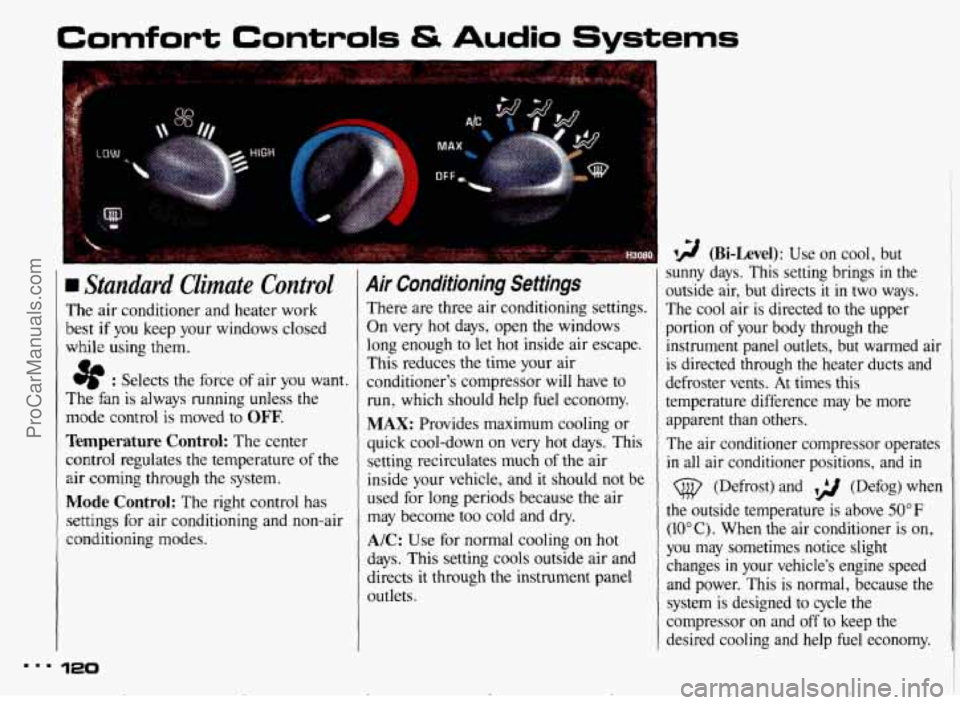
Standard Climate Control
The air conditioner and heater work
best
if you keep your windows closed
while using them.
e : Selects the force of air you want.
The fan is always running unless the
mode control
is moved to OFF.
Temperature Control: The center
control regulates the temperature
of the
air coming through the system.
Mode Control: The right control has
settings for air conditioning and non-air
conditioning modes.
120
Air Conditioning Settings
There are three air conditioning settings.
On very hot days, open the windows
long enough to let hot inside air escape.
This reduces the time your air
conditioner's compressor
will have to
run, which should help fuel economy.
MAX: Provides maximum cooling or
quick cool-down on very hot days. This
setting recirculates much
of the air
inside your vehicle, and it should not be
used for long periods because
the air
may become too cold and dry.
A/C: Use for normal cooling on hot
days. This setting cools outside air and
directs it through the instrument panel
outlets.
I 9 (Bi-Level): Use on cool, but
sunny days. This setting brings
in the
outside air, but directs
it in two ways.
The cool air
is directed to the upper
portion
of your body through the
instrument panel outlets, but warmed air
1
is directed through the heater ducts and ~
defroster vents. At times this
temperature difference may be more
apparent than others.
The air conditioner compressor operates
in all air conditioner positions, and in
(@ (Defrost) and ,> (Defog) when
the outside temperature is above 50°F
(IOOC). When the air conditioner is on,
you may sometimes notice slight
changes
in your vehicle's engine speed
and power. This is normal, because the system
is designed to cycle the
compressor on and off to keep the
desired cooling and help fuel economy.
I
c ProCarManuals.com
Page 124 of 322
., . .. -.
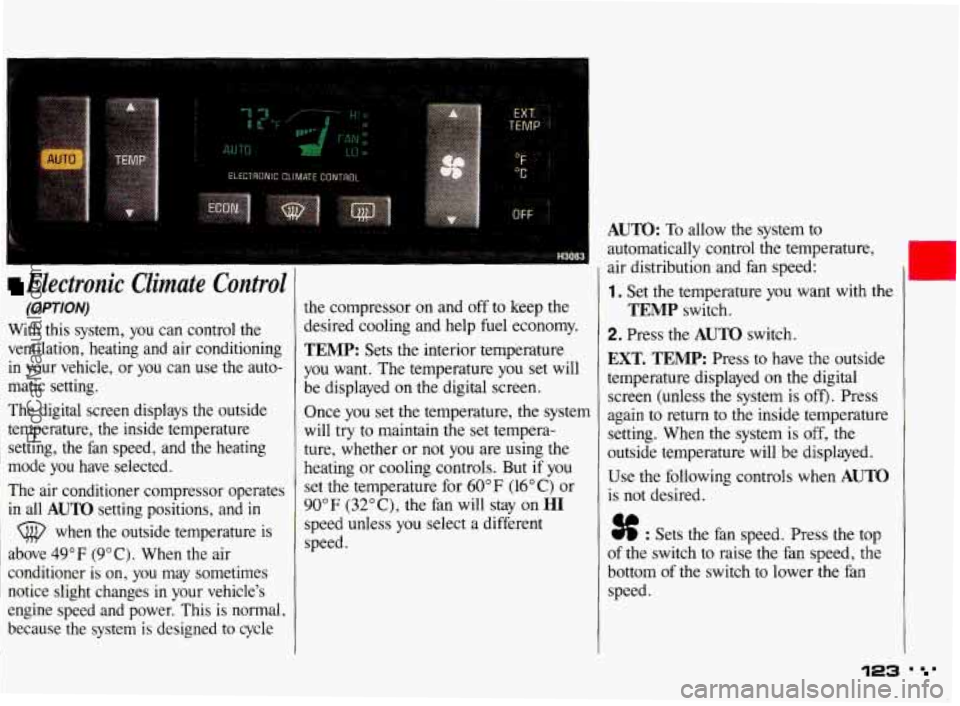
Electronic Climate Control
(OPTION)
With this system, you can control the
ventilation, heating and air conditioning
in your vehicle, or you can use the auto-
matic setting.
The digital screen displays the outside
temperature, the inside temperature setting, the fan speed, and the heating
mode you have selected.
The air conditioner compressor operates
in all
AUTO setting positions, and in
(@ when the outside temperature is
above 49°F (9°C). When the air
conditioner is on, you may sometimes
notice slight changes
in your vehicle's
engine speed and power. This is normal,
because the system
is designed to cycle
the compressor on and off to keep the
desired cooling and help
fuel economy.
TEMP: Sets the interior temperature
you want. The temperature you set will
be displayed on the digital screen.
Once you set the temperature, the system
will
try to maintain the set tempera-
ture, whether or not you are using the
heating or cooling controls. But
if you
set the temperature for 60°F (16°C) or
90"
F (32" C), the fan will stay on HI
speed unless you select a different
speed.
AUTO: To allow the system to
automatically control the temperature,
air distribution and fan speed:
1. Set the temperature you want with the
2. Press the AUTO switch.
TEMP switch.
EXT. TEMP: Press to have the outside
temperature displayed on the digital
screen (unless the system is
off). Press
again to return to the inside temperature
setting. When the system is
off, the
outside temperature will be displayed.
Use the following controls when
AUTO
is not desired.
% : Sets the fan speed. Press the top
of the switch to raise the fan speed, the
bottom of the switch to lower the fan
speed.
123 ' '
ProCarManuals.com