1993 GMC SIERRA fog light
[x] Cancel search: fog lightPage 13 of 436

These symbols have to do with your lights:
Master Lighting
Switch
pt
Parking 1.ight.s
Turn Signal
Direction Hazard
Warning
Flasher Heao'lighr
High Beam
#O
Daytime
Running Lfghts Fog
Llghts
0
I
L
Off
These symbols are on some of your controls:
Windshield
Wiper
3f
Windshield
Washer
1 IL 1
Windshield Rear
Window
Defroster Defogger
Ventilating fan Air Vents
0-5
PO596
ProCarManuals.com
Page 111 of 436

Turn Signa/ and Lane Change Indicator
(I
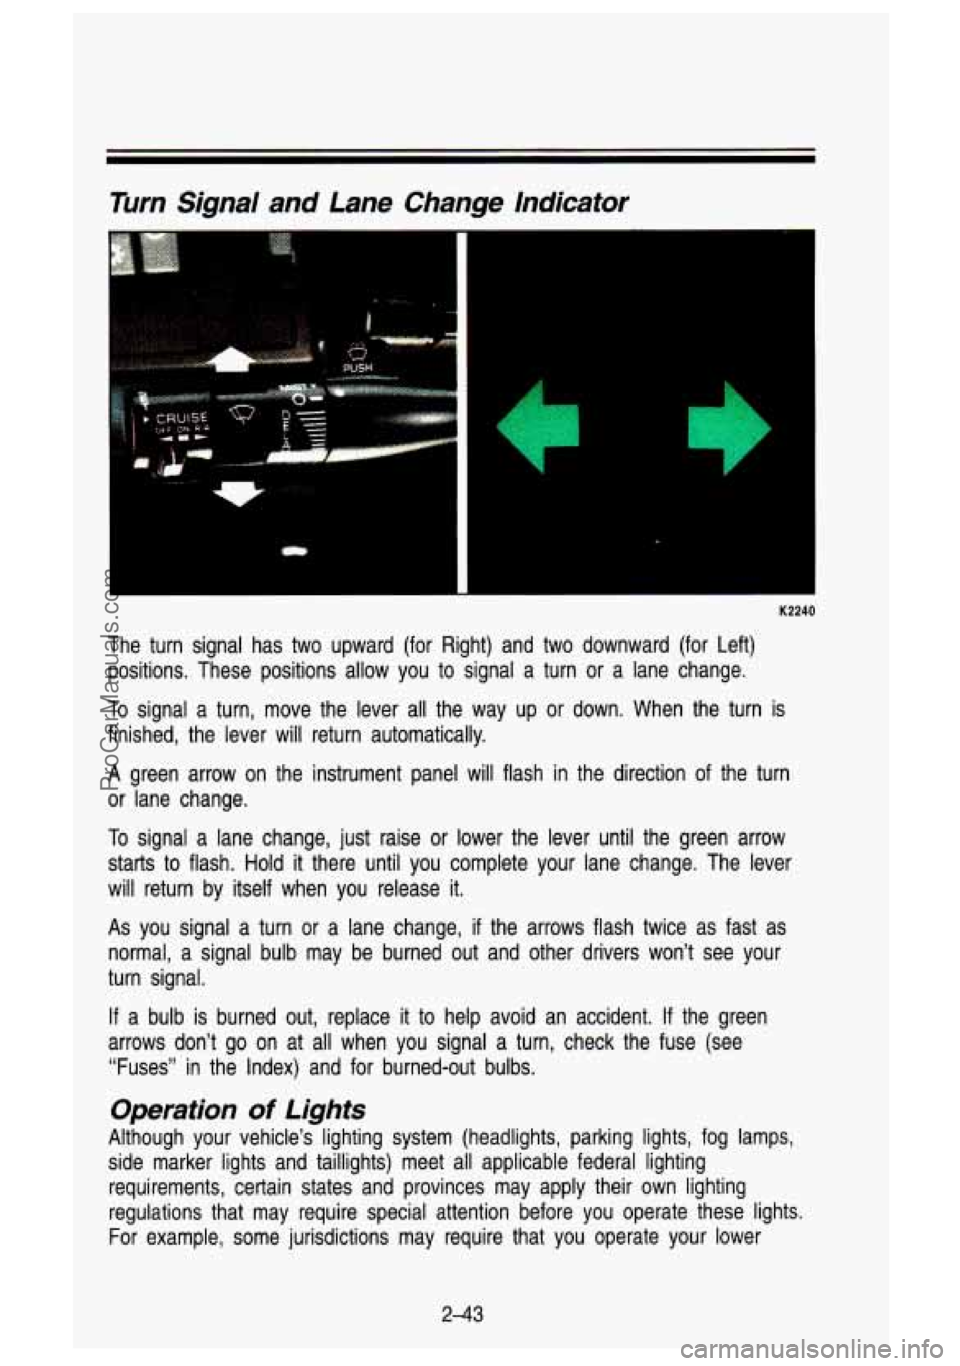
The turn signal has two upward (for Right) and two downward \
(for Left)
positions. These positions allow you to signal a turn
or a lane change.
To signal a turn, move the lever all the way up or down. When the turn is
finished, the lever will return automatically.
A green arrow on the instrument panel will flash in the direction of the turn
or lane change.
To signal a lane change, just raise
or lower the lever until the green arrow
starts
to flash. Hold it there until you complete your lane change. The lever
will return by itself when you release it.
As you signal a turn or a lane change, if the arrows flash twice as fast as
normal, a signal bulb may be burned out and other drivers won't see your
turn signal.
If a bulb is burned out, replace
it to help avoid an accident. If the green
arrows don't go on at all when you signal a turn, check the \
fuse (see "Fuses" in the Index) and for burned-out bulbs.
Operation of Lighfs
Although your vehicle's lighting system (headlights, parking lig\
hts, fog lamps,
side marker lights and taillights) meet all applicable federal \
lighting
requirements, certain states and provinces may apply their own lighting
regulations that may require special attention before you operat\
e these lights.
For example, some jurisdictions may require that you operate your l\
ower
243
ProCarManuals.com
Page 112 of 436

Features & Controls
beam lights with fog lamps at all times, or that headlights b\
e turned on
whenever you must use your windshield wipers.
In addition, most jurisdictions
prohibit driving solely with parking lights, especially at dawn \
or dusk. It is
recommended that you check with your own state or provincial h\
ighway
authority for applicable lighting regulations.
Headight High-Low Beam
- K2242
To change the headlights from low beam to high or high to low, \
pull the turn
signal lever all the way toward you. Then release
it. When the high beams
are on, this blue light
on the instrument panel also will be on.
2-44
ProCarManuals.com
Page 122 of 436

Push the right side of the switch with the 0 symbol on it to turn off your
lights.
Turn the dial at the right of the
off switch to adjust interior lights. Turning the
dial
all the way up turns on the interior lights.
You can switch your headlights from high to low beam by pulling o\
n the turn
signal/high beam lever.
A circuit breaker protects your headlights. If you have an electrical overload,
your headlights will flicker on and
off. Have your headlight wiring checked
right away
if this happens.
Headlights-On Reminder
A buzzer will sound when your headlights are turned on and your ignition is
in Off, LOCK or Acc.
Fog Lamps
Use your optional fog lamps for better vision in foggy or misty conditions.
Your fog lamps will operate with your low beam headlights or parking li\
ghts
on,
and go off when the high beam headlamps are on. Switching to low
beam headlights or parking lights will let you use the fog la\
mps again.
The fog lamp switch is on the instrument panel below the heating controls.
Press the side of the switch with the fog lamp symbol on
it to turn the fog
lamps on, and the left side of the switch
to turn them off. A light will glow in
the left side of the switch when they are on.
K2294
Remember, fog lamps alone will not give off as much light as your headlights.
Never use your fog lamps in the dark without turning on your headlights.
2-54
ProCarManuals.com
Page 167 of 436

Right Button
Defrost (Top): Press here to operate the defroster. Heated air comes out
near the windshield. You can use it to help clear fog or ice on your
windshield.
Heater (Bottom): Press here, and heated air comes out near the floor. This
setting is best for passenger comfort in cold weather.
The air flow can be blended between the two positions. To blend between
positions, press the side of the button showing the area where you would like
more air flow. The system will automatically begin to blend toward the position
chosen. To stop the system between positions, just press the
SAME side of
the button again.
Left Button
Vent (Top): Press the top of this button and all of the airflow will come
through the instrument panel vents.
Heater (Bottom): Press the bottom of this button and all of the airflow will
come through the floor outlet.
The air flow can be blended between the two positions.
To blend between
positions, press the side
of the switch showing the area where you would like
more air flow. The system will automatically begin to blend toward the position
chosen. To stop the system between positions, just press the
SAME side of
the button again.
Temperature Selector Bar
The bar under your system display lets you select the temperat\
ure of the air
coming into your vehicle. Press
COLD for cooler air and press HOT for
warmer air. Release the bar when the system reaches the temperature you
want. The temperature is shown on the display by an arrow moving between
C and H.
Fan Control Button
This button is in the upper right corner of your system control panel. The fan
has four settings-low, medium
low, medium high and high. Press the top of
the button
(t) to increase the air flow. Press the bottom of the button (-) to
decrease the air flow. The setting you select is shown on your display as
LOW, MED LOW, MED HI or HI.
Air Recirculation Button
If you press the MAX button (RECIR on some models), the air in your
vehicle will be recirculated. With the air conditioner on,
MAX will give you
maximum cooling. It can also be used in all modes to help keep dust out of
your vehicle. When
MAX is selected, REC will light on your display.
3-7
ProCarManuals.com
Page 168 of 436

Comfort Controls & Audio Systems
i
Rear Window Defogger
You can tell if your vehicle has this option by looking at the rear window. If
you see lines running across the glass, you have it. Thes'e a\
re the wires
which heat your window.
For best results, clear the window of as much snow or ice as possible first.
To turn on the rear window defogger, find the switch marked
REAR DEFOG
on your instrument panel, just below the heater system. Press \
the right side
of the switch, with the defog symbol on
it, until the light in the switch comes
on, then release
it. The rear window defogger will only work if the ignition
switch is turned
to RUN.
You can turn the defogger off at any time by pressing the left, lighted side of
the switch. The defogger will shut itself
off after several minutes, so that the
glass does not get
too hot. If the defogger shuts off, and the window still
isn't clear, turn the defogger on again.
-. -
I.--:
3-0
ProCarManuals.com
Page 218 of 436

Your Driving and the Road
You might not be aware of hydroplaning. You could drive along for some time
without realizing your tires aren’t in constant contact with \
the road. You could
find out the hard way: when you have to slow, turn, move out to pass-or
if
you get hit by a gust of wind. You could suddenly find yourself out of control.
Hydroplaning doesn’t happen often. But it can
if your tires haven’t much tread
or if the pressure in one or more is low. It can happen if a lot of water is
standing
on the road. If you can see reflections from trees, telephone poles,
or other vehicles, and raindrops “dimple” the water’s surfa\
ce, there could be
hydroplaning.
Hydroplaning usually happens on higher speed roads. There just \
isn’t a hard
and fast rule about hydroplaning. The best advice is to slow \
down when it is
raining, and be careful.
Some Other Rainy Weather Tips
e
e
e
e
e
Turn on your headlights-not just your parking lights-to help ma\
ke you more visible to others.
Look for hard-to-see vehicles coming from behind. You may want to use
your headlights even in daytime
if it’s raining hard.
Besides slowing down, allow some extra following distance. And \
be
especially careful when you pass another vehicle.
Allow yourself more
clear
room ahead, and be prepared to have your view restricted by road
spray.
If the road spray is so heavy you are actually blinded, drop back.
Don’t pass until conditions improve. Going more slowly is be\
tter than
having an accident.
Use your defogger
if it helps.
Have good tires with proper tread depth. (See “Tires” in\
the Index.)
4-40
ProCarManuals.com
Page 219 of 436

Driving in Fog, Mist and Haze
AM459002
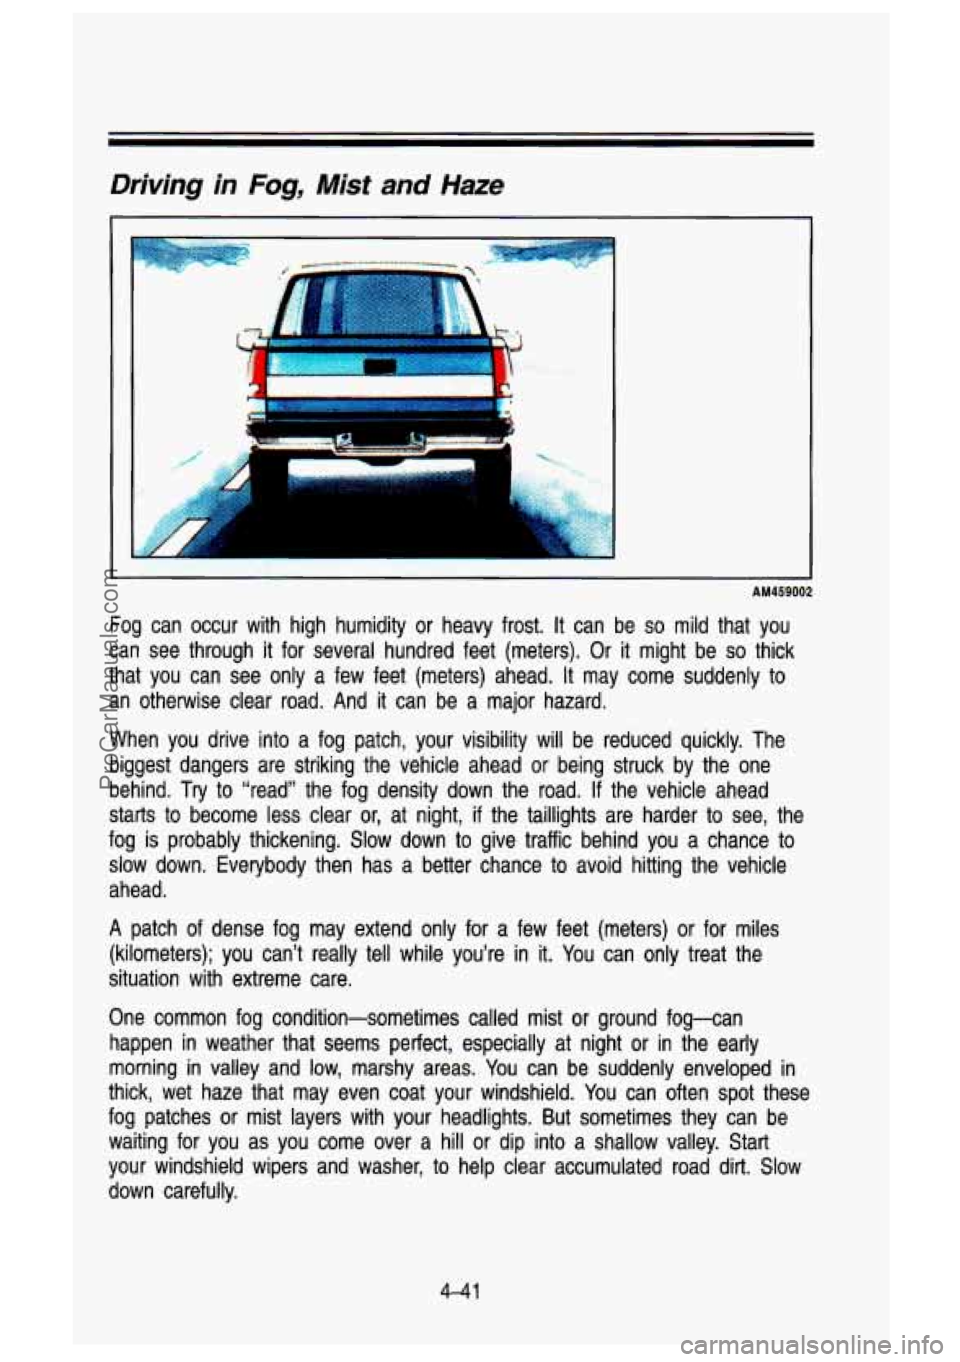
Fog can occur with high humidity or heavy frost. It can be so mild that you
can see through it for several hundred feet (meters). Or it might be
so thick
that you can see only a few feet (meters) ahead.
It may come suddenly to
an otherwise clear road. And it can be a major hazard.
When you drive into a fog patch, your visibility will be reduced quickly. The
biggest dangers are striking the vehicle ahead or being struck \
by the one
behind.
Try to “read” the fog density down the road. If the vehicle ahead
starts to become
less clear or, at night, if the taillights are harder to see, the
fog is probably thickening. Slow down to give traffic behind you a chance to
slow down. Everybody then has a better chance to avoid hitting the vehicle
ahead.
A patch of dense fog may extend only for a few feet (meters) or for miles
(kilometers); you can’t really tell while you’re in it. You can only treat the
situation with extreme care.
One common fog condition-sometimes called mist or ground fog-can
happen in weather that seems perfect, especially at night or i\
n the early
morning
in valley and low, marshy areas. You can be suddenly enveloped in
thick, wet haze that may even coat your windshield. You can often spot t\
hese
fog patches or mist layers with your headlights. But sometimes \
they can be waiting for you as you come over a hill or dip into a shallow valley. Start
your windshield wipers and washer, to help clear accumulated ro\
ad dirt.
Slow
down carefully.
4-41
ProCarManuals.com