1993 CHEVROLET SUBURBAN CD player
[x] Cancel search: CD playerPage 146 of 386
Comforf Controls & Audio Systems
Section
.
.
In this section you’ll find out how to operate the comfort control and audio
systems offered with your vehicle
. Be sure to read about the particular system
supplied with your vehicle
.
For explanation of vehicle symbols in this section. refer to “Vehicle
Symbols” in Section 0 .
Comfort Controls ........................................................................\
........................... 3-2
Flow-Through Ventilation System
..................................................................... 3-2
Heating System
........................................................................\
.......................... 3-4
Electronic HeatinglAir Conditioning System
..................................................... 3-5
Rear Air Conditioning and Heating Systems
(Wagon Models)
........................................................................\
..................... 3-8
Rear Window Defogger
........................................................................\
........... 3-11
Audio Systems
........................................................................\
............................. 3-12
FM Stereo ........................................................................\
................................ 3-12
AM
........................................................................\
............................................. 3-12
AM Stereo ........................................................................\
................................ 3-13
How
to Operate Your AM ETR@Radio ......................................................... 3-13
How to Operate Your AM-FM Stereo Audio System and
Cassette Player
........................................................................\
.................... 3.14
How to Operate Your AM-FM Stereo Audio System and
Cassette Player with Graphic Equalizer
..................................................... 3-17
Care
of Your Cassette Tape Player ............................................................... 3-21
Fixed Mast Antenna
........................................................................\
................ 3-21
3-1
ProCarManuals.com
Page 161 of 386
Comfort Contrals & Audio Systems
BASS
Push (t) to hear more bass.
Push
(-) to hear less bass.
Adjust these buttons to give
a pleasing sound. If a station is weak and noisy,
just reduce TREB to lessen interference.
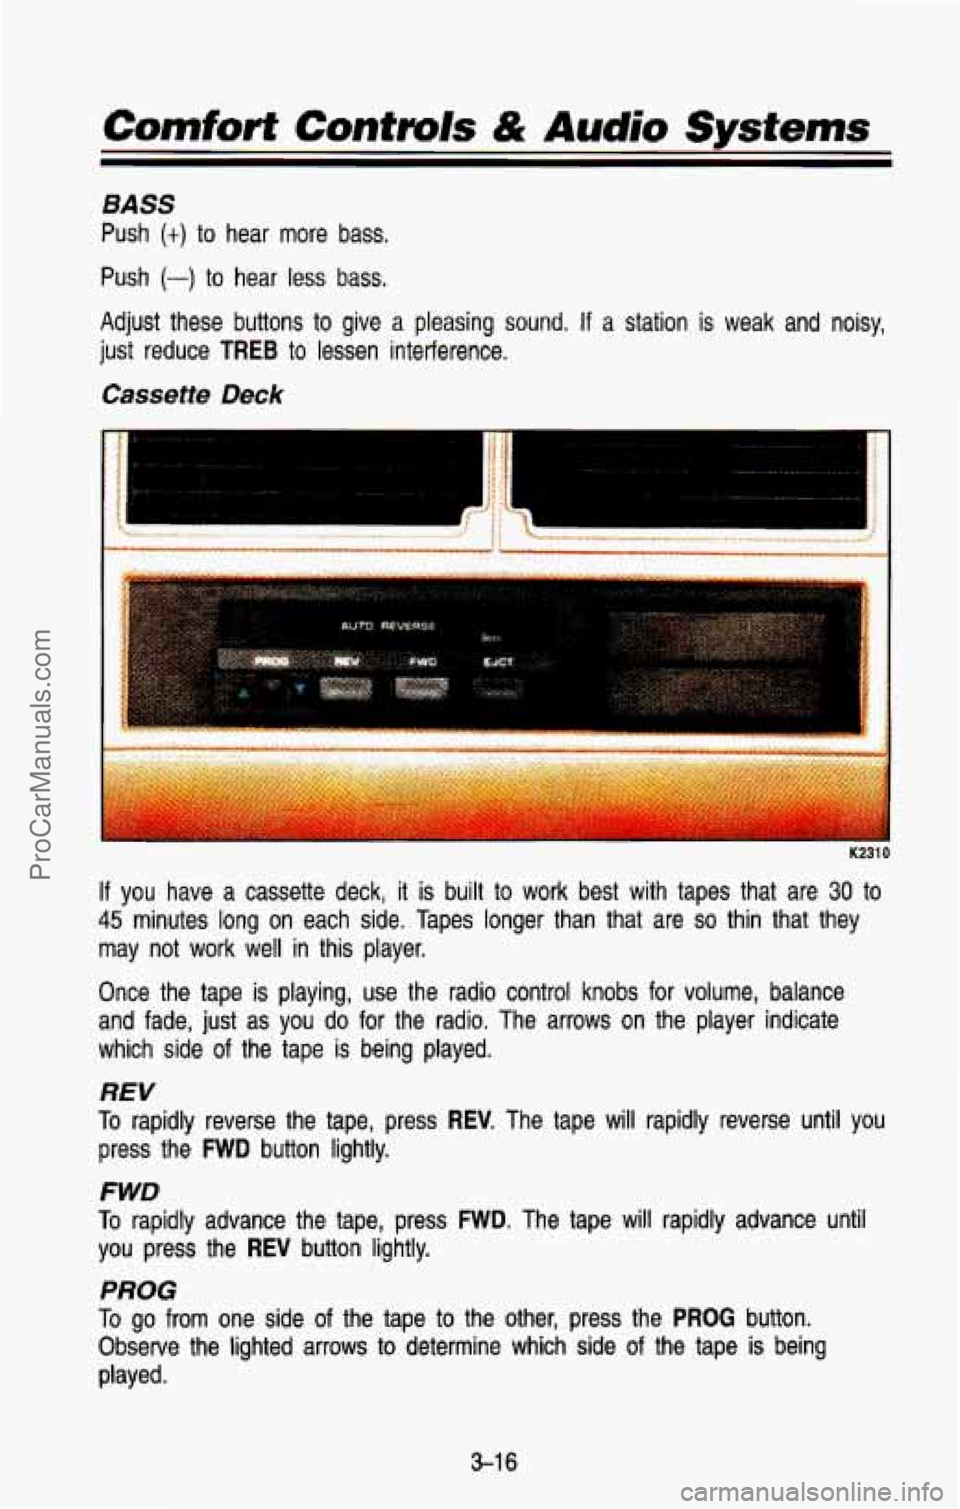
Cassette Deck
,. .
3 nra 10
If you have a cassette deck, it is built to work best with tapes that are 30 to
45 minutes long on each side. Tapes longer than that are so thin that they
may not work
well in this player.
Once the tape is playing, use the radio control knobs for volume, balan\
ce
and fade, just as you
do for the radio. The arrows on the player indicate
which side
of the tape is being played.
REV
To rapidly reverse the tape, press REV. The tape will rapidly reverse until you
press the
FWD button lightly.
FWD
To rapidly advance the tape, press FWD. The tape will rapidly advance until
you press the
REV button lightly.
PROG
To go from one side of the tape to the other, press the PROG button.
Observe the lighted arrows
to determine which side of the tape is being
played.
3-1 6
ProCarManuals.com
Page 162 of 386
If a tape is inserted with side “1” (or “A”) up, then the up arrow means that
that side is being played. Likewise, a down arrow would indica\
te that side
“2”
(or “B”) had been selected. The player will automatically switch to the \
other
side of the tape when the first side ends.
EJECT
To remove the tape or stop the tape and switch to radio, press the EJCT
button.
How to Operate Your AM-FM Stereo
Audio System and Cassette Deck with Equalizer
rui99
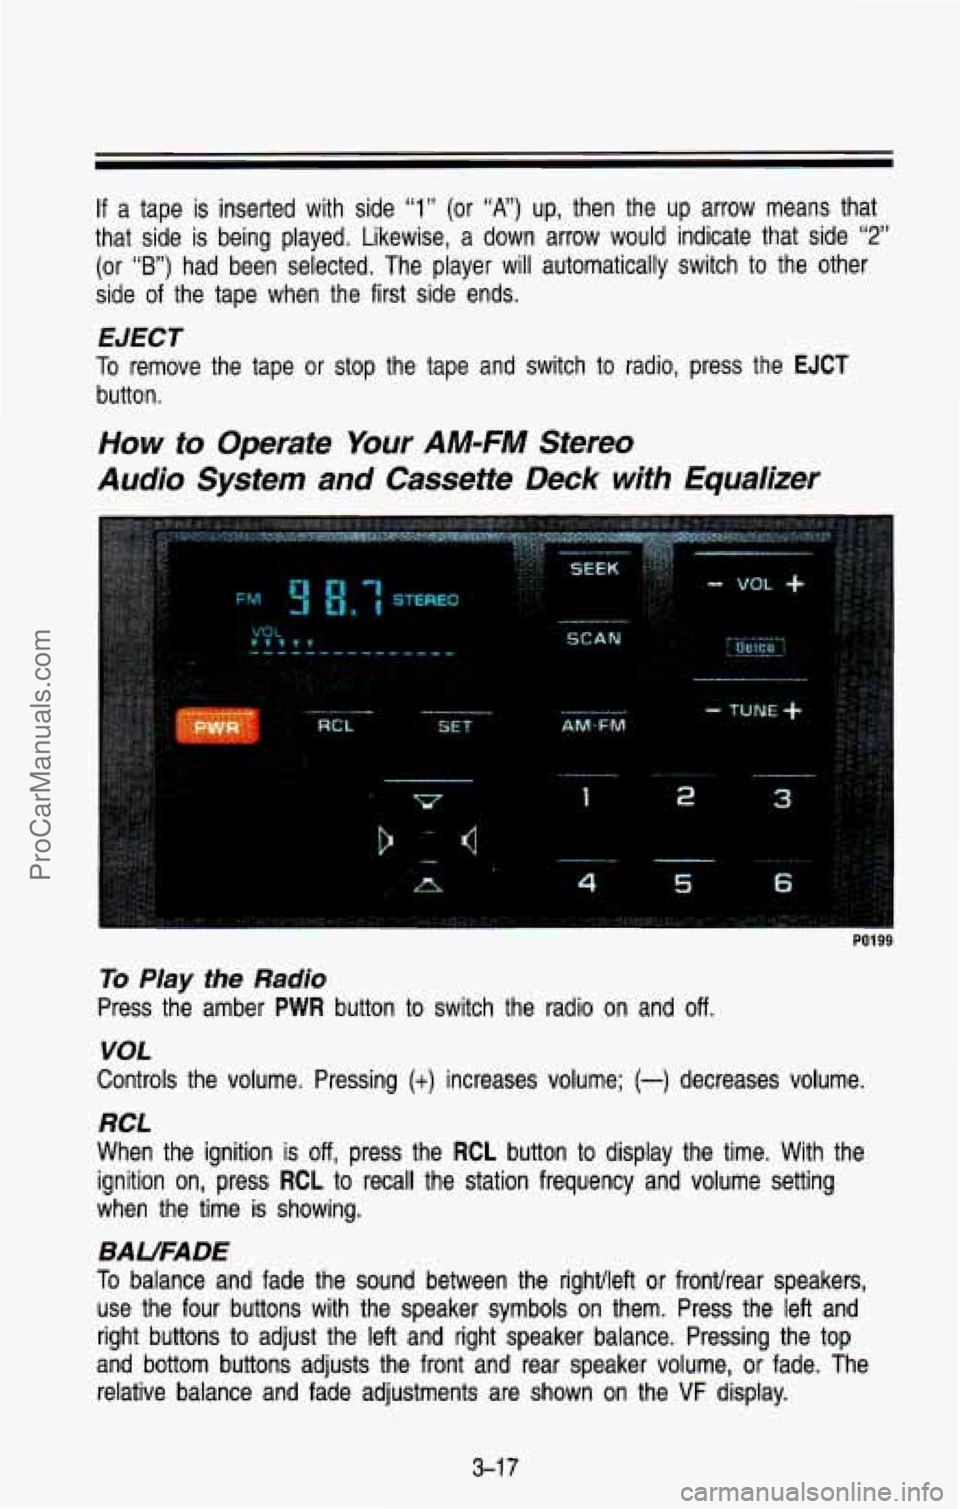
To Play the Radio
Press the amber PWR button to switch the radio on and off.
VOL
Controls the volume. Pressing (t) increases volume; (-) decreases volume.
RCL
When the ignition is off, press the RCL button to display the time. With the
ignition on, press
RCL to recall the station frequency and volume setting
when the time
is showing.
BAUFADE
To balance and fade the sound between the righvleft or fronthear speakers,
use the four buttons with the speaker symbols
on them. Press the left and
right buttons to adjust the
left and right speaker balance. Pressing the top
and bottom buttons adjusts the front and rear speaker volume,
or fade. The
relative balance and fade adjustments are shown on the
VF display.
3-1 7
ProCarManuals.com
Page 164 of 386
AmSt
The AmSt button is just below the PWR button. Push this when you tune to
an AM station that broadcasts
in stereo. Your STEREO light will come on
when you’re receiving AM stereo.
If you push AmSt and there is no more
noise, it means the station is weak. You’ll hear the station better
if you don’t
use
AmSt. Just push the AmSt button again to cancel stereo.
NOTE: Your Delco system may be able to receive C-QUAM@ stereo
broadcasts. Many AM stations around the country use
C-QUAM@ to produce
stereo, though some
do not. C-QUAM@ is a registered trademark of Motorola
Inc.
If your Delco system can get C-QUAM@ signals, your STEREO light will
come on when you are receiving stereo.
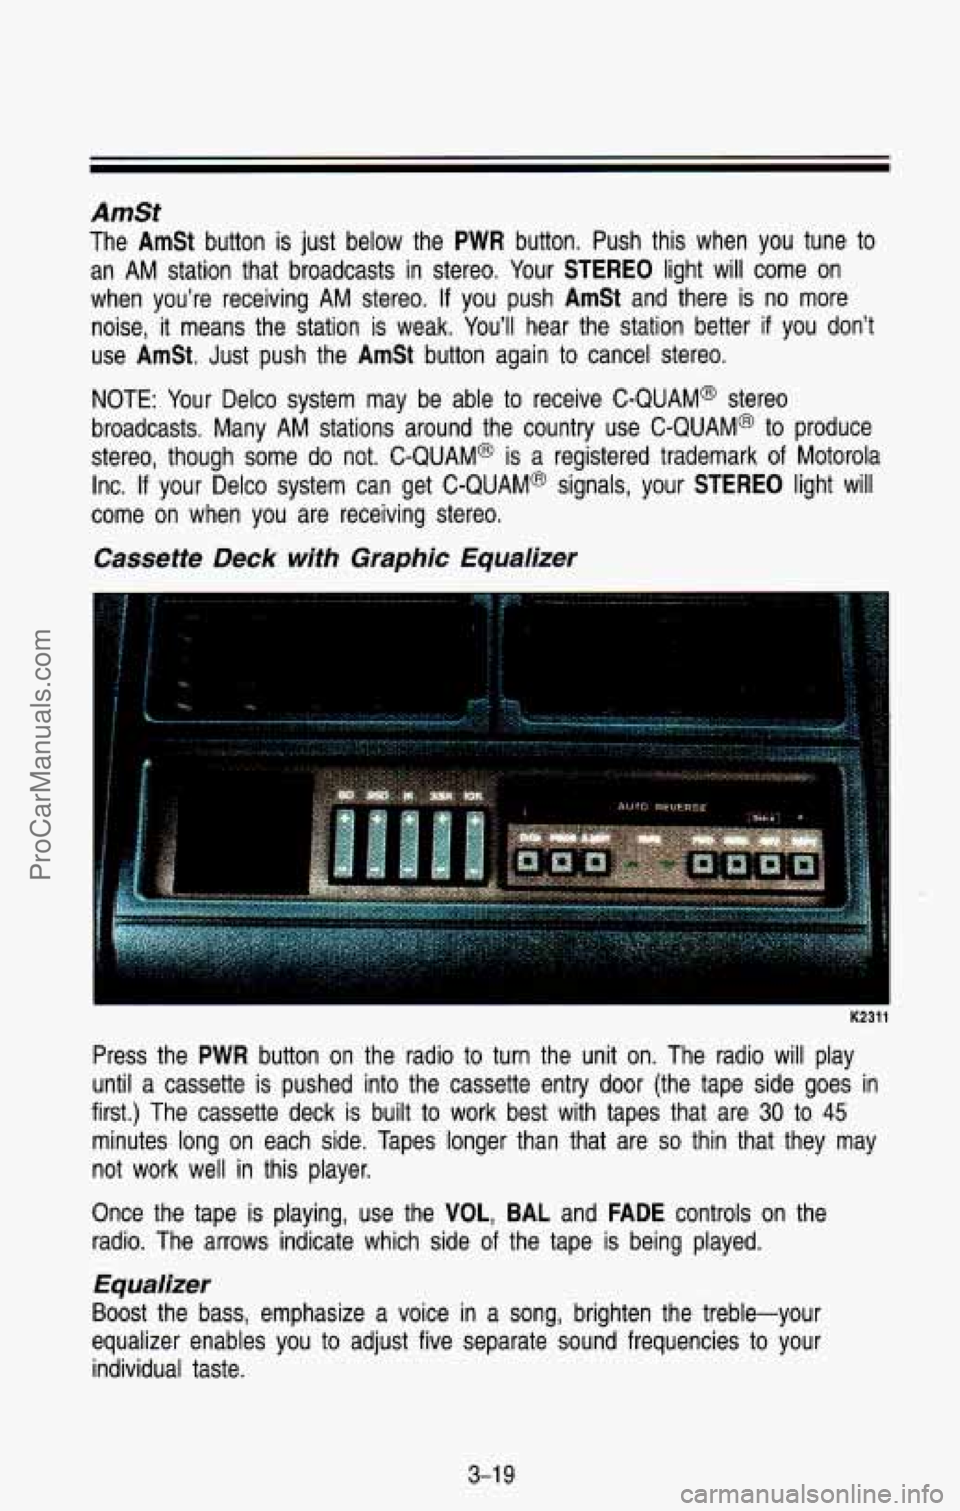
Cassette Deck with Graphic Equalizer
I
Press the PWR button on the radio to turn the unit on. The radio will play
until a cassette is pushed into the cassette entry door (the tape \
side goes in
first.) The cassette deck is built
to work best with tapes that are 30 to 45
minutes long on each side. Tapes longer than that are so thin that they may
not work well in this player.
Once the tape is playing, use the
VOL, BAL and FADE controls on the
radio. The arrows indicate which side
of the tape is being played.
1
Equalizer
Boost the bass, emphasize a voice in a song, brighten the treble-your
equalizer enables you
to adjust five separate sound frequencies to your
individual taste.
3-1 9
ProCarManuals.com
Page 165 of 386
Comfort Controls & Audio Systems
Press (+) to emphasize a frequency, press (-) to de-emphasize it. It’s best
to begin with all the controls in the middle position, then adjust each control
as you like. Observe the
VF display for relative emphasis.
Cr02
This button sets tape bias. When playing high bias chrome or metal tapes,
press
Cr02 (the light in the button will come on). When playing standard
tapes, press the button again (the light will go out).
PROG
To go from one side of the tape to the other, press the PROG button.
Observe the lighted arrows to determine which side of the tape is being
played.
If a tape is inserted with side “1” (or “A”) up, then the up arrow means that
that side is being played. Likewise, a down arrow would indica\
te that side
“2”
(or “By) had been selected. The player will automatically switch to the other
side of the tape when the first side ends.
EJECT
Press EJECT to eject the cassette tape from the player (the radio will t\
hen
play.)
FWD
To rapidly advance the tape, press FWD. The light in the button will be lit
and the tape
will rapidly advance until you press the REV button lightly.
SEEK
To search for the next selection on the tape, forward or back, p\
ress SEEK
(the light in the SEEK button will be lit) and either FWD or REV. For the
seek mode
to stop, there must be at least a 4-second gap between
selections on the tape.
REV
To rapidly reverse the tape, press REV. The light in the button will be lit and
the tape will rapidly reverse until you press the
FWD button lightly.
REPT
Press REPT to repeat the currently playing selection on the tape. For the\
repeat to stop, there must be at least a 4-second gap between selections\
.
3-20
ProCarManuals.com
Page 166 of 386
Care of Your Cassette Tape PIayer
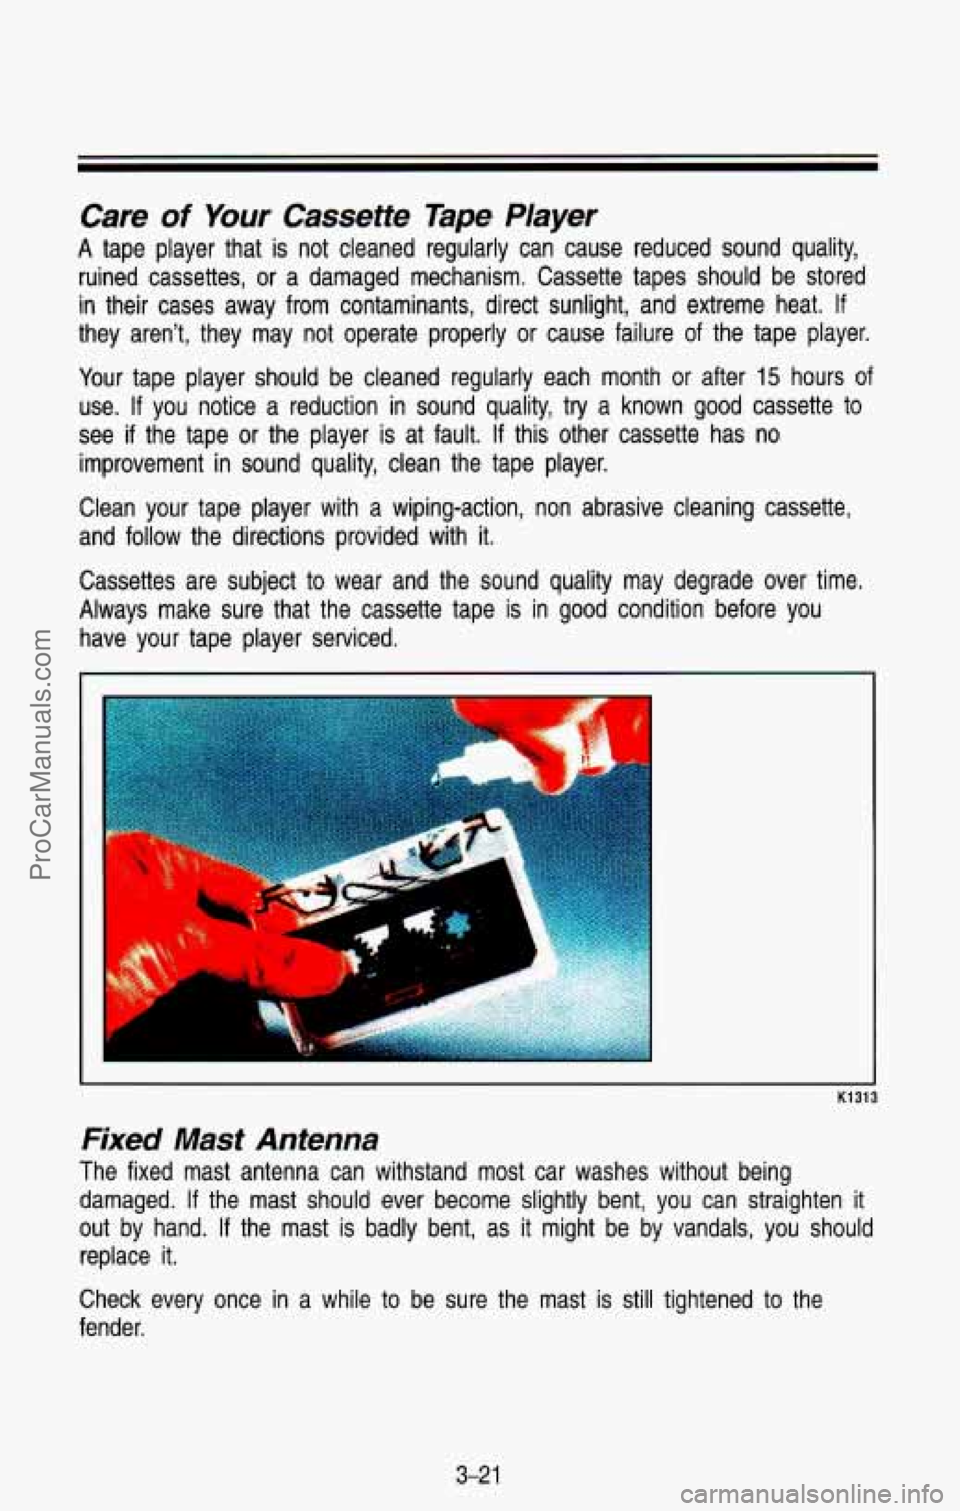
A tape player that is not cleaned regularly can cause reduced sound quality,
ruined cassettes, or a damaged mechanism, Cassette tapes should be stored
in their cases away from contaminants, direct sunlight, and extreme\
heat.
If
they aren’t, they may not operate properly or cause failure \
of the tape player.
Your tape player should be cleaned regularly each month or after
15 hours of
use. If you notice a reduction in sound quality, try a known good cassette to
see
if the tape or the player is at fault. If this other cassette has no
improvement in sound quality, clean the tape player.
Clean your tape player with a wiping-action, non abrasive clean\
ing cassette,
and follow the directions provided with it.
Cassettes are subject to wear and the sound quality may degrade over time.
Always make sure that the cassette tape is in good condition \
before you have your tape player serviced.
K1313
Fixed Mast Antenna
The fixed mast antenna can withstand most car washes without b\
eing
damaged.
If the mast should ever become slightly bent, you can straighten \
it
out by hand. If the mast
is badly bent, as it might be by vandals, you should
replace it.
Check every once in a while to be sure the mast is still tightened to the
fender.
3-2 1
ProCarManuals.com
Page 376 of 386
Section
A
Accelerator Control System ........ 6-35
Air Cleaner
.................................... 6-1 6
Air Conditioning
................... 3.5. 6-69
Rear (Wagon Models)
................ 3-8
Refrigerant Capacity
................. 6-69
System Controls
......................... 3-6
Antenna. Fixed Mast
................... 3-21
Antilock Brakes (See “Brakes”)
System Warning Light
............. 2-70
Appearance Care
.......................... 6-57
Materials
.................................... 6-64
Arbitration Program
........................ 8-3
Audio Systems
............................. 3-1 2
AM Radio
................................... 3-1 3
AM-FM Stereo Audio System
with Cassette Deck
.............. 3-14
AM-FM Stereo Audio System
with Cassette Deck and Equalizer
.............. 3-1 7. 3-1 9
Cassette Deck ............................... 3-1 6
Cassette Tape Player Care
.......... 3-21
Automatic Transmission
............... 2-1 7
FI uid
............................................ 6. 1 7
Axle
Front
................................ 2.32. 6-24
Rear
............................................ 6-24
Rear Locking
............................. 2-22
B
Battery ........................................... 6-37
Belts (See “Safety Belts”)
Better Business Bureau Mediation
..................................... 8-3
Blizzard
.......................................... 4-55
Brakes
Adjustment
................................. 4-18
Antilock
...................................... 4-15
Antilock Warning Light
............ 2-70
Fluid
........................................... 6-32
Four-wheel Antilock
................. 4-16
Hydro-Boost System
(Hydraulic Pump)
................. 6-33
Master Cylinder
........................ 6-32
Parking
....................................... 2-23
Pedal Travel
.............................. 4-18
Rear Drum Brakes
................... 4-18
Replacing Parts
........................ 6-33
System Warning Light .2-69, 4-17
Trailer
......................................... 4-60
Wear Indicators
........................ 4-17
Braking
.......................................... 4-13
In Emergencies
........................ 4-18
Break-In, New Vehicle
................ 2-11
Bulb Replacement ....................... 6-37
Replacement Chart
.................. 6-72
9-1
ProCarManuals.com
Page 377 of 386
INDEX
C
Capacities and Specification Charts
......................................... 6-68
Carbon Monoxide
................. 2.7. 2.28.
Cassette Tape Player
Catalytic Converter
...................... 6-45
Certificationnire Label
................. 6-46
Changing a Flat Tire
......... 5.16. 5-20
Chemical Paint Spotting
.............. 6-63
Child Restraints 2.29. 4.55.
4-61
(See “Audio Systems”)
(See “Safety Belts”)
Cigarette LightedAshtrays
........... 2-55
Circuit Breakers (See “Fuses”)
Cleaning Finish Care
................................ 6-61
Glass
.......................................... 6.60
Inside of Vehicle
....................... 6-58
Instrument Panel. Top
............. 6-60
Outside of Vehicle
.................... 6-61
Special Problems
...................... 6-59
Vinyl
or Leather ........................ 6-60
Wheels and Tires
..................... 6-62
Windshield
................................ 6-60
Comfort Controls
............................ 3-2
Console
Floor
.......................................... 2-56
Overhead
.................................... 2.58
Convenience Net
.......................... 2-80
Coolant (See “Engine”)
Cooling System Capacity
............ 6-68
Crankcase Capacity
...................... 6-69
Cruise Control
............................... 2-41
Increase Speed
......................... 2-43
OnHills
........................................ 2-45
Clock
.................................... 3-15
3-18
Passing
...................................... 2-45
Reduce Speed
.......................... 2-44
Resume
..................................... 2-43
Set
.............................................. 2-42
ToGet Out Of
............................. 2-45 Cup Holder
................................... 2-57
Customer Assistance for the
Hearing
or Speech Impaired .... 8-3
Customer Satisfaction Procedure 8-2
D
(Canada Only) ............................... 2-47
Daytime Running Lights
Indicator Light
............... 2.47. 2-73
Dome Lights
................................. 2-48
Doors
............................................... 2-5
Panel
............................................ 2-9
Across an Incline
........... 4-31 . 4-32
After Off-Road Driving
............ 4-34
At Night ..................................... 4-35
Braking
...................................... 4-13
Control
of A Vehicle ................. 4-13
Defensive
..................................... 4-9
Downhill
..................................... 4-30
Freeway
..................................... 4-43
Guidelines
.................................. 4-24
High Beams
.............................. 4-36
Highway Hypnosis
................... 4-46
Hydroplaning
............................. 4-38
In Blizzard
................................. 4-55
In City
....................................... 4-42
In Fog. Mist and Haze .4.40. 4-41
In Rain
............................ 4.37. 4-39
In Sand. Mud. Ice.
Or Snow ..................... 4.33. 5-31
In Water
.................................... 4-34
Long Distance
.......................... 4-44
Loss of Control
........................ 4-23
Night Vision
.............................. 4-35
Off -Roading ............................... 4-24
On Curves
................................. 4-18
On Grades
................................. 4.62
On Hill and Mountain Roads
. 4-47
On Off-Road Hills
.................... 4-27
On Snow
or Ice ....................... 4-53
Passing
............................ 4-21 . 4-61
Locks
............................................ 2-6
Driving
9-2
ProCarManuals.com