1993 CHEVROLET S10 stop start
[x] Cancel search: stop startPage 64 of 356

Downloaded from www.Manualslib.com manuals search engine ..
Features & Controls
1 NOTICE
Don’t try to shift to P (Park) if your vehicle is movi
:auld dal ae ? transrnissil SI ark‘ nE
Manual Transmission:
Shift your gear selector to
N (Neutral) and hold the clutch pedal to the
floor while starting the engine. Your vehicle won’t start
if the clutch pedal
is not all the way down-that’s a safety feature.
other vehicles you might need to
do this, but because of your vehicle’s
computer systems, you don’t.
key. The idle speed will
go down as your engine gets warm.
2. Don’t push the accelerator pedal before starting your engine.\
In some
-
3. Turn your ignition key to Start. When the engine starts, let go of the
In very cold weather,
do this:
1. With your foot off the accelerator pedal, turn your ignition key to Start
until your engine begins firing. Push down on the accelerator pedal
slightly. When the engine picks up speed, let go of the key. \
Once your
engine is running smoothly, let up on the accelerator pedal.
2. If it doesn’t start right away, push the accelerator pedal all the way to
the floor and hold it there as you hold the key in
Start for about three
seconds.
If the vehicle starts briefly but then stops again, do the same
thing, but this time keep the pedal down until your engine ru\
ns smoothly.
NOTICE b___
2-1 2
t
Page 66 of 356

Downloaded from www.Manualslib.com manuals search engine -. ._.
Features & Controls
4. If it doesn’t start right away, hold your key in Start. If it doesn’t start in
three seconds, push the accelerator pedal about one-quarter of the wa\
y
down for
12 more seconds, or until it starts.
flooded with too much gasoline.
Try this:
5. If your engine still won’t start (or starts but then stops), \
it could be
Wait
15 seconds to let the starter motor cool down. Then push your
accelerator pedal all the way to the floor.
Hold it there. Then, hold the
key in Start for no more than ten seconds. This clears the extra
gasoline from the engine.
If the engine stili doesn’t start, wait another 15 seconds and do it all
again.
When the engine starts, let go
of the key and the accelerator pedal.
NOTICE I
I
Driving Through Deep Standing Water
mda I IIW 1IW.l
Page 70 of 356

Downloaded from www.Manualslib.com manuals search engine Features & Controls
I
e
OD (Automatic Overdrive). This position is for normal driving. If you need
more power for passing, and you’re:
- Going less than about 35 mph (56 km/h), push your accelerator
pedal about halfway down.
- Going about 35 mph (56 km/h) or more, push the accelerator all the
way down. You’ll shift down to the next gear and have more power.
OD should not be used when towing a trailer, carrying a heavy load,
driving on steep hills, or for off-road driving. Select
D (third gear) when
operating the vehicle under any of these conditions.
D (Third Gear). This is like OD, but you never go into Overdrive. You
should use
D when towing a trailer, carrying a heavy load, driving on
steeps hills, or for off-road driving.
2 (Second Gear). This position gives you more power but lower \
fuel
economy. You can use
2 (Second Gear) on hills. It can help control your
speed as you go down steep mountain roads, but then you would\
also
want to use your brakes off and on.
If you have a 4.3L engine (Codes Z and W) and if you manually select
2, the transmission will drive in second gear. You may use this feature
for reducing torque
to the rear wheels when you are trying to start your
vehicle from a stop on slippery road surfaces.
1 (First Gear). This position gives you even more power (but \
lower fuel
economy) than
2. You can use it on very steep hills, or in deep snow or
mud. If the selector lever is put in 1, the transmission won’t shift into
first gear until the vehicle is going slowly enough.
2-1 8
Page 71 of 356

Downloaded from www.Manualslib.com manuals search engine FivemSpeed Manual Transmission
PO348
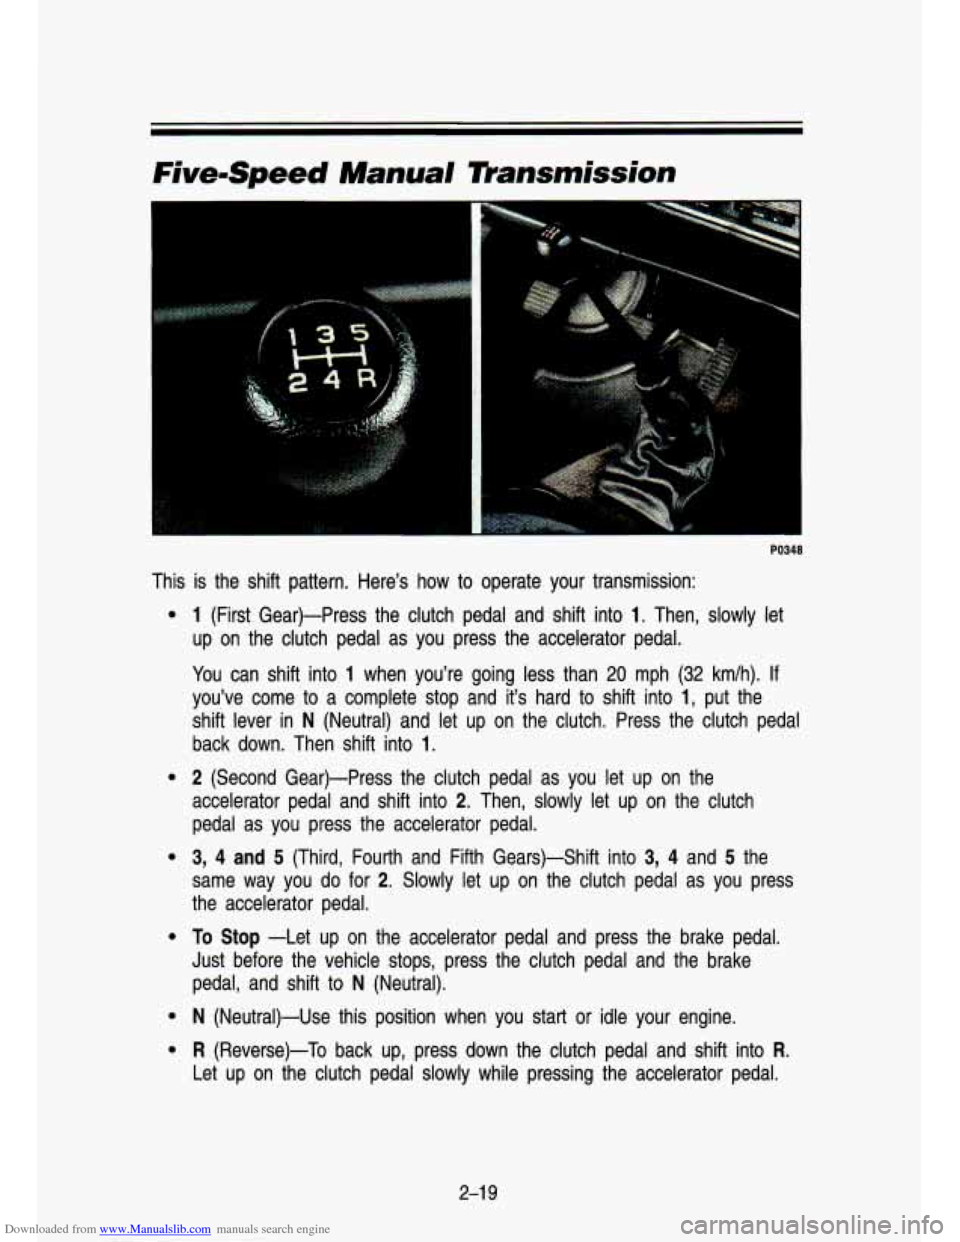
This is the shift pattern. Here’s how to operate your transmission:
e
e
e
e
e
e
1 (First Gear)-Press the clutch pedal and shift into 1. Then, slowly let
up on the clutch pedal as you .press the accelerator pedal.
You can shift into
1 when you’re going less than 20 mph (32 km/h). If
you’ve come to a complete stop and it’s hard to shift into 1, put the
shift lever in
N (Neutral) and let up on the clutch. Press the clutch pedal
back down. Then shift into
1.
2 (Second Gear)-Press the clutch pedal as you let up on the
accelerator pedal and shift into
2. Then, slowly let up on the clutch
pedal as you press the accelerator pedal.
3, 4 and 5 (Third, Fourth and Fifth Gears)-Shift into 3, 4 and 5 the
same way you do for
2. Slowly let up on the clutch pedal as you press
the accelerator pedal.
To Stop -Let up on the accelerator pedal and press the brake pedal.
Just before the vehicle stops, press the clutch pedal and the \
brake pedal, and shift to
N (Neutral).
N (Neutral)-Use this position when you start or idle your engin\
e.
R (Reverse)-To back up, press down the clutch pedal and shift into R.
Let up on the clutch pedal slowly while pressing the accelerat\
or pedal.
2-1 9
Page 91 of 356

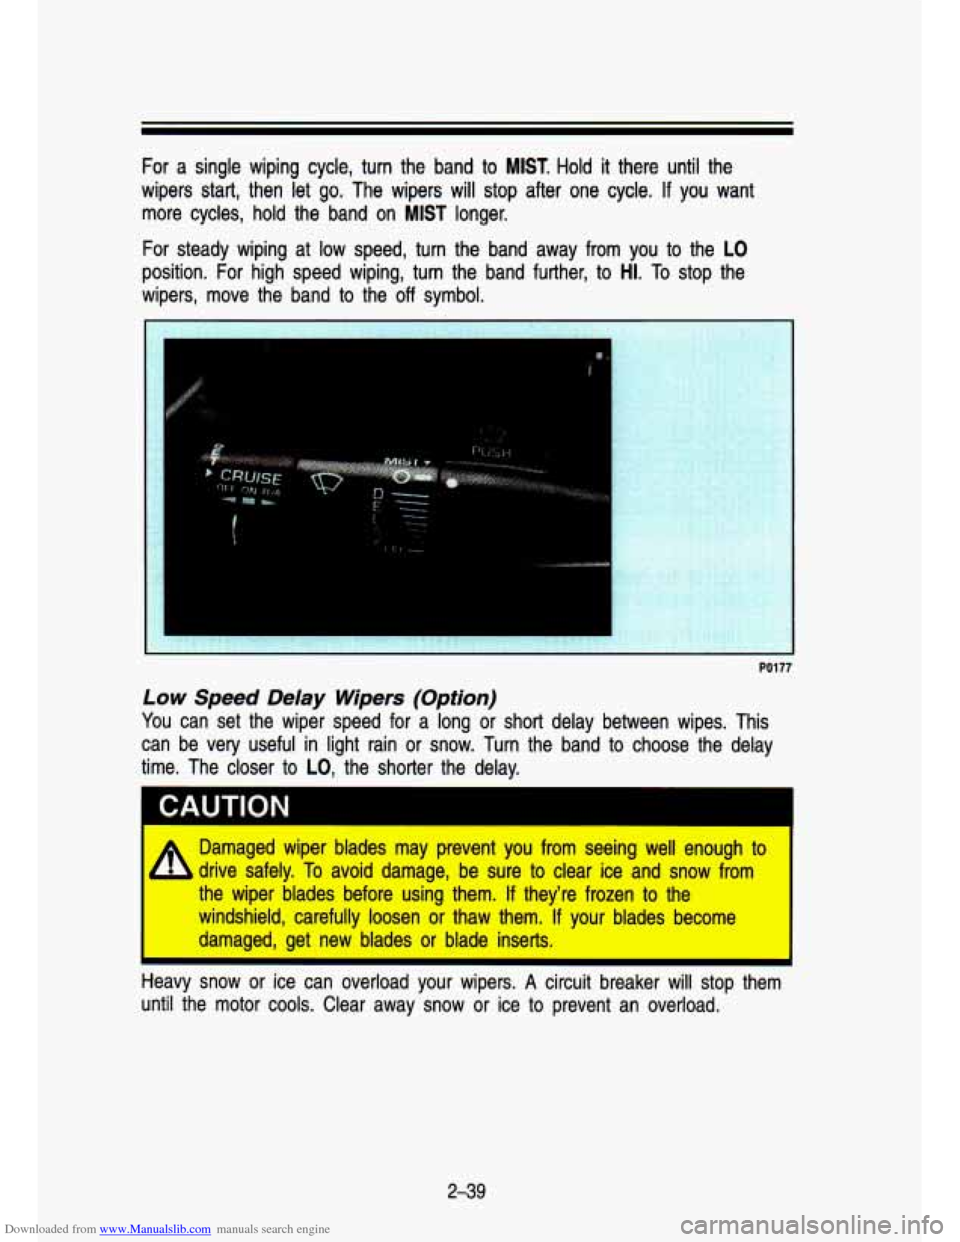
Downloaded from www.Manualslib.com manuals search engine For a single wiping cycle, turn the band to MIST. Hold it there until the
wipers start, then let
go. The wipers will stop after one cycle. If you want
more cycles, hold the band on
MIST longer.
For steady wiping at
low speed, turn the band away from you to the LO
position. For high speed wiping, turn the band further, to HI. To stop the
wipers, move the band to the
off symbol.
PO177
Low Speed Delay Wipers (Option)
You can set the wiper speed for a long or short delay between wipes. This
can be very useful in light rain or snow. Turn the band to choose the delay
time. The closer to
LO, the shorter the delay.
Damaged wiper blades may prevent
you from seeing well enough to I
drive safely. To avoild damage, ble sure to &air ice and SKIW from
the wiper blades before usilng them.
If they're frozen to the
wi'ndshield, carefully
lloosen or thaw them. If your blades become
damaged, get new blades
or blade inlserts. I
I leavy snow or ice can overload your wipers. A circuit breaker will stop them
until the motor cools. Clear away snow or ice
to prevent an overload.
2-39
Page 109 of 356

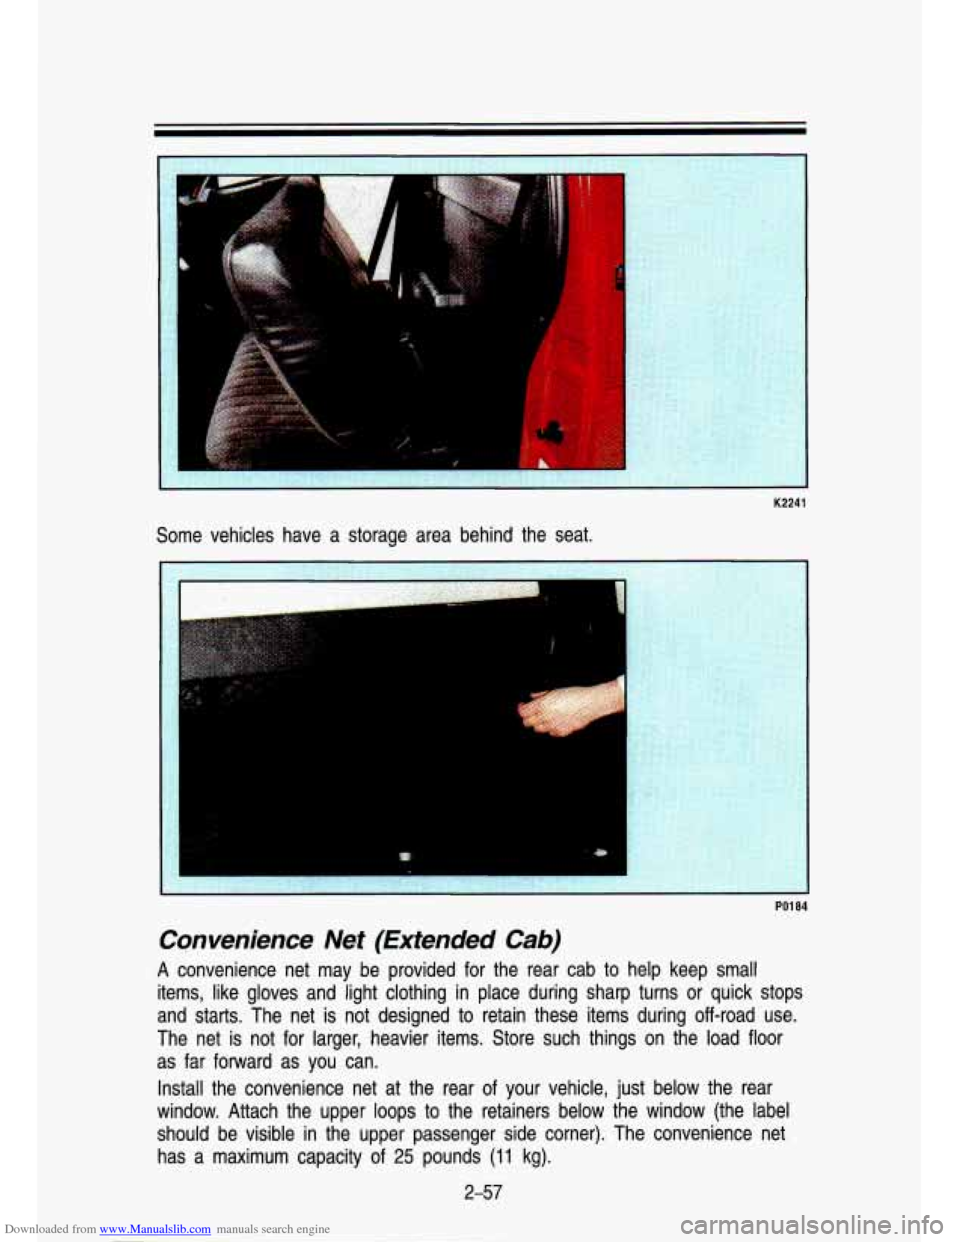
Downloaded from www.Manualslib.com manuals search engine Some vehicles have a storage area behind the seat.
K224,
PO1 84
Convenience Net (Extended Cab)
A convenience net may be provided for the rear cab to help keep\
small
items, like gloves and light clothing
in place during sharp turns or quick stops
and starts. The net is not designed to retain these items during off-road use.
The net is not for larger, heavier items. Store such things on the load \
floor
as far forward as you can.
Install the convenience net at the rear of your vehicle, just below the rear
window. Attach the upper loops to the retainers below the window (the label
should be visible in the upper passenger side corner). The convenience net
has a maximum capacity of
25 pounds (11 kg).
2-57
Page 118 of 356

Downloaded from www.Manualslib.com manuals search engine i
Features & Controls
Gages can indicate when there may be or is a problem with one of your
vehicle’s functions. Often gages and warning lights work toge\
ther
to let you
know when there’s a problem with your vehicle.
When one of the warning lights comes on and stays on when you are
driving, or when one of the gages shows there may be a probl\
em, check the
section that tells you what to do about
it. Please follow the manual’s advice.
Waiting to do repairs can be costly-and even dangerous.
So please get to
know your warning lights and gages. They’re a big help.
Brake System Warning Light
Standard Cluster Digital Cluster
Pol 59
Your vehicle’s hydraulic brake system is divided into two parts. If one part
isn’t working, the other part can still work and stop you. \
For good braking,
though, you need both parts working well. Your vehicle also ha\
s rear wheel anti-lock brakes. If the warning light goes on, there could be a brake problem
with either your regular or rear wheel anti-lock brakes, or both. Have you\
r
brake system inspected right away.
This light should come on as you start the vehicle. If it do\
esn’t come on
then, have it fixed
so it will be ready to warn you if there’s a problem.
This light will also come on when you set your parking brake, and will stay
on if your parking brake doesn’t release fully. If it stays on after your parking
brake is fully released,
it means you may have a brake problem. If the light
comes on while driving, pull
off the road and stop carefully. You may notice
that the pedal is harder
to push. Or, the pedal may go closer to the floor. It
may take longer to stop. If the light is still on, have the vehicle towed for
service. (See “Towing Your Vehicle” in the Index.)
2-66
I
Page 145 of 356

Downloaded from www.Manualslib.com manuals search engine SEEK
Pressing the SEEK button will cause the receiver to SEEK the, \
next higher
station and stop.
SCAN
When you press SCAN, the radio will go to the next station and pause and
will keep scanning until you press SCAN again. SCAN appears in the graphic
display.
Pushbuttons
The four pushbuttons let you return to favorite stations. You can Set the
pushbuttons for up to fourteen favorite stations
(7 AM and 7 FM). Just:
Tune in the desired station.
Press the SET pushbutton. (NOTE: The display will show SET for about
5 seconds.)
Within the 5 seconds, push one of the four pushbuttons. Whenever you
press that button, the preset station will return.
NOTE:
In addition to the four stations set as above, up to three additional stations
may be preset on each band by pressing two adjoining buttons at the same
time. Just:
Tune in the desired station.
Press the SET pushbutton.
Within 5 seconds, press any two adjoining pushbuttons at the same time.
(The station will return when the same two buttons are presse\
d again.)
Clock
To set the clock, just:
Push the SET pushbutton.
Within 5 seconds, press and hold SEEK until the correct minute appears
on the display.
Press and hold SCAN until the correct hour appears on the dis\
play.
Adjust The Tone
Use the levers in the upper left corner to set the bass, midrange, and treble
until you get the sound you want. The
60 and 250 levers adjust the bass; 1K
is midrange; and 3.5K and 10K control the treble.
We suggest you start with the center lever
(IK) in the midpoint position, then
move the others up until you get the amount of bass and treble you like.
3-1 7