1993 CHEVROLET S10 check engine
[x] Cancel search: check enginePage 278 of 356
Downloaded from www.Manualslib.com manuals search engine . ..
Service & Appearance Care
To Check Brake Fluid:
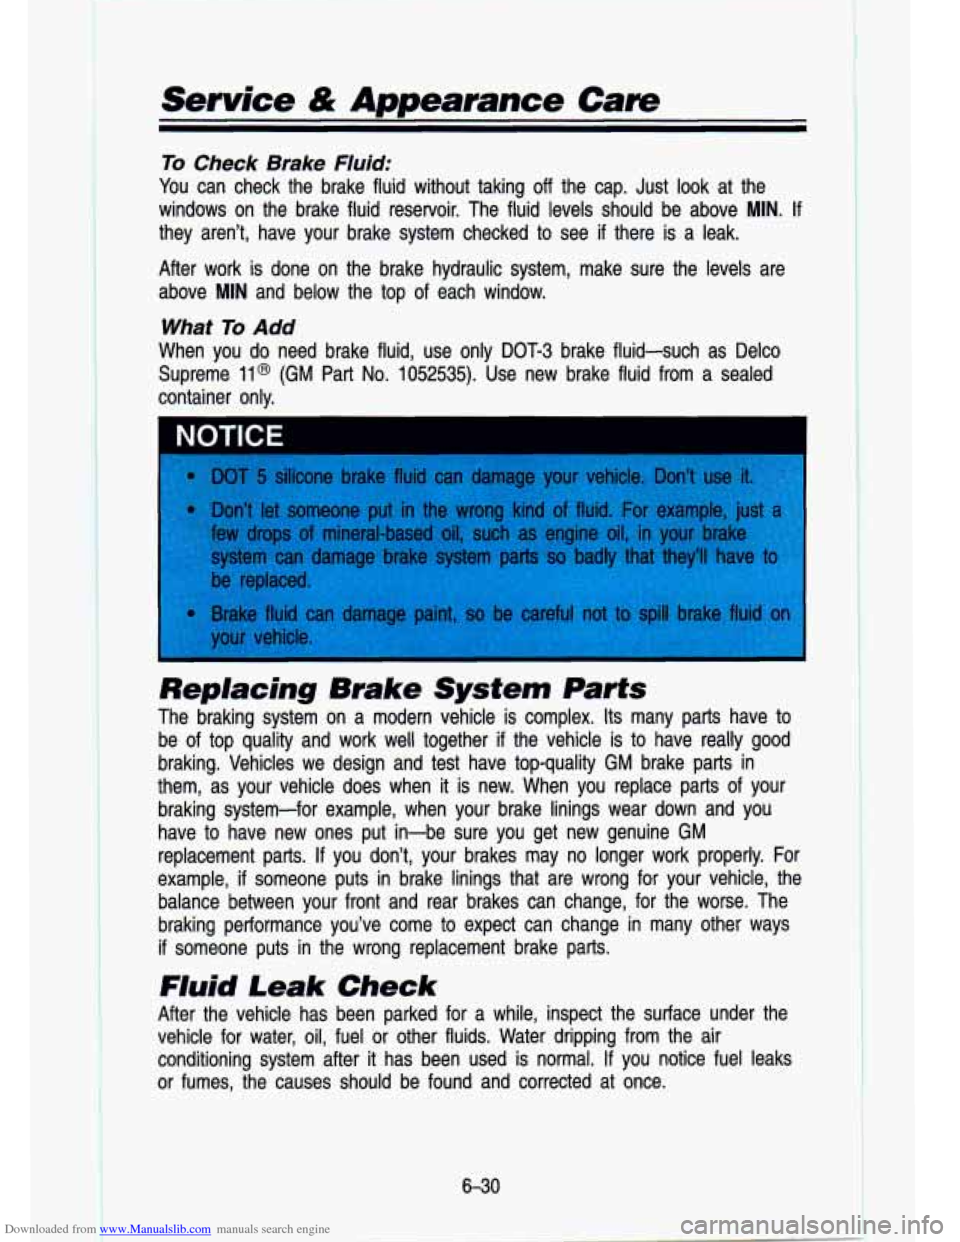
You can check the brake fluid without taking off the cap. Just look at the
windows on the brake fluid reservoir. The fluid levels should be above
MIN. If
they aren’t, have your brake system checked to see if there is a leak.
After work is done on the brake hydraulic system, make sure t\
he levels are above
MIN and below the top of each window.
What To Add
When you do need brake fluid, use only DOT-3 brake fluid-such as Delco
Supreme
11 @ (GM Part No. 1052535). Use new brake fluid from a sealed
container only.
Replacing Brake System Parts
The braking system on a modern vehicle is complex. Its many parts have to
be of top quality and work well together if the vehicle is to have really good
braking. Vehicles we design and test have top-quality GM brake parts in
them, as your vehicle does when
it is new. When you replace parts of your
braking system-for example, when your brake linings wear down and you
have to have new ones put in-be sure you get new genuine GM
replacement parts.
If you don’t, your brakes may no longer work properly. For
example,
if someone puts in brake linings that are wrong for your vehicle, the
balance between your front and rear brakes can change, for the\
worse. The braking performance you’ve come
to expect can change in many other ways
if someone puts in the wrong replacement brake parts.
Fluid Leak Check
After the vehicle has been parked for a while, inspect the su\
rface under the
vehicle for water, oil, fuel or other fluids. Water dripping from the air
conditioning system after
it has been used is normal. If you notice fuel leaks
or fumes, the causes should be found and corrected at once.
6-30
Page 283 of 356
Downloaded from www.Manualslib.com manuals search engine Windshield Wiper Blade Inserts
i
.. i. KO637 .. .,' :-, ;iyy ?-is;+;.-, &!!f$i& . l'jf:. j<-:q;* j';gi3f47!:;I' b,(..;',$< t&..YT:i;; ;.l:z~ .''! ..' :.. y.?;i'!g.tyz , . ..
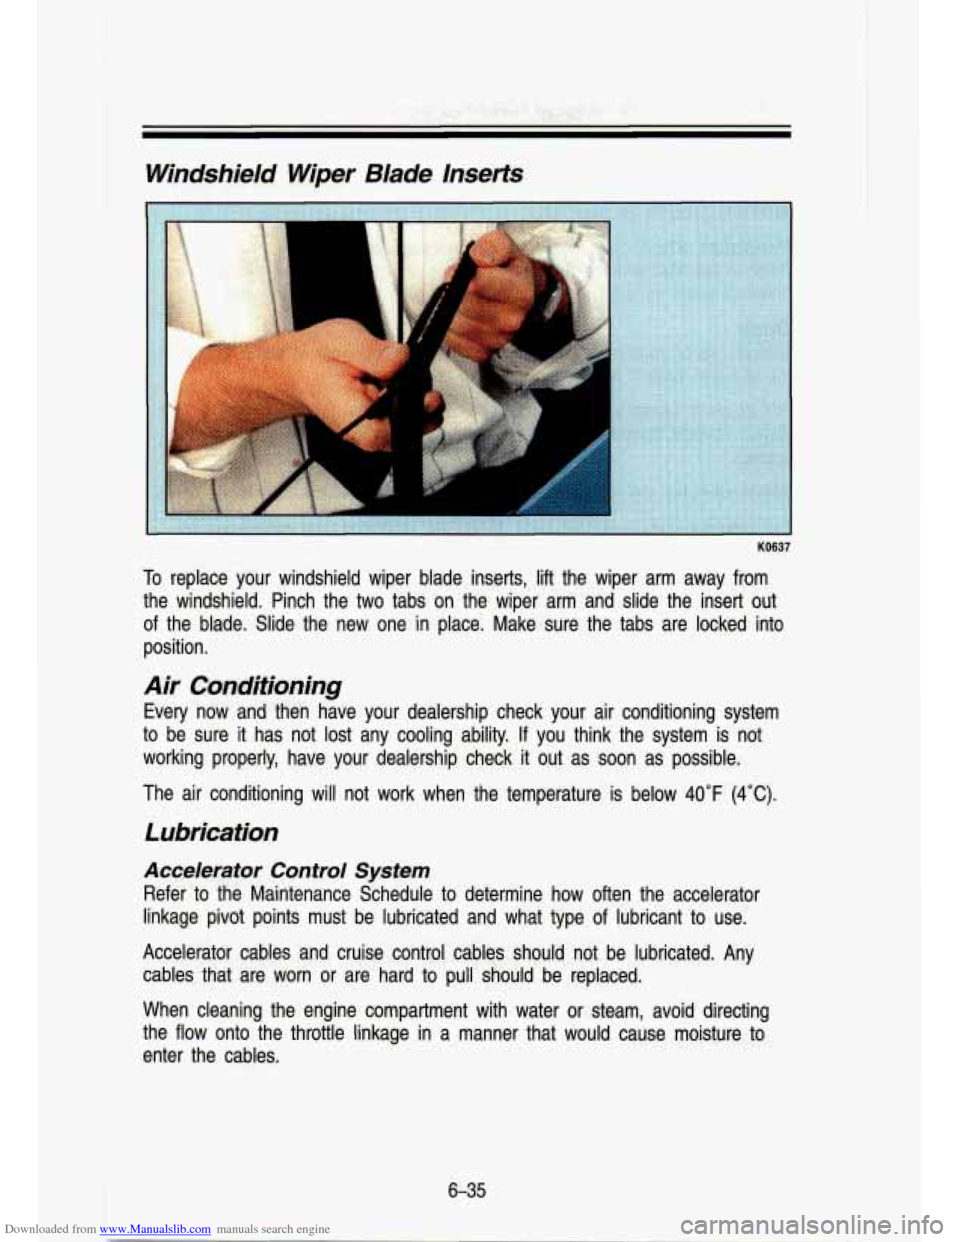
o rep ace your wlndshleld wiper blade inserts, lift the wiper ar\
m away from
the windshield. Pinch the
two tabs on the wiper arm and slide the insert out
of the bl'ade. Slide the new one in place. Make sure the tabs are locked into
position.
Air Conditioning
Every now and then have your dealership check your alr conditi\
oning system
to be sure it has not lost any cooling ability. If you think the system is not
working prope'rly, have your dealership check
it out as soon as possible.
The air conditioning will not work when the temperature is below
40°F (4°C).
Lubrication
Accelerator Control System
Refer to the Maintenance Schedule to determine how often the accelerator
linkage pivot points must be lubricated and what type
of lubricant to use.
Accelerator cables and cruise control cables should not be lubr\
icated. Any
cables that are worn or are hard
to pull should be replaced.
When cleaning the engine compartment with water or steam, avoid\
directing
the flow onto the throffle linkage in a manner that would cause moisture
to
enter the cables.
Page 290 of 356
Downloaded from www.Manualslib.com manuals search engine I
Service & Appearance Care
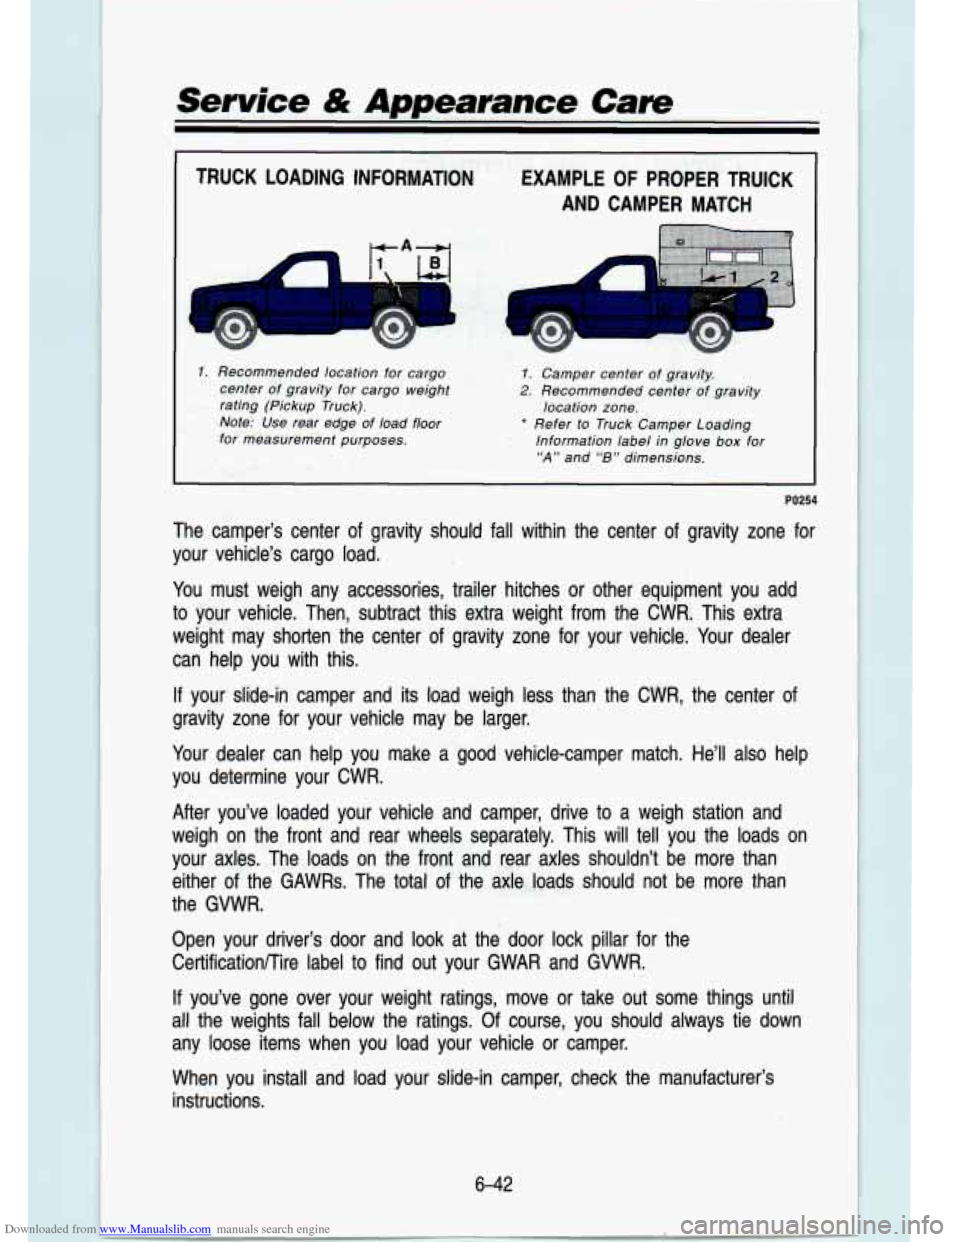
TRUCK LOADING INFORMATION EXAMPLE OF PROPER TRUICK
AND CAMPER MATCH
1. Recommended location for cargo 7. Camper center of gravity.
center
of gravity for cargo weight 2. Recommended center of gravity
rating (Pickup Truck).
K-L.<:- location zone.
Note: Use rear edge of load floor : .‘$Ti: * .Refer to Truck Camper Loading
for measurement purposes.
- - Information label in glove box for
“A” and “B” dimensions.
.Y %!, -
PO254
The camper’s center of gravity should fall within the center of gravity zone for
your vehicle’s cargo load.
You must weigh any accessories, trailer hitches or other equipment you add
to your vehicle. Then, subtract this extra weight from the CWR,
This extra
weight may shotten the center of gravity zone for your vehicle. Your dealer
can help you with this.
If your slide-in camper and its load weigh less than the CWR, the center of
gravity zone for your vehicle may be larger.
Your dealer can help you make
a good vehicle-camper match. He’ll also help
you determine your CWR.
After you’ve loaded your vehicle and camper, drive to a weigh station and
weigh on the front and rear wheels separately. This will tell you the loads on
your
axles. The loads on the front and rear axles shouldn’t be more th\
an
either
of the GAWRs. The total of the axie..loads should not be more than
the GVWR.
Open your driver’s door and look at the door lock pillar f\
or the CertificationKire label to find out your GWAR and GWVR.
If you’ve gone over your weight ratings, move or take out some\
things until
all the weights fall below the ratings. Of course, you should always tie down
any loose items when you load your vehicle or camper.
When you install and load your slide-in camper, check the manufacturer’s
instructions.
6-42
Page 291 of 356
Downloaded from www.Manualslib.com manuals search engine If you want more information on curb weights, cargo weights, cargo weight
rating and the correct center of gravity zone for your vehicle, your dealer can
help you. Just ask for a copy of “Consumer Information, Truck Camper
Loading.”
Pickup Conversion fo Chassis Cab
General Motors is aware that some vehicle owners may consider having the
pickup box removed and a commercial or recreational body installed. Be\
fore
you do
so, first contact the GM Zone Office for your area for information on
such conversions. (See the “Warranty and Owner Assistance”\
booklet for
Zone Office.) Owners should be aware that, as manufactured, th\
ere are
differences between a chassis cab and a pickup with the box r\
emoved which
may affect vehicle safety. The components necessary to adapt the pickup to
permit its safe use with a specialized body should be installe\
d by a body
builder in accordance with the information available from the Zone Office.
Tires
We don’t make tires. Your new vehicle comes with high quality tires made by
a leading tire manufacturer. These tires are warranted by the tire
manufacturers and their warranties are delivered with every new vehicle. If
your spare tire is a different brand than your road tires, you will have a tire
warranty folder from each of these manufacturers.
4 Poorly maintained and improperly used tires are dangerous.
Overloading your tires can cause overheating as a result of too
much friction. You could have an air-out and a serious accide
See “Loading Your Vehicle” in the Index.
Underinflated tires pose the same danger as overloaded tires.
The resulting accident could cause serious injury. Check all tires
frequently to maintain the recommended pressure. Tire pressure should be checked when your tires are cold.
I
Overinflated tires are more likely to be cut, punctured, or broken
by sudden impact such as when you hit a pothole. Keep tires ar
I the recommended pressure.
Worn, old tires can cause accidents. If your tread is badly worn, I
Don’t drive over 85 mph (135 km/h) even if it’s legal, unless you
or
if your tires have been damaged, replace them.
have the correct high speed rated tires.
6-43
Page 292 of 356
Downloaded from www.Manualslib.com manuals search engine Service & Appearance Care
Inflation-Tire Pressure
The Certification/Tire label, which is on the driver’s door \
lock pillar, shows the
correct inflation pressures for your tires, when they’re cold\
. “Cold’’ means your
vehicle has been sitting for at least three hours or driven n\
o more than a mile.
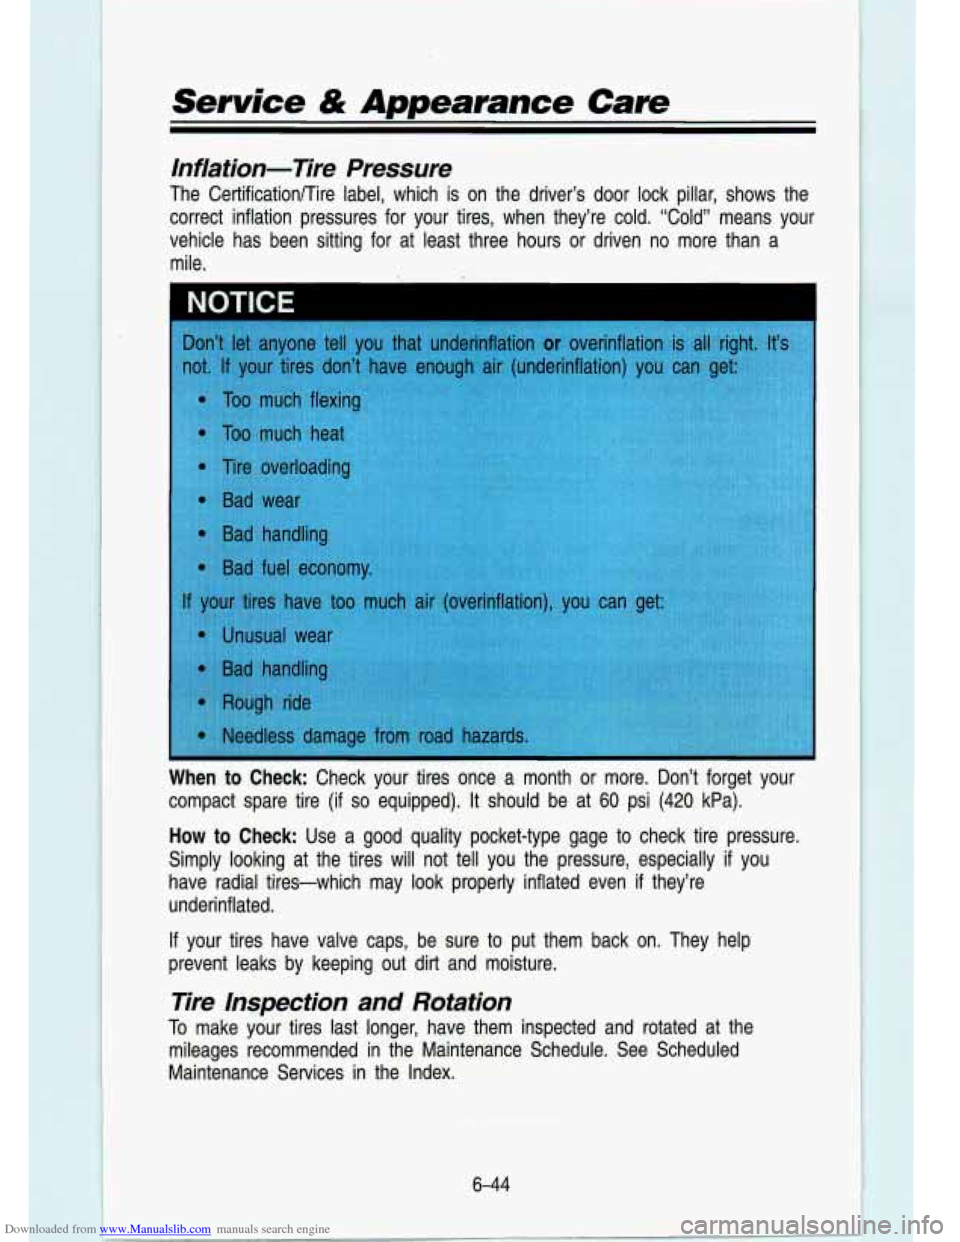
I NOTICE I
When to Check: Check your tires once a month or more. Don’t forget \
your
compact spare tire (if
so equipped). It should be at 60 psi (420 kPa).
How to Check: Use a good quality pocket-type gage to check tire pressure.
Simply looking at the tires will not tell you the pressure, e\
specially
if you
have radial tires-which may
l’ook properly inflated even if they’re
underinflated.
If your tires have valve caps, be sure
to put them back on. They help
prevent leaks by keeping out dirt and moisture.
Ere lnspection and Rotation
To make your tires last longer, have them inspected and rotated a\
t the
mileages recommended in the Maintenance Schedule. See Scheduled
Maintenance Services in the Index.
6-44
Page 294 of 356
Downloaded from www.Manualslib.com manuals search engine Service & Appearance Care
When It’s Time for New Tires
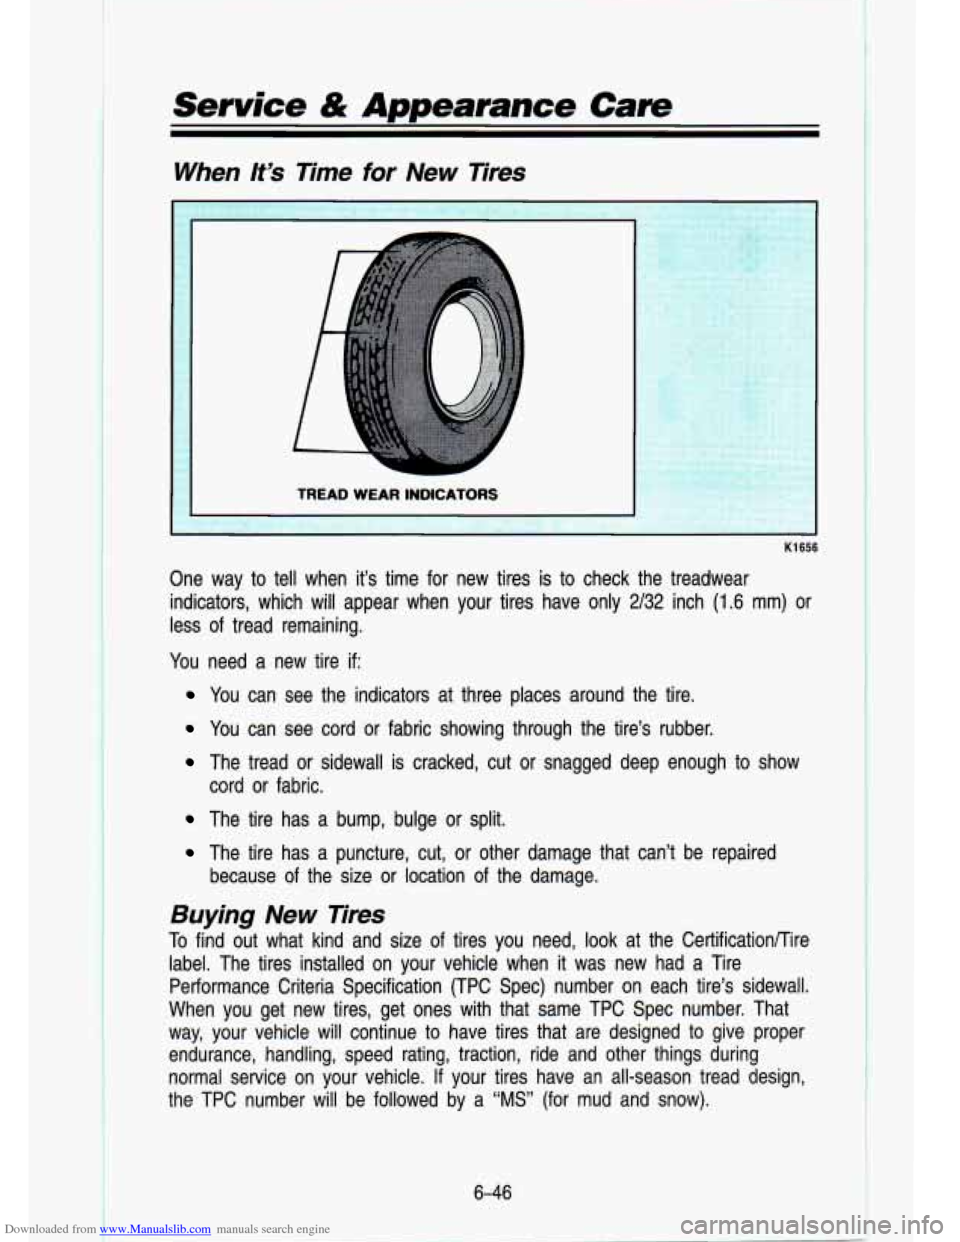
K1656
One way to tell when it’s time for new tires is to check the treadwear
indicators, which will appear when your tires have only
2/32 inch (1.6 mm) or
less of tread remaining.
You need a new tire
if:
You can see the indicators at three places around the tire.
You can see cord or fabric showing through the tire’s rubber.
The tread or sidewall is cracked, cut or snagged deep enough to show
cord or fabric.
The tire has a bump, bulge or split.
The tire has a puncture, cut, or other damage that can’t b\
e repaired
because of the size
or location of the damage.
Buying New Eres
To find out what kind and size of tires you need, look at the CertificationRire
label. The tires installed on your vehicle when it was mew had a Tire
Performance Criteria Specification (TPC Spec) number on each t\
ire’s sidewall.
When you get new tires, get ones with that same TPC Spec num\
ber. That
way, your vehicle will continue to have tires that are designed to give proper
endurance, handling, speed rating, traction, ride and other thin\
gs during
normal service on your vehicle.
If your tires have an all-season tread design,
the TPC number
will be followed by a “MS” (for mud and snow).
6-46
Page 302 of 356
Downloaded from www.Manualslib.com manuals search engine Service & Appearance Cave
Cleaning the Outside of Your Windshield and Wiper Blades
If the windshield is not clear after using the windshield washer, or if the wiper
blade chatters when running, wax or other material may be on the blade or
windshield.
Clean the outside of the windshield with GM Windshield Cleaner, Bon-Ami
Powder@ (GM Part
No. 1050011). The windshield is clean if beads do not
form when you rinse it with water.
Clean the blade by wiping vigorously with a cloth soaked in full strength
windshield washer solvent. Then rinse the blade with water.
Wiper blades should be checked on a regular basis and replaced\
when worn.
Cleaning the Outside of Your Vehicle
The paint finish on your vehicle provides beauty, depth of color, gloss
retention and durability.
Washing Your Vehicle
The best way to preserve your vehicle’s finish is to keep it clean by washing
it often with lukewarm or cold water.
Don’t wash your vehicle in the direct rays of the sun. Don’t use strong soaps
or chemical detergents. Use liquid hand or dish or car washing\
(non-detergent) soaps. Don’t use cleaning agents that contai\
n acid or
abrasives. All cleaning agents should be flushed promptly and n\
ot allowed
to
dry on the surface, or they could stain. Dry the finish with \
a soft, clean
chamois or
100% cotton towel to avoid surface scratches and water spotting.
High pressure car washes may cause water
to enter your vehicle.
Finish Care
Occasional waxing or mild polishing of your vehicle may be necessary to
remove residue from the paint finish. You can get GM approved \
cleaning
products from your dealer. (See “Appearance Care and Materia\
ls’’ in the Index.)
Protecting Exterior Bright Metal Parts
Bright metal parts should be cleaned regularly to keep their luster. Washing
with water is all that is usually needed. However, you may us\
e GM Chrome
Polish on chrome or stainless steel trim,
if necessary.
Use special care with aluminum trim.
To avoid damaging protective trim, never
use auto or chrome polish, steam or caustic soap to clean aluminum.
A
coating of wax, rubbed to a high polish, is recommended for all bright metal
parts.
6-54
Page 308 of 356

Downloaded from www.Manualslib.com manuals search engine I
Service & Appearance Cave
Headlights
The headlight wiring is protected by a circuit breaker in the \
light switch. An electrical overload will cause the lights to go on and
off, or in some cases to
remain
off. If this happens, have your headlight wiring checked right away.
Windshield Wipers
The windshield wiper motor is protected by a circuit breaker a\
nd a fuse. If
the motor overheats due to heavy snow, etc., the wiper will s\
top until the
motor cools. If the overload is caused by some electrical problem and not
snow, etc., be sure to get it fixed.
Power Windows and Other Power Options
Circuit breakers in the fuse panel protect the power windows a\
nd other power
accessories. When the current load is
too heavy, the circuit breaker opens
and closes, protecting the circuit until the problem is fixed \
or goes away.
Trailer Wiring Harness
The optional seven-wire trailer wiring I ;s is protected by an in-line fuse
in the battery feed wire. This fuse is near rhe junction bloc\
k. See “Trailer
Wiring Harness” in the “Features
& Controls’’ section.
Fuse Block
KO631
The fuse block is in the instrument panel on the driver’s side.
- .: .-: 1
.- .
Remove the cover with a screwdriver and then you can remove f\
uses with a
fuse extractor.
6-60