1993 CHEVROLET LUMINA reset
[x] Cancel search: resetPage 74 of 324

Downloaded from www.Manualslib.com manuals search engine Features & Controls
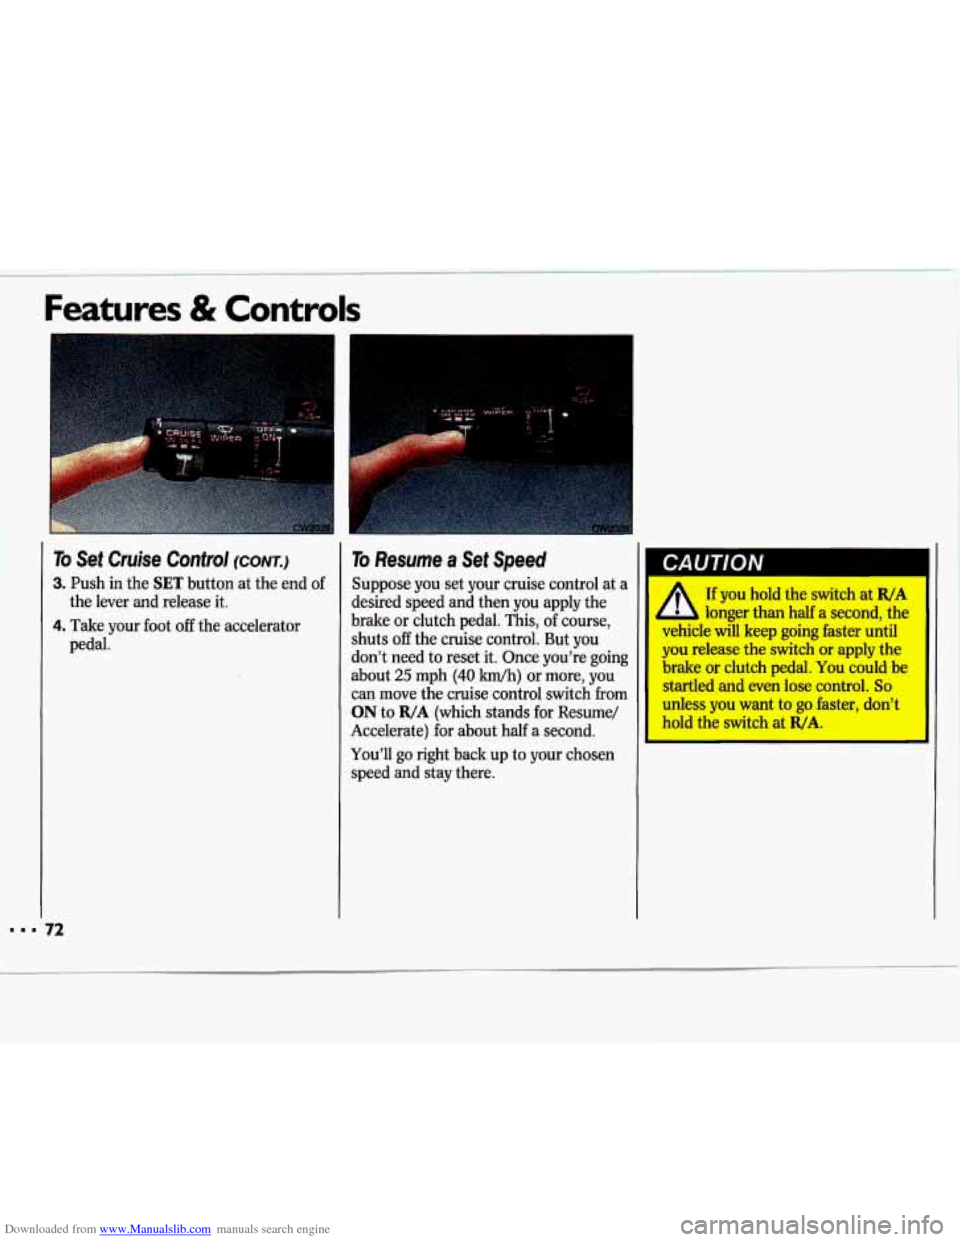
To Set Cruise Control (CONT.)
3. Push in the SET button at the end of
4. Take your foot off the accelerator
the
lever and release it.
pedal.
To Resume a Set Speed - CAUTION
Suppose you set your cruise control at a I I A If you hold the switch at R/A 1 desired speed and then you apply the
brake or clutch pedal. This, of course,
shuts
off the cruise control. But you
don’t need to reset it. Once you’re going
about
25 mph (40 kwh) or more, you
can move the cruise control switch from
ON to R/A (which stands for Resume/
Accelerate) for about half a second.
You’ll go right back up to your chosen
speed and stay there.
,A longer than half a second, the
vehicle will keep going faster until
you release the switch or apply the
brake or clutch pedal.
You could be
startled and even lose control.
So
unless you want to go faster, don’t
hold the switch at
R/A.
Page 78 of 324

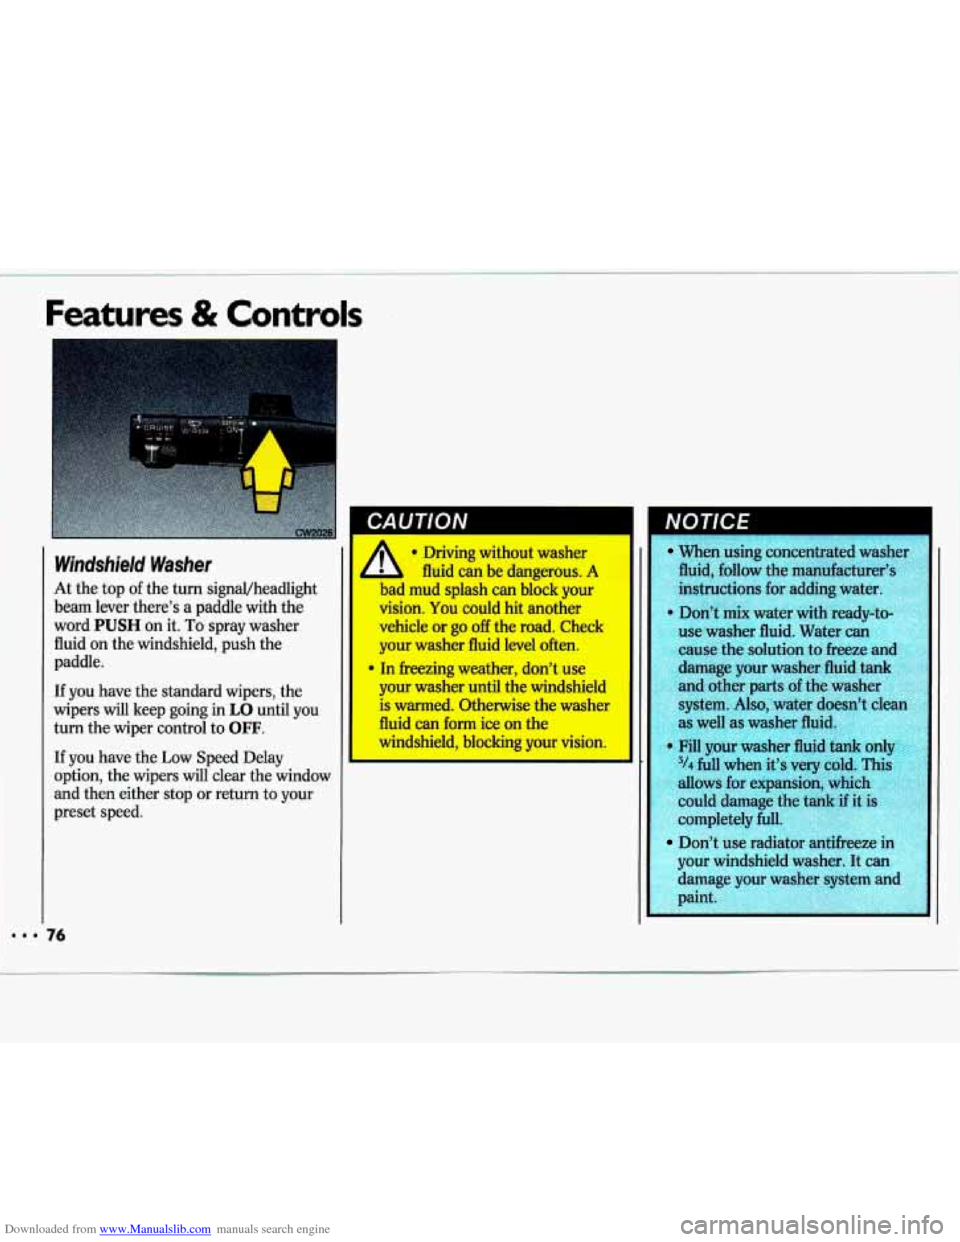
Downloaded from www.Manualslib.com manuals search engine Windshield Washer
At the top of the turn signavheadlight
beam lever there’s a paddle with the
word
PUSH on it. To spray washer
fluid on the windshield, push the
paddle.
If you have the standard wipers, the
wipers will keep going in
LO until you
turn the wiper control to
OFF.
If you have the Low Speed Delay
option, the wipers
will clear the window
and then either stop
or return to your
preset speed.
I CAUTION NOTEE I
\%en using concentrated wash1 1
Ad, follow the manufacturer’s
instructions for adding water.
Don’t mix water with ready-to-
use washer fluid. Water can
cause the solution
to freeze and
damage your washer fluid taI
and ather parts of the washer
as well as washer
flu
Fill your washer fluid tad
3/4 full when it’s very cold. This
allows for expansion, whi
could damage the tank
if i - ompletely full.
I 1 Uon’t use radiator antifreeze in
‘our windshield washer. It can
damage your washer system ant stem.
Also, water doesn” dean
I
I paint.
Page 90 of 324

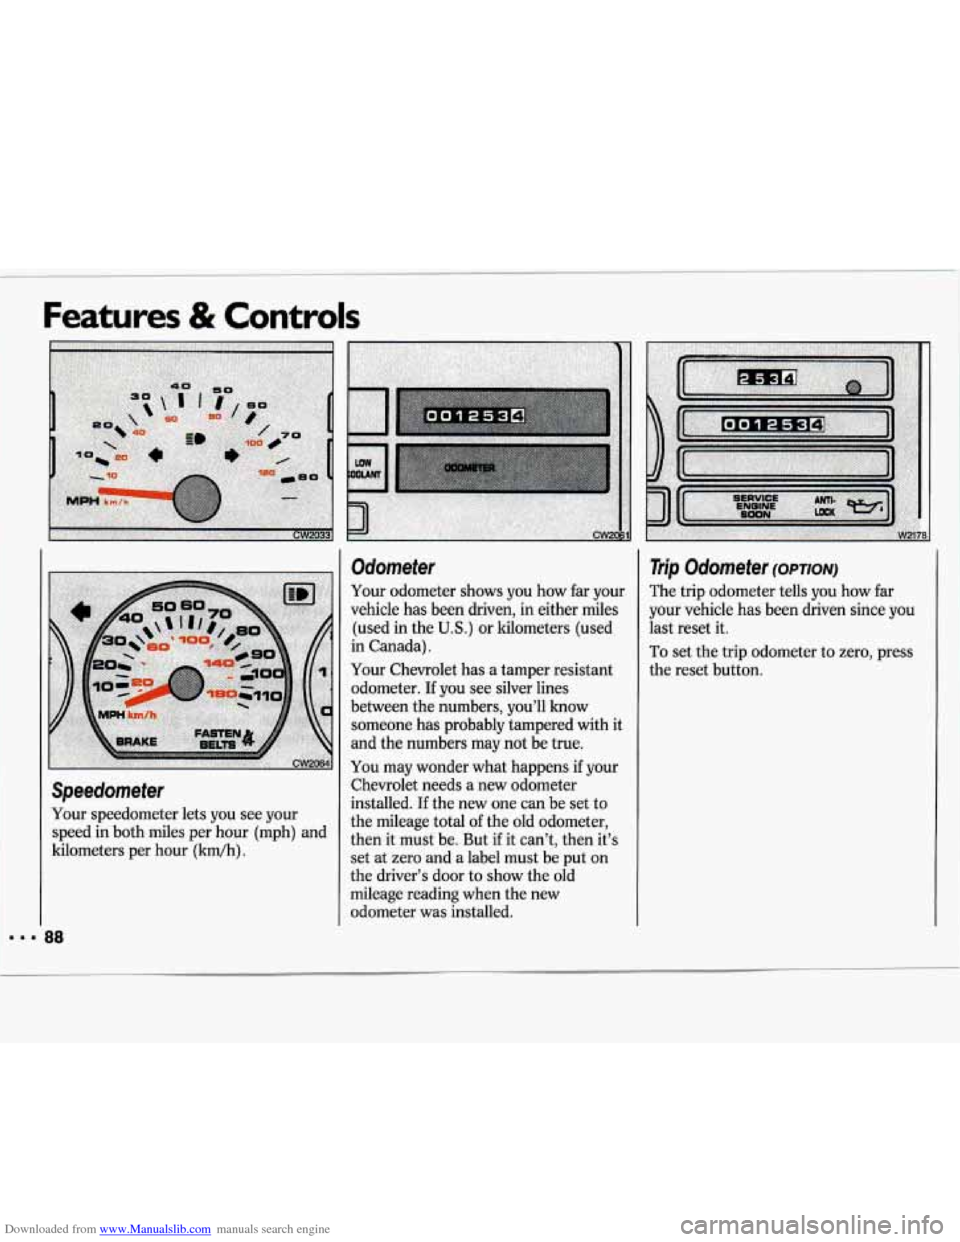
Downloaded from www.Manualslib.com manuals search engine Speedometer
Your speedometer lets you see your speed in both miles per hour (mph) and
kilometers per hour (kdh)
.
Odometer
Your odometer shows you how far your
vehicle has been driven, in either miles
(used in the
U.S.) or kilometers (used
in Canada).
Your Chevrolet has a tamper resistant odometer.
If you see silver lines
between the numbers, you’ll know
someone has probably tampered with it
and the numbers may not be true.
You may wonder what happens if your
Chevrolet needs a new odometer
installed.
If the new one can be set to
the mileage total of the old odometer,
then it must be. But
if it can’t, then it’s
set at zero and a label must be put on
the driver’s door to show the old
mileage reading when the new
odometer was installed.
Trip Odometer (OPTION)
The trip odometer tells you how far
your vehicle has been driven since you
last reset it.
To set the trip odometer to zero, press
the reset button.
Page 95 of 324

Downloaded from www.Manualslib.com manuals search engine This light will also come on when you
set your parking brake, and
will stay on
if your parking brake doesn’t release
fully. If it stays on after your parking
brake is fully released, it means you
have a brake problem.
If the light comes on while driving, pull
off the road and stop carefully. You may
notice that the pedal is harder to push.
Or, the pedal may go closer to the floor.
It may take longer to stop.
If the light is
still on, have the vehicle towed for
service. (See the
Index under Towing
Your Chevrolet.)
-
gu1/QIv ,1
A Your brake system may not ’ ‘ be working properly if the
LJlimt; warning light is on. Driving
with the brake warning light on can
lead to an accident. If the light is
still on after you’ve pulled off the
road and stopped carefully, have
the vehicle towed for service.
I I
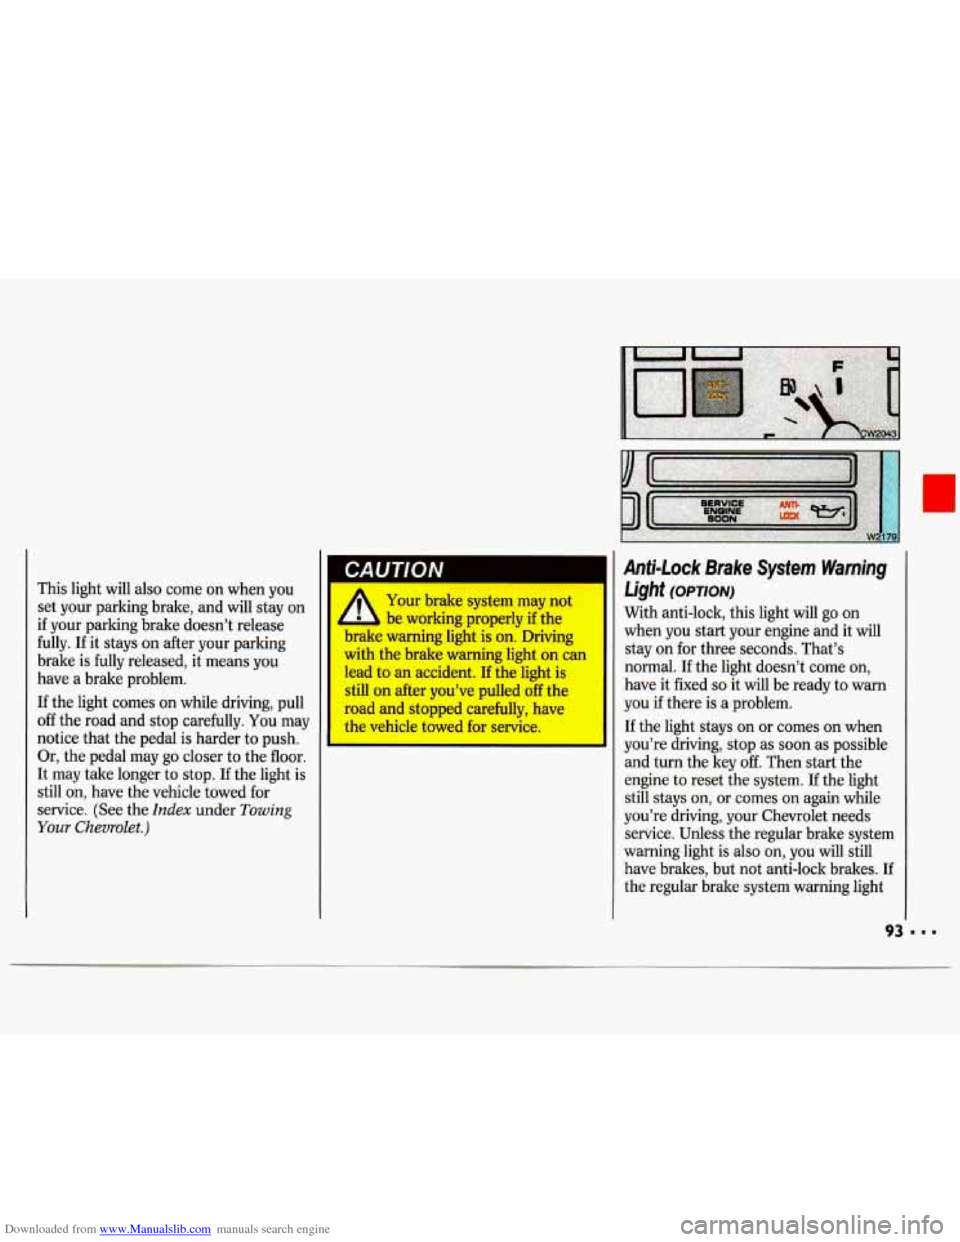
Anti-Lock Brake System Warning
Light
(OPTION)
With anti-lock, this light will go on
when you start your engine and it will
stay on for three seconds. That’s
normal.
If the light doesn’t come on,
have it fixed
so it will be ready to warn
you
if there is a problem.
If the light stays on or comes on when
you’re driving, stop as soon
as possible
and turn the key
off. Then start the
engine to reset the system. If the light
still stays on, or comes
on again while
you’re driving, your Chevrolet needs service. Unless the regular brake system
warning light is also on, you will still
have brakes, but not anti-lock brakes. If
the regular brake system warning light
Page 107 of 324

Downloaded from www.Manualslib.com manuals search engine TREB (Treble): Slide this lever up to
increase treble, or down to decrease it.
BASS: Slide this lever up to increase
bass, or down to decrease it.
SCAN: Press to listen for a few
seconds to the next station on the AM
or FM band; the scan will continue
every few seconds until
you press
SCAN again to stop on a particular
station.
You can also press the upper
hob
(VOL-BAL) to stop the scan.
SEEK: Each time you press SEEK, you
will tune in the next station higher on
the radio band.
To Preset Radio Stations:
The four pushbuttons labeled 1-4 can
be used to preset up to
14 radio stations
(seven
AM and seven FM).
1. Use the lower knob (TUNE-FADE)
to tune in the station you want.
2. Press SET. The SET indicator will
appear on the digital screen for five
seconds.
3. While the SET indicator is displayed,
press one of the four pushbuttons.
4. Repeat steps 1-3 for each of four AM
and four FM stations. Up
to three additional stations on each
band may be preset by “pairing”
pushbuttons:
1. Tune in the desired station.
2. Press SET, and within five seconds
press any
two adjacent pushbuttons
at the same time.
3. The station can be tuned in when the
same
two pushbuttons are pressed at
the same time.
Page 109 of 324

Downloaded from www.Manualslib.com manuals search engine To Preset Radio Stations:
The four pushbuttons labeled 1-4 can
be used to preset up to 14 radio stations
(seven
AM and seven FM) .
1. Use the lower knob (TUNE-FADE)
to tune in the station you want.
2. Press SET. The SET indicator will
appear on the digital screen for five
seconds.
3. While the SET indicator is displayed,
press one of the four pushbuttons.
4. Repeat steps 1-3 for each of four AM
and four FM stations.
Up to three additional stations
on each
band may be preset by “pairing”
pushbuttons:
1. Tune in the desired station.
2. Press SET, and within five seconds
press any two adjacent pushbuttons
at the same time.
3. The station can be tuned in when the
same
two pushbuttons are pressed at
the same time.
To Play a Cassette Tape:
With the power on, insert a tape into
the cassette door. Using tapes that are
longer than
90 minutes (45 minutes on
each side) is not recommended.
When the right indicator arrow is lit,
selections listed on the bottom side
of
the cassette are playing. When the left
arrow is lit, selections listed on the top
side of the cassette are playing. To
change sides of the tape, press the
upper control knob (VOL-BAL) while
the cassette is playing. The tape player
automatically begins playing the other
side when it reaches the end
of the tape.
Fast Forward Press the button with
the arrow pointing
in the same direction
that the tape is playing. To stop fast
forward, press the
STOP EJECT
button.
Reverse: Press the button with the
arrow pointing
in the opposite direction
that the tape is playing. To stop reverse,
press the
STOP EJECT button.
STOP EJECT: To stop playing a tape,
fully press this button. The cassette
will
be partially ejected, and the radio will
begin playing.
Page 111 of 324

Downloaded from www.Manualslib.com manuals search engine To Preset Radio Stations:
The four pushbuttons labeled 1-4 can
be used to preset up to
14 radio stations
(seven
AM and seven FM) .
1. Use the lower knob (TUNE-FADE)
to tune in the station you want.
2. Press SET. The SET indicator will
appear on the digital screen for five
seconds.
3. While the SET indicator is displayed,
press one of the four pushbuttons.
4. Repeat steps 1-3 for each of four AM
and four FM stations.
Up to three additional stations on each
band may be preset by "pairing"
pushbuttons:
1. Tune in the desired station.
2. Press SET, and within five seconds
press any
two adjacent pushbuttons
at the same time.
3. The station can be tuned in when the
same
two pushbuttons are pressed at
the same time.
To Play a Cassette Tape:
Your cassette tape player is designed to
work best with tapes that play for
30 to
45 minutes per side. Tapes that run
longer than that are
so thin they may
not work well
in this player.
With the unit on, press a cassette into
the slot marked
AUTO REVERSE, tape
side first. An arrow above the word
TAPE in the graphic display shows
which side of the tape is playing. Adjust
volume, balance, fade and tone as
described earlier in this part.
DNR This audio system has
automatic
00 Dolby B NR@ to reduce
background noise on Dolby encoded
tapes. Dolby@ Noise Reduction is
manufactured under license from Dolby
Laboratories Licensing
Corporation. Dolby@
and the 00
symbol are trademarks of Dolby
Laboratories Licensing Corporation.
RCL-PROG (Recall-Program): Press
to switch from one side of the tape
to
the other. The unit switches
automatically at the end of a side.
CrO,: Press to adjust the unit for high
bias chrome or metal tapes. For
standard bias tapes, press again to
return to the factory-preset adjustment.
REV (Reverse): Press to rewind the
tape rapidly. The tape will stop at the
end, or when you press
FWD lightly.
The radio will play while the tape is
rewinding.
FWD (Forward): Press to advance the
tape rapidly. The tape will stop at the
end, or when you press
REV or
RCL-PROG lightly. The radio will play
while the tape is advancing.
SEARCH: Push this button to the
right. The
ON light will come on. Push
FWD to go to the beginning of the next
selection.
Push REV to back up to the
beginning of the current selection.
EJECT Press to remove the tape.
Page 113 of 324

Downloaded from www.Manualslib.com manuals search engine To Preset Radio Stations:
The five pushbuttons can be used to
preset up to ten radio stations (five
AM and five FM stations). The
buttons have other uses when you are
playing a compact disc.
1. Tune the digital display to the station
2. Press SET. The SET indicator will
you want.
appear on the digital screen for five
seconds.
3. While the SET indicator is displayed,
press one of the five pushbuttons.
4. Repeat steps 1-3 for each of five AM
and five FM stations.
To Play a Compact Disc:
Many of the controls for the radio also
have functions for the compact disc
player, as explained here.
Don’t use mini-discs that are called
singles. They won’t eject. Use only full-
size compact discs.
1. Turn PWR-VOL to turn the unit on.
2. Insert a disc part-way into the slot,
with the label side up. The player
will pull it in. In a few seconds, the
disc should play. If
the disc comes back out:
The disc may be upside down.
The disc may be dirty, scratched or
wet.
There may be too much moisture in
the air (wait about one hour and try
again).
The player may be too hot, or the road
may be too rough for the disc to play.
While a disc is playing, the
CD
indicator is displayed on the digital
screen, as is the clock.
1