Page 116 of 370
Downloaded from www.Manualslib.com manuals search engine ...-
I
I
/iflatable Restraint light
The. INFL REST (Inflatable. Re'str'aint)
light
Is part ofthe Supplemental
Inflatable
Restraint system on your
vehicle. This light will flash -seven t,o
hine ti-mes when you turn the ignition
key
to Ruil. If: thklight comes oh.when
you are driving, fails to glow when you
turn the key to Run, or stays on after
turning the key to Run, there may be a
problem with the system.
.ASR System. Warning and
lndicator Lights
The following three 1ights.m your
Driver Information Center tell you
abo.ut your .ASR (Ac.ce1eratio.n Slip
Regulation),
ASR Acfive Light
This indicator on the Driver- Information
Center will
come on when you turn the
ignition
on and remain on for a few
seconds during
a system check. It also
indicates when the ASR system has
been activated. See the Index under
Accel@rution Slip Regulation. (ASR)
System.
Page 121 of 370

Downloaded from www.Manualslib.com manuals search engine Features & Controls
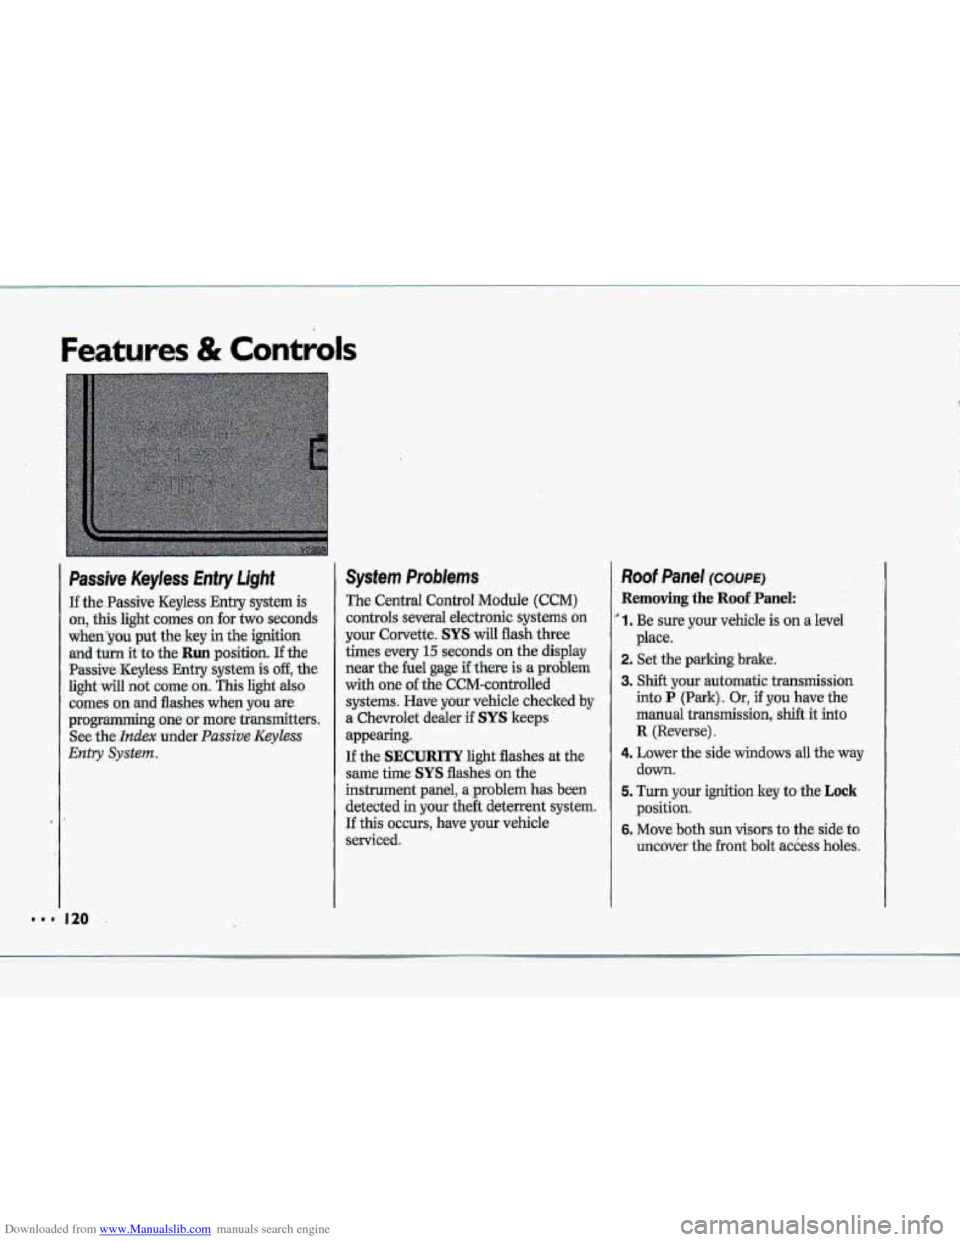
Passive Keyless Entry Light
If the.Passive Keyless Entry system is
on, this light comes on for two seconds
whenyou put the key in the ignition
and turn it to the Run position. If the
Passive -Keyless Entry .system is off, the
light will not cume on. This light also
comes on .md flashes when you we
programming~ one or more transmitters.
See
the- Index under. Passive Keyless
Entry System.
System Problems
The Central Control Module (CCM)
controls several electronic systems on
your Corvette. SYS will flash three
times every
15 seconds on the display
near the he1 gage if there is a problem
with one of the CCM-cantrolled
systems. Have your vehicle checked
by
a. Chevrolet dealer if SYS keeps
appearing.
If the SECURITY light flashes at the
same the SYS flashes on the
instrument panel, a ,problem has been
detected in your the& deterrent system.
If this OCCUTS, have YQW vehicle
serviced.
Roof Panel ~XWE)
Removing the Roof Panel:
' 1. Be sure your vehicle is on a level
2. Set the parking brake.
3. Shift your automatic transmission
into P (Park). Or, if you have the
manual
transmission, shift it into
R {Reverse).
4. Lower the side windows all the'way
down.
5. Turn your ignition key to the Lock
position.
6. Move both sun visors to the side to
uncover the
.front bolt access holes.
place.
k p*
.&
"' 120
Page 205 of 370
Downloaded from www.Manualslib.com manuals search engine Problems on the Road
‘A
Hazard Warning Flashers
Your hazard warning flashers let you
warn others. They also let police know
you have a problem. Your front and rear
turn signal lights will flash on and off.
204
Press the button in to make your front
and rear turn signal lights flash on and
Off.
Your hazard warning flashers work no
matter what position your key is in, and
even if the key isn’t in.
To turn off the flashers, pull out on the
.*collar.
When the hazard
warning flashers are
on, your turn signals won’t work.
1 Other warning Devices
If you carry reflective triangles, you can
set one up at the side of the road about
300 feet (100 m) behind your vehicle.
Page 211 of 370

Downloaded from www.Manualslib.com manuals search engine Towhg Your Corvette (CONT.)
When your vehicle is being towed, have
the ignition key
off. The steering wheel
should-be.
clamp,ed in a straight-ahead
position, with a clamping device
designed fur towing s-ervice. DO not use
the vehicle's stewing column iock for
this. The transmission shoLild be in
N [Neutral), and the.parlepg brake
released.
Don't have your vehicle tqwed on the
rear wheels,. unless you must. If the
vehicle
must. be t0we.d on the rear
wheels, dan't go more than 3mph
I
(56 km/h) or farther than 50 miles
(80.h) or your transmission will be
-damaged. Go slow over rough ground,
and position one wheel at a time
(angled 450j if you have- to go over
eurbs.and
rises. .Wheels &the lifted end
should be-
at. least 4 inches (10 cm)
above the ground. If these limits must
be
exceeded, then the rear wheels have
to be supported .on-a dolly.
I
.,
A
A vehicle can faH~~~m~a:c~
carrier if ,it isn't propgilp '
secured., This can cause a.colii$ion,
serious. pelrsonal injury .and:.vehicle.
damage.
The vehicle..shou[d be
t-ightly secured with chains or--sted -'
cables before it is transported-'
Don't use substitutes '(ropes,
leather straps, canvas webbing,
etc:.) that- can be cut by sharp edges
underneath the t.owed vehicle,
Page 229 of 370
Downloaded from www.Manualslib.com manuals search engine Prc L'- ms on the Road
Changing a FIaf Tire (CONTJ
5. Pull the spare tire out. The jack is
inside the bag, held to the spare tire
with
a spring.
6. Remove the jack by pullihg up on the
erid of the spring.
7. Your Corvette has gray plastic wheel
nut caps. Remove them using the
socket
end of the wheel wrench.
Store
the plastic-wheel nut caps
somewhere until you have the flat tire
repaired
or replaced.
228
8. A special wheel lock key (removal
tool)
and instructions are provided
with
your vehicle. Attach the wheel
lock key to the socket of the wheel
wrench. Remove the locking wheel
hut by turning counterclockwise.
9. Using the wheel wrench and the
special
wheel nut socket, loosen the
remaining wheel nuts by turning
them counterclockwise.
Don't remove
them
yet.
Page 234 of 370
Downloaded from www.Manualslib.com manuals search engine i r
I
f"
P
t
r" !
Storing ,a Rat Tire
(EXCEPT ZR-7 REAR TIRES)
To store a flat tire, €Est you have to
adjust the
&pare tire carrier tray b.ecause
a road tire is larger than the compact
.spare.
I. Push the tire carrier tray tcrward the
front
of the vehicte. It will drop down
to the lower posit-ion.
2. Put the flat road tire on the tire
3. Lift, the latch bolt and tilt it toward
carrier tray.
the front.of the vehicle. Then drop it
down to the lower position.
4. Put the hooked end of fhe wheel
wrench into the .slot on the tray. Hold
t&e wrench at a-slight angle, so you
can seethe notch for the hteh bok
Lift up on the wheel wrench like this
to raise the tire 'mier tray,
5. Use the so&&- end of the wheel
wrench.t-0 tum the: latch Bolt
counterclocl-se. Turn the latch bolt
until it is snug,
Be
sure to return the wheel wrench
and the wheel lock key to their
proper
storage areas.
233
Page 236 of 370

Downloaded from www.Manualslib.com manuals search engine I
r""
!
r
!
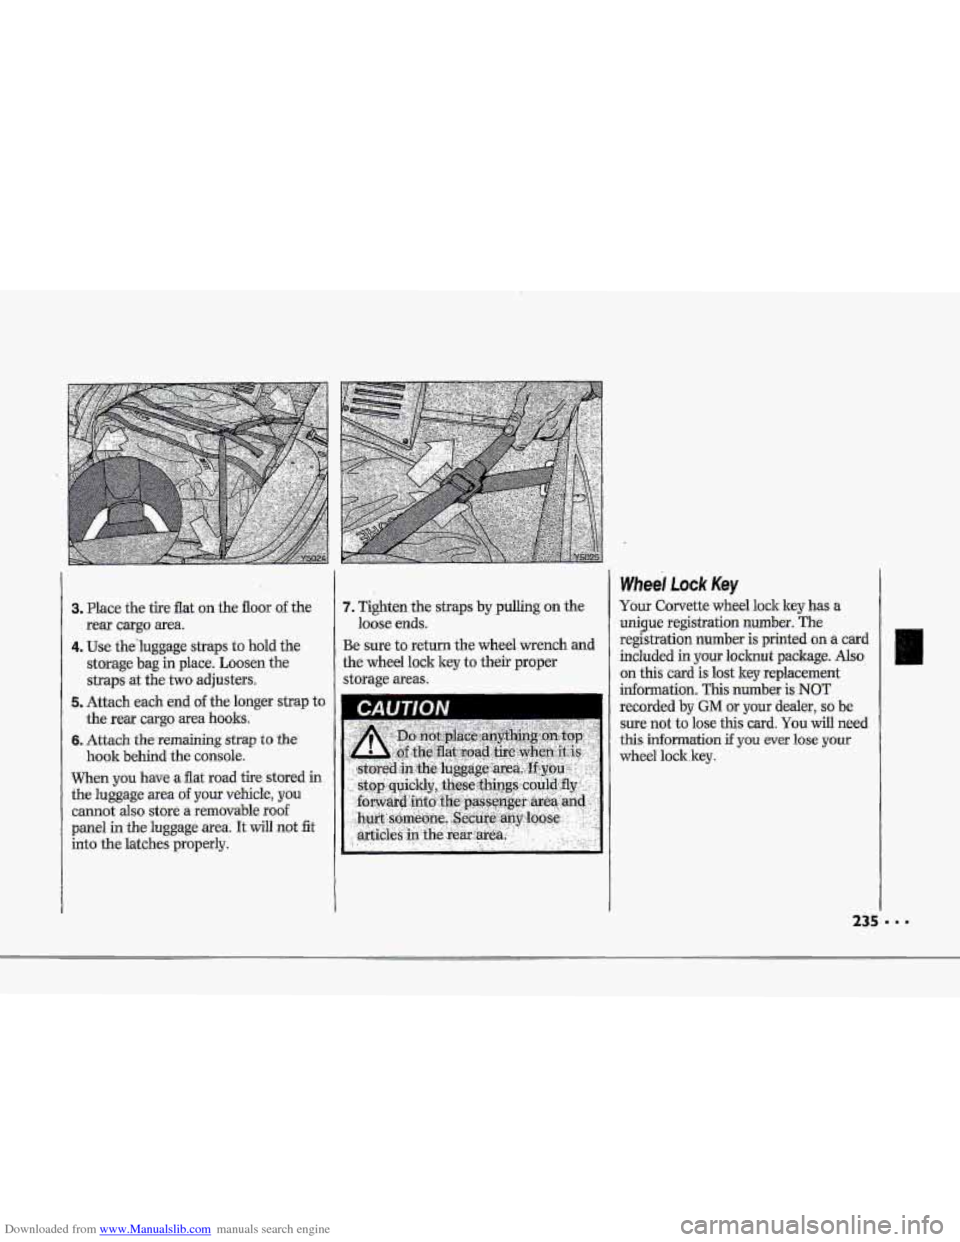
3. Place the tke flat on the floor of the
rear ~strg~ area
4. Use thehgggge straps tu hold the
storage bag in place. Loosen the
straps at the two adjusters.
the reax cargoarea books.
hsok behind the consok.
.5, Attach each end o€-the longer strap to
6. Attach the rmdning strap to the-
Whenyou have a flat road tire stored in
the luggage area o€ yuur vehicle, you
cmut also stare a removable rod
panel in the luggage .mea. It will not fit
into the. latches prop.erly.
7. Tighten the straps by pulling on the
Be sure to return the wheel wrench and
.the wheel lock key to th& proper
storag'e
ateas.
hose ads.
Wbee; Lock Key
Your Corvette wheel lock key bs a
unicp registration number. The
registration number is printkd on a c&d
hduded in your locknut package. Also
on this. card is lost key rqlacernent
information. This number is NOT
recorded by GM or your dealer, so be
sure not to lose this card. You will need
this infopnation if you ever lase your
wheel lockkey.
Page 309 of 370

Downloaded from www.Manualslib.com manuals search engine Service & Appearance Care
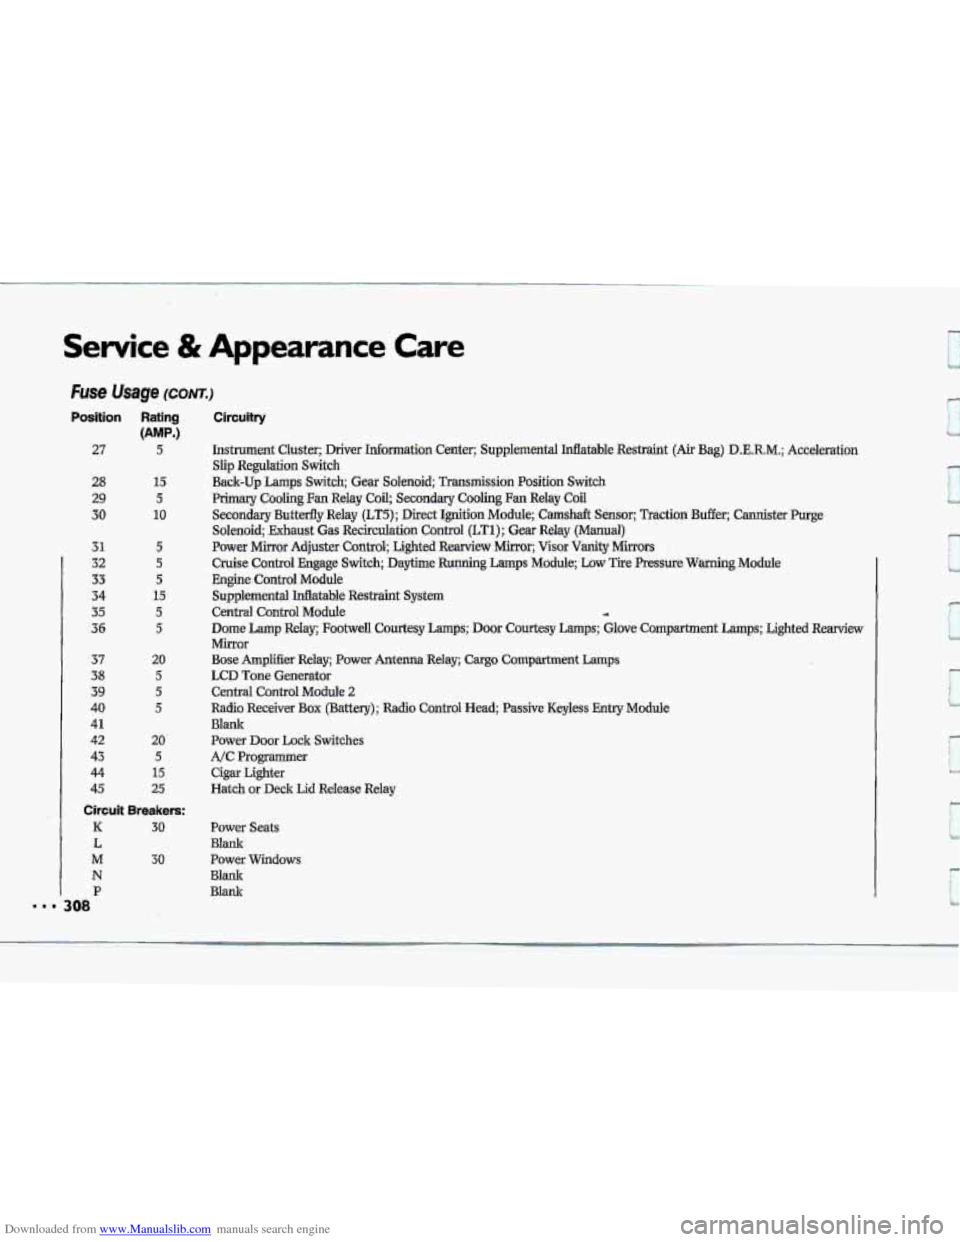
Fuse Usage (CONT.)
Position Rating
(AMP.)
27 5
28 15
29 5
30 10
31 5
32 5
33 5
34 15
35 5
36 5
37 20
38 5
39 5
40 5
41
42 20
43 5
44 15
45 25
Circuit Breakers:
K 30
L
M
N
P
3.0
1 308
Circuitry
Instrument Cluster; Driver Information Center; Supplemental Inflat\
able Restraint (Air Bag) D.E.R.M.; Acceleration
Slip Regulation
Switch
Back-up Lamps Switch Gear Solenoid; Transmission Position Switch
Primary Coaling Fan Relay Coil; Secondary Cooling Fan Relay Coil '
Secondary Butterfly Relay (LT5); Direct Ignition Module; Camshaft Sensor; Traction Buffer; Cannist\
er Purge
Solenoid; Exhaust
Gas Recirculation Control (LT1); Gear Relay (Manual)
Power
Mirror Adjuster Control; Lighted Rearview Mirror; Visor Vanity Mirrors
Cruise Control Engage Switch Daytime Running Lamps Module; Low Tire Pressure Warning Module
Engine Control Module
Supplemental Inflatable Restraint System
Central Control Module
Dome Lamp Relay; Footwell Courtesy Lamps; Do.0~ Cpurtesy Lamps; Glove Compartment Lamps; Lighted Rearview
Mirror
Bose
Amplifier Relay; Power Antenna Relay; Cargo Compartment Lamps
LCD Tone Generator
Central Control Module
2
Radio Receiver Box (Battery); Radio Control Head; Passive Keyless Entry Module
Blank
Power Door Lock Switches
A/C Programmer
Cigar Lighter
Hatch or Deck
Lid Release Relay
4
Power Seats
Blank
Power Windows
Blank
Blank