1993 CHEVROLET CAMARO ABS
[x] Cancel search: ABSPage 106 of 358

Features 8t Controls
f
I
I
. ’ 102
If the light stays on or comes on when
you’re driving, stop
as soon as possible
and turn the key off. Then start the engine
to reset the system. If the light still stays
on, or comes on again while you’re
driving, your Chevrolet needs service.
Unless the regular brake system warning
light is also on, you
will still have brakes,
but not anti-lock brakes. If the regular
brake system warning
light is also on, see
“Brake System Warning Light” earlier
in
this part. When your anti-lock system is working,
the message
LOW TRAC will appear on
your instrument cluster. This means that
slippery road conditions may exist. Adjust
your driving accordingly. The light
will
stay on for about four seconds after the
ABS stops working. The
LOW TRAC
light also comes on during engine starting
as
a bulb check.
Engine Coolant Temperature Gage
This gage shows the engine coolant
temperature.
If the gage pointer moves
into the red area, your engine is
too hot!
It means that your engine coolant has
overheated. If you have been operating
your vehicle under normal driving
conditions, you should
pull off the road,
stop your vehicle and
turn off the engine
as soon as possible.
HOT COOLANT CAN BURN YOU
BADLY!
In ”Problerns on the Road,” this manual
shows
what to do. See “Engine
Overheating”
in the Index.
ProCarManuals.com
Page 107 of 358

Voltmeter
You can read battery voltage on your
voltmeter. If
it reads less than 1 I volts or
more than
16 volts while your engine is
running, and
it stays there, you may have
a problem with the electrical charging
system. Have
it checked right away.
Driving with the voltmeter reading
in a
warning zone could drain your battery.
If you idle your engine for a while, the
voltmeter reading might move into the
yellow zone.
If the reading stays in the
yellow zone while you are driving, you
may have a problem with
the electrical
charging system. Have
it checked. While
the voltmeter reads
in the yellow zone,
your battery may
not be able to power
certain electrical accessories, like ABS.
(If this happens, your ABS INOP light
will come
on, See "Anti-Lock Brake
System Warning Light"
in this part.)
It' you must drive a short distance with the
voltmeter reading
in a warning zone. turn
off all your accessories, including your
comfort control and audio systems.
Malfunction Ind-kator Lamp
(Service Engine Soon Light)
A computer monitors operation of your
fuel, ignition and emission control
systems. This light should come on when
the ignition is
on, but the engine is not
running, as a check
to show you il is
working.
If it does not come on at all,
have
it fixed right away. If it stays on, or
it comes on while you are driving, the
computer is indicating that you have
a
problem. You should take your vehicle in
for service soon.
ProCarManuals.com
Page 147 of 358
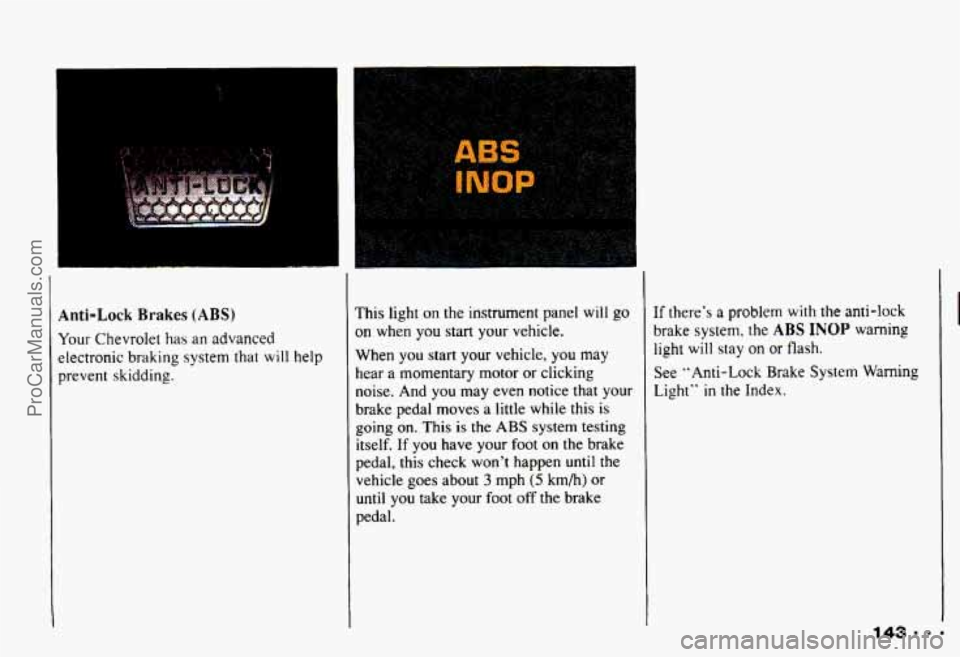
Anti-Lock Brakes (ABS)
Your Chevrolet has an advanced
electronic
braking system that will help
prevent skidding.
I
This light on the instrument panel will go
on when you start your vehicle.
When you start your vehicle,
you may
hear a momentary motor or clicking
noise. And you may even notice that your
brake pedal moves
a little while this is
going
on. This is the ABS system testing
itself. If you have your foot
on the brake
pedal, this check won't happen until the
vehicle goes about
3 mph (5 km/h) or
until you take your foot off the brake
pedal. If
there's
a problem with the anti-lock
brake system. the
ABS INOP warning
light will stay on
or flash.
See "Anti-Lock Brake
System Warning
Light" in the Index.
143.m-
ProCarManuals.com
Page 148 of 358
Your Driving and the Road
I
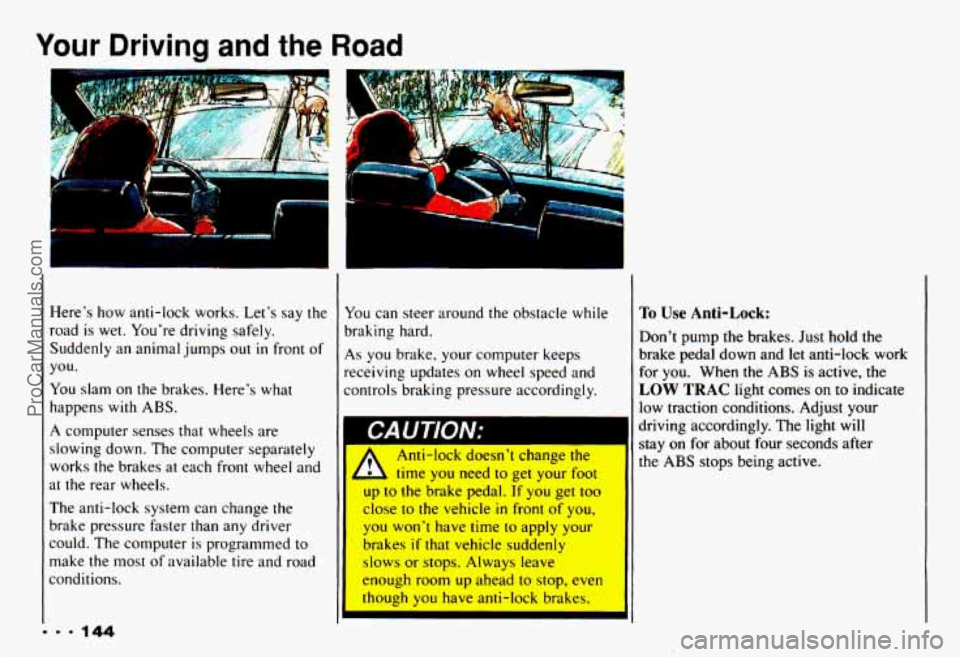
Here's how anti-lock works. Let's say the
road is wet. You're driving safely.
Suddenly an animal jumps out
in front of
you.
You slam on
the brakes. Here's what
happens with ABS.
A computer senses that wheels are
slowing down. The computer separately
works the brakes at each front wheel and
at the rear wheels.
The anti-lock system can change
the
brake pressure faster than any driver
could. The computer is programmed
to
make the most of available tire and road
conditions.
1
You can steer around the obstacle while
braking hard.
As you brake, your conlputer keeps
receiving updates
on wheel speed and
controls braking pressure accordingly.
I CAUTION;
A
Anti-lock doesn't change the
time
you need to get your foot
up
to the brake pedal. If you get too
close
to the vehicle in front of you,
1 you won't have time to apply your
brakes
if that vehicle suddenly
slows or stops. Always leave
enough room up ahead
to stop, even
though
you have anti-lock brakes.
I'o Use Anti-Lock:
Don't pump the brakes. Just hold the
brake pedal down and
let anti-lock work
for you. When the
ABS is active, the
LOW TRAC light comes on to indicate
low traction conditions. Adjust your
driving accordingly. The light will
stay on for about four seconds after
the
ABS stops being active.
ProCarManuals.com
Page 156 of 358

Your Driving and the Road
The three types of skids correspond to
your Chevrolet’s three control systems. In
the braking skid your wheels aren’t
rolling. In the steering or cornering skid,
too much speed or steering in a curve
causes tires to slip and lose cornering
force. And
in the acceleration skid too
much throttle causes the driving wheels to
spin.
A cornering skid and an acceleration skid
are best handled by easing your foot off
the accelerator pedal. If your vehicle
starts to slide (as when you turn a corner
on a wet, snow- or ice-covered road),
ease your
foot off the accelerator pedal as
soon as you feel the vehicle start to slide.
Quickly steer the way
you want the vehicle to
go. If you
start steering quickly
enough, your vehicle will straighten out.
As it does, straighten the front wheels.
Of course, traction
is reduced when water,
snow, ice, gravel, or other material is on
the road. For safety, you’ll want to
slow
down and adjust your driving to these
conditions. It is important to slow down
on slippery surfaces because stopping
distance will be longer and vehicle control more limited. While
driving on a surface
with reduced
traction,
try your best to avoid sudden
steering, acceleration, or braking
(including engine braking by shifting to a
lower gear). Any sudden changes could
cause the tires to slide.
You may not
realize the surface is slippery until your
vehicle is skidding. Learn to recognize
warning clues
- such as enough
water, ice or packed snow on the road to
make
a “mirrored surface” - and slow
down when you have any doubt.
Remember:
Any anti-lock braking system
(ABS) helps avoid only the braking skid.
Steer the way you want to go.
ProCarManuals.com
Page 184 of 358
Your Driving and the Road
I
180
Parking on Hills
You really should not park your vehicle,
with a trailer attached, on a hill. If
something goes wrong, your rig could
start to move. People can be injured, and
both your vehicle and the trailer can be
damaged.
But if you ever have to park your rig on a
hill, here's how to do it:
1. Apply your regular brakes, but don't
shift into
P (Park) yet, or into gear for
a manual transmission.
2. Have someone place chocks under the
trailer wheels.
3. When the wheel chocks are in place,
release the regular brakes-until the
chocks absorb the load.
4. Reapply the regular brakes. Then
apply your parking brake, and then shift to
P (Park), or R (Reverse) for
a manual transmission.
5. Release the regular brakes.
When You Are Ready to Leave after
Parking on
a Hill
1. Apply your regular brakes and hold
the pedal down while you:
0 Start your engine;
0 Shift into a gear; and
0 Release the parking brake.
2. Let up on the brake pedal.
3. Drive slowly until the trailer is clear
4. Stop and have someone pick up and
of the chocks.
store the chocks.
ProCarManuals.com
Page 255 of 358
I
r 1
3.
4.
5.
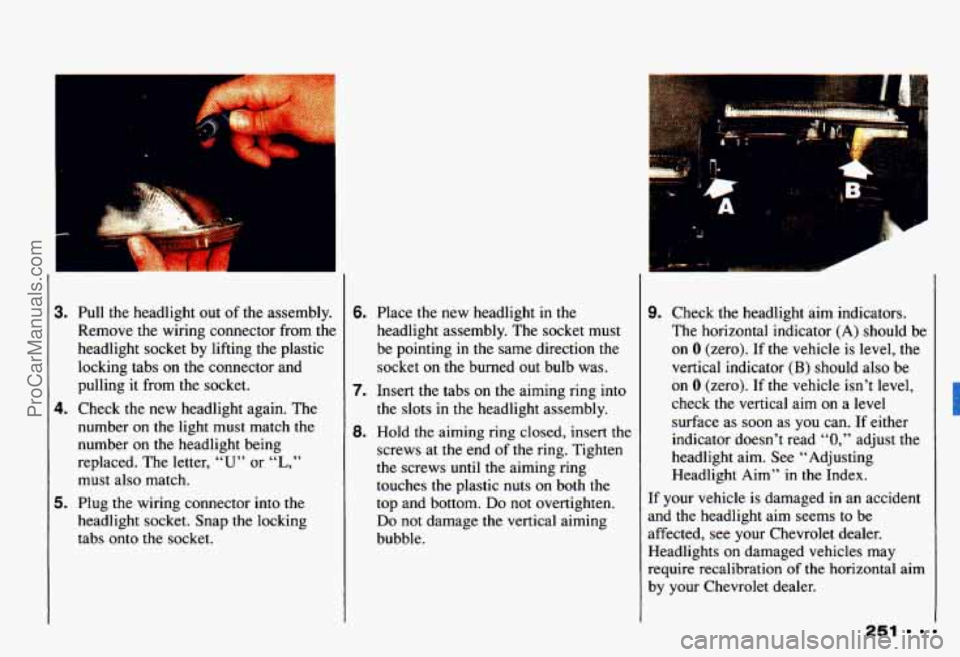
Pull the headlight out of the assembly.
Remove
the wiring connector from the
headlight socket by lifting the plastic
locking tabs on the connector and
pulling it from the socket.
Check
the new headlight again. The
number on
the light must match the
number on
the headlight being
replaced. The letter,
“U” or “L,”
must also match.
Plug the wiring connector into the
headlight socket. Snap the locking
tabs onto the socket.
6.
7.
8.
Place the new headlight in the
headlight assembly. The socket must
be pointing
in the same direction the
socket on the burned out bulb was.
Insert the tabs on the aiming ring into
the slots in the headlight assembly.
Hold the aiming ring closed, insert the
screws at the end of the ring. Tighten
the screws
until the aiming ring
touches the plastic nuts on both the
top and bottom.
Do not overtighten.
Do not damage the vertical aiming
bubble.
. ..
9. Check the headlight aim indicators.
The horizontal indicator (A) should be
on
0 (zero). If the vehicle is level, the
vertical indicator
(B) should also be
on 0 (zero). If the vehicle isn’t level,
check the vertical aim on a level
surface as soon as you can. If either
indicator doesn’t read
“0,” adjust the
headlight aim. See “Adjusting
Headlight Aim”
in the Index.
If your vehicle
is damaged in an accident
and the headlight aim seems to be
affected, see your Chevrolet dealer.
Headlights on damaged vehicles may
require recalibration
of the horizontal aim
by your Chevrolet dealer.
251
ProCarManuals.com
Page 333 of 358
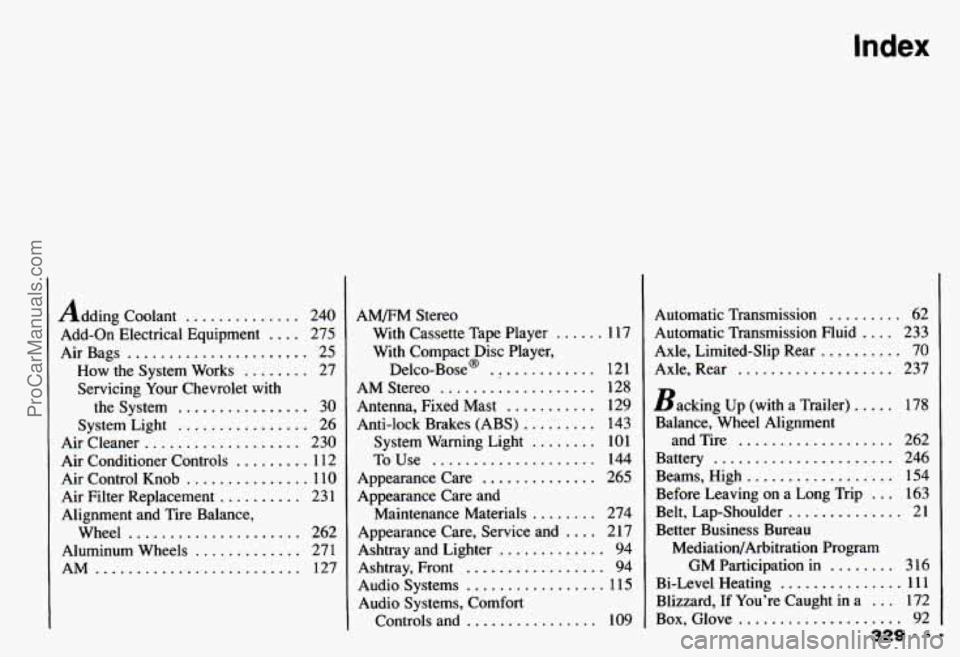
Index
Adding Coolant .............. 240
Add-on Electrical Equipment
.... 275
AirBags
...................... 25
How the System Works
........ 27
Servicing Your Chevrolet with
the System
................ 30
System Light
................ 26
Air Cleaner
................... 230
Air Conditioner Controls
......... 11 2
Air Control Knob
............... 110
Air Filter Replacement
.......... 231
Alignment and Tire Balance.
Wheel
..................... 262
Aluminum Wheels
............. 271
AM ......................... 127 AM/FM Stereo
With Cassette Tape Player
...... 1 17
With Compact Disc Player.
Delco-Base@ ............. 12 1
AM Stereo ................... 128
Antenna. Fixed Mast
........... 129
Anti-lock Brakes (ABS)
......... 143
System Warning Light
........ 101
To Use
.................... 144
Appearance Care
.............. 265
Appearance Care and Maintenance Materials
........ 274
Appearance Care. Service and
.... 217
Ashtray and Lighter
............. 94
Ashtray. Front
................. 94
Audio Systems
................. 11 5
Audio Systems. Comfort Controls and
................ 109 Automatic Transmission
......... 62
Automatic Transmission Fluid
.... 233
Axle. Limited-Slip Rear
.......... 70
Axle. Rear
................... 237
Backing Up (with a Trailer)
..... 178
Balance. Wheel Alignment
and Tire
................... 262
Battery
...................... 246
Beams. High
.................. 154
Before Leaving on a Long Trip
... 163
Belt. Lap-Shoulder
.............. 21
Better Business Bureau MediatiodArbitration Program
GM Participation
in ........ 316
Bi-Level Heating
............... 111
Blizzard. If You’re Caught in a ... 172
Box. Glove .................... 92
329 . .
ProCarManuals.com