1993 CHEVROLET ASTRO PASSENGER power steering
[x] Cancel search: power steeringPage 68 of 345
Downloaded from www.Manualslib.com manuals search engine Features & Contds
Every vehicle with power door locks has a pulse lock system. \
A pulse lock
system works like this:
If the sliding door is open and you push the power door lock sw\
itch, the
sliding door will not lock immediately. After you close the do\
or, the system
comes on and, in about five seconds, locks the sliding door.
All models have overriding door locks. When a door is locked, the \
door
handle will not work the latch. This will help stop a door from being
accidentally opened. However, power door locks do not affect th\
e operation of
the hatch.
Leaving Your Vehicle
If you are leaving the vehicle, take your keys, open your door and set t\
he
locks from inside. Then get out and close the door.
Theft
Vehicle theft is big business, especially in some cities. Although your vehicle
has a number of theft deterrent features, we know that nothing\
we put on it
can make
it impossible to steal. However, there are ways you can help.
Key in the ignition: If you walk away from your vehicle with the keys inside,
it’s an easy target for joy riders
or professional thieves-so don’t do it. When
you park your vehicle and open the driver’s door, you’ll \
hear a chime reminding you to remove your key from the ignition and take i\
t with you.
Always do this. Your steering wheel will be locked, and
so will your ignition
and transmission. And remember
to lock the doors.
Parking at Night: Park in a lighted spot, close all windows and lock your
vehicle. Remember to keep your valuables out of sight. Put the\
m in a storage
area,
or take them with you.
Parking Lots: If you park in a lot where someone will be watching your
vehicle,
it’s best to lock it up and take your keys. But what if you have to
leave your ignition key? What
if you have to leave something valuable in your
vehicle?
Put your valuables in a storage area out of sight.
Lock all doors except the driver’s.
Then take the door key with you.
2-1 2
Page 172 of 345
Downloaded from www.Manualslib.com manuals search engine Your Driving and the Road
Braking In Emergencies
Use your anti-lock braking system when you need to. With anti-\
lock, you can
steer and brake at the same time. In many emergencies, steering can help
you more than even the very best braking.
Steering
Power Steering
If you lose power steering assist because the engine stops or the\
system
fails
to function, you can steer but it will take much more effort.
Steering Tips
Driving on Curves
It’s important to take curves at a reasonable speed.
A lot of the “driver lost control” accidents mentioned on the news happen on
curves. Here’s why:
Experienced driver or beginner, each of us
is subject to the same laws of
physics when driving on curves. The traction of the tires against the \
road
surface makes it possible for the vehicle
to change its path when you turn
the front wheels.
If there’s no traction, inertia will keep the vehicle going in \
the same direction.
If you’ve ever tried to steer a vehicle on wet ice, you’ll
understand this.
The traction you can get in
a curve depends on the condition of your tires
and the road surface, the angle at which the curve is banked,\
and your
speed. While you’re in a curve, speed is the one factor you can control.
Suppose you’re steering through a sharp curve. Then you suddenly
accelerate. Those two control systems-steering and acceleration-can
overwhelm those places where the tires meet the road and make \
you lose
control.
What should you
do if this ever happens? Let up on the accelerator pedal,
steer the vehicle the way you want it
to go, and slow down.
Speed limit signs near curves warn that you should adjust your\
speed. Of
course, the posted speeds are based on good weather and road \
conditions. Under less favorable conditions you’ll want
to go slower.
If you need to reduce your speed as you approach a curve, do it before you
enter the curve, while your front wheels are straight ahead.
Try to adjust your
speed
so you can “drive” through the curve. Maintain a reasonable, steady
speed. Wait to accelerate until you are out of the curve, and\
then accelerate gently into the straightaway.
4-1 8
Page 237 of 345
Downloaded from www.Manualslib.com manuals search engine Service & Appearance Care
L
......... ..... -&-.A- -
I 5, "9
. .
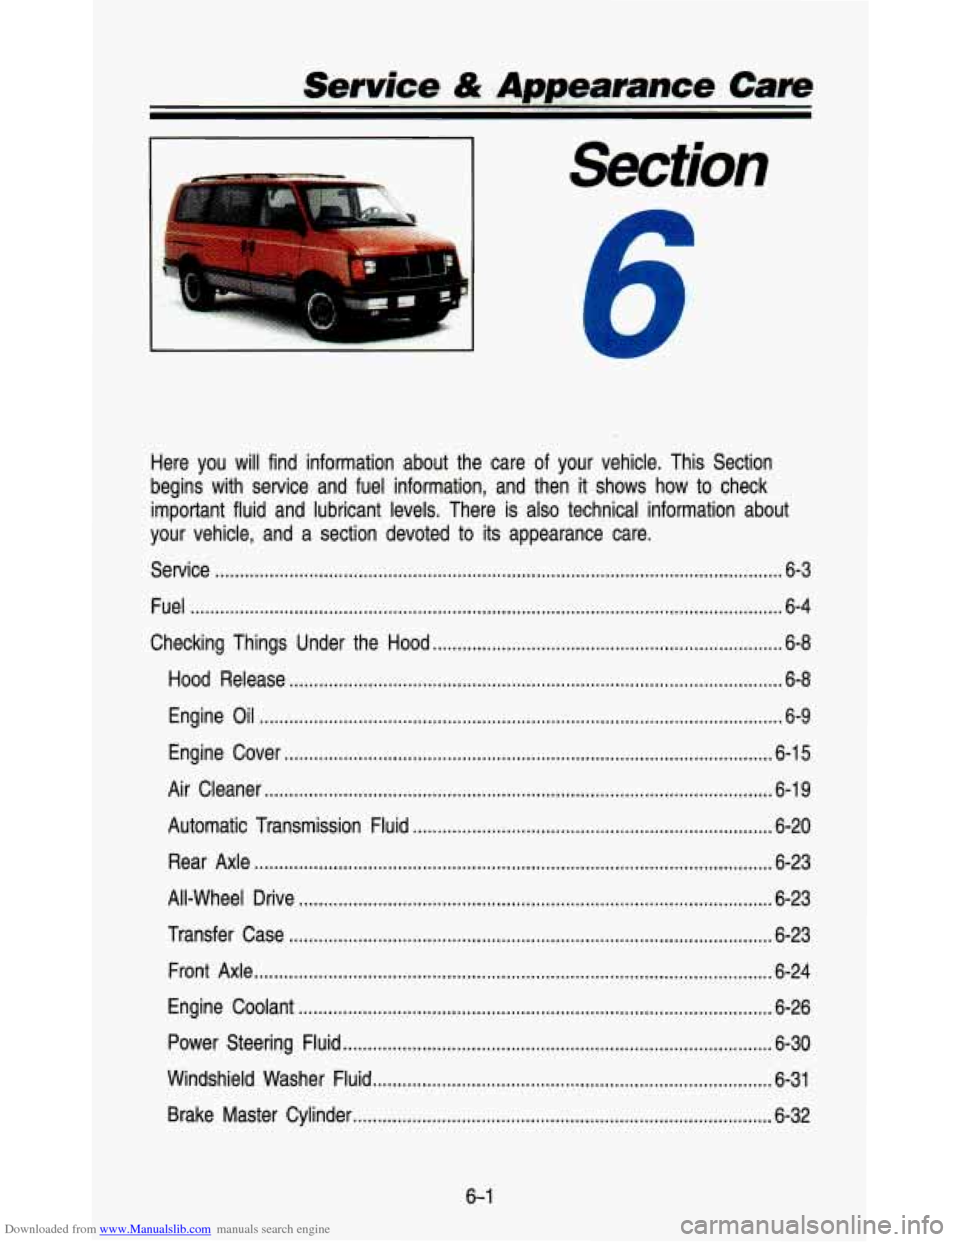
Here you will find information about the care of your vehicle \
. This Section
begins with service and fuel information. and then
it shows how to check
important fluid and lubricant levels
. There is also technical information about
your vehicle. and a section devoted to its appearance care
.
Service ........................................................................\
........................................... 6-3
Fuel
........................................................................\
................................................ 6-4
Checking Things Under the Hood
....................................................................... \
6-8
Hood Release
........................................................................\
............................ 6-8
Engine
Oil ........................................................................\
.................................. 6-9
Engine Cover
........................................................................\
........................... 6-15
Air Cleaner
........................................................................\
............................... 6-19
Automatic Transmission Fluid
........................................................................\
. 6-20
Rear Axle
........................................................................\
................................. 6-23
All-Wheel Drive
........................................................................\
........................ 6-23
Transfer Case
........................................................................\
.......................... 6-23
Front Axle
........................................................................\
................................. 6-24
Engine Coolant
........................................................................\
........................ 6-26
Power Steering Fluid
........................................................................\
............... 6-30
Windshield Washer Fluid
........................................................................\
......... 6-31
Brake Master Cylinder
........................................................................\
............. 6-32
6-1
Page 266 of 345
Downloaded from www.Manualslib.com manuals search engine Power Steering Fluid
I
I .
.. ., ...
L
PO665
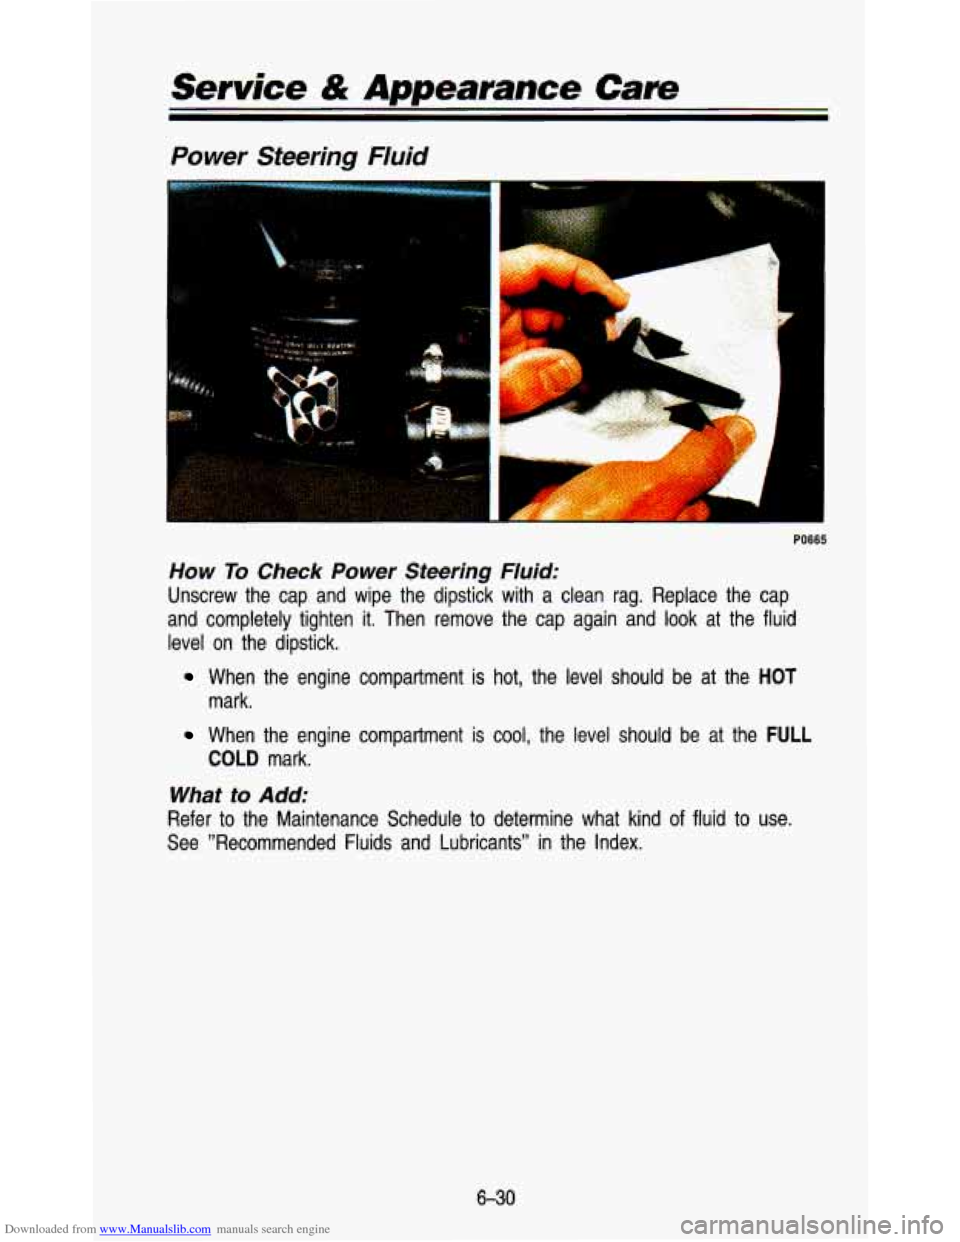
How To Check Power Steering Fluid:
Unscrew the cap and wipe the dipstick with a clean rag. Repla\
ce the cap
and completely tighten
it. Then remove the cap again and look at the fluid
level on the dipstick.
When the engine compartment is hot, the level should be at th\
e HOT
mark.
When the engine compartment is cool, the level should be at the FULL
COLD mark.
What to Add:
Refer to the Maintenance Schedule to determine what kind of fluid to use.
See ”Recommended Fluids and Lubricants” in the Index.
6-30
Page 267 of 345
Downloaded from www.Manualslib.com manuals search engine PO667
NOTICE
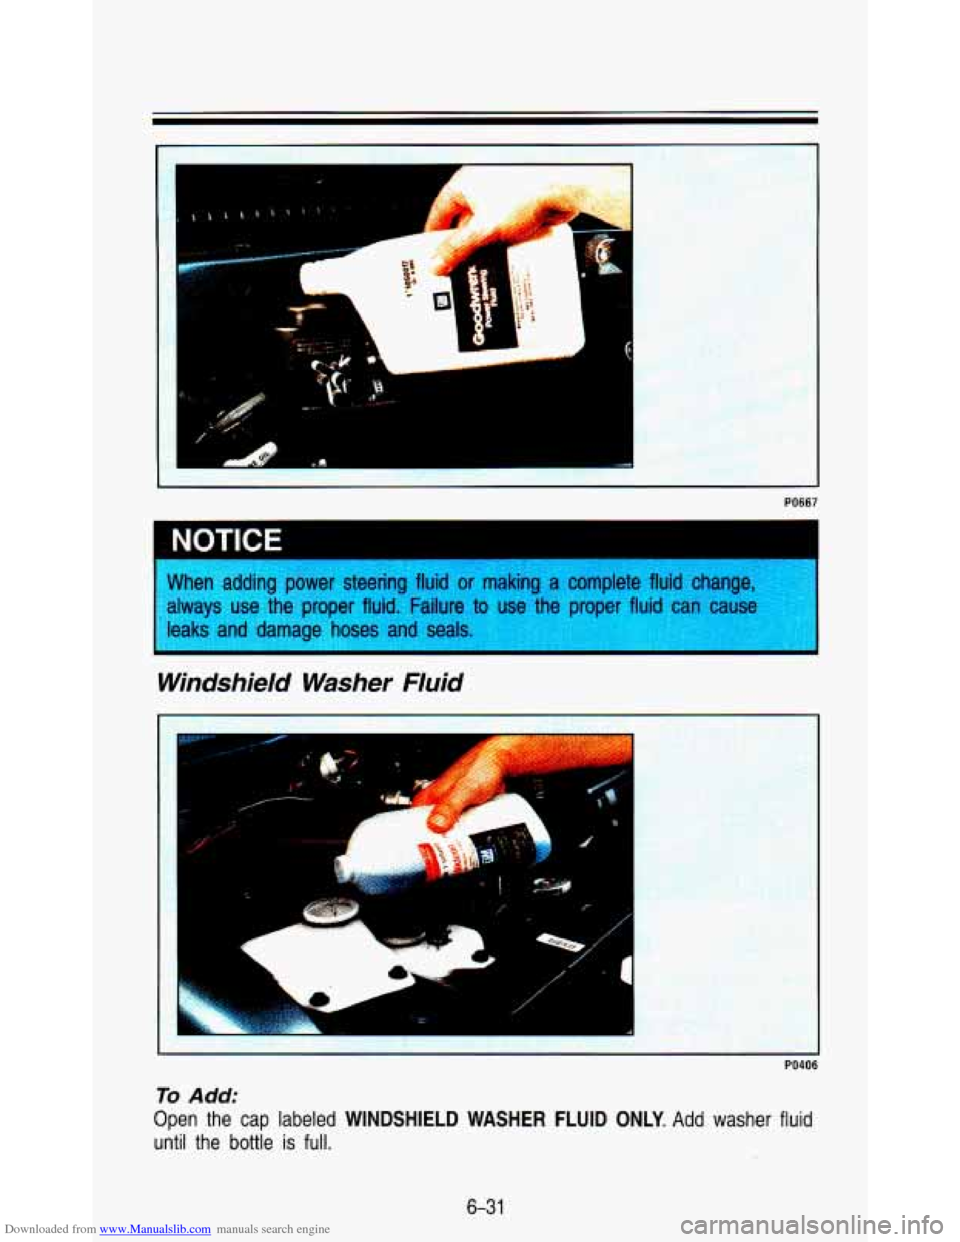
When adding power steering fluid or making complete fluid change,
use the proper fluid. Failure
to use the proper fl I can cause
1' leaks and damage hoses and seals.
Windshield Washer Fluid
1
1
1
/
PO406
To Add:
Open the cap labeled WINDSHIELD WASHER FLUID ONLY. Add washer fluid
until the bottle is full.
6-3 1
Page 270 of 345
Downloaded from www.Manualslib.com manuals search engine Service & Appearance Care
braking system-for example, when your brake linings wear down and you
have
to have new ones put in-be sure you get new genuine GM
replacement parts.
If you don’t, your brakes may no longer work properly. For
example,
if someone puts in brake linings that are wrong for your vehicle, the
balance between your front and rear brakes can change, for the\
worse. The
braking performance you’ve come to expect can change in many\
other ways
if someone puts in the wrong replacement brake parts.
Hydro-Boost Brake System (Hydraulic Pump)
The power steering pump is also used as the Hydro-Boost pump. \
Refer to
“Power Steering Fluid” in this section when. checking the fluid level or adding
fluid.
Fluid Leak Check
After the vehicle has been parked for awhile, inspect the surf\
ace beneath the
vehicle for water, oil, fuel or other fluids. Water dripping f\
rom the air
conditioning system is normal. If you notice fuel leaks or fumes, the causes
should be found and corrected at once.
Battery
Every new GM vehicle has
add water
to one of these,
a Delco Freedom@ battery.
the original battery’s label. a Delco Freedom@ battery. You never have
to
When it’s time for a new battery, we recommend
Get one that has the catalog number shown on
Vehicle Storage
If you’re not going to drive your vehicle for 25 days or more, take off the
black, negative
(-) cable from the battery. This will help keep your battery
from running down.
I CAUTION
For more informarlon on vehicle storage, contact your dealer’\
s service
department, or write to:
Adistra Corporation 171 Hamilton Street Plymouth,
MI 48170
General Motors
of Canada, Limited
Customer Services Department
Oshawa, Ontario L1 J5Z6
In
Canada, write
to:
6-34
Page 319 of 345

Downloaded from www.Manualslib.com manuals search engine Periodic Maintenance Inspections
Listed below are inspections and services which should be performed at least
twice a year (for instance, each spring or fall). You should let your
GM
dealer’s service department or other qualified service center \
do these jobs.
Make sure any necessary repairs are completed at once.
Steering and Suspension lnspectiont -Inspect front and rear suspension
and steering system for damaged, loose or missing parts, signs \
of wear or
lack of lubrication. Inspect power steering lines and hoses for proper \
hook-up,
binding, leaks, cracks, chafing, etc. (On vehicles equipped wit\
h manual
steering gear, check for seal leakage.) Lubricate the steering linkage.
Accelerator Control System -Lubricate all pivot points with engine oil,
except the
TBI throttle shaft. Do not lubricate the cam pulley. Remove all
external deposits from pulley.
Do not oil any accelerator or cruise control
cables. Replace any cables that have high effort or excessive wear.
Exhaust System Inspection -Inspect the complete system including the
three-way catalytic converter. Inspect the body near the exhaust system. Look
for broken, damaged, missing or out-of-position parts, as well \
as open seams, holes, loose connections or other conditions which could cause \
a heat buildup
in the floor pan or could let exhaust fumes seep into the passenger
compartments.
Drive Axle Service -Check readfront axle fluid level and add as needed.
Check constant velocity joints and axle seals for leaking.
Transfer Case (all-wheel drive) lnspectiont -Every 12 months or at oil
change intervals, check front axle and transfer case and add l\
ubricant when
necessary. Oil the control lever pivot point (except
L Van) and all exposed
control linkage. Check vent hose at transfer case for kinks an\
d proper installation.
tA fluid loss in these systems may indicate a problem. Have them inspected
and repaired at once.
7-1 3
Page 320 of 345
Downloaded from www.Manualslib.com manuals search engine Scheduled Maintenance Services
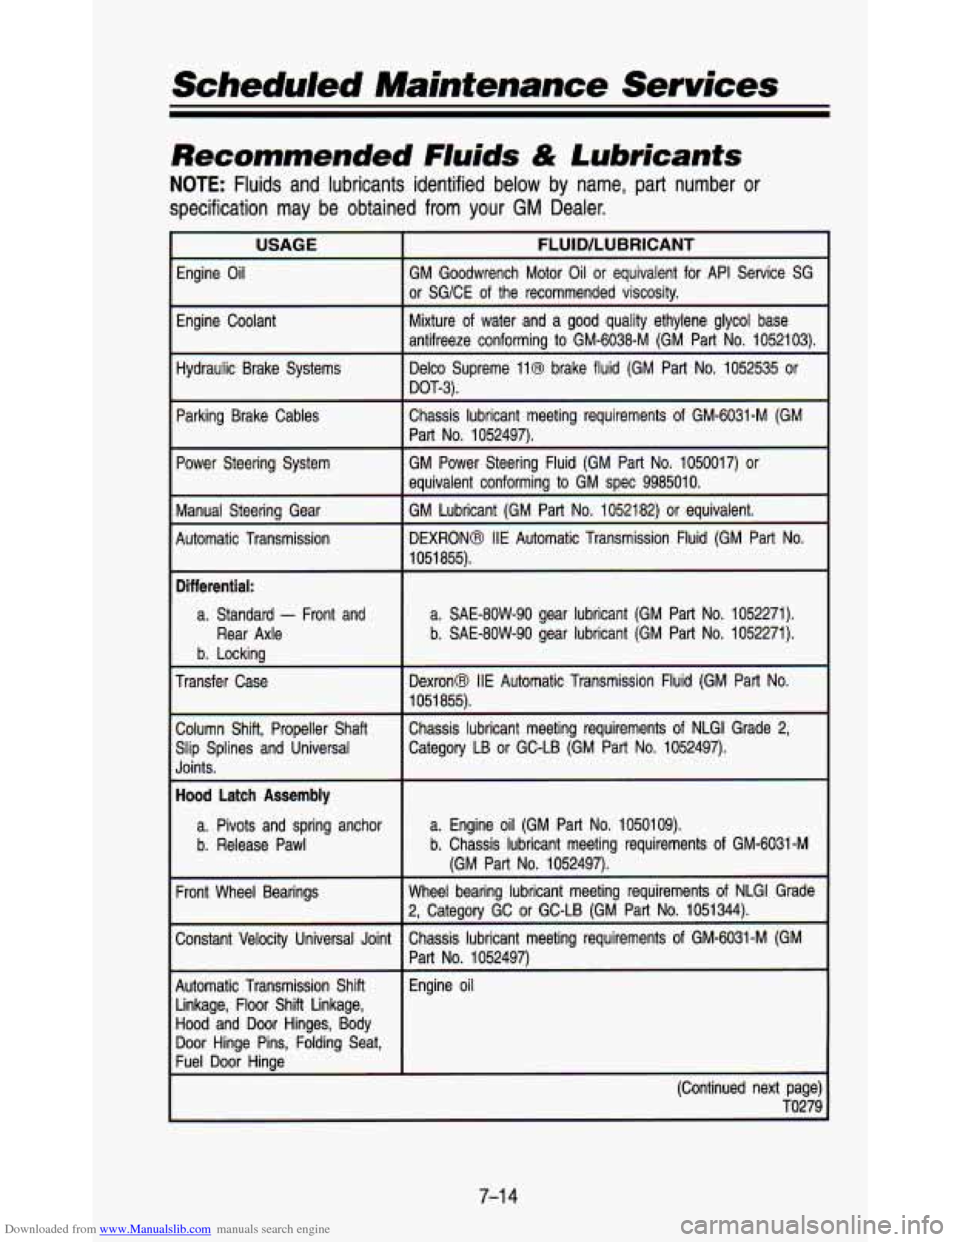
Recommended Fluids & Lubricants
NOTE: Fluids and lubricants identified below by name, part number or
specification may be obtained from your GM Dealer.
USAGE FLUID/LUBRICANT
Engine Oil GM Goodwrench Motor Oil or equivalent for API Service SG
or SGlCE of the recommended viscositv.
Engine Coolant Mixture
of water and a good quality ethylene
glycol base
antifreeze conforming
to GM-6038-M (GM Part No. 1052103).
Hydraulic Brake Systems Delco Supreme
ll@ brake fluid (GM Part No. 1052535 or
I DOT-3).
Parking Brake Cables Chassis lubricant meeting requirements of GM-6031-M (GM
Part No. 1052497).
Power Steering System GM Power Steering Fluid (GM Part No. 10\
50017) or equivalent conforming
to GM spec 9985010.
Manual Steering Gear GM Lubricant (GM Part No. 1052182) or e\
quivalent.
Automatic Transmission DEXRONB IIE Automatic Transmission Fluid (GM Part No.
~ ~~
1051 855).
Differential:
a. Standard - Front and a. SAE-80W-90 gear lubricant (GM Part No. 1052271).\
Rear Axle
b. SAE-80W-90 gear lubricant (GM Part No. 1052271).
b. Locking
Transfer Case DexronB
IIE Automatic Transmission Fluid (GM Part No.
1051 855).
Column Shift, Propeller Shaft Chassis lubricant meeting requireme\
nts of NLGl Grade
2,
Slip Splines and Universal Category LB or GC-LB (GM Part No. 10524\
97).
Joints.
Hood Latch Assembly
a. Pivots and spring anchor a. Engine oil (GM Part No. 1050109).
b. Release Pawl b. Chassis lubricant meeting requirements of GM-6031-M
Front Wheel Bearings Wheel bearing lubricant meeting requirements\
of NLGl Grade
Constant Velocity
U I Joint Chassis lubricant meeting requirements of GM-6031-M (GM
(GM Part No. 1052497).
2, Category GC or GC-LB (GM Part No. 1051344).
Part
No. 1052497)
Automatic Transmission Shift Engine oil
Linkage, Floor Shift Linkage,
Hood and Door Hinges, Body
Door Hinge Pins, Folding Seat,
Fuel Door Hinge
(Continued next page) TO279
7-1 4