1993 CHEVROLET ASTRO PASSENGER parking brake
[x] Cancel search: parking brakePage 115 of 345
Downloaded from www.Manualslib.com manuals search engine This light will also come on when you set your parking brake, and will stay
on if your parking brake doesn’t release fully. If it stays on after your parking
brake is fully released, it means you have a .brake problem.
If the light comes on while driving, pull
off the road and stop carefully. You
may notice that the pedal is harder
to push. Or the pedal may go closer to
the floor. It may take longer to stop. If the light is still on, have the vehicle
towed for service. (See “Towing your vehicle” in the Index).
I
Your brake system may not be working properly if the brake warning
light is on. Driving with the brake warning light on can lead
to an
accident.
If the light is still on after you’ve pulled off the road and
stopped carefully, have the vehicle towed for service.
Anti-Lock Brake System Warning Light
Standard Cluster Digital Cluster
r
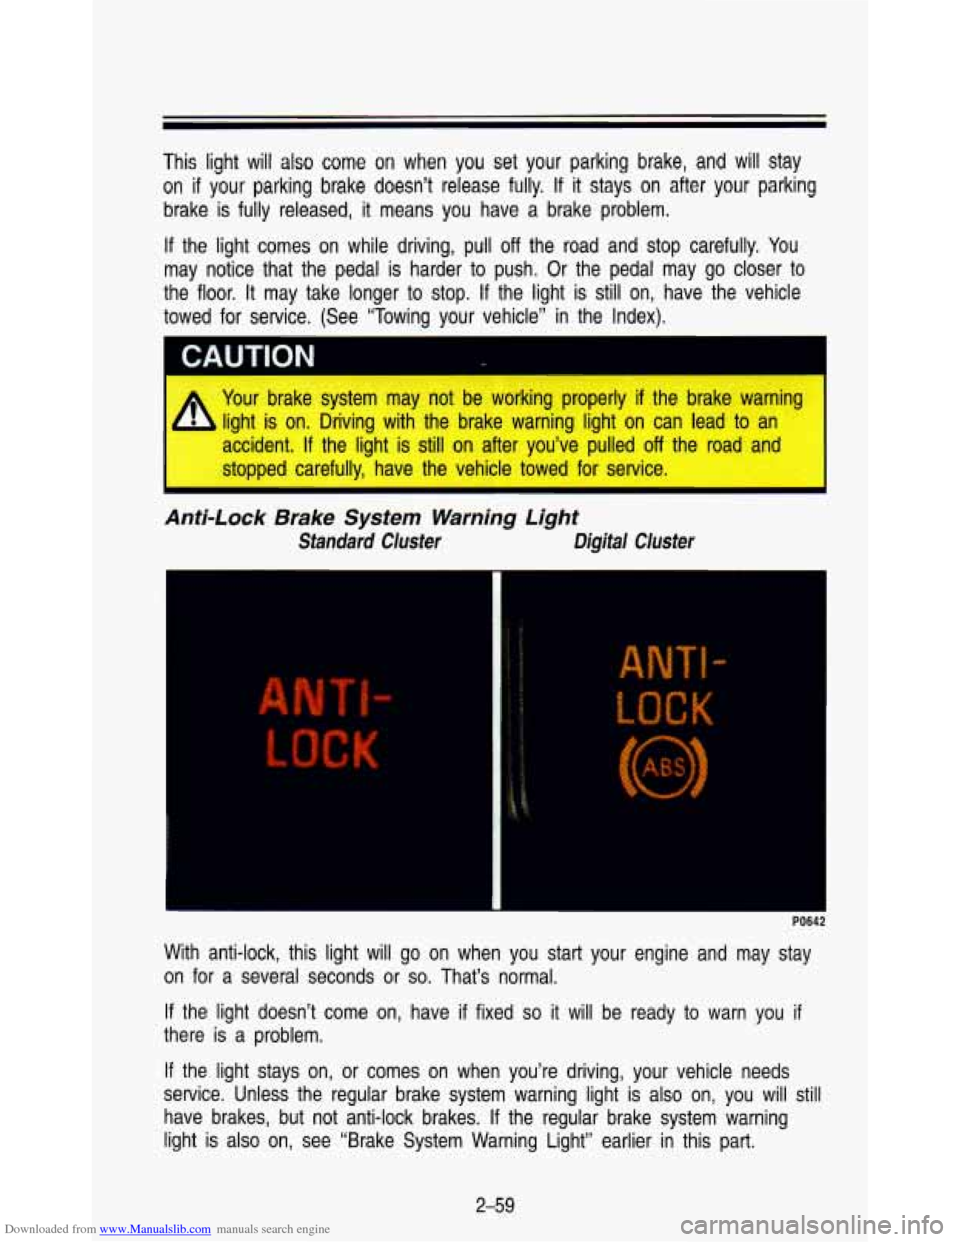
With anti-lock, this light will go on when you start your engine and may stay
on for a several seconds
or so. That’s normal.
If the light doesn’t come on, have
if fixed so it will be ready to warn you if
there is a problem.
If the light stays on, or comes on when you’re driving, your \
vehicle needs
service. Unless the regular brake system warning light is also \
on, you will
still
have brakes, but not anti-lock brakes. If the regular brake system warning
light is also on, see “Brake System Warning Light” earlie\
r in this part.
2-59
Page 122 of 345
Downloaded from www.Manualslib.com manuals search engine Features & Cantmls
Daytime Running Lights (DRL) Indicator Light (Canadian Vehicles Only)
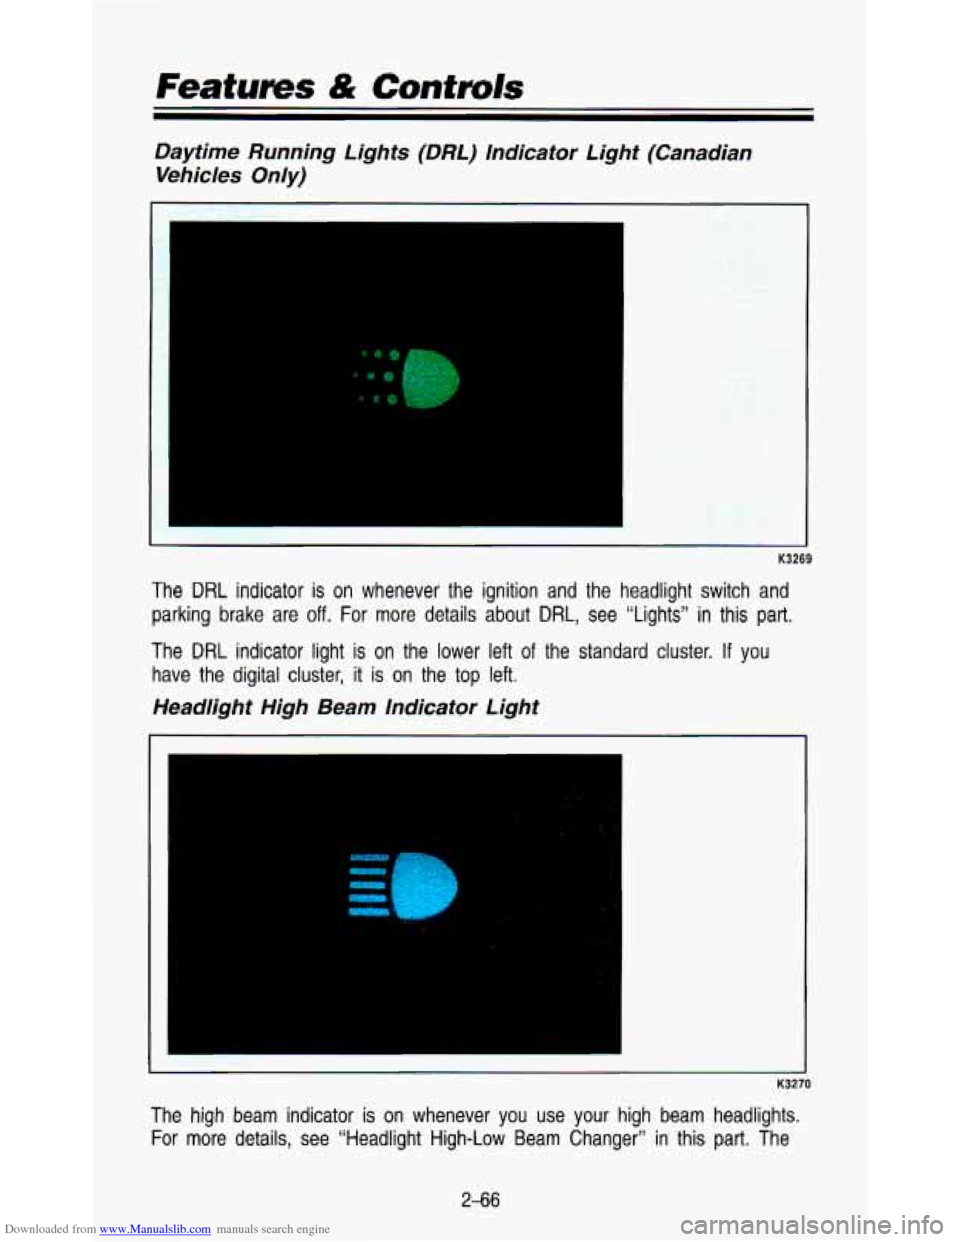
The DRL indicator is on whenever the ignition and the headlight switch and
parking brake are
off. For more details about DRL, see "Lights" in this part.
The DRL indicator light is on the lower left of the standard cluster. If you
have the digital cluster, it is on the top left.
Headlight High Beam Indicator Light
. -.
w
- K3270
The high beam indicator is on whenever you use your high beam headlights.
For more details, see "Headlight High-Low Beam Changer" in this part. The
2-66
Page 162 of 345
Downloaded from www.Manualslib.com manuals search engine Your Driving and the Road
Turn and lane change signals: Always signal when you plan to turn or
change lanes.
If necessary, you can use hand signals out the window: Left arm \
straight out
for a left turn, down for slow or about-to-stop, and up for \
a right turn.
Slowing down: If time allows, tap the brake pedal once or twice in advance
of slowing or stopping. This warns the driver behind you.
Disabled: Your four-way flashers signal that your vehicle is disabled or is a\
hazard. See “Hazard Warning Flashers” in the Index.
Traffic Officer
The traffic police officer is also a source of important information. The officer’s
signals govern, no matter what the traffic lights or other sig\
ns say.
The next part discusses some of the road conditions you may encounter.
Defensive Driving
The best advice anyone can give about driving is: Drive defens\
ively.
Please start with a very important safety device in your vehic\
le: Buckle up.
(See “Safety Belts in the Index.”)
Defensive driving really means “be ready for anything.’’\
On city streets, rural
roads, or freeways, it means “always expect the unexpected.”
Assume that pedestrians or other drivers are going to be carel\
ess and make mistakes. Anticipate what they might
do. Be ready for their mistakes.
Expect children
to dash out from behind parked cars, often followed by other
children. Expect occupants in parked cars
to open doors into traffic. Watch for
movement in parked cars-someone may be about
to open a door.
Expect other drivers
to run stop signs when you are on a through street. Be
ready to brake if necessary as you go through intersections. You may not
have to use the brake, but
if you do, you will be ready.
If you’re driving through a shopping center parking lot where t\
here are
well-marked lanes, directional arrows, and designated parking are\
as, expect
some drivers to ignore all these markings and dash straight to\
ward one part
of the lot.
Pedestrians can be careless. Watch for them. In general, you m\
ust give way
to pedestrians even
if you know you have the right of way.
Rear-end collisions are about the most preventable of accidents. Yet they are
common. Allow enough following distance.
It’s the best defensive driving
4-0
Page 191 of 345
Downloaded from www.Manualslib.com manuals search engine 1
AM470027
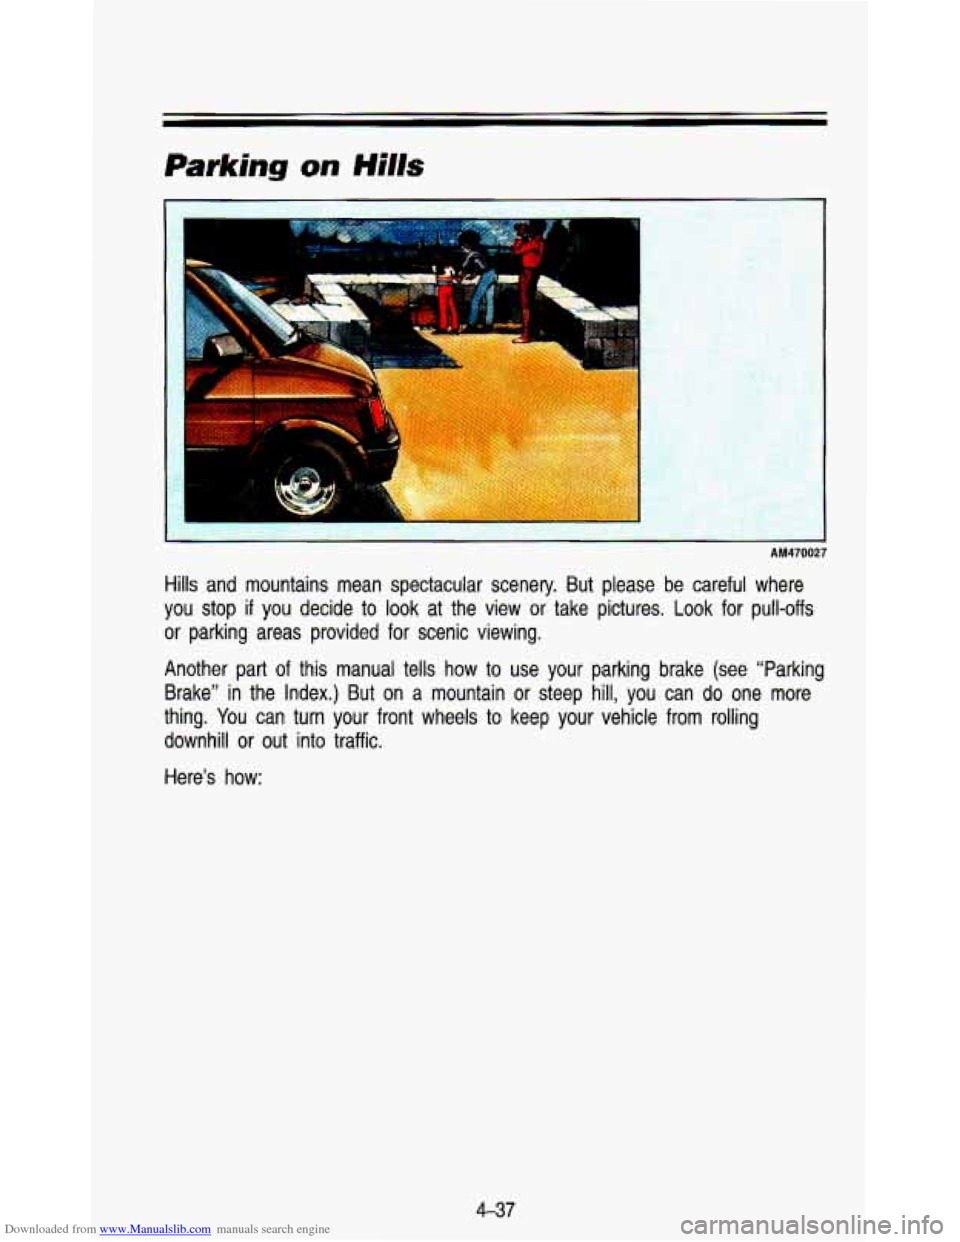
Hills and mountains mean spectacular scenery. But please be careful where
you stop
if you decide to look at the view or take pictures. Look for pull-offs
or parking areas provided for scenic viewing.
Another part of this manual tells
how to use your parking brake (see “Parking
Brake” in the Index.)
But on a mountain or steep hill, you can do one more
thing. You can turn your front wheels to keep your vehicle from rolling
downhill or out into traffic.
Here’s how:
4-37
Page 193 of 345
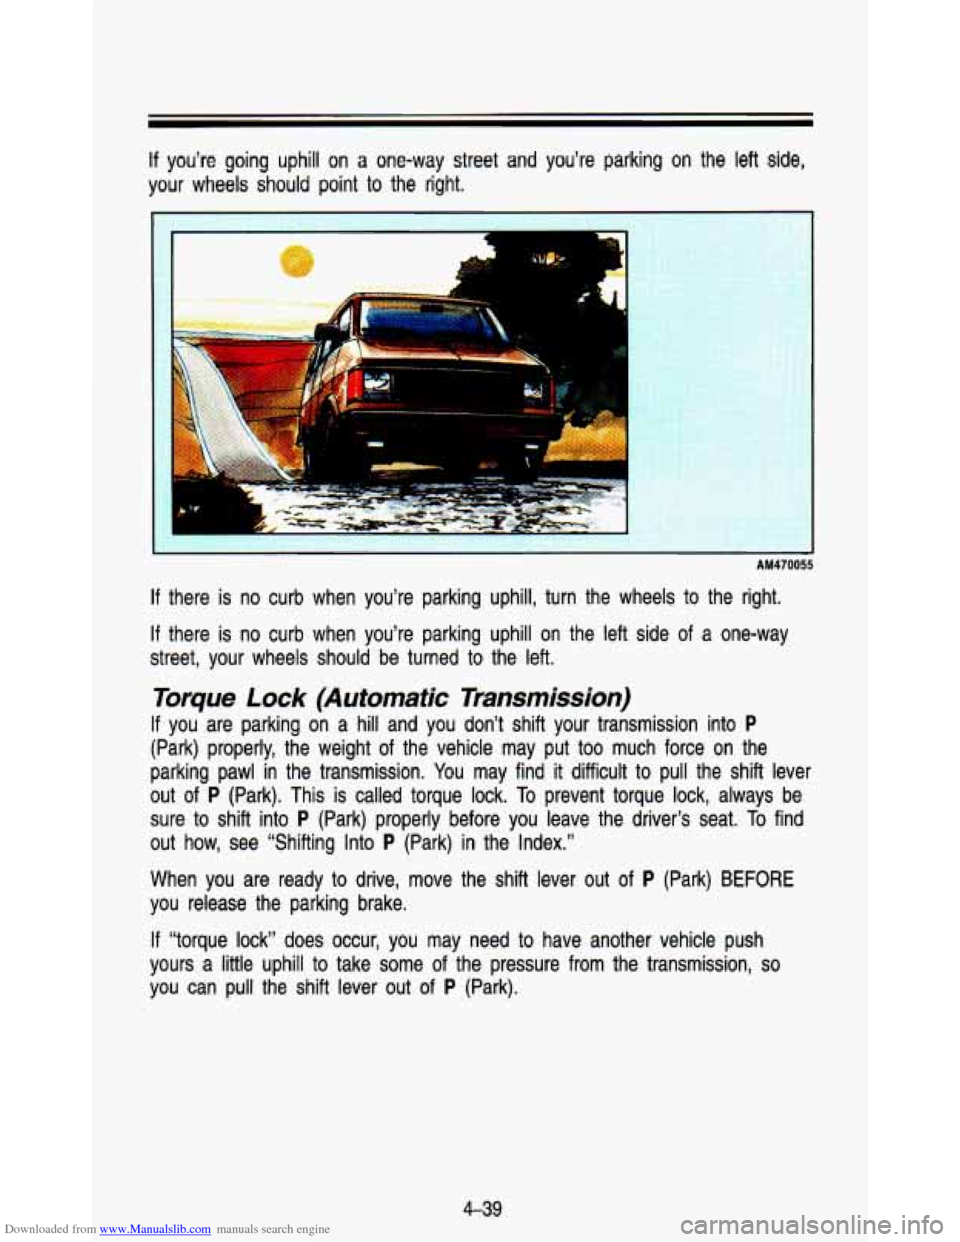
Downloaded from www.Manualslib.com manuals search engine ~~~~ If you’re going uphill on a one-way street and you’re parking on the
left side,
your wheels should point to the right.
AM470055
If there is no curb when you’re parking uphill, turn the wheel\
s to the right.
If there is no curb when you’re parking uphill on the left si\
de of a one-way
street, your wheels should be turned
to the left.
Torque Lock (Automatic Transmission)
If you are parking on a hill and you don’t shift your transmission into P
(Park) properly, the weight of the vehicle may put too much force on the
parking pawl in the transmission. You may find it difficult to pull the shift lever
out of
P (Park). This is called torque lock. To prevent torque lock, always be
sure to shift into
P (Park) properly before you leave the driver’s seat. To find
out how, see “Shifting Into P (Park) in the Index.”
When you are ready
to drive, move the shift lever out of P (Park) BEFORE
you release the parking brake.
If “torque lock” does occur, you may need to have another vehicle push
yours a little uphill to take some of the pressure from the transmission,
so
you can pull the shift lever out of P (Park).
4-39
Page 203 of 345
Downloaded from www.Manualslib.com manuals search engine Parking on Hills
You really should not park your vehicle, with a trailer attached, \
on a hill. If
something goes wrong, your rig could start to move. People can be injured,
and both your vehicle and the trailer can be damaged.
But
if you ever have to park your rig on a hill, here’s how to do it:
1. Apply your regular brakes, but don’t shift into P (Park) yet.
2. Have someone place chocks under the trailer wheels.
3. When the wheel chocks are in place, release the regular brakes until the
chocks absorb
the load.
4. Reapply the regular brakes. Then apply your parking brake, and \
shift to
P (Park).
5. Release the regular brakes.
When You Are Ready to Leave After Parking on a Hill
1. Apply your regular brakes and hold the pedal down while you:
Start your engine.
Shift into a gear; and
Release the parking brake.
2. Let up on the brake pedal.
3. Drive slowly until the trailer is clear of the chocks.
4. Stop and have someone pick up and store the chocks.
Maintenance When Trailer Towing
Your vehicle will need service more often when you’re pulling a trailer. See
the Maintenance Schedule for more
on this. Things that are especially
important in trailer operation are automatic transmission fluid (don’t ove\
rfill),
engine oil, axle lubricant, belt, cooling system, and brake adj\
ustment. Each of
these is covered in this manual, and the Index will help you find them
quickly. If you’re trailering, it’s a good idea
to review these sections before
you start your trip.
Check periodically
to see that all hitch nuts and bolts are tight.
mailer Light Wiring
See “Trailer Wiring Harness” in the Index.
4-49
Page 208 of 345
Downloaded from www.Manualslib.com manuals search engine 2. Get the vehicles close enough so the jumper cables can reach, but be
sure the vehicles aren’t touching each other.
If they are, it could cause a
ground .connection you don’t want. You wouldn’t be able
to start your
vehicle, and the bad grounding could damage the electrical syst\
ems.
1 CAUTION
I
A You could be injured if the vehicles roll. Set the parking brake firmly
b on each vehicle. Put an automatic transmission in P (Park) or a
I manual transmission in N (Neutral).
3. Turn off the ignition on both vehicles. Turn off all lights that aren’t
needed, and radios. This will avoid sparks and help save both \
batteries.
And
it could save your radio!
1’ NOTICE
Iv dar li 1. The Pairs f you leave your radio on, it could be t
Nouldn’t be covered bv vour warrallLv I
4. Open the hoods and locate the batteries. Find the positive (t) and the
negative
(-) terminals on each battery.
1 CAUTION
A Using a match near a battery can cause battery gas to explode.
People have been hurt doing this, and some have been blinded. \
Use
a flashlight
if you need more light.
You don’t need
to add water to the Delco Freedom@ battery installed
in every new
GM vehicle. But if a battery has filler caps, be sure the
right amount of fluid is there.
If it is low, add water to take care of
that first. If you don’t, explosive gas could be present.
Battery fluid contains acid that can burn you. Don’t get
it on you. If
you accidentally get it in your eyes or on your skin, flush the place
I with water and get medical help immediately.
5. Check that the jumper cables don’t have loose or missing in\
sulation. If
they do, you could get a shock. The vehicles could be damaged\
, too.
Before you connect the cables, here are some things you should\
know.
Positive
(t) will go to positive (+) and negative (-) will go to negative
(-) or a metal engine part. Don’t connect (t) to (-) or you’ll get a
short that would damage the battery and maybe other parts,
too.
5-4
Page 211 of 345
Downloaded from www.Manualslib.com manuals search engine Towing Your Vehicle
Try to have a GM dealer or a professional towing service tow your vehicle.
They can provide the right equipment and know how to tow it without
damage.
If your vehicle has been changed or modified since it was factory-new by
adding aftermarket items like fog lamps, aero skirting, or special tires and
wheels, these things could be damaged during towing.
Before you do anything, turn on the hazard warning flashers.
When you call, tell the towing service:
That, if your vehicle has all-wheel drive or rear-wheel drive with fog
lamps, it cannot be towed from the front with sling-type equipment.
That your vehicle has rear-wheel drive, or that it has the all-wheel-drive
option.
The make, model, and year of your vehicle.
Whether you can still move the shift lever.
If there was an accident, what was damaged.
* To help avoid injury to you or others:
I
Never let passengers ride in a vehicle that is being towed.
Never tow faster than safe or posted speeds.
Never tow with damaged parts not fully secured.
Never get under your vehicle after it has been lifted by the tow
Always use separate safety chains on each side when towing a
truck.
I vehicle.
When your vehicle is being towed, have the ignition key
off. The steering
wheel should be clamped in a straight-ahead position, with a clamping device
designed
for towing service. Do not use the vehicle’s steering column lock for
this. The transmission should be in
N (Neutral) and the parking brake
released.
If your vehicle has the all-wheel drive option, it can only be towed with
all four wheels
off the ground. A dolly must be used under the un-raised
wheels when towing or the vehicle must be transported
on a flat bed
carrier.
5-7