Page 13 of 407

Downloaded from www.Manualslib.com manuals search engine This Cadillac Manual is divided into major sections.
Introduction - How to use this Manual .....................
This section tells you how to use your Manual and includes
Safety and Vehicle Damage Warnings and Symbols
11
Section 1 - Seats and Safety Belts .........................
This section tells you how to use your seats and safety
belts properly.
61
Section 2 - Features and Controls ........................
This section explains how. to start and operate your Cadillac.
63 I
Section 3 - Comfort Controls and Audio Systems .......... 146 I
This section tells you how to adjust the ventilation and
comfort controls
and how to operate your Sound System.
Section 4 - Your Driving and the Road ................... 165 I
Here you’ll find helpful information and tips about the
road and how
to drive under different conditions.
Section 5 - Problems on the Road ....................... 220 I
This section tells you what to do if you have a problem
while driving, such as a flat tire,
or engine overheating.
Section 6 - Service and Appearance Care ................. 261 I
Here the manual tells you how to keep your Cadillac
running properly and looking good.
For more information on “Reporting Safety Defects”, see Owner
Assistance,
Page 7.
First Edition
Page 216 of 407

Downloaded from www.Manualslib.com manuals search engine 0 Lights: Are they all working? Are the lenses clean?
0 Tires: They are vitally important to a safe, trouble-free trip. Is the
tread good enough for long-distance driving? Are the tires all inflated
to the recommended pressure?
Weather Forecasts: What’s the weather outlook along your route?
Should you delay your trip a short time to avoid a major storm
system?
0 Maps: Do you have up-to-date maps?
ON THE ROAD
Unless you are the only driver, it is good to share the driving task with
others. Limit turns behind the wheel
to about 100 miles (160 km) or two
hours at
a sitting. Then, either change drivers or stop for some
refreshment like coffee, tea or soft drinks and some limbering up. But
do
stop and move around. Eat lightly along the way. Heavier meals tend to
make some people sleepy.
On two-lane highways or
undivided multilane highways that do not have
controlled access, you’ll want to watch for some situations not usually
found
on freeways. Examples are: stop signs and signals, shopping centers
with direct access
to the highway, no passing zones and school zones,
vehicles turning left and right off the road, pedestrians, cyclists, parked
vehicles, and
even animals.
I
HIGWAY HypNosIS
Is there actually such a condition as “highway hypnosis”? Or is it just
plain falling asleep at the wheel? Call it highway hypnosis, lack of
awareness, or whatever.
There is something about an easy stretch
of road with the same scenery,
along with the hum
of the tires on the road, the drone of the engine, and
the rush
of the wind against the vehicle that can make you sleepy. Don’t
let it happen
to you! If it does, your vehicle can leave the road in less than
a second. and you could crash and be injured.
What can you do about highway hypnosis? First, be aware that it can
happen.
202
-*
Page 229 of 407

Downloaded from www.Manualslib.com manuals search engine I
..
I -A
I ..
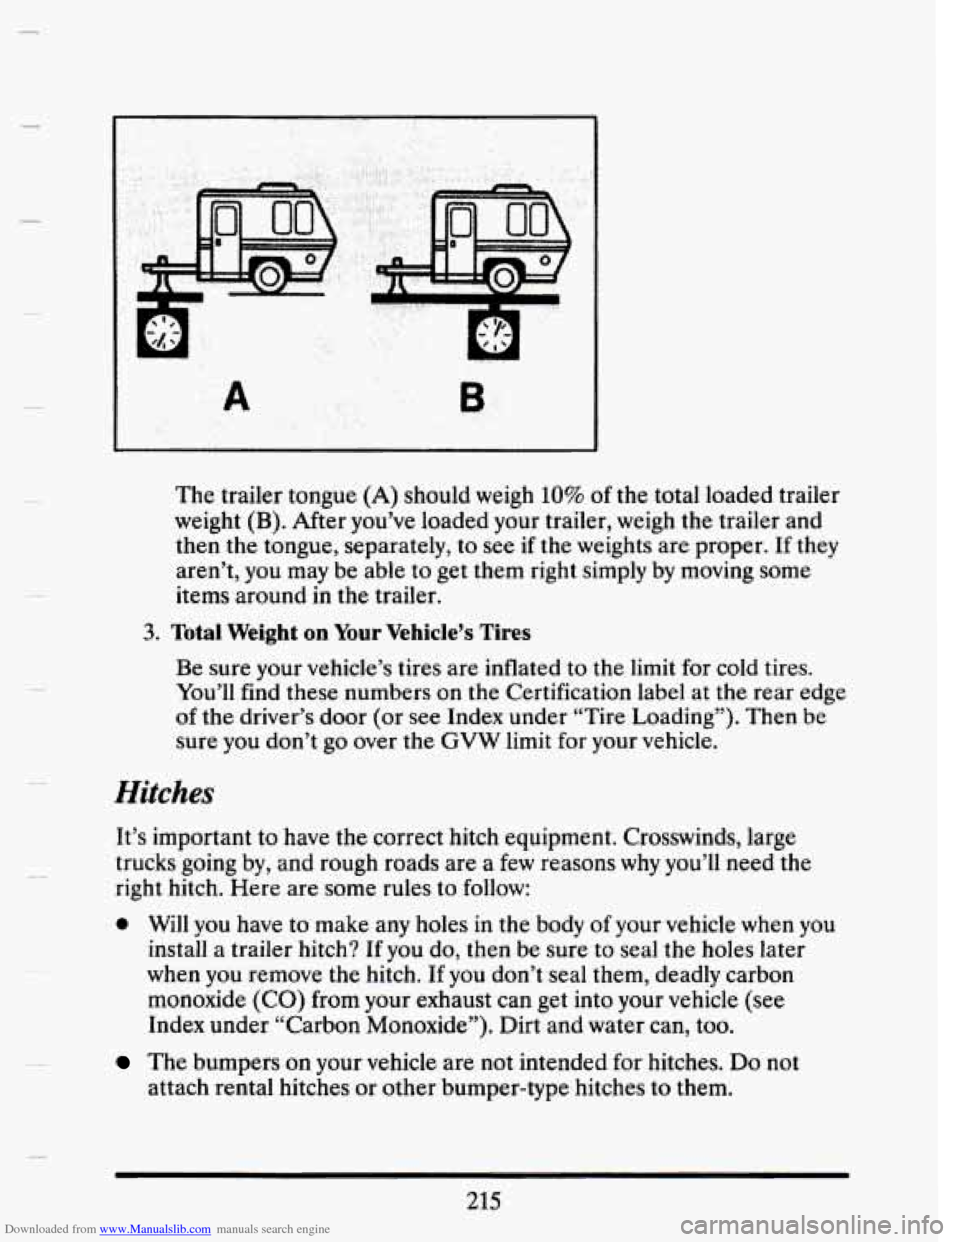
The trailer tongue (A) should weigh 10% of the total loaded trailer
weight
(B). After you’ve loaded your trailer, weigh the trailer and
then the tongue, separately,
to see if the weights are proper. If they
aren’t, you may be able to get them right simply by moving some
items around in the trailer.
3. Total Weight on Your Vehicle’s Tires
Be sure your vehicle’s tires are inflated to the limit for cold tires.
You’ll find these numbers on the Certification label at the rear edge
of the driver’s door (or see Index under “Tire Loading”). Then be
sure you don’t
go over the GVW limit for your vehicle.
Hitches
It’s important to have the correct hitch equipment. Crosswinds, large
trucks going by, and rough roads are a few reasons why you’ll need the
right hitch. Here are some rules to follow:
0 Will you have to make any holes in the body of your vehicle when you
install
a trailer hitch? If you do, then be sure to seal the holes later
when you remove the hitch. If you don’t seal them, deadly carbon
monoxide (CO) from your exhaust can get into your vehicle (see
Index under “Carbon Monoxide”). Dirt and water can, too.
The bumpers on your vehicle are not intended for hitches. Do not
attach rental hitches or other bumper-type hitches to them.
215
Page 263 of 407

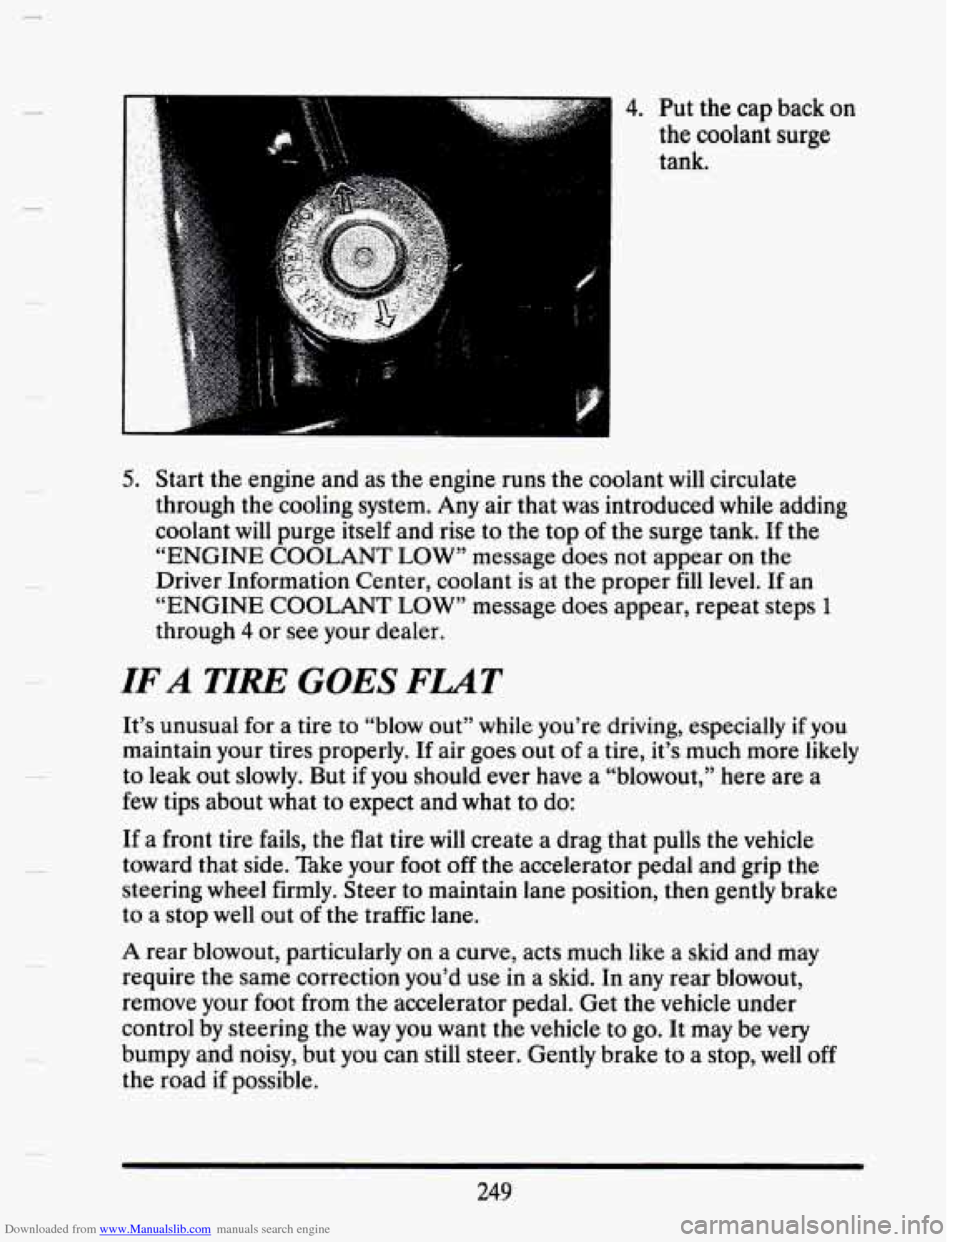
Downloaded from www.Manualslib.com manuals search engine . : 4. Put the cap back on
the coolant
surge
tank.
5. Start the engine and as the engine runs the coolant will circulate
through the cooling system. Any air that was introduced while adding
coolant
will purge itself and rise to the top of the surge tank. If the
“ENGINE COOLANT
LOW” message does not appear on the
Driver Information Center, coolant is at the proper
fill level. If an
“ENGINE
COOLANT LOW” message does appear, repeat steps 1
through 4 or see your dealer.
IFA TIRE GOES FLAT
It’s unusual for a tire to “blow out” while you’re driving, especially if you
maintain your tires properly. If air goes out of a tire, it’s much more likely
to leak out slowly. But if you should ever have a “blowout,” here are a
few tips about what to expect and what
to do:
If a front tire fails, the flat tire will create a drag that pulls the vehicle
toward that side. Take your foot off the accelerator pedal and grip the
steering
wheel firmly. Steer to maintain lane position, then gently brake
to a stop
well out of the traffic lane.
A rear blowout, particularly on a curve, acts much like a skid and may
require the same correction you’d use in a skid. In any rear blowout,
remove your foot from the accelerator pedal. Get the
vehicle under
control by steering the way you want the vehicle to
go. It may be very
bumpy and noisy, but you can still steer. Gently brake to a stop,
well off
the road if possible.
3
249
Page 264 of 407
Downloaded from www.Manualslib.com manuals search engine If your tire goes flat, the next section shows how to use your jacking
equipment
to change a flat tire safely.
CHANGING A FLAT TIRE
If a tire goes flat, avoid further tire and wheel damage by driving slowly to
a level place. Turn on your hazard warning flashers.
A CAUTION:
Changing a tire can cause an injury. The vehicle can slip off the
jack and ro11 over you or other people. You and they could be
badly injured. Find a level place
to change your tire. To help
prevent the vehicle from moving:
1. Put the shift lever in “P” (Park).
2. Set the parking brake firmly.
3. lhrn off the engine.
To be even more certain the vehicle won’t move, you can put
chocks
at the front and rear of the tire farthest away from the
one being changed. That would be the tire
on the other side of
the vehicle, at the opposite end.
250
.-
_-
I
u
L.
Page 267 of 407
Downloaded from www.Manualslib.com manuals search engine Using the wheel
wrench, loosen all
wheel nuts. Don't
remove them yet. the
.. . Position
the jack
under the vehicle.
Your vehicle has a
notch on the frame
near each
of the
wheels. Fit the lift
head into the notch
nearest the wheel
with the flat
tire.
253
Page 269 of 407
Downloaded from www.Manualslib.com manuals search engine F
pl
P
P
P
F
c
Remove all the wheel
nuts and take
off the
flat tire.
A CAUTION: I
Rust or dirt on !he whd, or on the parts to which it is fastened,
can mahe the uhed nuts become loose after a time. The wheel
cuuld conw oll and c~use an accident. When you change a wheel,
remote un) rust or dirt from the places where the wheel
attaches
to the vehicle. In an emergency, you can use a cloth or a
paper towel to do this; but be sure to use a scraper or wire
brush later, if you need to, to get all the rust or dirt off.
255
Page 272 of 407
Downloaded from www.Manualslib.com manuals search engine A CAUTION:
Storing a jack, a tire or other equipment in the passenger
compartment
of the vehicle could cause injury. In a sudden stop
or collision, loose equipment could strike someone. Store all
these in the proper place.
COMPACT SPARE TIRE
Although the compact spare was fully inflated when your vehicle was
new, it can lose air after a time. Check the inflation pressure regularly. It
should be
60 psi (420 kPa). The compact spare is made to go up to 3,000
miles (5000 km), so you can finish your trip and have your full-size tire
repaired or replaced where you want. Of course, it’s best to replace your
spare with a full-size tire as
soon as you can. Your spare will last longer
and be
in good shape in case you need it again.
Your anti-lock brake system warning light may come on when you are
driving with a compact spare. See “Anti-Lock Brake System Warning
Light” in the Index.
258
I