1993 CADILLAC SEVILLE display
[x] Cancel search: displayPage 164 of 407
Downloaded from www.Manualslib.com manuals search engine Fan Speeds
Push the (symbol)
button until “AUTO” is
displayed
on the
screen. At this setting,
the fan speed is
controlled automatically.
If it is
cold outside, the
blower may
not run in
the maximum high fan
speed. That is normal.
If you want the blower fan to run only at a fixed high speed, push the
(upper) button until you see
“HI” on the display.
If you want the fan speed to be automatic, but you like the fan speed to
be higher than the AUTO setting, just push the buttons until “HI/AUTO”
is shown on the display.
If you want the blower to run only at a fixed low speed, push the (low)
button until “LO” is shown on the display.
If you want the fan speed to run lower than the “AUTO” setting, push the
button until “AUTO
LO” is shown on the display.
DEFROSTER
Push this button to
remove fog or ice from
the windshield.
The
fan speed will work automatically or you can choose another fan
speed
if you want.
It will help a lot if you first clear any ice and snow from the hood and the
air inlet (it’s between the hood and the windshield).
150
Page 171 of 407
Downloaded from www.Manualslib.com manuals search engine li
L
It lets you see what station you nave. (When the radio is on, push the
knob to display the station).
It tells you the time. (When the ignition is off, push the upper knob to
display the time.)
0 Push the knob to change direction of tape play.
Behind the upper knob
is a balance control. It moves the sound between
the left and right speakers.
If you have the Delco Bose System you do not
have this balance control.
The Lower Knob
Turn the lower knob to choose radio stations. Push the knob to switch
from
Ah4 or FM.
If you have the Delco Bose Gold Series Music System, it lets you switch
from CD (Compact Disc) to TP (Tape player).
The control behind the lower knob moves the sound between your front
and rear speakers.
SCAN
When you push this button either up or down, the SCAN indicator in the
display will light and the radio
will find the next station and stay there
about
5 seconds. Then it will go to the next station and pause, and keep
doing that until
you push either the SCAN or upper knob.
SEEK
This button selects stations, but it doesn’t keep moving as SCAN does.
When you push
SEEK up or down, the radio will automatically go to the
next strongest station and stay there.
Export Radio Only
The SCAN and SEEK function selects station only in one direction.
157
Page 173 of 407
Downloaded from www.Manualslib.com manuals search engine To Play A Cassette Tape
0 Turn the radio on.
0 Insert the cassette through the tape door. (The “TAPE” indicator in
the display will light.)
If
you hear nothing or hear just a garbled sound, the cassette may not be
in squarely. Push the
EJCT button to remove the tape and start over. The
tape equalization is automatically sensed and set. Inserting the cassette
also automatically disables
DNR@* and activates DOLBY@ noise
reduction.
DNR@ is the Dynamic
Noise Reduction. It helps remove background hiss
noise from the radio.
Once the tape is playing, use the upper and lower knobs to adjust the
volume and balance, just as
you do for the radio. Push the upper knob
to change tape direction.
The arrow in the display show which
direction the tape is being played.
FWD (Forward)
Push the FWD button to move forward rapidly to another part of the
tape. The radio will play during fast forward.
To stop the tape push the
same button and the tape will start to play again.
REV (Reverse)
Push the REV button to move the tape rapidly backward. To stop the
tape, push
the same button lightly or any of the other buttons. The radio
will play during this reverse function.
To go
from one side of the tape to the other, push in the upper knob on
your radio. To remove the tape, push
EJCT. The tape can be ejected when
the ignition is turned off.
*DNR@ is a registered trademark of National Semiconductor
Corporation.
159
Page 175 of 407
Downloaded from www.Manualslib.com manuals search engine To Play the Disc Player
Before you begin, please note: don’t use the mini-discs that are called
“singles”
(even with an adapter). They won’t eject. Use full-size compact
discs
only.
Turn the radio on.
Insert a disc (label side up) partway into the slot. The player will pull
it in. Wait a
few seconds and the disc will play. Then only the time of
day and “CD” will display.
If the disc comes back out, check to see if
The disc is upside down.
The disc is dirty, scratched, or wet.
There’s too much moisture in the air. (If there is, wait about one hour
and try again).
“Err” (Error Detection)
If this message is displayed, you have a condition of either extreme
temperature, moisture,
or an incorrect disc. The disc will automatically be
ejected. When conditions are back to normal, the disc should play again.
RCLIPROG (RecalllProgram)
Press once to see what track is being played.
Within 5 seconds press it a second time to see how long the disc has
Press it a third time to see the time of day.
been playing.
Rev (Reverse)
Push and hold REV to return rapidly within a track. Release it to play the
passage. The elapsed time
will be displayed to show the reverse progress
of the
CD.
FWD (Fast Forward)
Press and hold FWD to advance quickly within a track. Release it to
resume playing. Elapsed time
will be displayed to show the forward
progress
of the CD.
161
Page 176 of 407
Downloaded from www.Manualslib.com manuals search engine Prev (Previous)
Push this button to go back to the beginning of the track or push it again
to a favorite track.
Next
Push this button to advance to the next track.
STiPL (StopfPlay)
Press this button and the disc or tape will stop without ejecting it and the
radio
will start to play. Press it again and the disc or tape will start to play
again.
EJCT (Eject)
Press this button to eject the disc or tape. If you have both a CD and a
tape in the player, then the other playback media
will start to play. Press
it again and the other media will eject.
Comp (Compression)
Pressing COMP makes soft and loud passages more nearly equal in
volume. For example, playing classical
or jazz music with very quiet and
very loud passages
in the same tune. The COMP display will light as long
as
COMP is on.
Setting The Clock
Turn the ignition on. Then:
To Set the Hour:
Press SET, and within 5 seconds,
Press and hold SEEK. When the clock gets to the correct hour, let go.
To Set the Minutes:
Press SET, and within 5 seconds,
Press and hold SCAN. When the clock gets to the correct minute, let
Your clock is set.
go.
162
u
Page 247 of 407
Downloaded from www.Manualslib.com manuals search engine ENGINE OVEIWYEATING
You will find the warning light about a hot engine on your Cadillac
instrument panel (Export
Only).
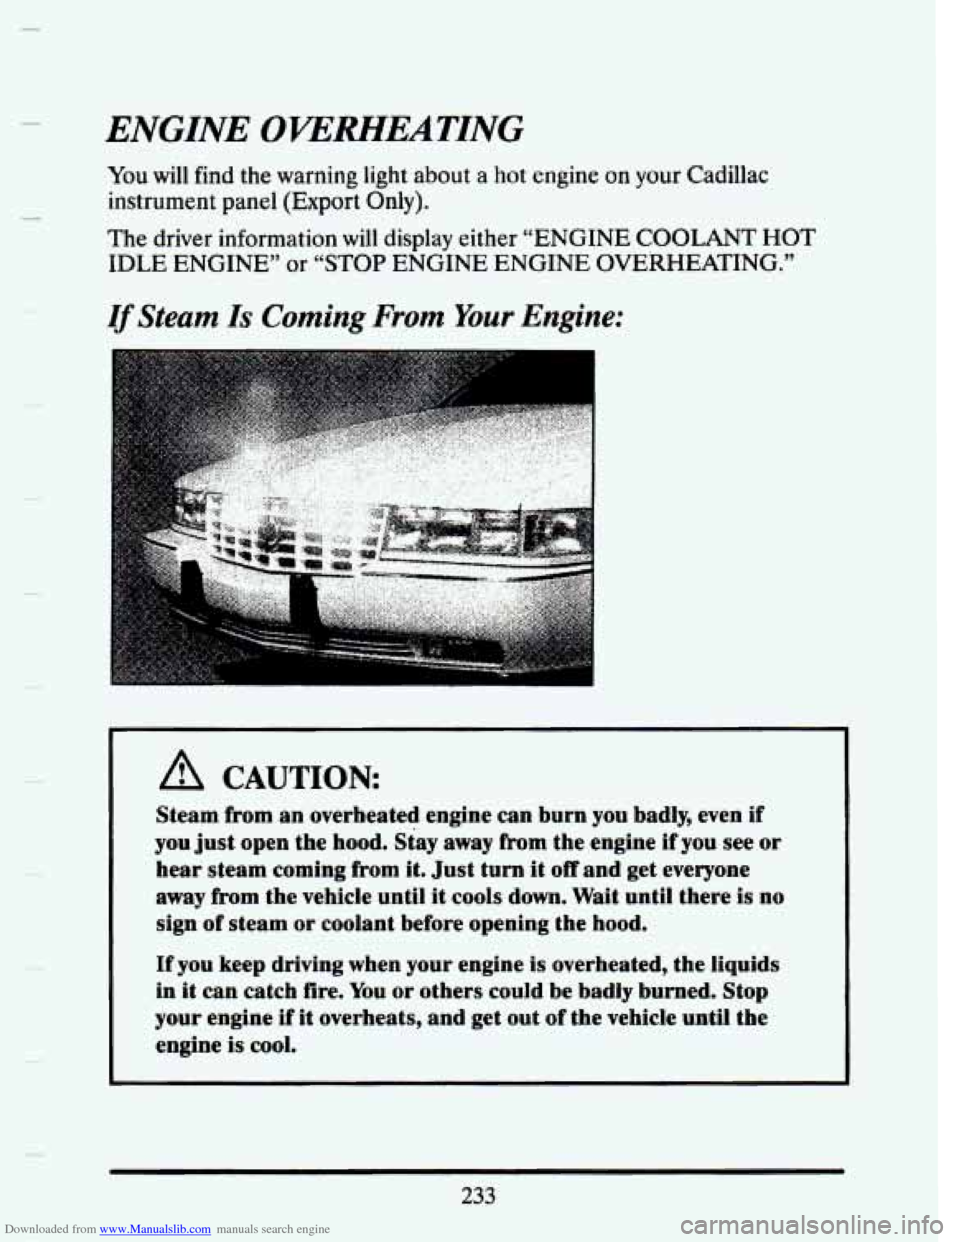
The driver information will display either “ENGINE COOLANT HOT
IDLE ENGINE” or “STOP ENGINE ENGINE OVERHEATING.”
If Steam Is Coming From Your Engine:
A CAUTION
Steam from an overheated engine can burn you badly, even if
you just open the hood. Stay
away from the engine if you see or
hear steam coming from it. Just turn it off and get everyone
away from the vehicle until
it cools down. Wait until there is no
sign of steam or coolant before opening the hood.
If you keep driving when your engine is overheated, the liquids
in it can catch fire. You or others could be badly burned. Stop
your engine
if it overheats, and get out of the vehicle until the
engine
is cool.
233
Page 289 of 407
Downloaded from www.Manualslib.com manuals search engine This doughnut-shaped logo (symbol) is used on most oil containers to
help you select the correct oil.
You should look for this on the oil container, and use
only those oils that
display the logo.
GM Goodwrench@ oil
(in Canada, GM Engine Oil) meets all the
requirements for your vehicle.
Engine Oil Additives: Don’t add anything to your oil. Your Cadillac
dealer
is ready to advise if you think something should be added.
When to Change Engine Oil: Your vehicle is equipped with an engine oil
life index (EOLI) feature as part of the Driver Information Center
display (DIC). Oil change intervals are determined
by the EOLI and will
usually fall at, or between, the two recommended alternative intervals of
3,000 miles (5,000 kilometers) and 7,500 miles (12,500 kilometers), but
could
be shorter than 3,000 miles (5,000 kilometers) under some very
severe driving conditions shown in Schedule I. The system will also
indicate the need for an
oil change if 7,500 miles (12,500 kilometers) or
one year has passed.
Engine oil life remaining
is displayed through engine data as the ‘OIL
LIFE INDEX’ and as a
‘CHANGE ENGINE OIL message. The ‘OIL
LIFE INDEX’ display includes a number between
0 and 100. This is the
percentage
of oil life REMAINING based on driving conditions and
mileage driven since the last time
of the oil life indicator was reset. When
the remaining oil life is less than
lo%, a ‘CHANGE OIL SOON’ message
will appear. This is a reminder to schedule an engine oil change. When
the oil life index reaches
0, the ‘CHANGE ENGINE OIL: message will
appear. This indicates that no oil life remains and the oil should be
changed as soon as possible, but certainly within the next 200 miles (320
km).
The EOLI will not detect excessively dusty conditions or engine
malfunctions which may effect the oil.
If you drive in dusty areas, change
the engine
oil after every 3,000 miles (5,000 kilometers) or 3 months
(whichever comes first), unless instructed
to do so sooner by the DIC.
On Northstar 4.6 Liter engine equipped vehicles a ‘CHECK OIL LEVEE
message will appear whenever the oil level’s approximately one quart low.
275
Page 290 of 407
Downloaded from www.Manualslib.com manuals search engine How To Reset the Oil Life Indicator: After the oil has been changed,
display the ‘OIL LIFE INDEX’ message by pressing the
‘INFORMATION’ button. Then press and hold the
‘STORE/RECALL
button until the display shows ‘100’. This will reset the oil life index. The
message will remain
OFF until the next oil change is needed. The
percentage
of oil life remaining may be check at any item by pressing the
INFORMATION button several times until the ‘OIL LIFE INDEX
message appears.
Engine Block Heater: An engine block heater can be a big help if you
have to park outside in very cold weather, -20” F (-29 “C) or colder. If
your vehicle
has this option, see “Engine Block Heater” in the Index.
What to Do with Used Oil:
A CAUTION
Used engine oil contains things that have caused skin cancer in
laboratory animals. Don’t let used oil stay on your skin for very
long. Clean your skin and nails with soap and water, or a good
hand cleaner. Wash or properlv throw away clothing or rags
containing used engine
oil.
Used oil can be a real threat to the environment. If you change your own
oil, be sure to drain all free-flowing oil from the filter before disposal.
Don’t ever dispose
of oil by pouring it on the ground, into sewers, or into
streams or bodies
of water. Instead, recycle it by taking it to a place that
collects used oil.
If you have a problem properly disposing of your used
oil, ask your dealer, a service station or a local recycling center for help.
3
I
276