1993 CADILLAC FLEETWOOD manual radio set
[x] Cancel search: manual radio setPage 9 of 386

Downloaded from www.Manualslib.com manuals search engine c
c-
For the 1948 model, Cadillac
introduced the I
which set the trend in automotive
styling €or nearly two decades.
This
was followed by the 1949 model with
the two door hardtop Coupe DeVille
and the modern overhead valve,
high compression V8 engine.
Engineering innovations, con-
veniences and styling dominated the
'50s and '60s. Cruise control, auto-
matic climate control,
tilt and
telescoping steering wheels, twilight
sentinel and four door hard tops
all
debuted in these years. In 1957 the
Eldorado Brougham featured
ad-
vances such as air suspension, mem-
ory seat, automatic electric door
locks, transistor radio,
a brushed stainless steel
roof and low profile
tires.
introduced
in
1953, was redesigned for 1967 as the
first front wheel drive personal lux-
ury car. The
472 cu. in. V8 engine
used
in all Cadillacs in 1968 and
1969 was enlarged to 500 cu. in. €or
all 1970 Eldorados.
An Air Cushion Restraint Sys-
tem (airbag) was available for
1974,
1975 and 1976 Cadillacs.
Analog Electronic Fuel Injec-
tion was available, on
1975 Cadillacs
and was standard on the new inter-
national size 1976 Seville. In
1978,
the Trip Computer option incor-
porated an on-board microprocessor.
Page 157 of 386
Downloaded from www.Manualslib.com manuals search engine r
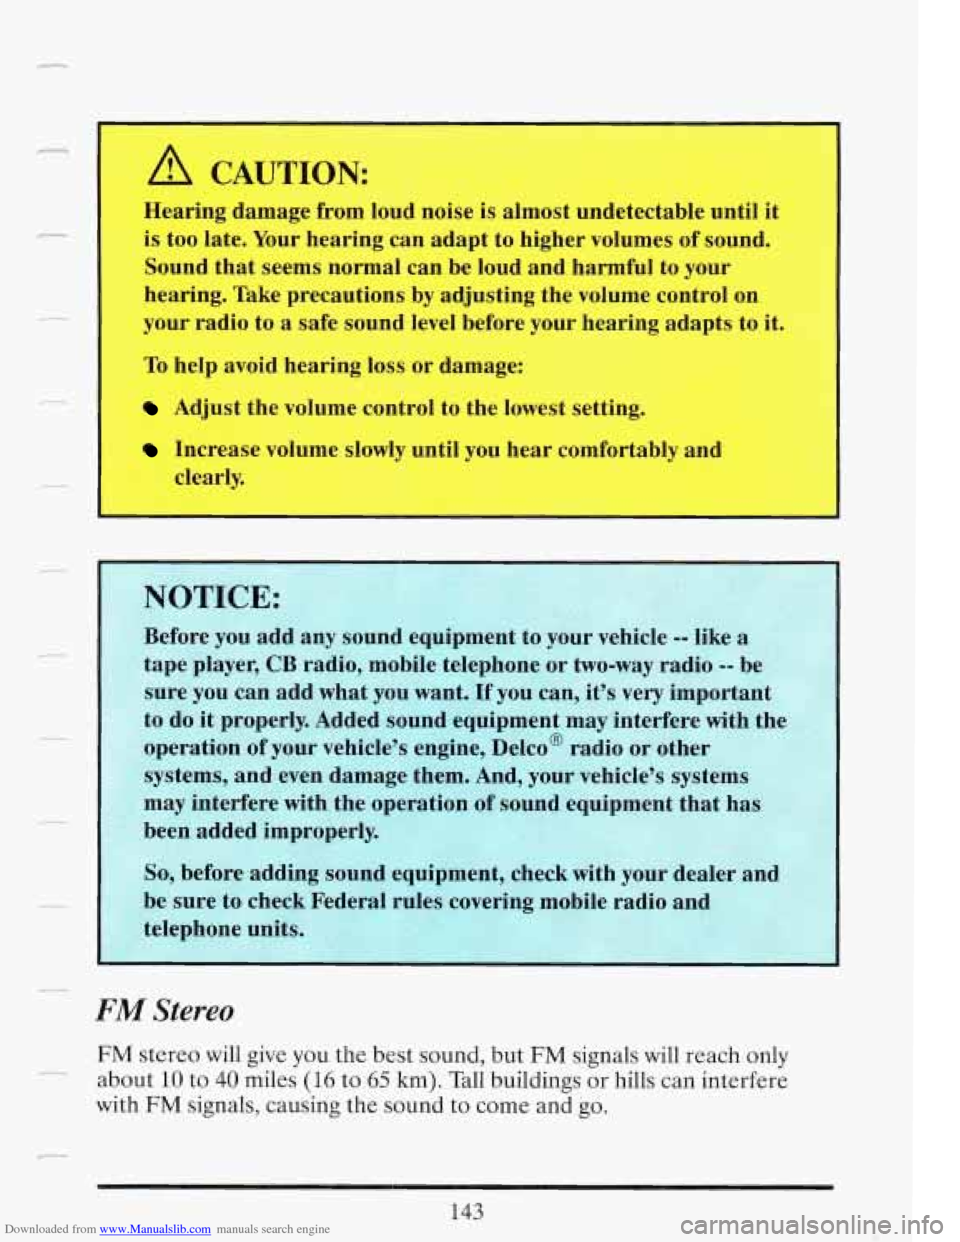
A CAUTION:
Hearing damage from loud noise is almost undetectable until it
is too late. Your hearing can adapt to higher volumes of sound.
Sound that seems normal can be loud and harmful to your
hearing. Take precautions by adjusting the volume control on
your radio to
a safe sound level before your hearing adapts to it.
'
Adjust the volume control to the lowest setting.
Increase volume slowly until you hear comfortably and
1 help avoid hearing loss or damage:
clearly.
I
So, before adding sound equipment, check with your dealer and - -- .. I
FM Stereo
FM stereo will give you the best sound, but FM signals will reach only
about 10 to 40 miles (16 to 65 km). Tall buildings or hills can interfere
with
FM signals, causing the sound to come and go
Page 162 of 386
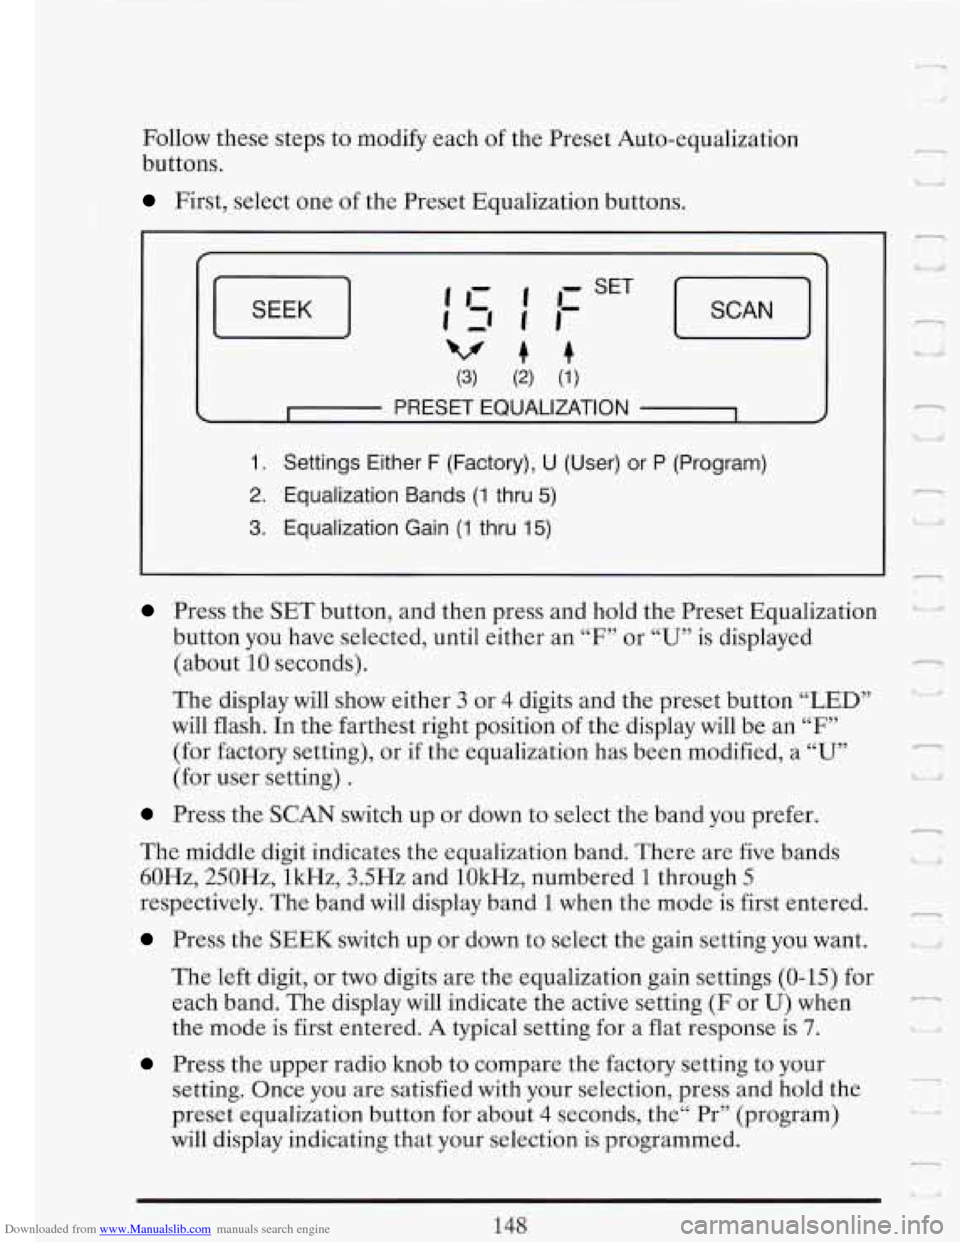
Downloaded from www.Manualslib.com manuals search engine Follow these steps to modify each of the Preset Auto-equalization
buttons.
First, select one of the Preset Equalization buttons.
SEEK J
(3) (2) (1)
c I PRESET EQUALIZATION 1 4
1. Settings Either F (Factory), U (User) or P (Program)
2. Equalization Bands (1 thru 5)
3. Equalization Gain (1 thru 15)
Press the SET button, and then press and hold the Preset Equalization
button you have selected, until either an
“F7’ or “U” is displayed
(about
10 seconds).
The display will show either 3 or 4 digits and the preset button “LED”
will flash. In the farthest right position
of the display will be an “F”
(for factory setting), or if the equalization has been modified, a “U”
(for user setting) .
Press the SCAN switch up or down to select the band you prefer.
The middle digit indicates the equalization band. There are five bands
60Hz, 250Hz, lkHz, 3.5Hz and lOkHz, numbered
1 through 5
respectively. The band will display band 1 when the mode is first entered.
Press the SEEK switch up or down to select the gain setting you want.
The left digit, or two digits are the equalization gain settings (0-15) for
each band. The display
will indicate the active setting (F or U) when
the mode is first entered.
A typical setting for a flat response is 7.
Press the upper radio knob to compare the factory setting to your
setting. Once you are satisfied with your selection, press and hold the
preset equalization button for about
4 seconds, the“ Pr” (program)
will display indicating that your selection is programmed.
148
l n
d
r
Lj Ill
--
.-
I -.
Page 165 of 386
Downloaded from www.Manualslib.com manuals search engine r The tape equalization is automatically sensed and set. Inserting the
cassette also automatically disables
DNR@ * and activates DOLBY @
noise reduction.
DNR@ is the Dynamic Noise Reduction. It helps remove background hiss
noise from the radio.
0
0
0
.-
Once the tape is playing, use the upper and lower knobs to adjust the
volume and balance, just as you do for the radio. Push the upper knob
to change tape direction. The arrows show which direction the tape is
being played.
To go forward rapidly to another part of the tape push FWD. To go
backward, push REV.
To stop the tape, push the same button lightly or
any
of the other buttons. The radid will play during fast forward or
reverse.
To go from one side of the tape to the other, push in the upper knob
on your radio. To remove the tape, push EJECT. The tape can be
ejected when the ignition is turned off.
SCAN
Push the SCAN button up to jump quickly to the next selection or down
to return to the beginning of the selection you just heard. The tape
will
play for approximately 15 seconds to sample a selection before going on
again or the upper knob. If the selection is at the end of the tape, the tape
will reverse directions and begin playing at a normal speed.
- to the next selection. To stop the SCAN function, just press it up or down
.-.
SEEK
Push the SEEK button up to quickly go to the beginning of the next
selection. Push the SEEK button down to go back to the beginning of the
selection you are listening to.
During the SCAN and SEEK functions the radio will not play. -.-
*DNR@ is a registered trademark of National Semiconductor
Corporation.
--
151
Page 166 of 386

Downloaded from www.Manualslib.com manuals search engine ST-PLAY (Stop-Play)
Press ST-PLAY to switch back to the radio without ejecting the tape. In
ST-PLAY function
only the tuning knob can be used for selecting stations.
To Eject A Tape
To remove the tape once it is stopped, push EJECT
The Delco Cassette And Compact Disc Music System
This optional sound system combines an AM/FM stereo radio with a
cassette tape player and a compact disc player in a single unit.
To operate the radio and cassette tape player portion of this music
system, please read the beginning of this section, “How To Operate Your
Sound System” and “Your Cassette Tape Player”.
To Play the Disc Player
Before you begin, please note: don’t use the mini-discs that are called
“singles”
. They won’t eject. Use full-size compact discs only.
Turn the radio on.
2
U a,
Insert a disc (label side up) partway into the slot. The player will pull it in.
Wait a few seconds and the disc will play.
The DNR@ will be disabled and -
I
the display will show Track “ 1 TRKCD” for about 5 seconds, then “CD”
will show in the display.
1F
If the disc comes back out, check to see if
The disc is upside down.
The disc is dirty, scratched, or wet.
There’s too much moisture in the air. (If there is, wait about one hour
and try again).
I
RCLIPROG (RecalllProgram)
Press once to see which track is being played. (It also allows for disc
programming.)
n
-
152
Page 168 of 386
Downloaded from www.Manualslib.com manuals search engine - t
REV (Reverse)
Push and hold REV to return rapidly to a favorite passage. Release it to
play the passage. The elapsed time will be displayed to show the reverse
progress of the
CD.
FWD (Fast Forward)
Press and hold FWD to advance quickly within a track. Release it to
resume playing. Elapsed time will be displayed to show the forward
progress
of the CD.
ST-EJECT (Stop-Eject)
Press ST-EJECT The disc or tape will stop without ejecting it and the
radio will start to play. Press it again and the disc
or tape will eject.
PLAY
Press PLAY to restart the disc or tape. It will begin playing at the point
where it had stopped. If the CD and cassette tape are inserted at the
same time, pressing the play button will switch between CD and the Tape.
COMP (Compression)
r-) U
1 I. L
Pressing COMP makes soft and loud passages more nearly equal in
volume. For example, playing classical or jazz music with very quiet and
very loud passages in the same tune. The COMP display will light as long
as COMP
is on. E
Setting The Clock
Turn the ignition and radio on. Then:
To Set the Hour:
Press SET, and within 5 seconds,
"I Lr/ 'i
Press and hold SEEK up or down. When the clock gets to the correct
hour, let go. -
Page 233 of 386
Downloaded from www.Manualslib.com manuals search engine - TO JUMP START YOUR CDILLAC:
1. Check the other vehicle. It must have a 12-volt battery with a negative
ground system.
- 2. Get the vehicles close enough so the jumper cables can reach, but be
sure the vehicles aren’t touching each other.
If they are, it could cause
a ground connection you don’t want. You wouldn’t be able to start
your Cadillac, and the bad grounding could damage the electrical
systems.
r
A CAUTION:
I You could be injured if the vehicles roll. Set the parking brake
firmly on each vehicle. Put an automatic transmission in
“P”
(Park) or a manual transmission in “N” ‘Ye1 ’ ,alj.
I -
3. Turn off the ignition on both vehicles. Turn off all lights that aren’t
needed, and radios. This will avoid sparks and help save both
batteries. And it could save your radio!
219
Page 369 of 386

Downloaded from www.Manualslib.com manuals search engine In
Cables. B
Camper. Towing A
.................................. 208
Capacities. Fluid ................................... 324
C& Jack I&tructions ............................... 237
Carbon Monoxide In Exhaust ...................... 93. 207
Cassette Tape Player. Care Of Your ................... 155
Cassette Tape Systems .............................. 150
Cautions. Safety ...................................... 1
CB Radio. Adding A ............................. 143. 312
Cellular lklephone. Adding A ..................... 143. 312
Center High Mounted Stop Lamp Bulb Replacement .... 287
Chains. Tire ....................................... 300
Change Oil Light ................................... 131
Changing A Flat Tire ............................... 237
Chassis Lubrication ................. See Maint . Book. p.15
checking
Service Station
................... See Maint . Book, p.8
The Power Steering Fluid ......................... 273
Central Door Unlocking Feature ....................... 67
Change The Oil. When To ........................... 263
Charge Light ...................................... 130
The Brake Fluid ................................. 276
The Engine Oil Level ............................ 259
The Transmission Fluid ........................... 266
Things Under The Hood ........................... 257
Your Restraint Systems ............................ 61
Your Safety Belt Systems ........................... 61
Che&al Paint Spotting ............................. 309
Child Restraint. Securing ............................. 48
Child Restraints ..................................... 43
Cigarette Lighter ................................... 120
Circuit Breakers ................................... 313
City Driving ....................................... 193
Cleaner. Air ....................................... 265
Cleaning
Fabric
....................................... 303. 304
Glass .......................................... 306
Leather And Vinyl ............................... 305
Photocells ...................................... 116
SafetyBel ts ..................................... 306
The Inside Of Your Cadillac ....................... 302
The Outside Of Your Cadillac ..................... 307
The Power Antenna .............................. 155
The Top of the Instrument Panel ................... 305
The Underbody Of Your Car ...................... 309